DIY - Fix that damn airbag warning light once and for all
#1
 08-03-2012, 04:37 PM

So for the last five years, my airbag light has been on. I fixed it temporarily by zip-tying the connector tightly together but that didn't last. My car had the typical momentary open-connector problem that a lot of B5s have. Put the seat too far back or forward, and it can strain the connector and open the connection momentarily. That trips the light and after awhile, resetting it will no longer keep the light off, so it's time to break out the tools.
Supplies needed:
Allen bit socket (5mm I believe - get a set that ranges from 4-10mm. Youll use them elsewhere on the car as well).
6" extension
Ratchet (I used 3/8 drive)
Crimping tool with crimp jaws at the end
Wire stripping tool with stripper jaws at the end
Offset Phillips screwdriver
Dikes for cutting connectors off
10mm and 11mm combination wrenches (to disconnect the battery)
Vagcom (go get it - you'd be a fool not to have it or have access to it if you own a B5)
Beer (duh)
Usual disclaimers - if you mess your car up, its on you, not me - reassess your DIY abilities. This isn't a hard job but as with any electrical work on a car, it's not horribly difficult to create new problems when trying to fix an existing one. For the record, my car is a pre-facelift 1999 A4 30vqm with a heated power driver's seat.
Start by powering the seat all the way back to expose the covers for the seat rail mounting bolts, and then disconnect the battery negative. You're working with airbags, which can kill you. Don't skip this step.
Pop off the plastic covers at the front of the seat rails, to expose the rail mounting bolts. They're Allen-socketed. Remove them.
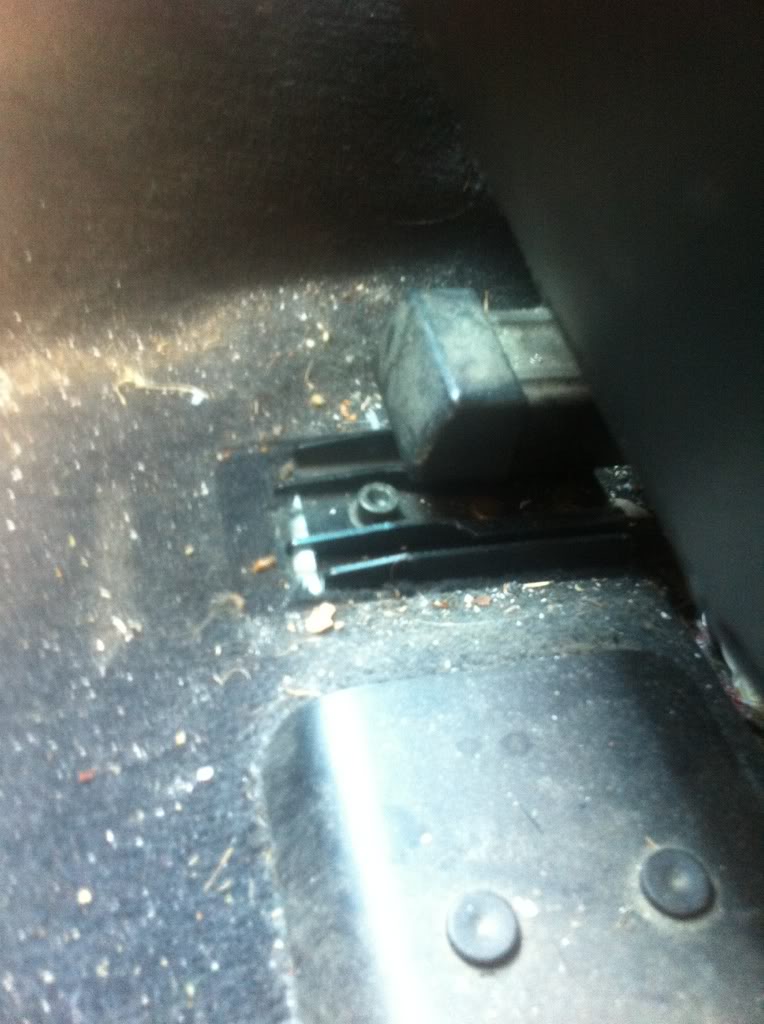
You'll now be able to pivot the front of the seat upward for access to the connectors underneath. they are just under the front of the cushion and look like this once they're unplugged.
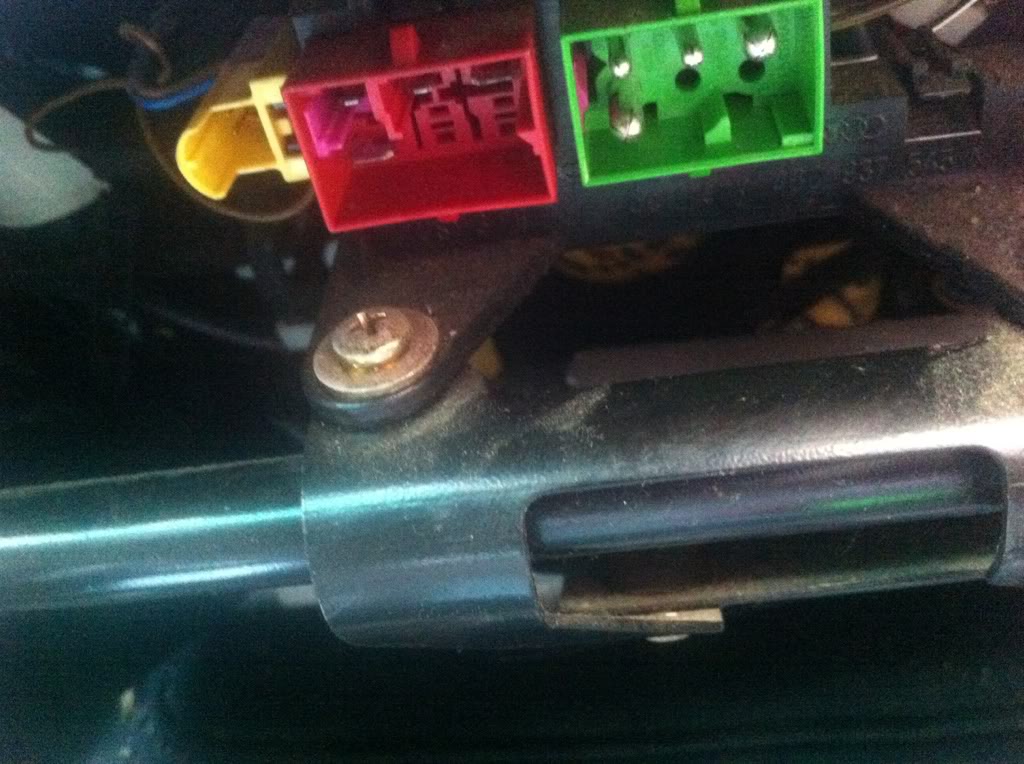
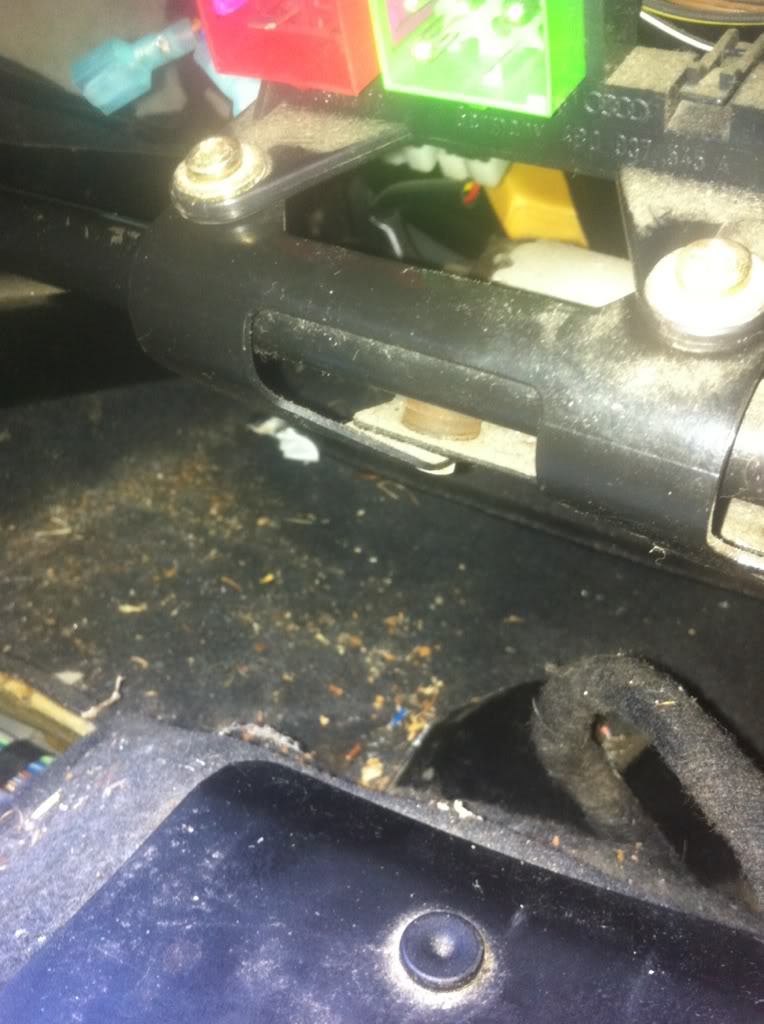
The larger ones are for the seat motors and heating elements. The small yellow two-wire connector is for the airbag. That's where you'll be working. Push it forward to unclip it from the carrier so you can work with it. It may make it easier to dismount the connector carrier from the seat frame. To do so, you need an offset Phillips screwdriver to undo these two brass screws. (Note - this pic was taken later on, after the new connectors were installed)
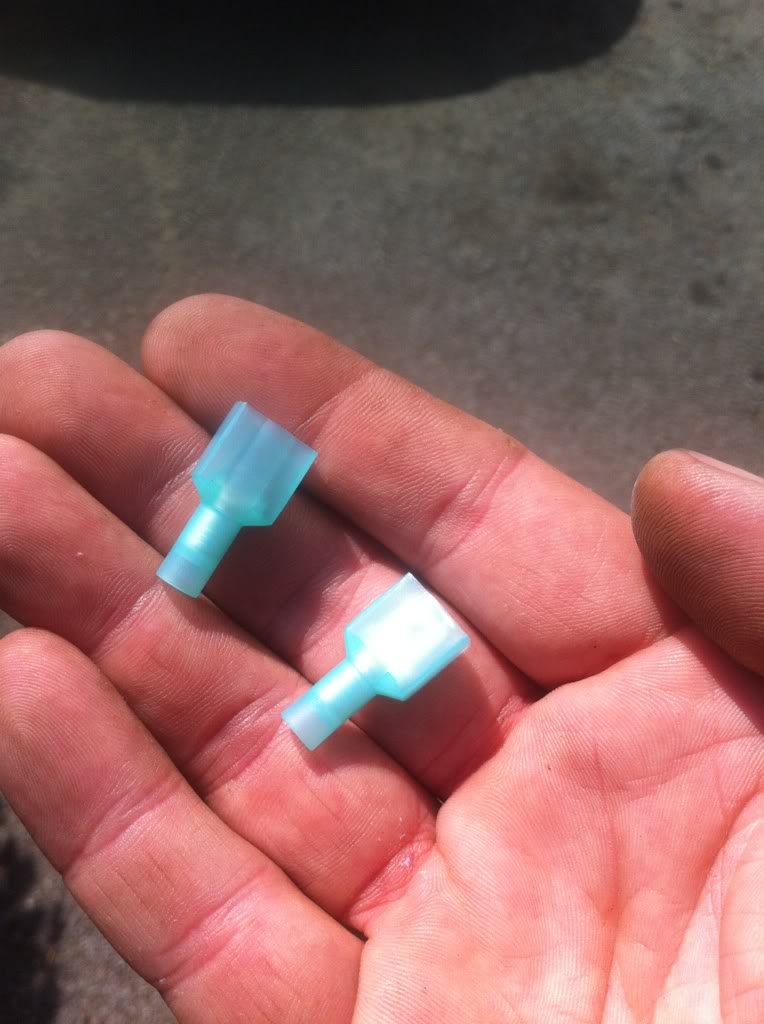
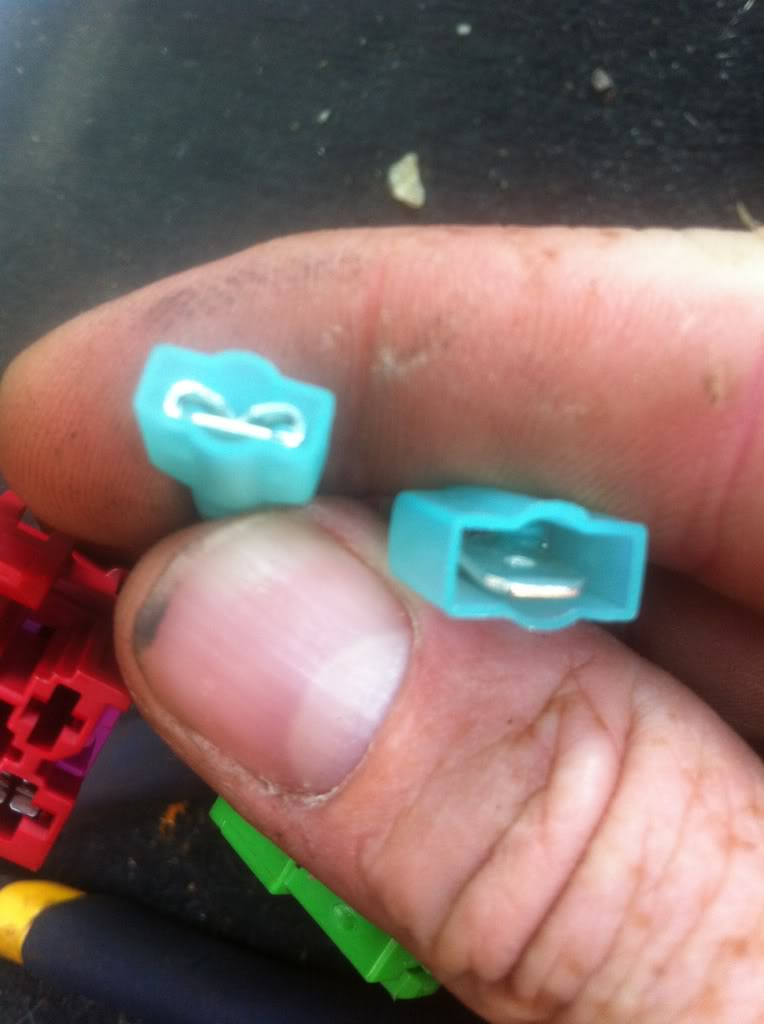
To replace the OEM connectors, use insulated blade connectors like these ($2.99 at Advance Auto gets you four male and four female). The insulator shells keep them from shorting out on the seat frame and give extra connection strength.
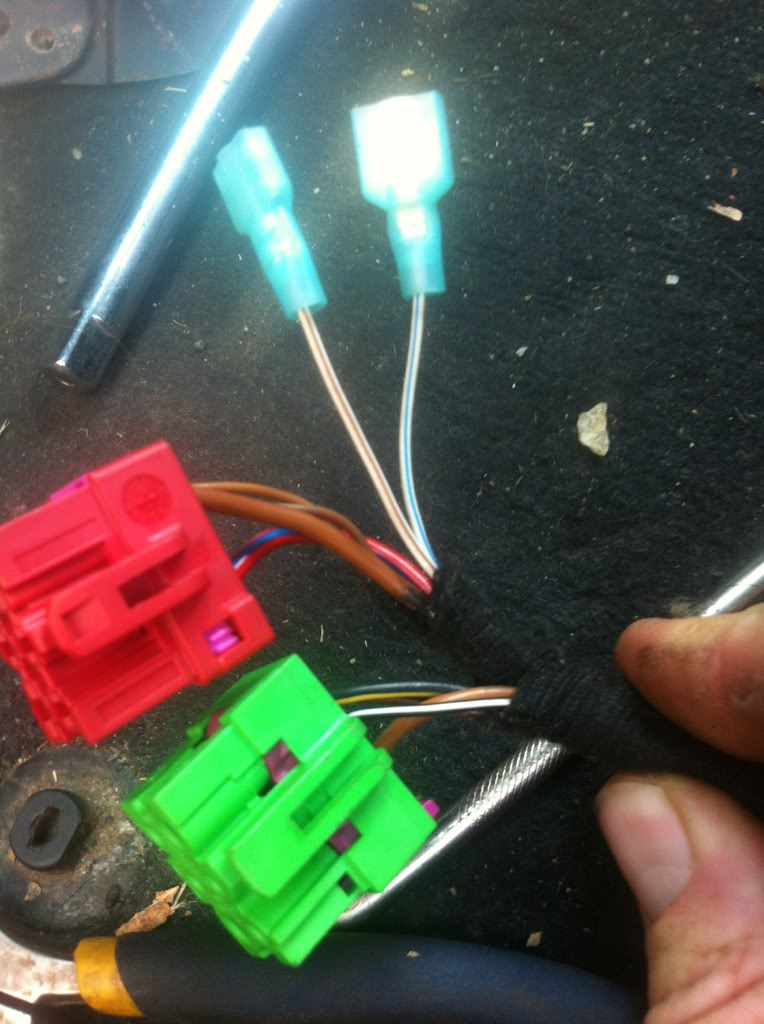
The harness on the seat, from airbag to connector, has a blue wire and a brown wire. On the car's harness, these correspond to a white/blue and a white/brown wire (like colors mate up). I cut the connector off the car harness and put a male blade on the blue/white wire and a female blade on the brown/white wire, so that in the future there'd be no way to inadvertently connect the wires incorrectly. Don't strip too much insulation - you want only sheathed wire protruding from the shell. Also, cut close to the connector - don't chop off the connector and 2" of wire. You need all the wire length you can get. Crimp the blades onto the wires.
Now the pain-in-the-butt part comes - getting connectors onto the wires under the seat. Touch the body of the car for a few seconds to discharge static electricity from your body (remember, airbags are electrically-triggered explosives). You'll see there's not much length to the wires so cut as close to the connector as you can, and strip only about half an inch of jacketing off the wires. You get one shot at getting them right, or you'll have to remove the seat and possibly extend the wires. To mate to the car, I put a female blade on the blue wire and a male blade on the brown wire. crimp hard and tight.
And that's it. Reconnect the carrier to the seat frame, clean out the change from under there (i found $2.73), plug everything in, bolt the seat down, and put the covers back over the mounting bolts. Reconnect the battery.
Do not start the car. You'll need to do a throttle alignment. Hook up vagcom and do this, then go into the airbag module, read the codes, and clear them. The light on the dash will go out. If it comes back, read the codes again and reclear them after ensuring that your connections are tight. You must use vagcom to turn off the light. No other method (and most handheld scanners) cannot do it.*
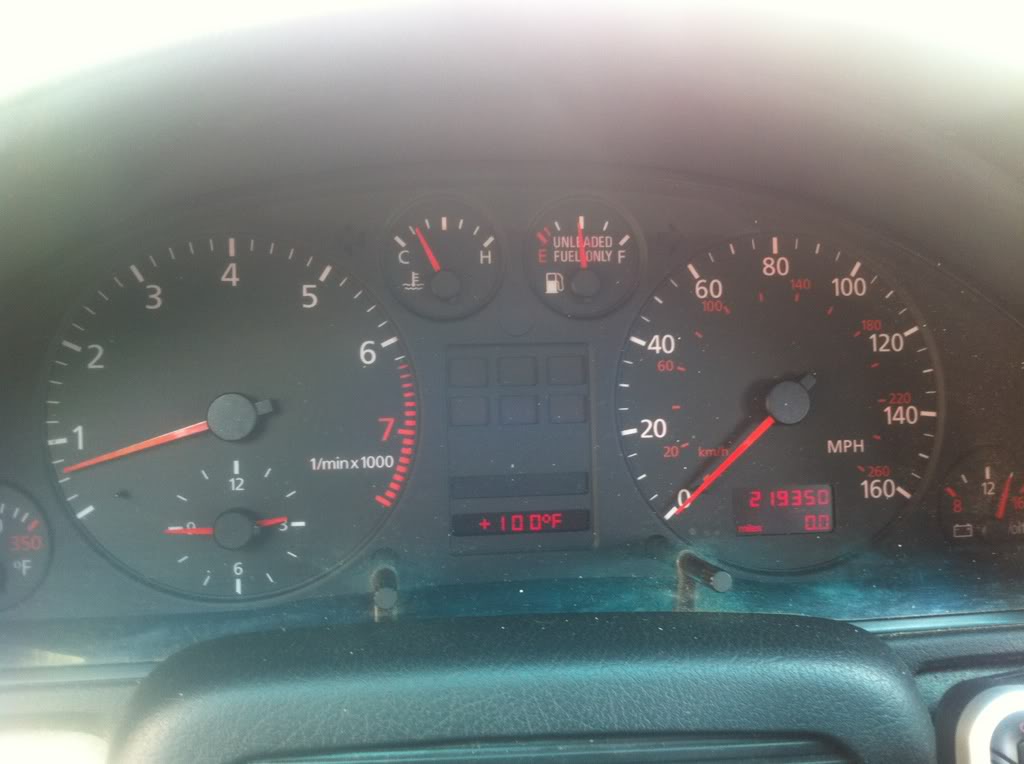
Fire up the car and enjoy not having the bag light staring you in the face
Supplies needed:
Allen bit socket (5mm I believe - get a set that ranges from 4-10mm. Youll use them elsewhere on the car as well).
6" extension
Ratchet (I used 3/8 drive)
Crimping tool with crimp jaws at the end
Wire stripping tool with stripper jaws at the end
Offset Phillips screwdriver
Dikes for cutting connectors off
10mm and 11mm combination wrenches (to disconnect the battery)
Vagcom (go get it - you'd be a fool not to have it or have access to it if you own a B5)
Beer (duh)
Usual disclaimers - if you mess your car up, its on you, not me - reassess your DIY abilities. This isn't a hard job but as with any electrical work on a car, it's not horribly difficult to create new problems when trying to fix an existing one. For the record, my car is a pre-facelift 1999 A4 30vqm with a heated power driver's seat.
Start by powering the seat all the way back to expose the covers for the seat rail mounting bolts, and then disconnect the battery negative. You're working with airbags, which can kill you. Don't skip this step.
Pop off the plastic covers at the front of the seat rails, to expose the rail mounting bolts. They're Allen-socketed. Remove them.
You'll now be able to pivot the front of the seat upward for access to the connectors underneath. they are just under the front of the cushion and look like this once they're unplugged.
The larger ones are for the seat motors and heating elements. The small yellow two-wire connector is for the airbag. That's where you'll be working. Push it forward to unclip it from the carrier so you can work with it. It may make it easier to dismount the connector carrier from the seat frame. To do so, you need an offset Phillips screwdriver to undo these two brass screws. (Note - this pic was taken later on, after the new connectors were installed)
To replace the OEM connectors, use insulated blade connectors like these ($2.99 at Advance Auto gets you four male and four female). The insulator shells keep them from shorting out on the seat frame and give extra connection strength.
The harness on the seat, from airbag to connector, has a blue wire and a brown wire. On the car's harness, these correspond to a white/blue and a white/brown wire (like colors mate up). I cut the connector off the car harness and put a male blade on the blue/white wire and a female blade on the brown/white wire, so that in the future there'd be no way to inadvertently connect the wires incorrectly. Don't strip too much insulation - you want only sheathed wire protruding from the shell. Also, cut close to the connector - don't chop off the connector and 2" of wire. You need all the wire length you can get. Crimp the blades onto the wires.
Now the pain-in-the-butt part comes - getting connectors onto the wires under the seat. Touch the body of the car for a few seconds to discharge static electricity from your body (remember, airbags are electrically-triggered explosives). You'll see there's not much length to the wires so cut as close to the connector as you can, and strip only about half an inch of jacketing off the wires. You get one shot at getting them right, or you'll have to remove the seat and possibly extend the wires. To mate to the car, I put a female blade on the blue wire and a male blade on the brown wire. crimp hard and tight.
And that's it. Reconnect the carrier to the seat frame, clean out the change from under there (i found $2.73), plug everything in, bolt the seat down, and put the covers back over the mounting bolts. Reconnect the battery.
Do not start the car. You'll need to do a throttle alignment. Hook up vagcom and do this, then go into the airbag module, read the codes, and clear them. The light on the dash will go out. If it comes back, read the codes again and reclear them after ensuring that your connections are tight. You must use vagcom to turn off the light. No other method (and most handheld scanners) cannot do it.*
Fire up the car and enjoy not having the bag light staring you in the face

#5
08-04-2012, 06:27 AM
Lol I wondered who it would be. Yes I did while the seat was unbolted. Yu, I think the coils will get handled before that

Thread
Thread Starter
Forum
Replies
Last Post