When you click on links to various merchants on this site and make a purchase, this can result in this site earning a commission. Affiliate programs and affiliations include, but are not limited to, the eBay Partner Network.
*DISCLAIMER*-This is a DIY intended to give you an idea of how to replace your driveshaft support bearing that Audi claims is "non serviceable". This is to help the more mechanically inclined, as the driveshaft is a sensitive part of the car and any damage to the driveshaft can be expensive to replace. WORK AT YOUR OWN RISK.
So I first started by lifting the whole car completely putting it on jackstands, having them all the way up because you're going to need the room to work under the car.
Placed a jack on the exhaust muffler on the rear to hold it up as I unmounted the pipes from the rear of the differential which were 2 13mm.
Then worked my way to the second mount under the mid section of the car which was a T-45 Torx
So the pipes were dropped and I loosened the Exhaust coupler brackets on each pipe which are 17mm's and separated the pipes to make ease of work, which I don't have a picture of, but if you have flex pipes, you might be able to get away without having to separate them. Using that big wrench is useful for separating the pipes further apart to give you plenty of room to work.
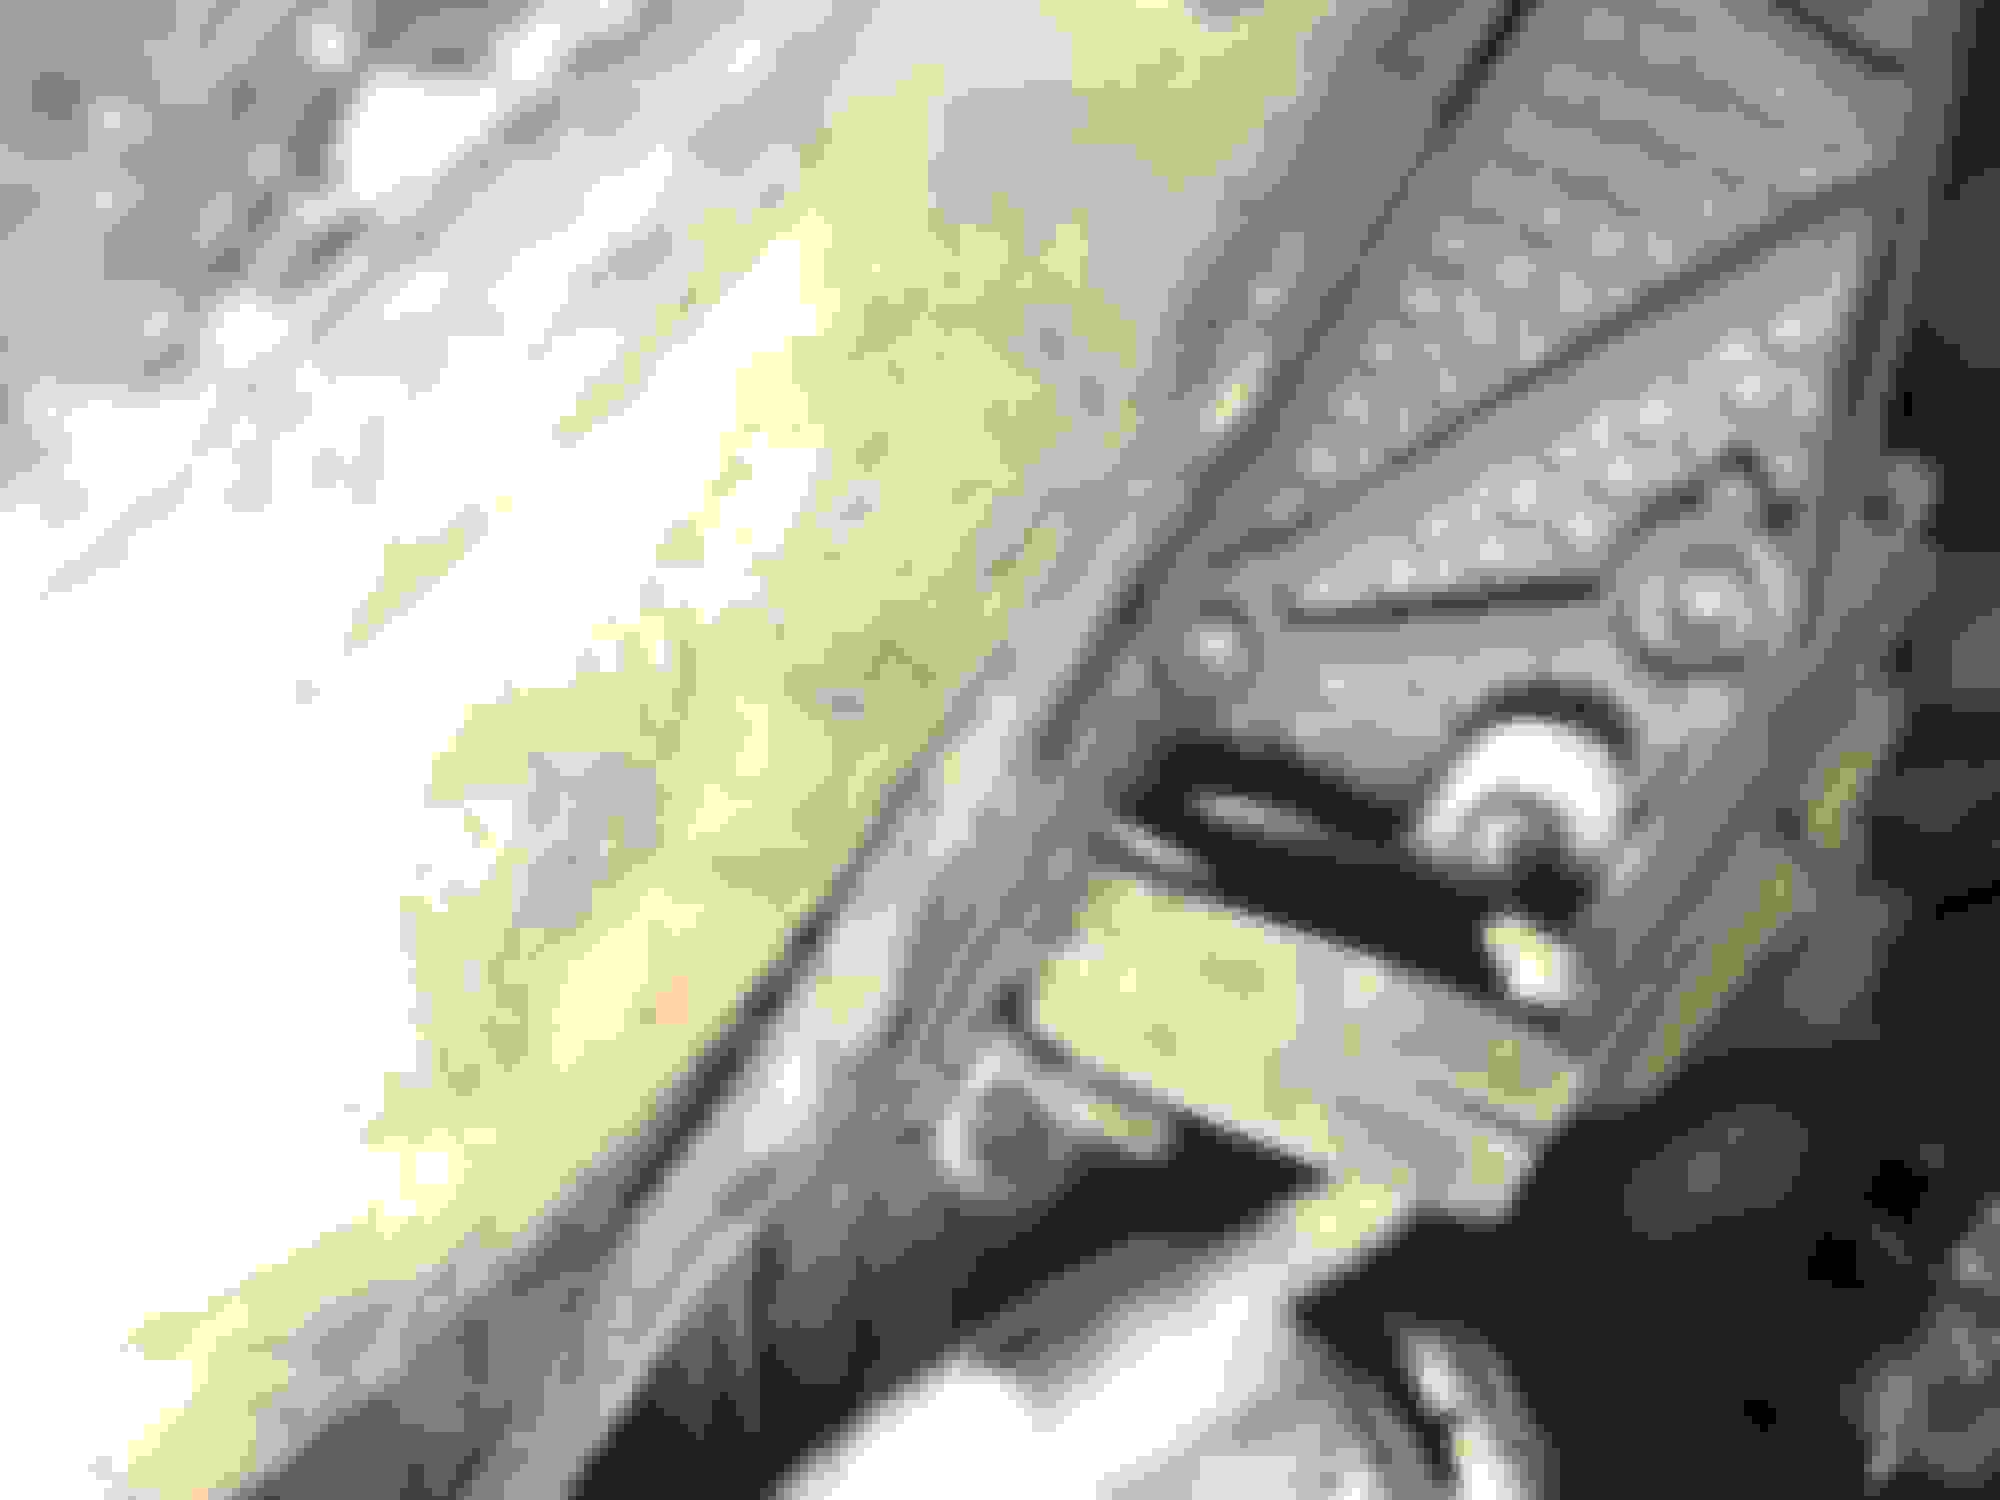
Next you have to remove the driveshaft heat shield which is 2 T-45 Torx screws located here. (extensions might the biggest help here)
Now that you have the entire driveshaft exposed, now its time to remove the 6 6mm Hex bolts. Might want to tap in the Hex because these bolts are tight. Remove 10 bolts from the front and the back of the driveshaft leaving one on each side to hold it from dropping while you get to the support bearing.
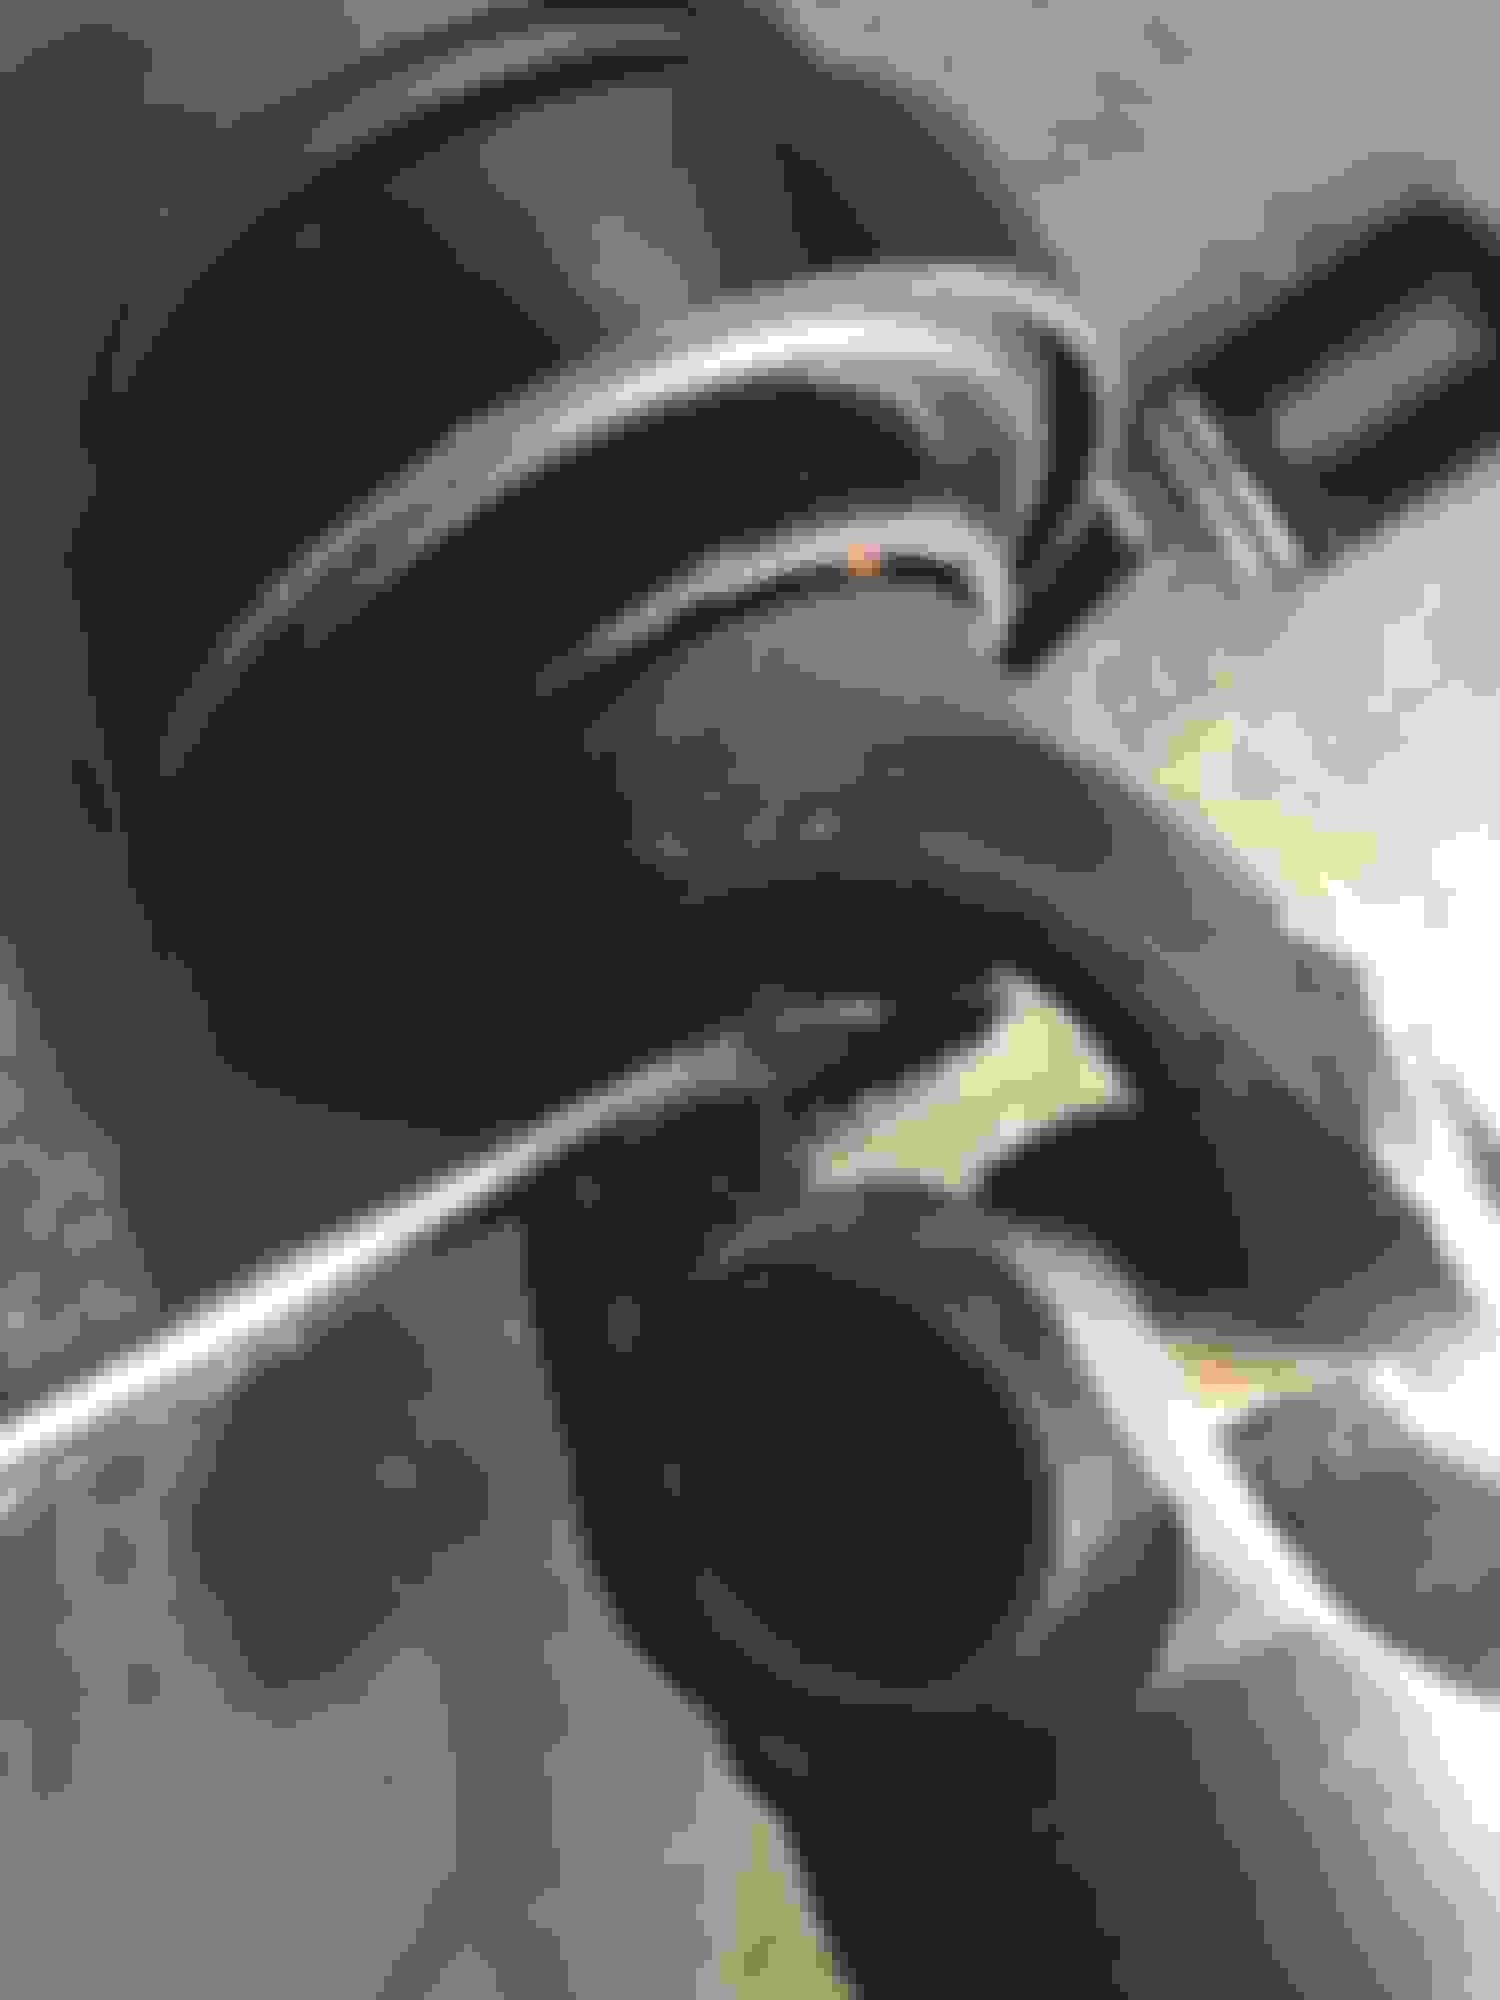
Remove the center support bearing bolts which are 13mm bolts, and just know that the drive shaft will buckle so be sure you're holding the U-joints as the bearing comes off then go back and remove the last 2 6mm Hex bolts carefully dropping the complete driveshaft.
Great, you've gotten this far into fixing a dealers "non-serviceable" part. You're half way there, now crack open a cold one and relax a bit because things are about to get tough.
Now that you've relaxed and had your cold one, here's where things get hair pulling, WTF?!, I'm F*#king done part. Now I saw on an audiworld forum by JMS-Four that if you cut a piece of steel into a right triangle (a wedge) to be able to separate the shafts....
Yes, I know, my UJ's are beat up, because nothing was working so I beat my UJ with a hammer hoping I'd see some gap, used a block of wood, even thought I'd have to resort to using 2 cars to pull it apart!
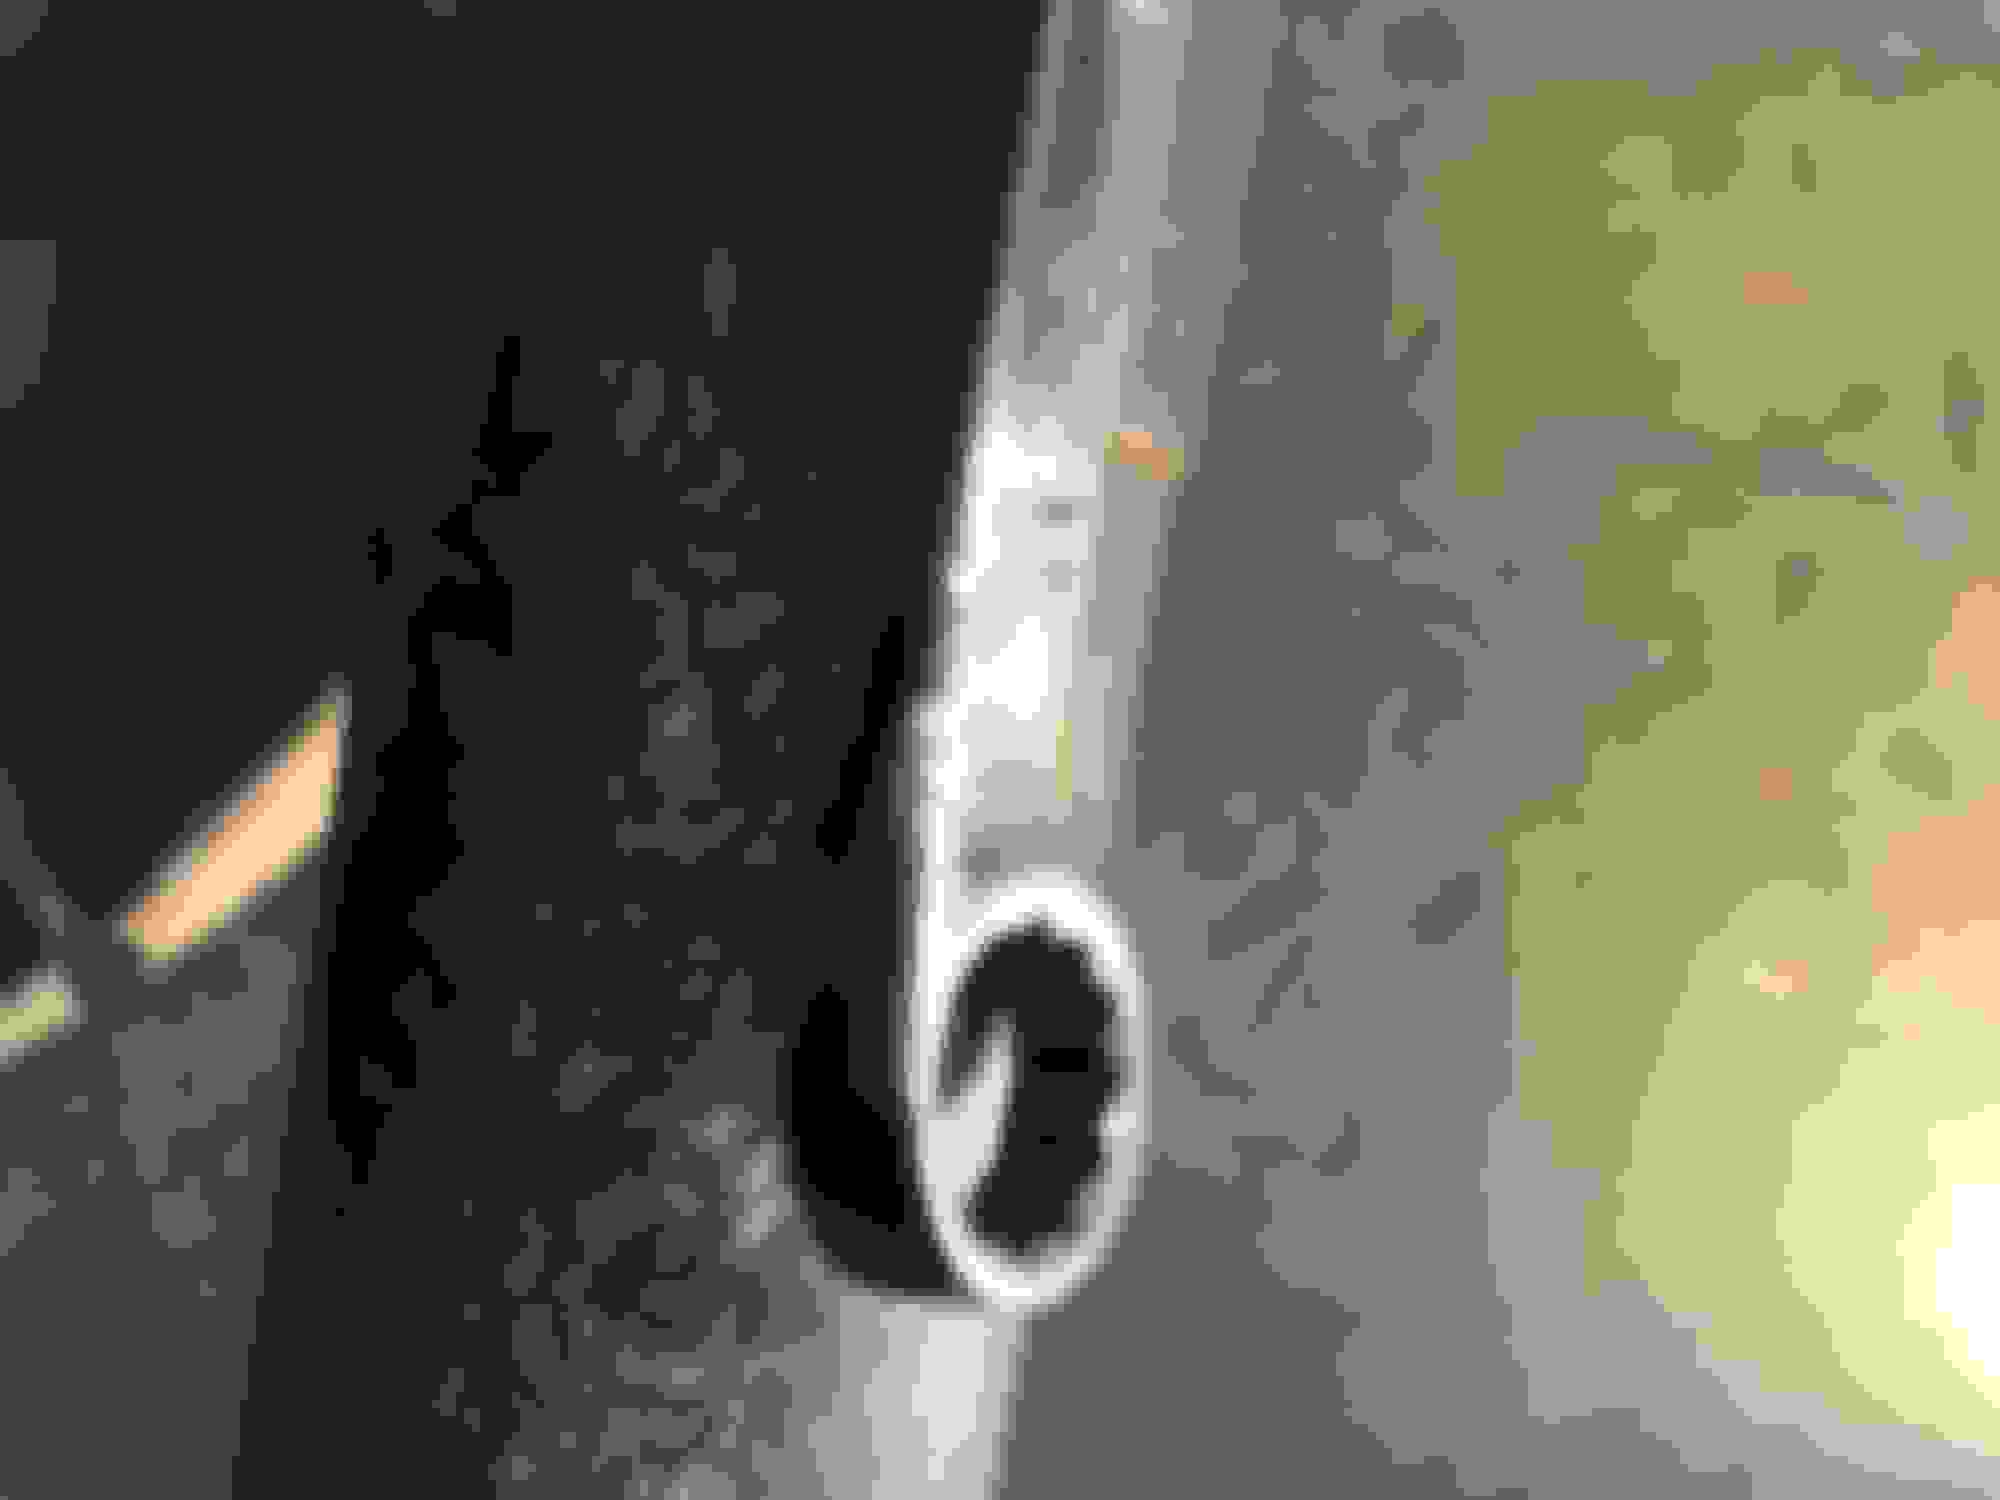
Now inspect the driveshaft, in between the U-joints you'll see a Bolt head, its a 17mm, don't try sticking a socket in there, even using a swivel and extension through the center hole that holds the UJs won't get that bolt and washer out. You have to use a 17mm wrench with some adjustments to the wrench, which is filing or grinding down the sides of the wrench to be able to get 1/4 of a turn, eventually getting it out. *note: don't grind too thin to where the wrench will break.
Now that 17mm was tight so I interlocked the 17mm with a 20mm wrench to get a better grasp of the bolt and also used a pry bar through the UJ to hold the shaft from turning and finally broke it loose. Now if you want to try the Wedge technique from here, you're more than welcome, just loosen the bolt half way, insert the wedge between the bolt and UJ, and hammer away, but as I said, it didn't work for me. I worked for 2 days using that wedge and it never worked.
I tried the wedge technique and unfortunately it didn't work for me because as I tried hammering the wedge in it would slip left or right or the end of the wedge would hit the U-joint.
So maybe it was a pain to remove the 17mm bolt but hey, you're almost there, bare with me, you've gotten this far. From this point on, you can take another break, eat a good lunch, with yet, another cold one. Relax, because the WTF!!!!!!!, I give up part is coming, BUT! don't give up. I spent 3 days total doing this job only because I tried the wedge technique and for 2 days it got me nowhere so I had to take measures into my own hands and improvise which is why this DIY is being posted. (hey before you take that lunch break, spray some PB Blaster on the spline from where you removed the 17mm bolt, yeah?)
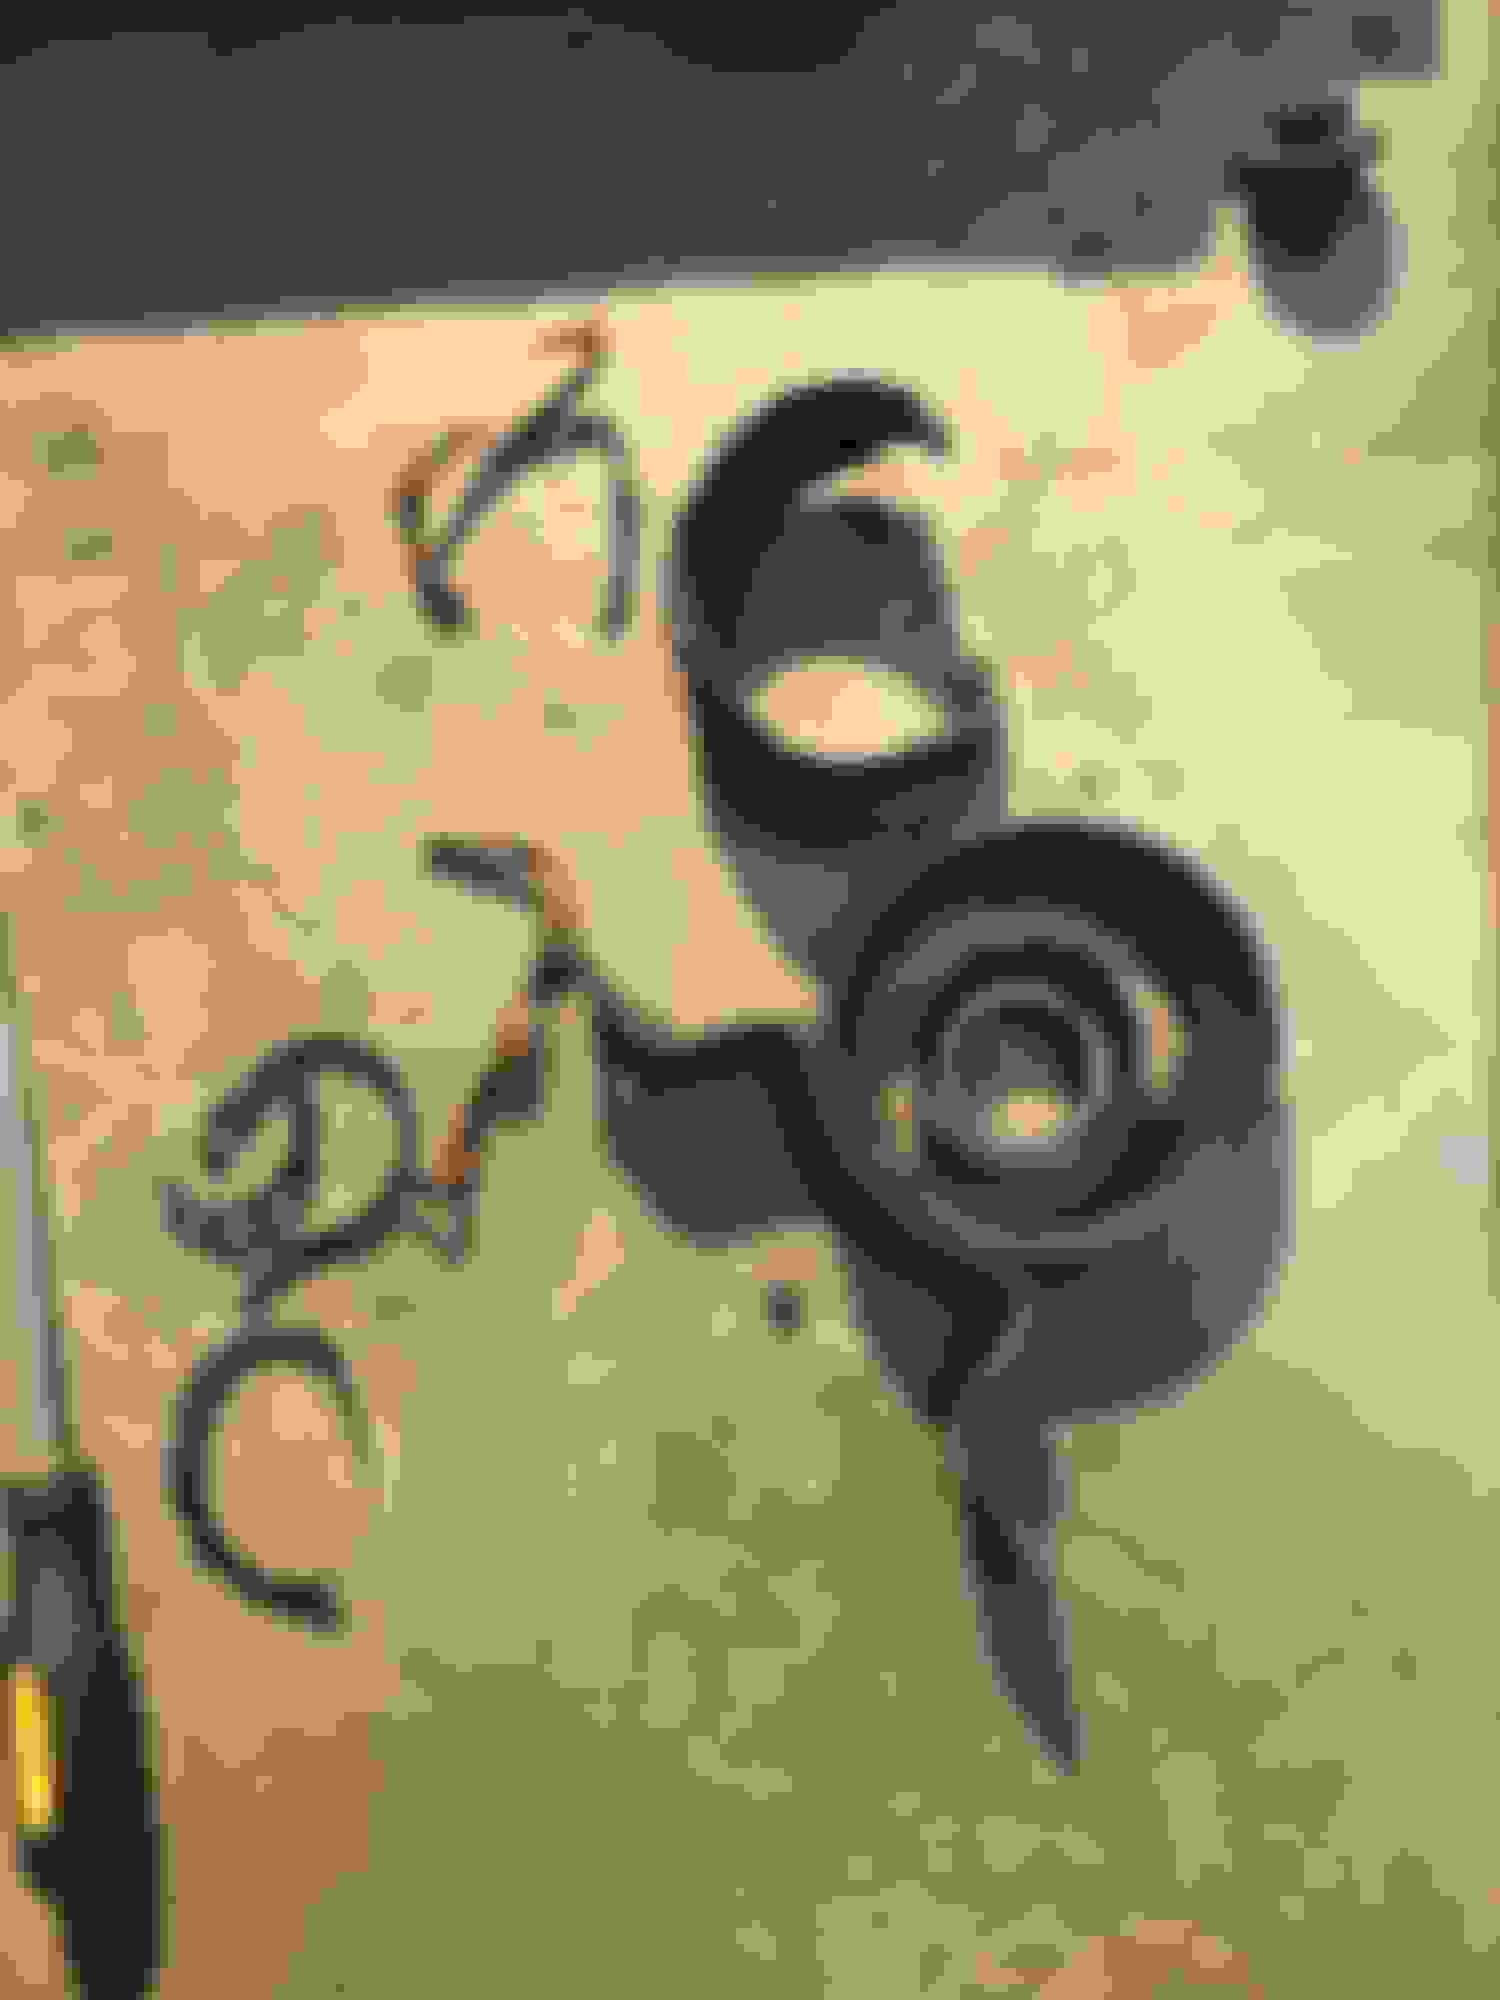
Now here is where things took a turn, I thought what if I cut the bearing support all the way through.....yeah sounds like it might be a stupid idea, but at this point it was either buy a new driveshaft or go all out and get this to work. So the actual (support frame) rubber was so old I was able to tear it and slip the frame of the bearing support out of the way still on the driveshaft. Then I began to cut through the rubber hitting the bearing, removed the bearing casing then the ball bearings came out. I stopped there to pull off the bearing covers, now all that was left was the ring that the ball bearings ride on (attached to the shaft)
(The bearing was already off in the above picture, I just decided to start taking pictures in the reverse order as everything was already done but the gap between the shafts should be right against the bearing.)
I stopped (pictured above) because I didn't want to accidentally cut into the shaft.
So now if you've gotten this far, awesome, just be patient, now we're getting to the part where we split the shafts apart.
So with the bearing out of the way now, we have more room to work with. so this is where you grab your steel (rectangular) piece and place in along the inner lip of the UJ.
Now this is where hammer time comes in. I decided to strike against the more solid shaft because other other half is carbon fiber and I didn't want to knock or damage the carbon fiber shaft, not only that but both UJ's are connected to the solid shaft. I laid a cloth over the carbon fiber shaft and rested the steel against the cloth so the impacts against the opposing shaft wouldn't damage the carbon fiber shaft. (above picture, again no cloth shown because I was putting it together)
NOTE** Give the shaft about 2-3 hard strikes and rotate the shaft and do the same on the other side repeating until you begin seeing the teeth or splines of the shaft.
Once you begin to see the splines, do yourself a favor and crack a huge smile on your face because you are now progressing on the hardest, most frustrating part of this job.
NOW WAIT!!!!
NOW WAIT!!!! settle down from the happiness because this next part is CRUCIAL, DO NOT SPLIT THE DRIVESHAFT APART JUST YET!!!!!
With enough room in between the shafts mark 1 or as I did, 3 teeth matching to the opposing shaft with a visible mark because this is the set balance on the driveshaft, if you noticed the solid shaft, it has balancers welded onto it, and not marking and matching those teeth will get you one hell of a vibrating ride because of the balance throw off.
So once you've carefully and accurately marked 1 or 3 teeth, proceed with laying the cloth over the CF shaft and continue striking the shafts apart on both sides until the finally separate.
If you've gotten this far, wipe the sweat off your forehead, walk into the house chest puffed out, and crack open another cold one, you deserve it! The hardest part of this entire job is done.
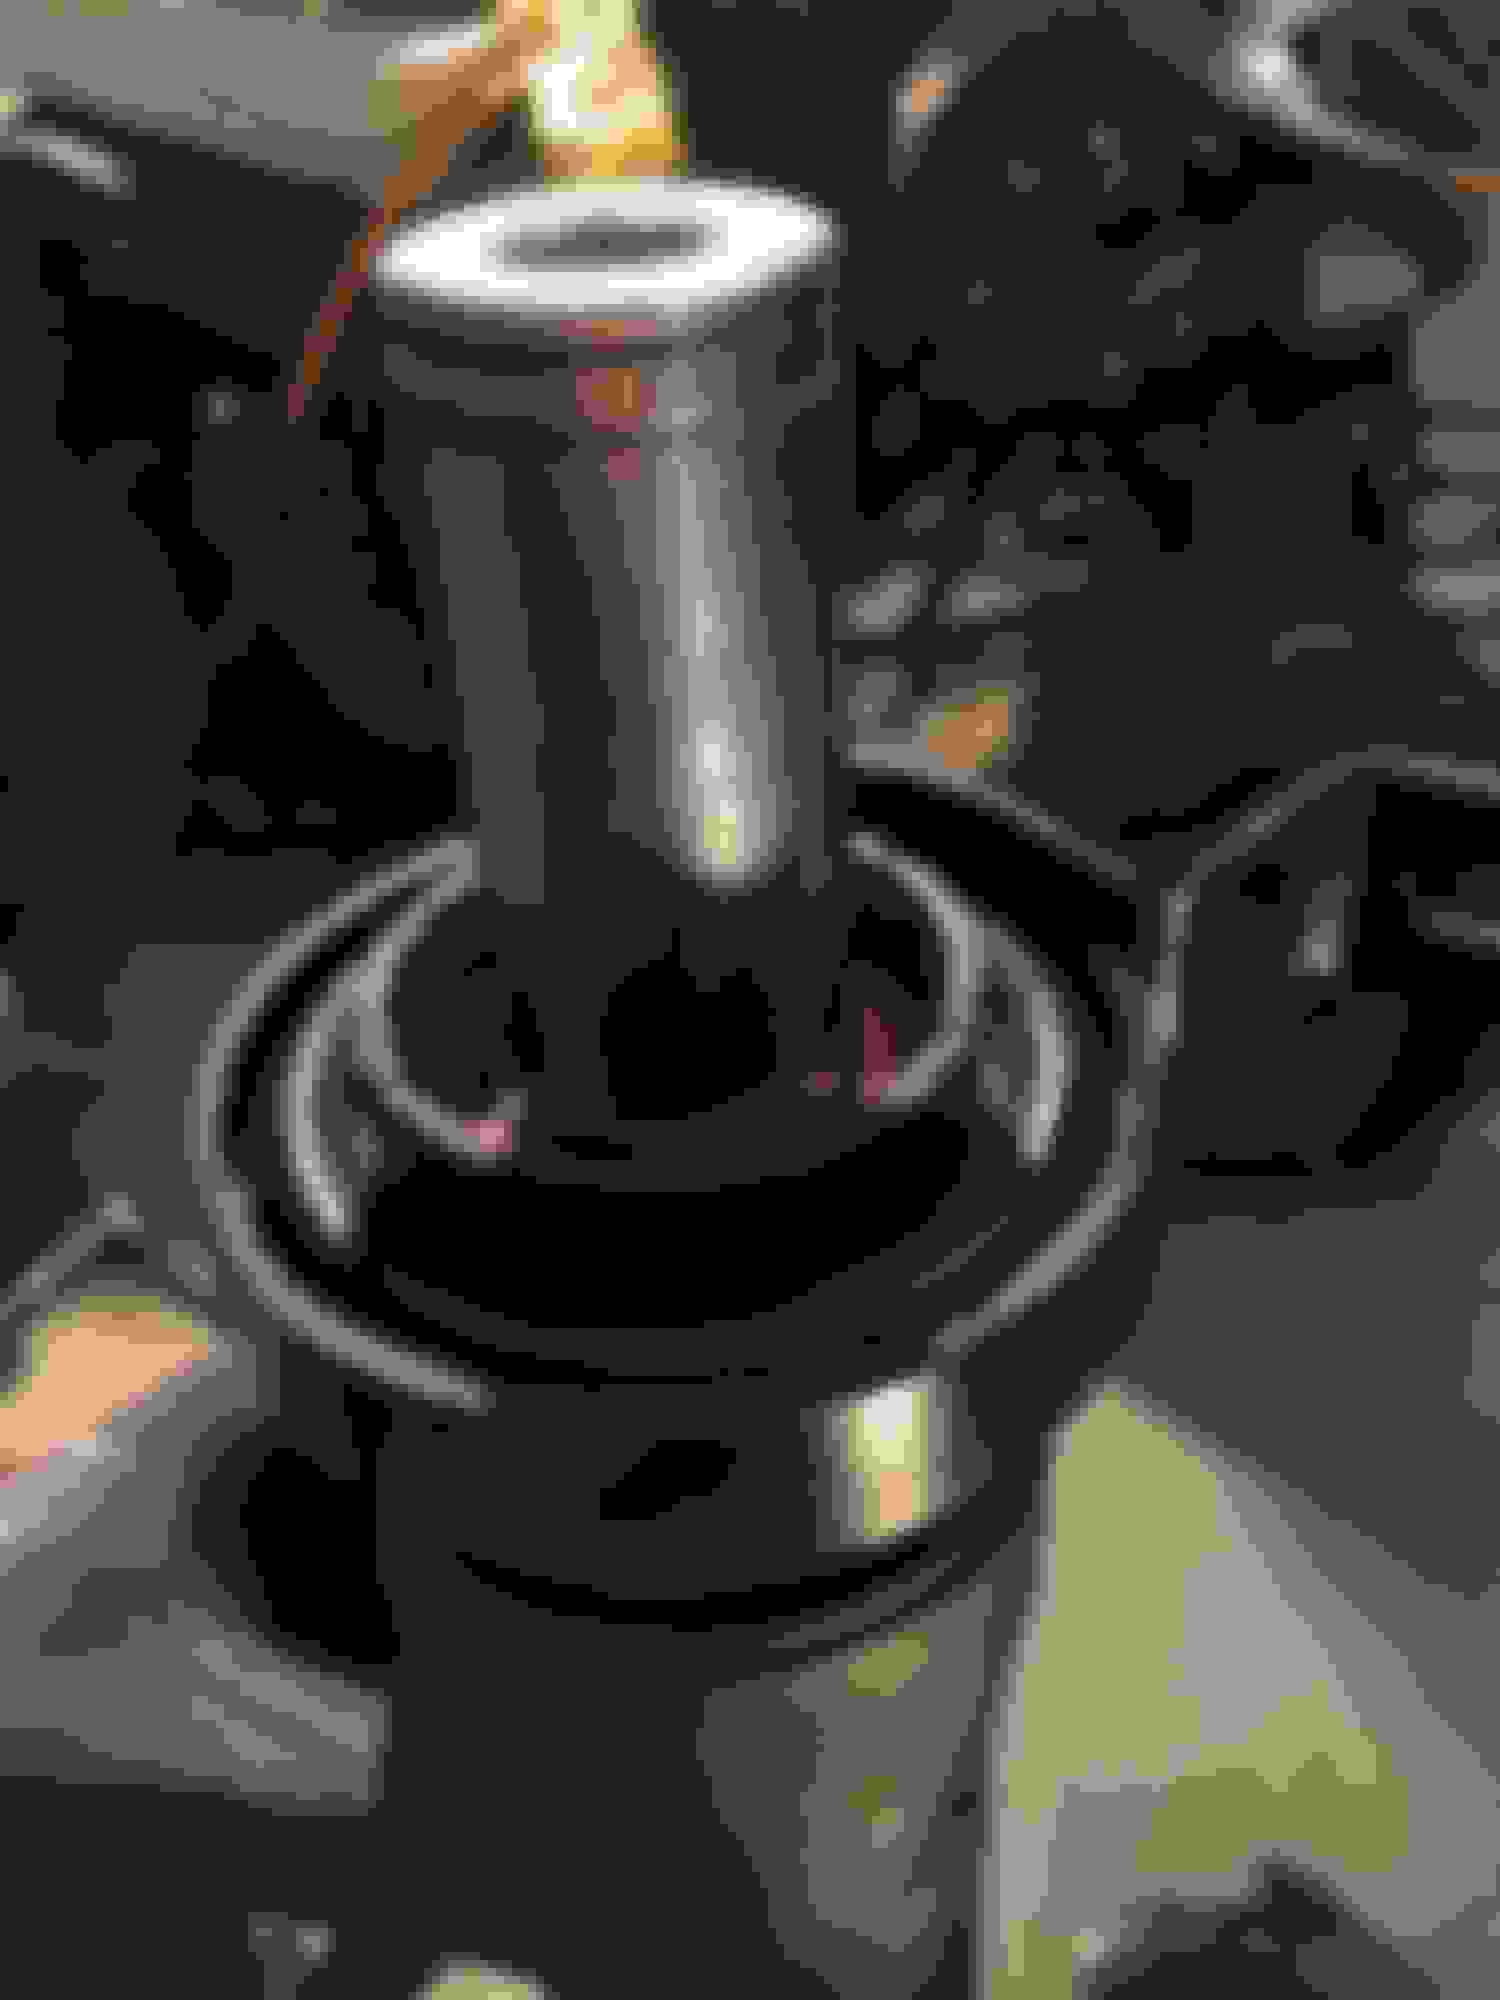
Now with the inner ring of the bearing still attached to the shaft, use a flat screwdriver and pry it out, you might have to hammer the screwdriver in to give you some pry space. Luckily I made that pre-cut and was able to use that to hammer the ring off the shaft. Clean the shaft surface and put on the new bearing, the rubber flange faces the rear (solid shaft) in case you forgot.
This is where the 1 1/16th long socket comes in, it fits perfectly around the diameter of the shaft and sits perfectly on the inner ring of the bearing without any interference. Tap it lightly until it sits all the way down. Now from this point on its just putting it back together. So bearing in place, match up your marks and connect the shafts back together. Hammer the UJ lightly to get the shafts to connect close enough to get the washer and 17mm bolt started. From that point on, tie it down, the shafts will close as you tie the bolt down. Now put the shaft back under the car and do the reverse sequence, insert one bolt on the driveshaft to the tail of the transmission, insert the bolts to the support frame, and finally one bolt to the rear differential. Once it's all in place, tie down the driveshaft completely from end to end. The bearing needs to be tied down last because you have to adjust it as straight as possible to reduce vibration.
I adjusted the bearing as straight as possible by lying under the car with my feet towards the transmission and my head under the Differential and adjusted the support bearing from there and tied down. The prospective I had from that position was seeing the driveshaft in full view which helped a lot.
ITS NOT OVER YET, <---and don't complain, this is another crucial thing to check. So my bearing wore out well the rubber sagged the bearing all the way down because my differential mount was so worn it had my differential resting on the support bearing which is why it wore out, so be sure to check the differential mount because mine was completely shot. If you don't replace the mount, then not too far down the road you'll be doing this job all over again until you replace it.
So after you've checked everything, connect the pipes and tie them down at the coupler brackets. Jack the pipes up again from the rear muffler and tie down the mid brackets and the bracket on the read differential, connect the rubber mounts that hold up the pipes and muffler and now, NOW you're ALL DONE.
NOW WAIT, <--- last time I swear
Before you put the rubber back on the pavement, shine a light at your driveshaft and prop your phone up so you can see the whole driveshaft, I used the rear facing camera on my phone for this. Hit record........
CAUTION, THIS IS VERY DANGEROUS AND MAYBE YOU SHOULDN'T DO IT.
But if you KNOW you car is STABLE on the jack stands, turn on your car, and begin driving through your gears, whether stick or auto. if you see shaft vibration, adjust. I'm only mentioning this so you don't drive off only to find out the balance is off and have to get your car back on stands, but if you prefer doing it the safe way, please do so, I'd advise it.
I hope this helps the B5 community and whoever else may need it in the future.
 10-28-2017, 05:36 AM