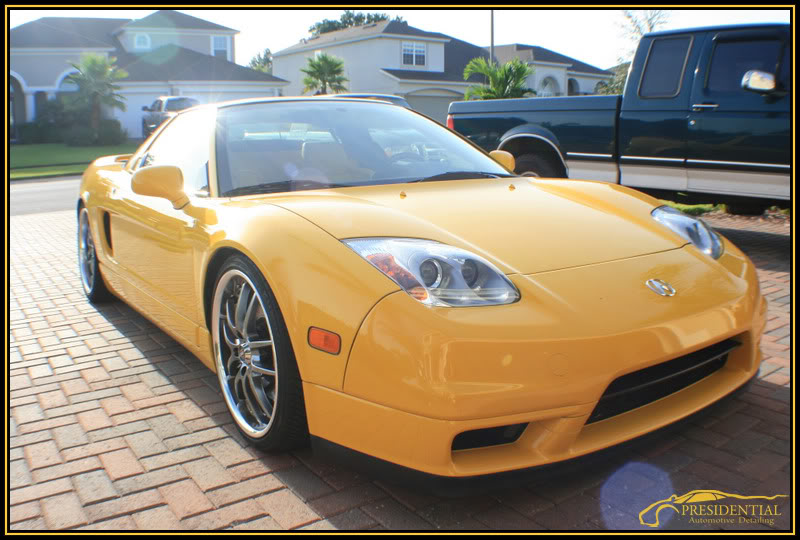
Presidential Detailed: 2003 Spa Yellow Acura NSX
#1
 09-04-2009, 12:08 AM

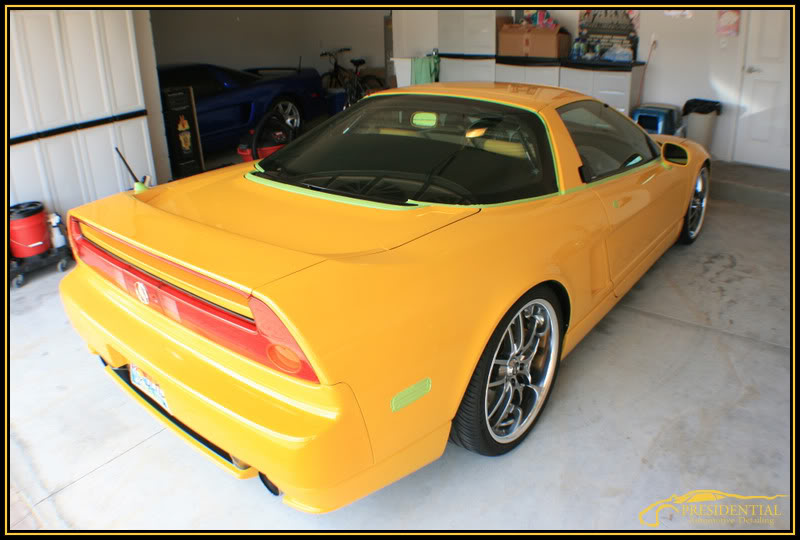
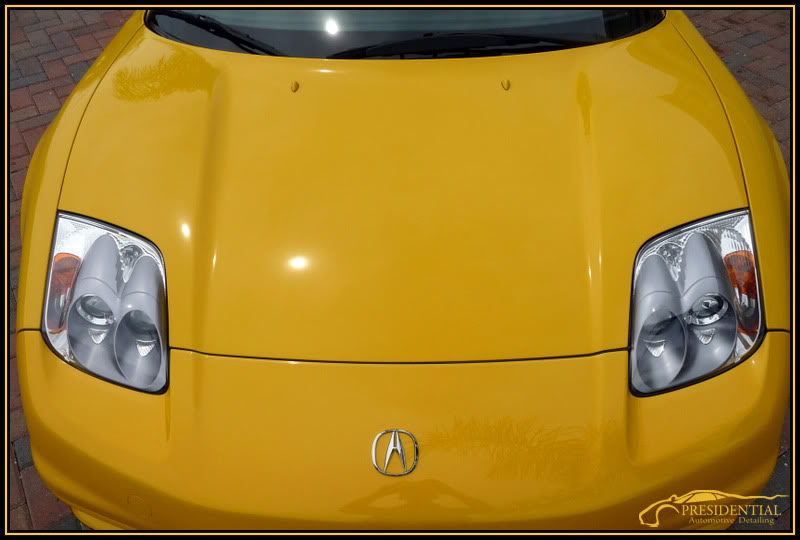
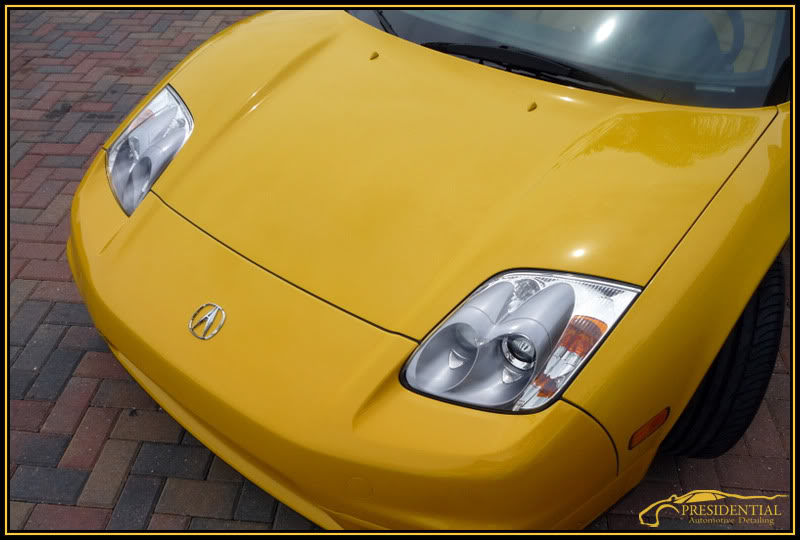
I always love working on these cars! The body style is just so classic and looks good from any angle, not to mention its a Honda!  The owner of this car actually has TWO of them and daily drives an S2000! :2thumbs: The owner picked this car up so he could keep his first one in pristine condition since its 1 out of 3 in the color combination he has for the model year 05. He bought the second one so he can actually have fun with the car he loves so much without ruining a rare masterpiece! When he got the car, it looked good and was super clean, but the swirls were bugging him quite a bit. So he gave me a call and had me come out to Orlando to perform the detail. I spent about 24 hours on this detail over the course of 2 days to get it back into showroom condition again. It actually turned out so good, he has decided to get a FULL hood, fender, bumper, mirror and headlight clear bra installed by Ryan at Auto Paint Guard here in Tampa before it takes on any chips or marring from being driven often. Ill post some pictures of it installed in a couple weeks when we have it done.
Wash and Decontamination Process:
ONR Two-Bucket Wash
Meguiars "Mild" Clay Bar with ONR as clay solution
TWO Cobra Blue Micro-Chenille Wash Mitts
Adams Metal Polish #2 on Exhaust Tips
Blow Dried/Cobra Guzzler WW Drying Towel
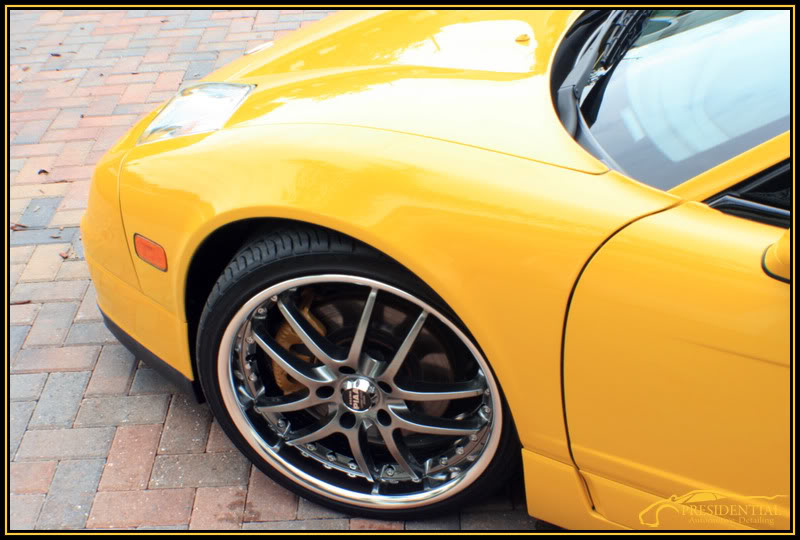
Wheels:
ONR wash on wheels(no matter how safe I think P21S is Im not risking it on polished wheels)
One Cobra Blue Micro-Chenille Wash Mitts(dedicated to wheels only)
E-Z Detail Brush
Swissvax Autobahn Wheel Wax
Interior:
1Z Einszett Cockpit Premium
Meguairs APC+
Leather Masters Strong Cleaner
Leather Masters Vital
Vacuum
Invisible Glass Glass Cleaner
Front Compartment/Engine Bay:
Meguiars APC+
Various Brushes
Zaino AIO On All Painted Surfaces
Meguiars HyperDressing On All Hoses and Plastic Surfaces
Paint Correction:
3M Automotive Performance "Green" Tape
M105/PFW via Makita Rotary
M205/Orange via Meguiars G110
Zaino AIO On All Door Shuts
50/50 of 91% IPA/Distilled Water
Meguiars Supreme Shine MF Towels
LSP:
TWO coats of Blackfire Wet Diamond Paint Sealant
ONE coat of P21S 100% Paste Wax(soon to be Midnight Sun! )
)
On to the pictures already!
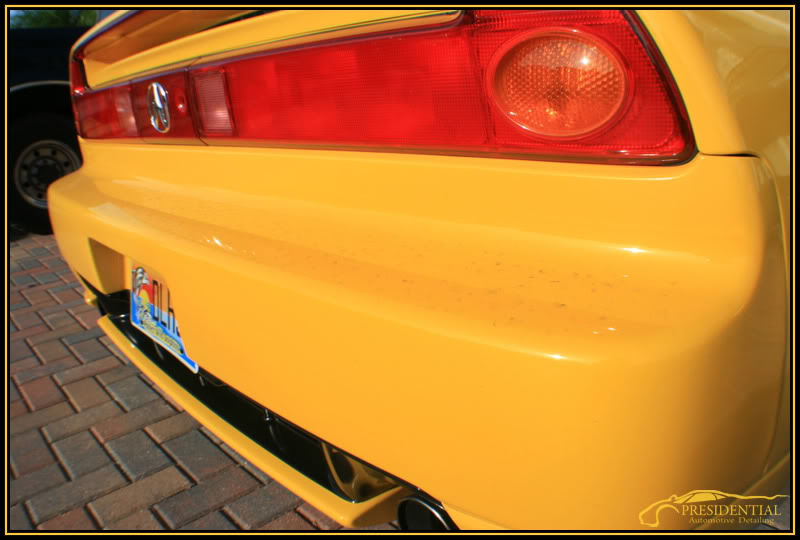
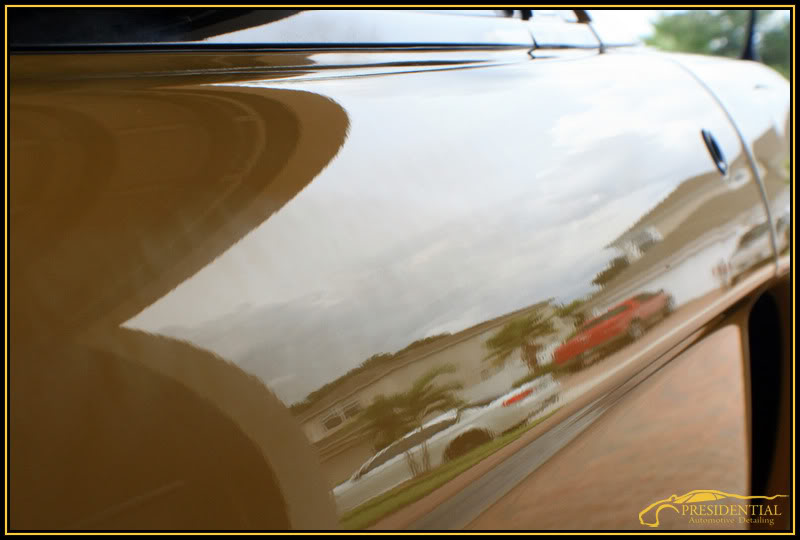
Before the wash, the car was relatively clean minus some road grime from a recent drive in the rain.
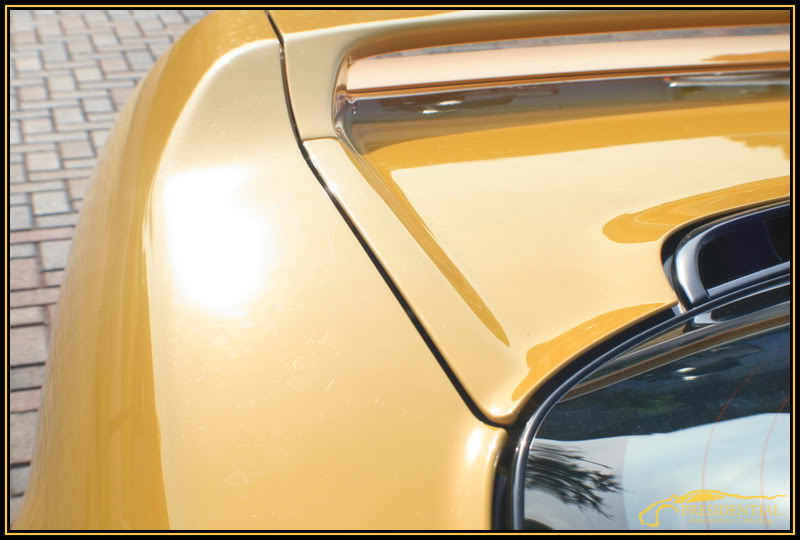


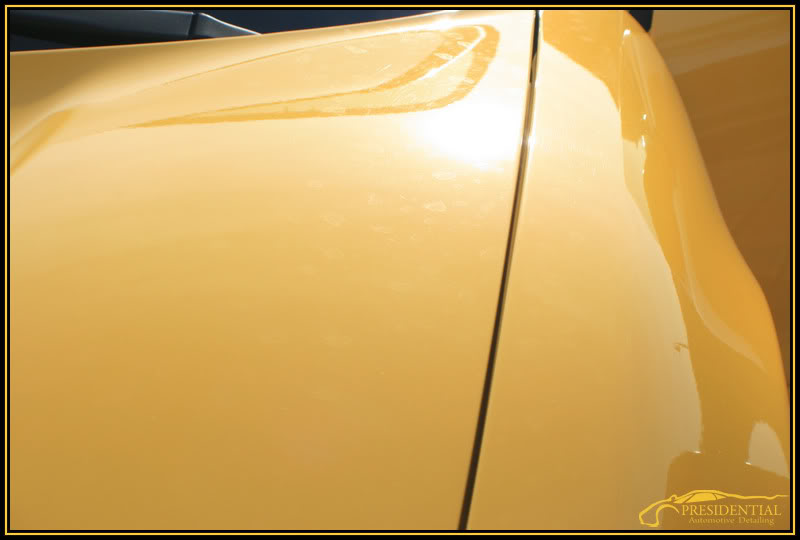
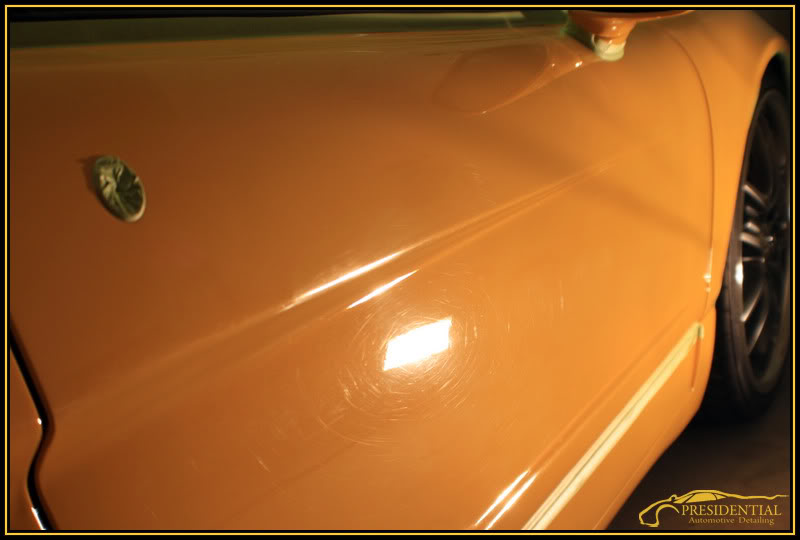
Here, you can see some light hologramming and moderate surface scratches.
The owner of this car actually has TWO of them and daily drives an S2000! :2thumbs: The owner picked this car up so he could keep his first one in pristine condition since its 1 out of 3 in the color combination he has for the model year 05. He bought the second one so he can actually have fun with the car he loves so much without ruining a rare masterpiece! When he got the car, it looked good and was super clean, but the swirls were bugging him quite a bit. So he gave me a call and had me come out to Orlando to perform the detail. I spent about 24 hours on this detail over the course of 2 days to get it back into showroom condition again. It actually turned out so good, he has decided to get a FULL hood, fender, bumper, mirror and headlight clear bra installed by Ryan at Auto Paint Guard here in Tampa before it takes on any chips or marring from being driven often. Ill post some pictures of it installed in a couple weeks when we have it done. Wash and Decontamination Process:
ONR Two-Bucket Wash
Meguiars "Mild" Clay Bar with ONR as clay solution
TWO Cobra Blue Micro-Chenille Wash Mitts
Adams Metal Polish #2 on Exhaust Tips
Blow Dried/Cobra Guzzler WW Drying Towel
Wheels:
ONR wash on wheels(no matter how safe I think P21S is Im not risking it on polished wheels)
One Cobra Blue Micro-Chenille Wash Mitts(dedicated to wheels only)
E-Z Detail Brush
Swissvax Autobahn Wheel Wax
Interior:
1Z Einszett Cockpit Premium
Meguairs APC+
Leather Masters Strong Cleaner
Leather Masters Vital
Vacuum
Invisible Glass Glass Cleaner
Front Compartment/Engine Bay:
Meguiars APC+
Various Brushes
Zaino AIO On All Painted Surfaces
Meguiars HyperDressing On All Hoses and Plastic Surfaces
Paint Correction:
3M Automotive Performance "Green" Tape
M105/PFW via Makita Rotary
M205/Orange via Meguiars G110
Zaino AIO On All Door Shuts
50/50 of 91% IPA/Distilled Water
Meguiars Supreme Shine MF Towels
LSP:
TWO coats of Blackfire Wet Diamond Paint Sealant
ONE coat of P21S 100% Paste Wax(soon to be Midnight Sun!
)On to the pictures already!
Before the wash, the car was relatively clean minus some road grime from a recent drive in the rain.
Here, you can see some light hologramming and moderate surface scratches.
#2
09-04-2009, 12:11 AM
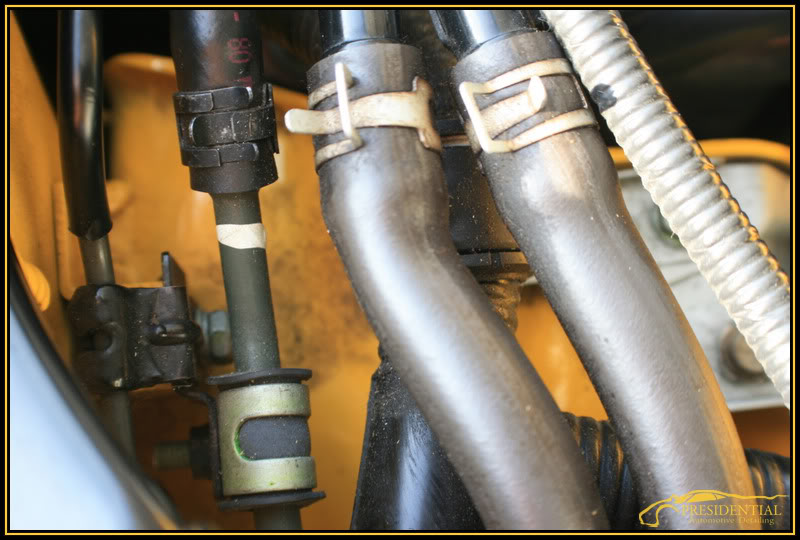
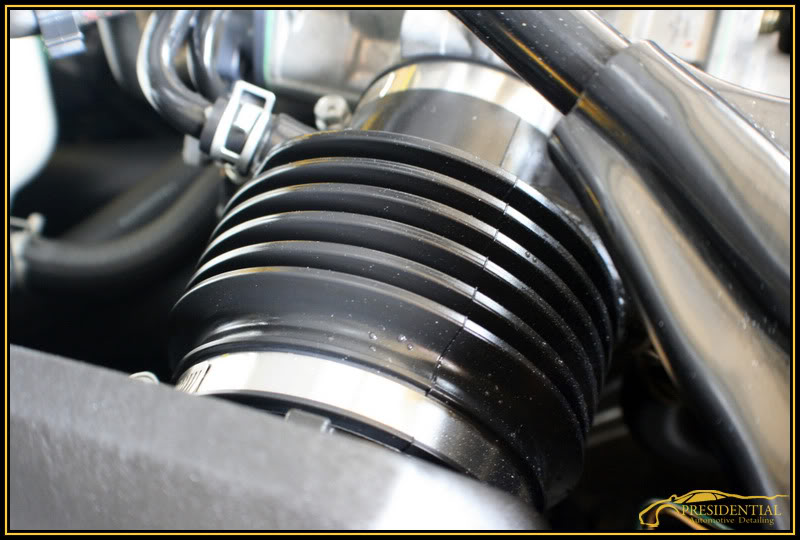
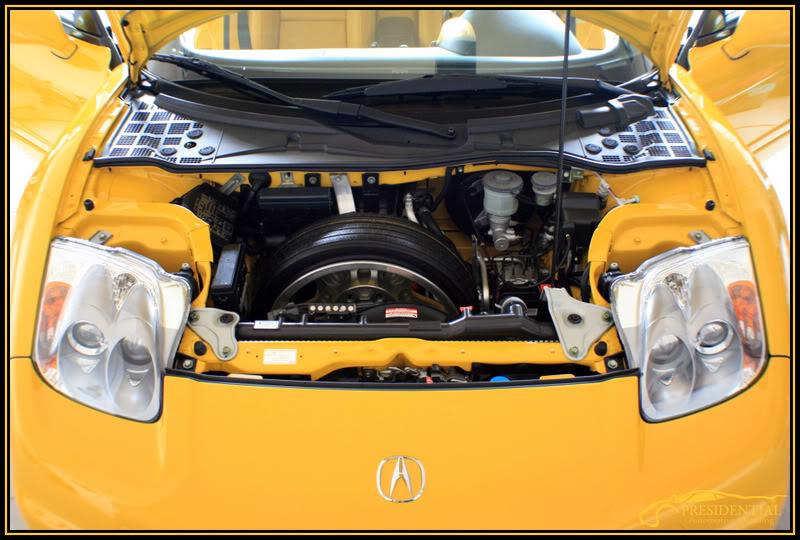
I began by cleaning the engine and front compartments with Meguiars APC+ using a damp MF towel and various brushes. I then applied Meguiars Hyperdressing with a low dilution for a nice matte finish. Any painted surfaces including the bottom of the hood and engine lid were cleaned/protected with Z-AIO.
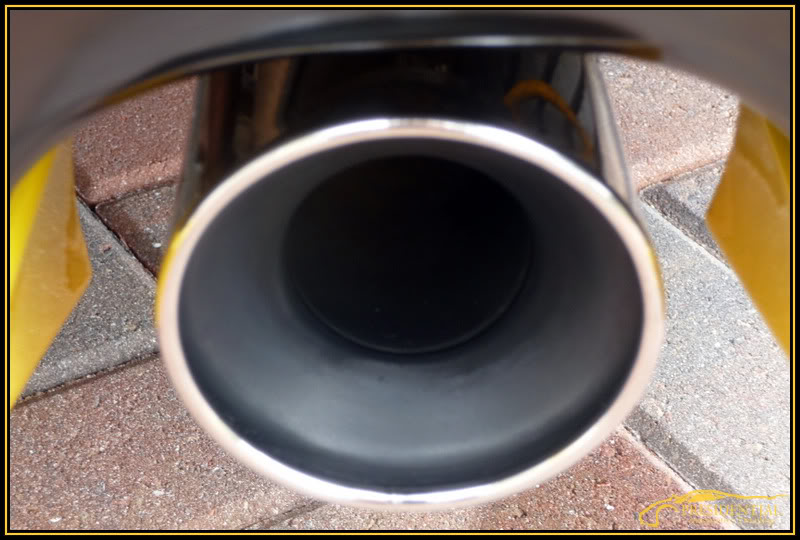
I also cleaned the exhaust tips with Adams Metal Polish and #0000 Steel Wool.
Exhaust Tip Before, not too bad but can still be a lot better!
Before

After.
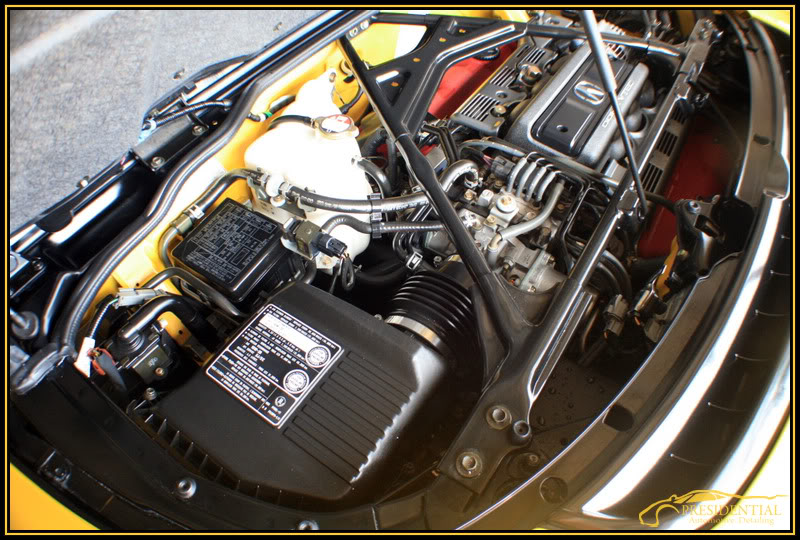
Engine Before.
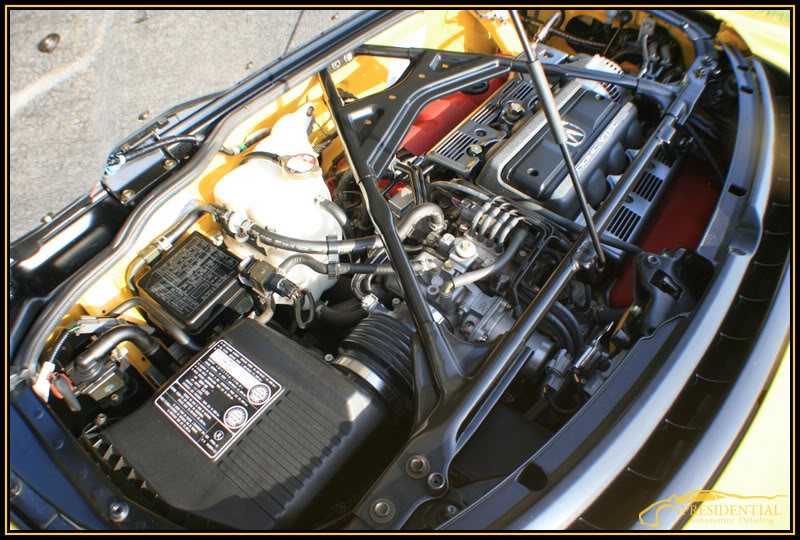

After.
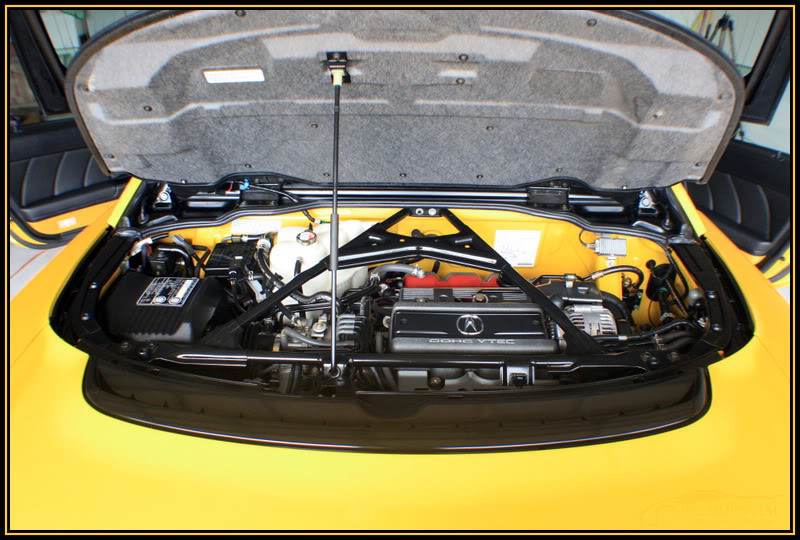
Front Compartment..After(forgot to take before pics).
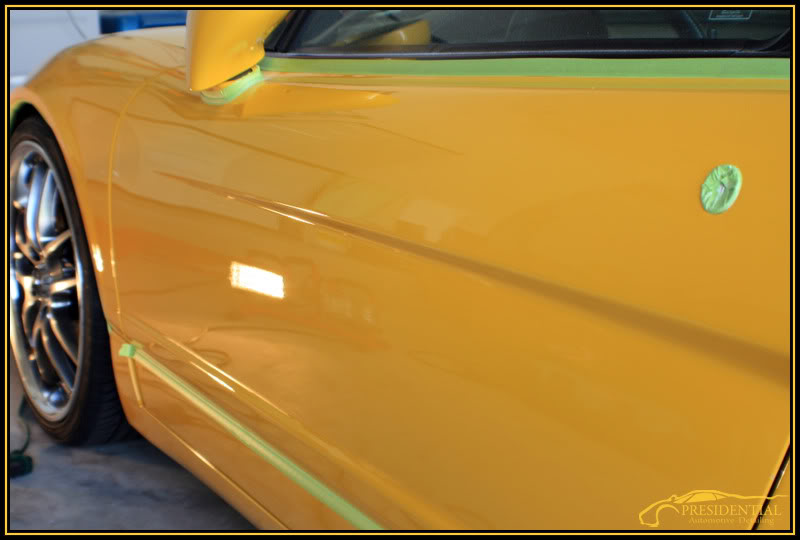
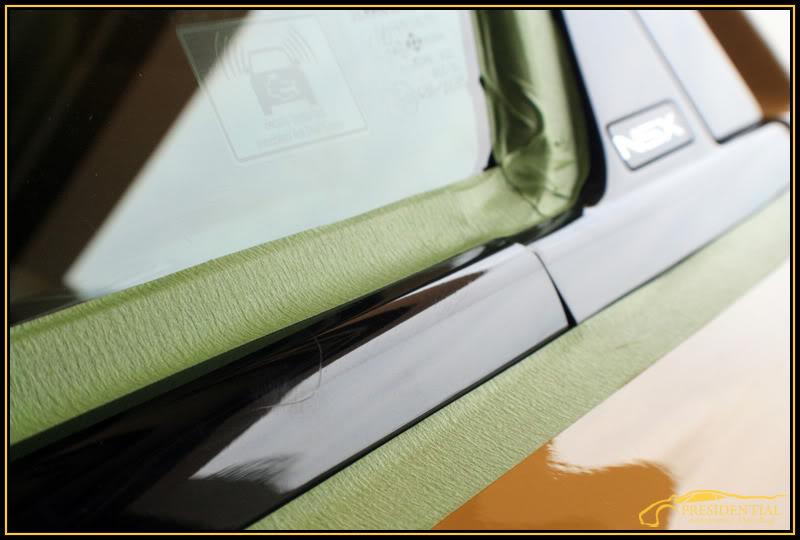
After the engine compartments were cleaned, I performed an ONR wash on the car, then pulled the car into the garage to clay and prepare the car for polishing by masking off any vital areas with 3M Automotive Tape.
Notice the break in the tape between the doors, you wouldnt believe how long it took me to come up with this idea..:lol: Now I can open the doors all I want without breaking the tape and having it come off from the buffer hitting it. Im sure some of you know what Im talking about..I hope..
I also cleaned the exhaust tips with Adams Metal Polish and #0000 Steel Wool.
Exhaust Tip Before, not too bad but can still be a lot better!
Before
After.
Engine Before.
After.
Front Compartment..After(forgot to take before pics).
After the engine compartments were cleaned, I performed an ONR wash on the car, then pulled the car into the garage to clay and prepare the car for polishing by masking off any vital areas with 3M Automotive Tape.
Notice the break in the tape between the doors, you wouldnt believe how long it took me to come up with this idea..:lol: Now I can open the doors all I want without breaking the tape and having it come off from the buffer hitting it. Im sure some of you know what Im talking about..I hope..
#3
09-04-2009, 12:14 AM
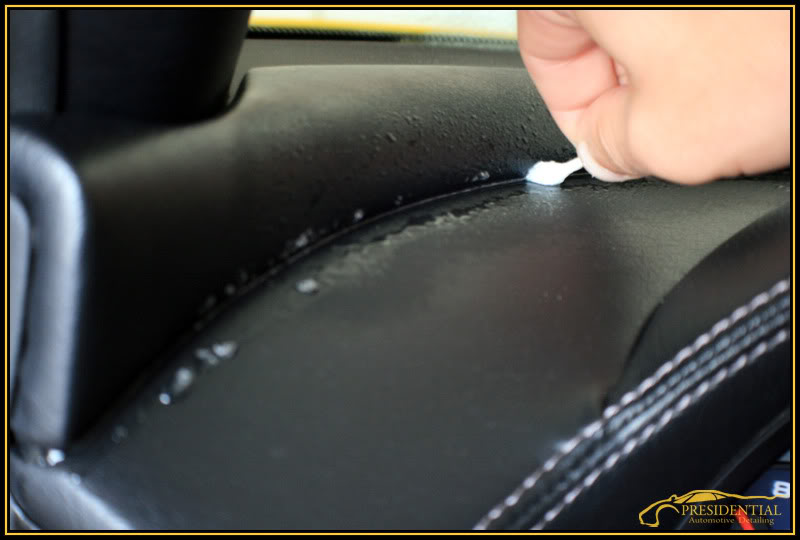
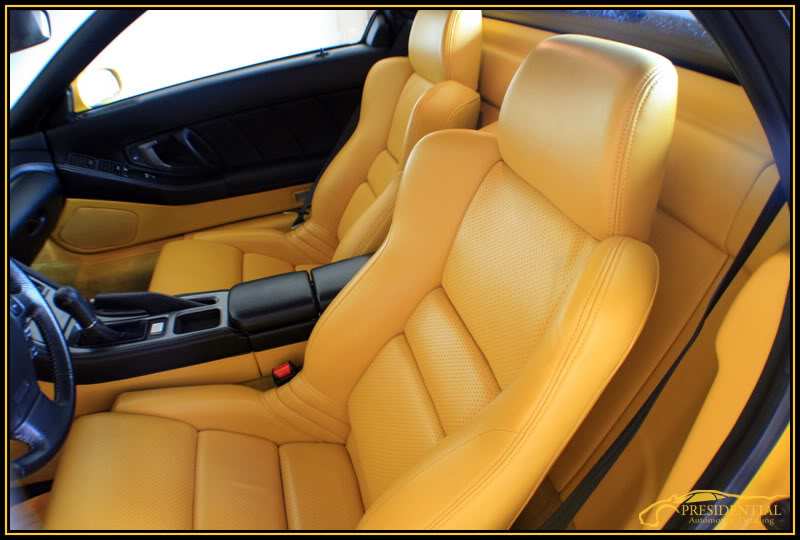
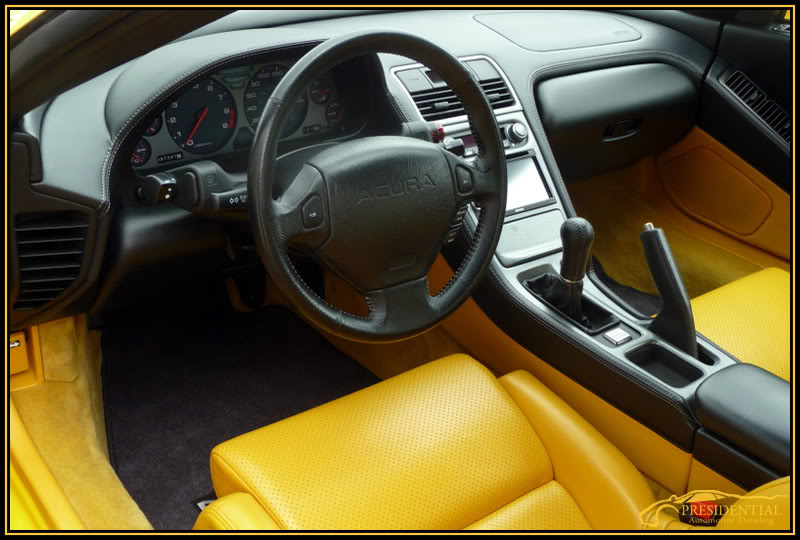
After the car was prepped, I worked on the interior for a couple hours. I cleaned everything with Meguiars APC+ and then treated it with 1Z Cockpit Premium. The leather was treated with Leather Masters Products and the carpet was obviously vacuumed. All interior/exterior glass including the engine glass cover was cleaned with Invisible Glass.
This crevice is notorious for holding tons a dirt/dust and is right in direct sight of the driver, I made sure to remove everything from this area specifically.
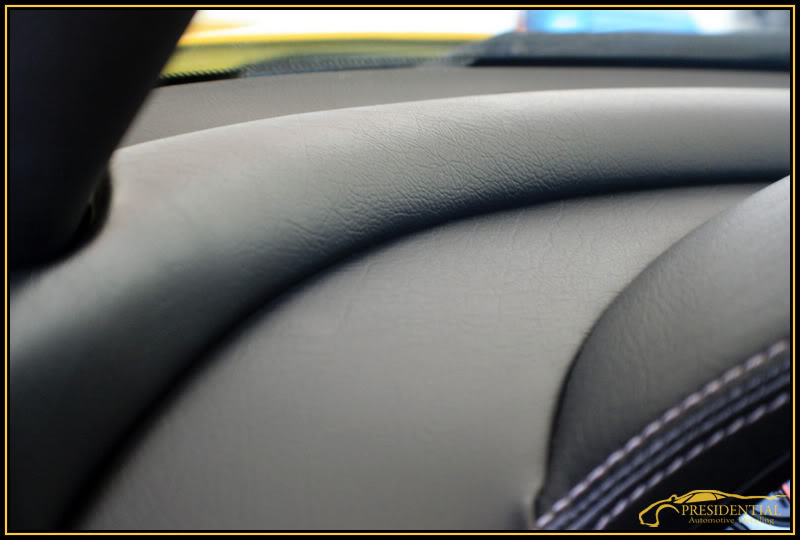
After.

After the interior was completed, I began by testing the product combination I was to use on the car. As usual M105/205 does the trick! Never fails me for a flawless finish!
50/50 on the hood.
Left portion uncorrected/Right portion Corrected.
50/50 on trunk panel.
This crevice is notorious for holding tons a dirt/dust and is right in direct sight of the driver, I made sure to remove everything from this area specifically.
After.
After the interior was completed, I began by testing the product combination I was to use on the car. As usual M105/205 does the trick! Never fails me for a flawless finish!
50/50 on the hood.
Left portion uncorrected/Right portion Corrected.
50/50 on trunk panel.
#4
09-04-2009, 12:17 AM
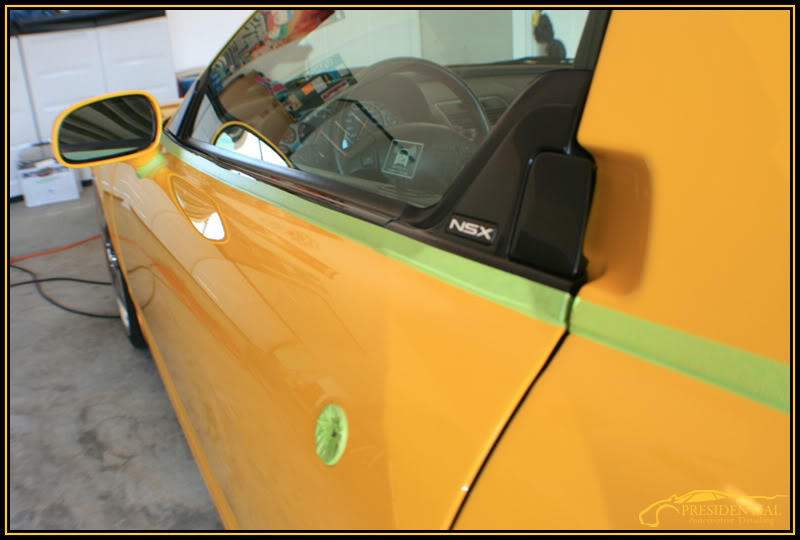
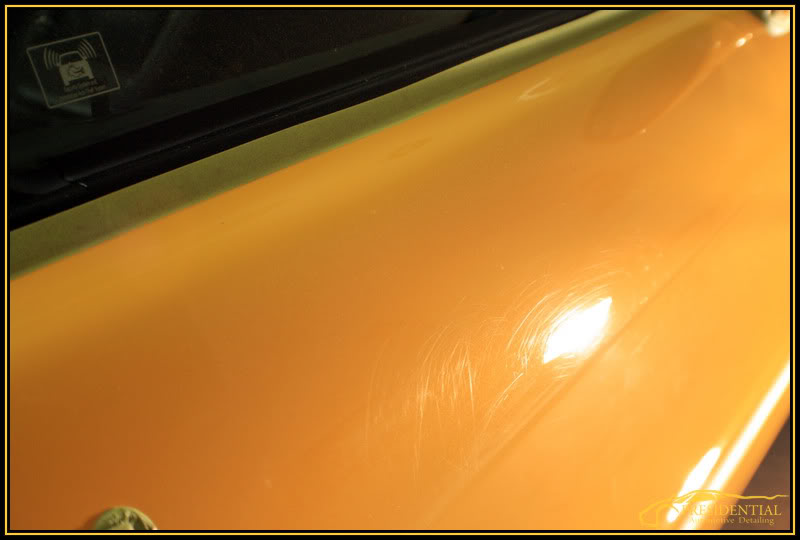
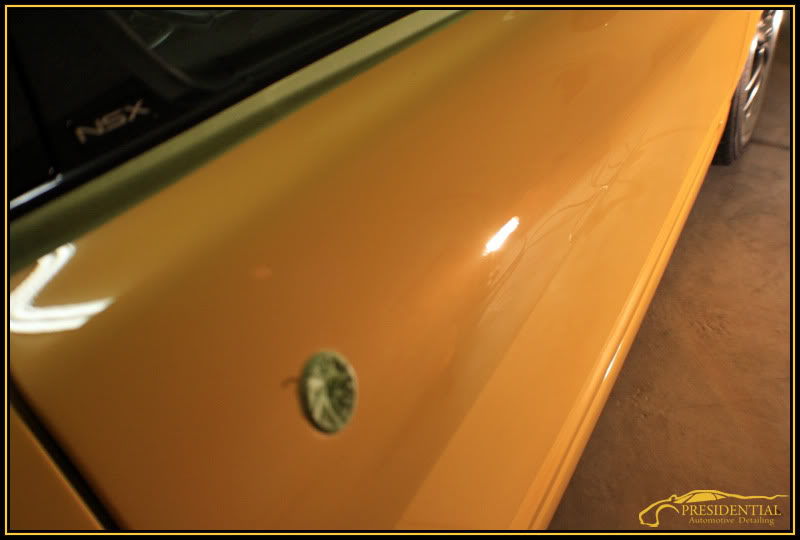
The passenger door was by far the worst area of the car, who knows why..
There were some serious RIDS in the top portion of the door, it took 3-4 passes with M105.
A little closer look..
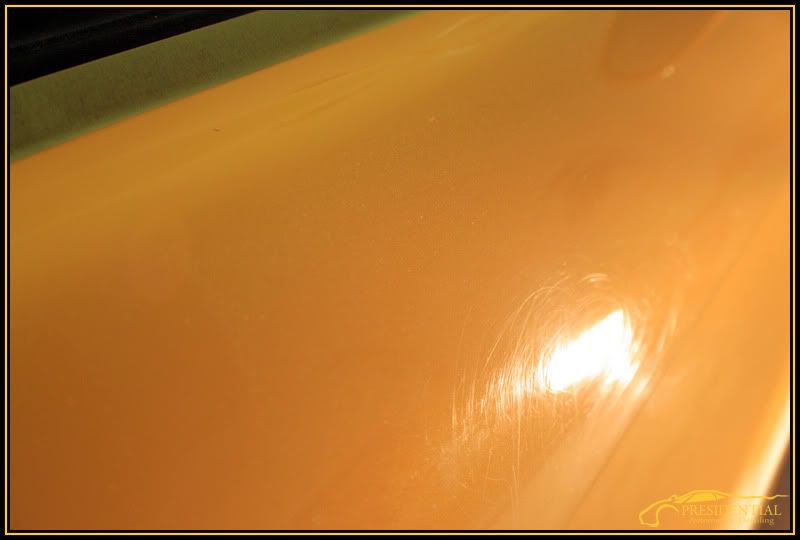
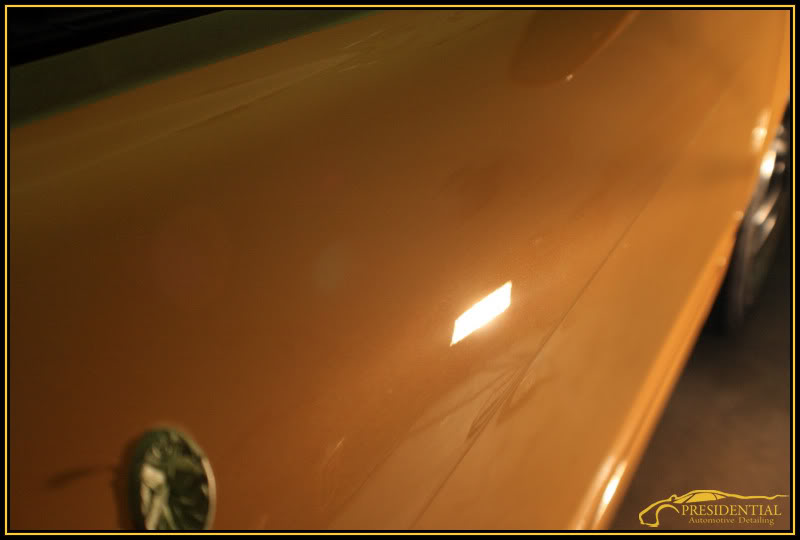
After several passes with M105 the scratches were completely removed, even after a few passes M105 stays very refined even on the softest of clears!
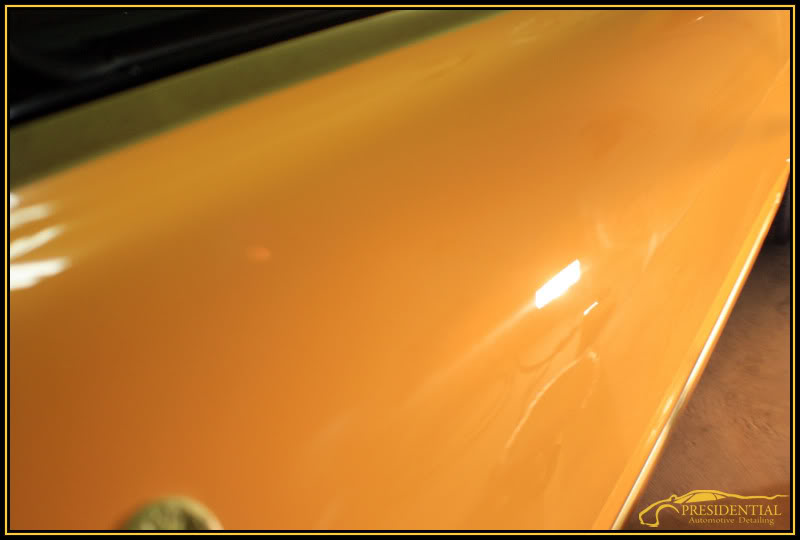
After finishing with M205.
Once the paintwork was completed, I retaped so that I could correct the paint black.
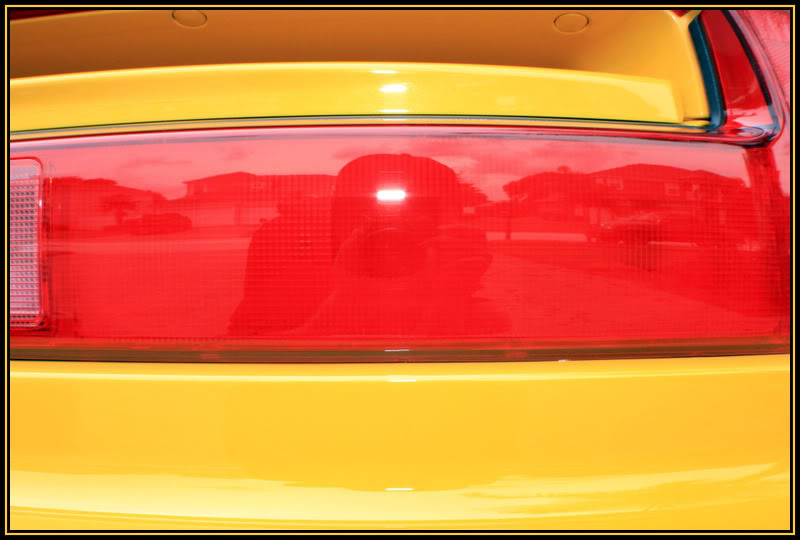
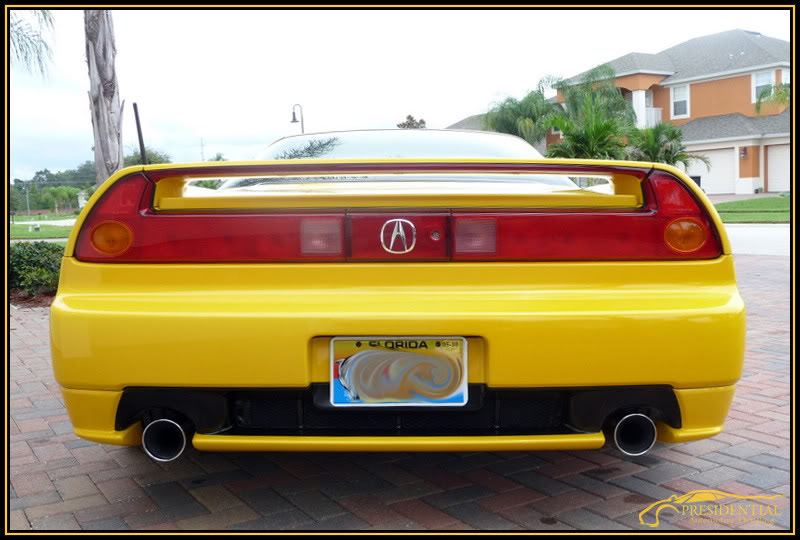
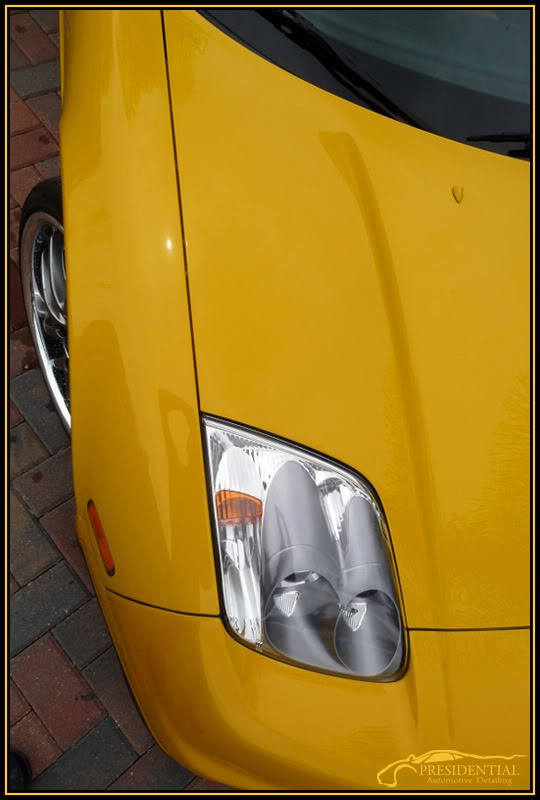
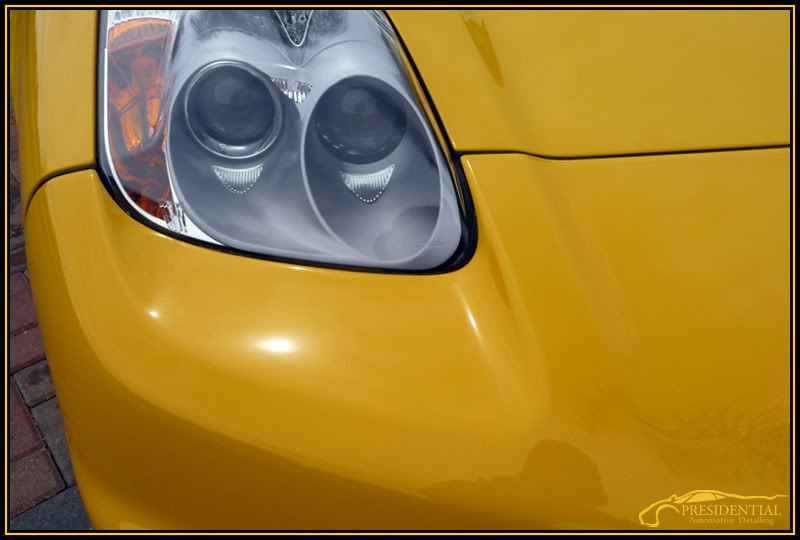
I then moved onto the headlights/tail lights. As you can see here, there was quite a difference to be made! Before.
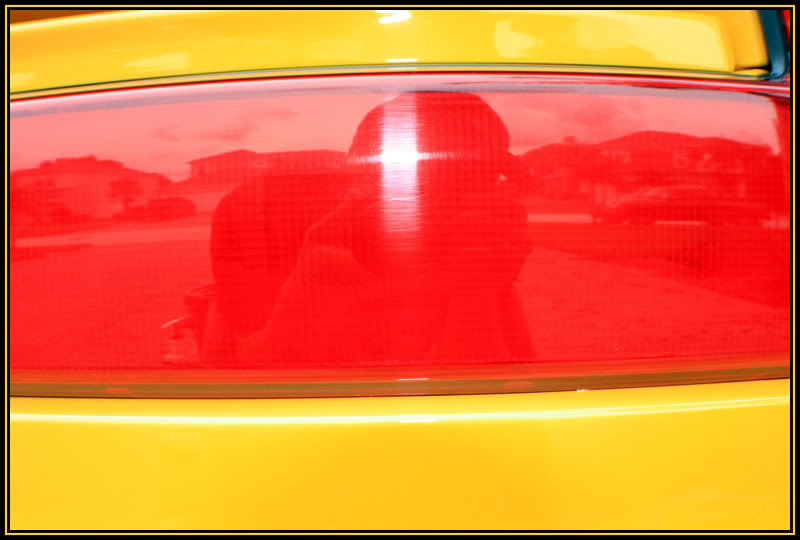
After.
There were some serious RIDS in the top portion of the door, it took 3-4 passes with M105.
A little closer look..
After several passes with M105 the scratches were completely removed, even after a few passes M105 stays very refined even on the softest of clears!
After finishing with M205.
Once the paintwork was completed, I retaped so that I could correct the paint black.
I then moved onto the headlights/tail lights. As you can see here, there was quite a difference to be made! Before.
After.
#5
09-04-2009, 12:20 AM
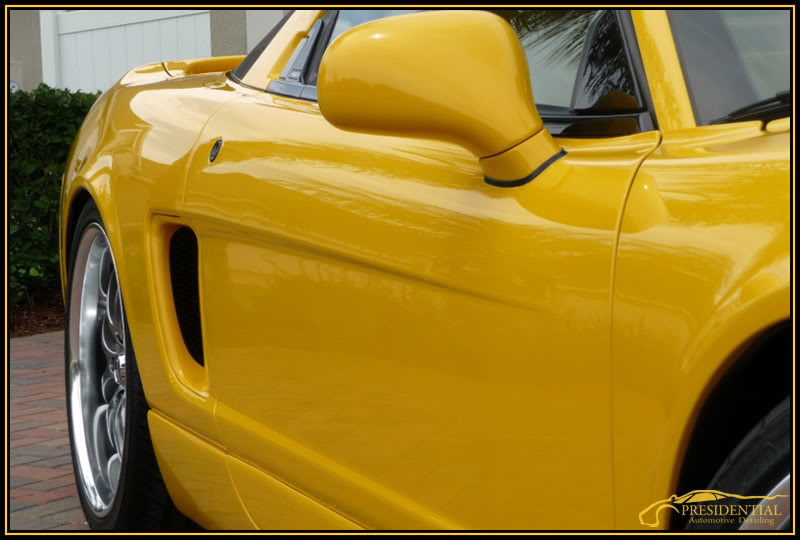
My Canon Rebel Xti unfortunately was failing on me and not allowing me to take a picture, so I had to resort to using the owners camera. Because of this you may see some differences in color/imagine quality between the few shots I managed to get and using his camera.
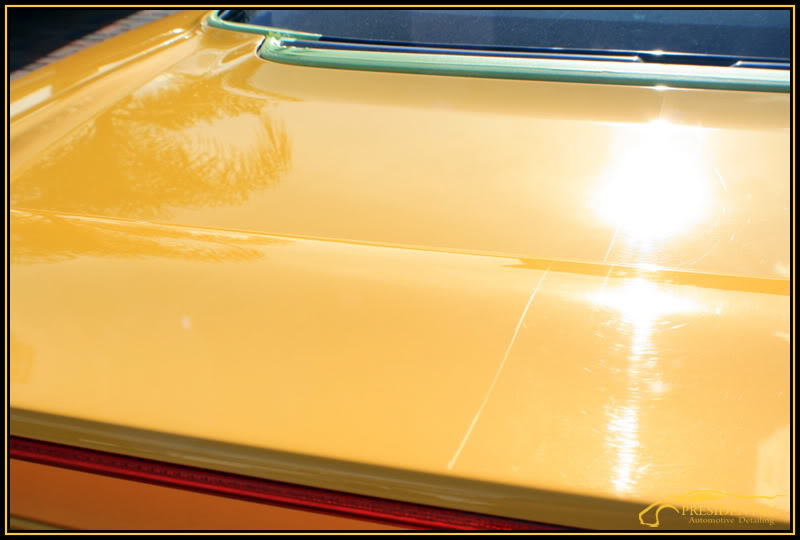
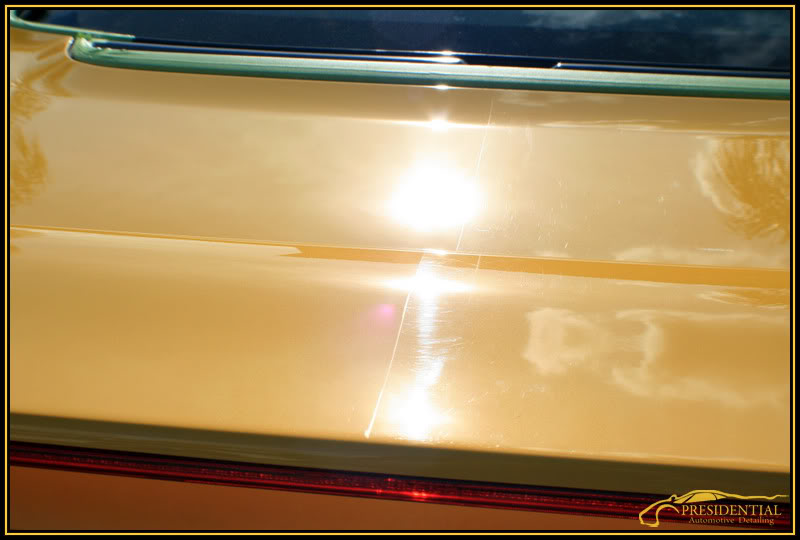
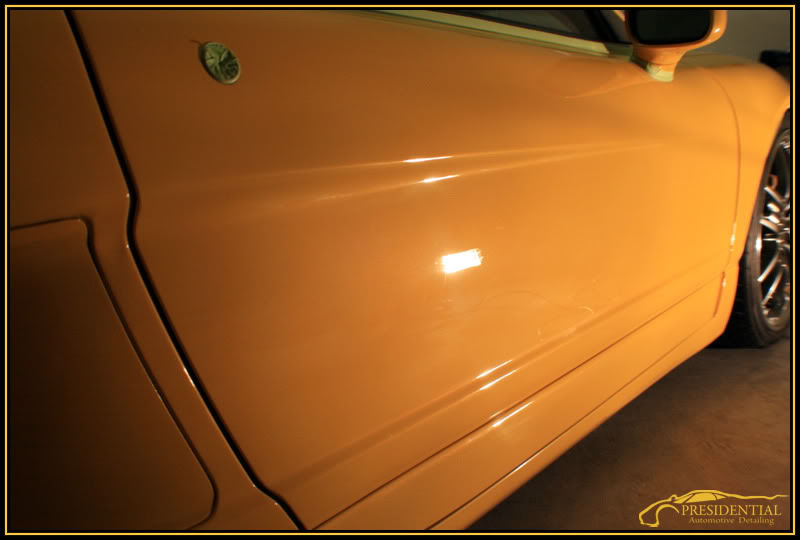
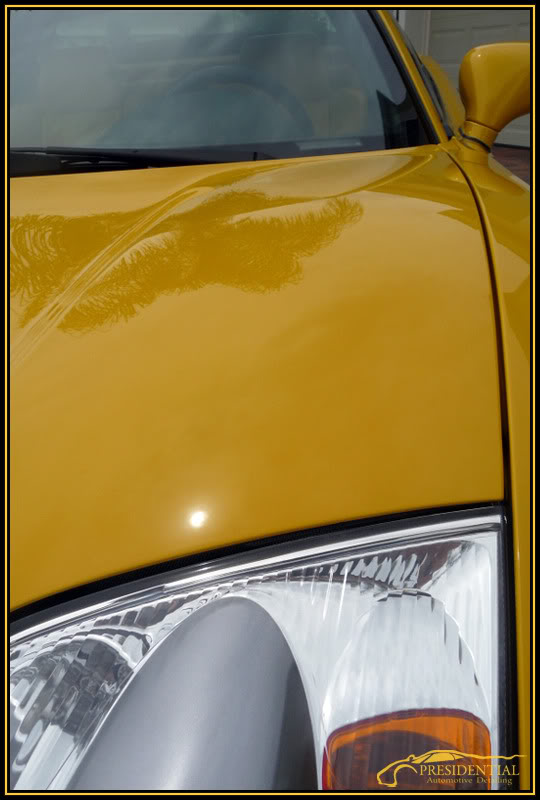
After I finished polishing, I applied a thin layer of Blackfire Wet Diamond Paint Sealant using my G110 on speed 4 with a UK 3M Blue Finishing Pad. I let the sealant cure for about 20 minutes on the entire car before removing the first coat. I let the first coat cure overnight for the best possible adhesion and gloss, then applied a second coat in the morning. I waited about an hour after that before applying a final coat of P21S 100% Paste Wax to top it off.
Here, you can see the thin layer of Blackfire as I let it haze.
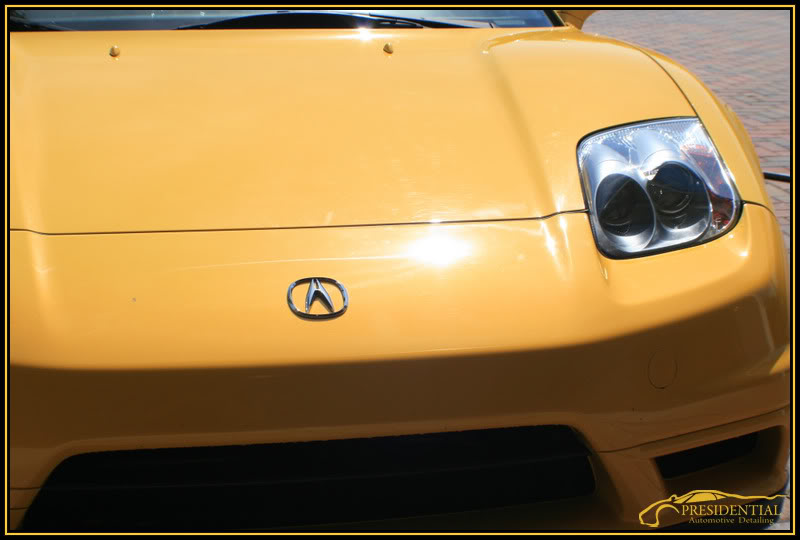
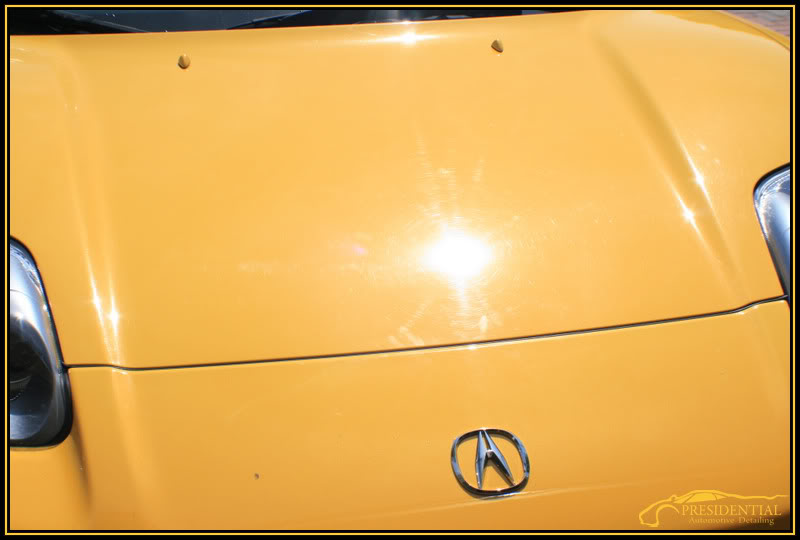
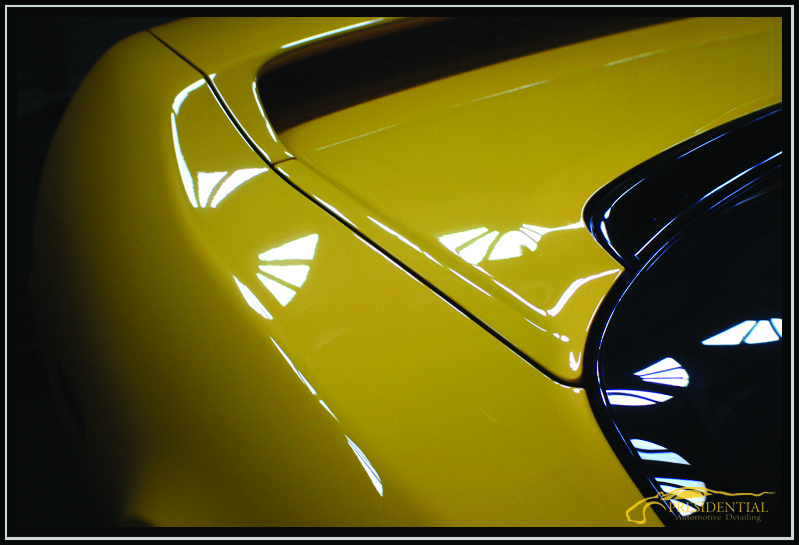
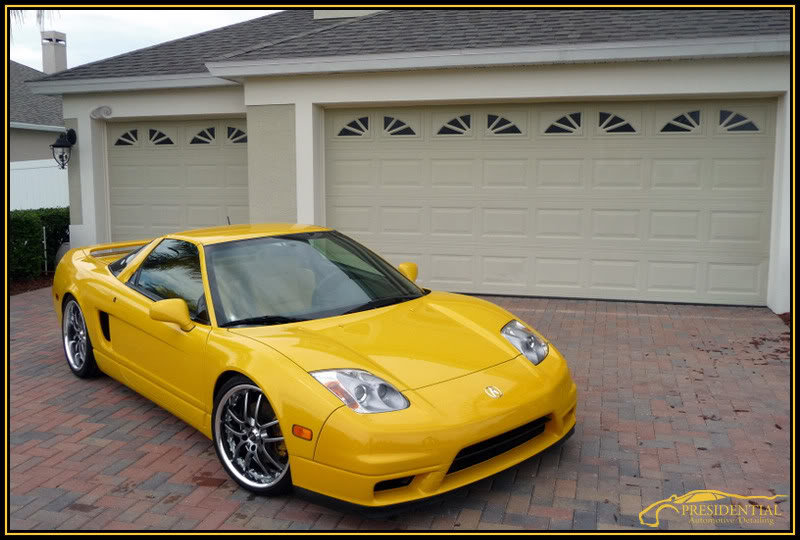
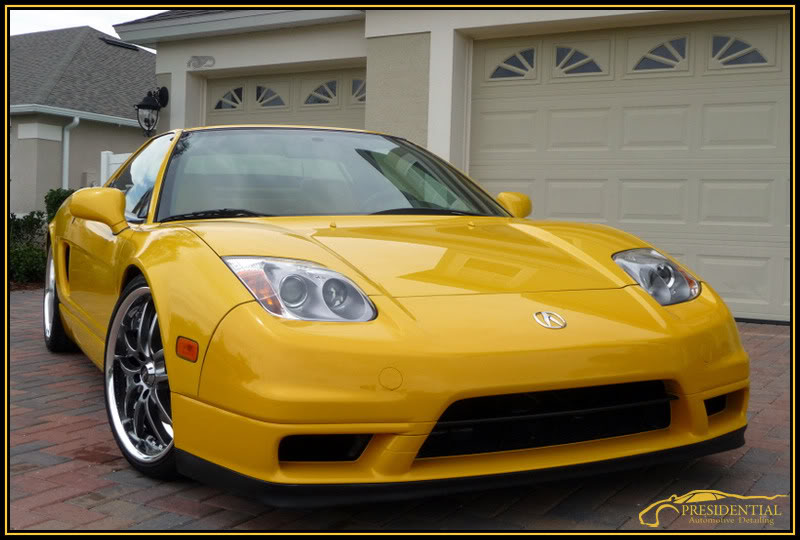
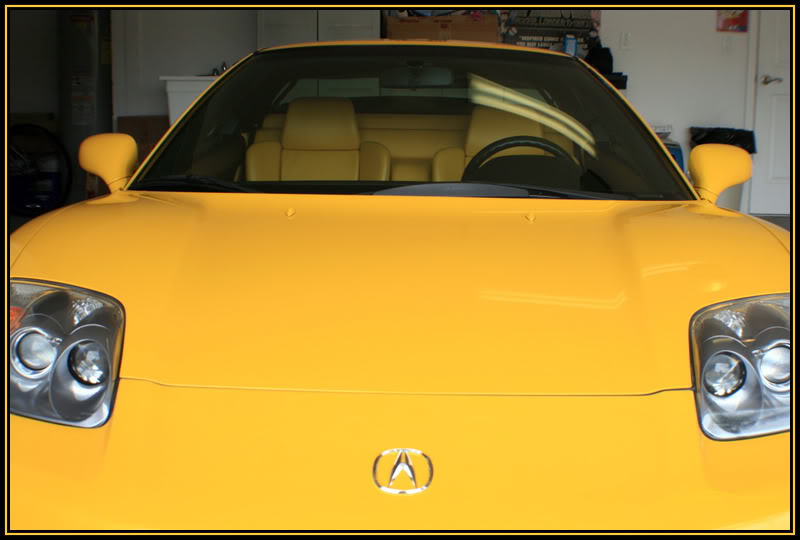
This REALLY amped up the gloss! Neither me or the owner could believe how much depth was brought out of the Spa Yellow NSX!
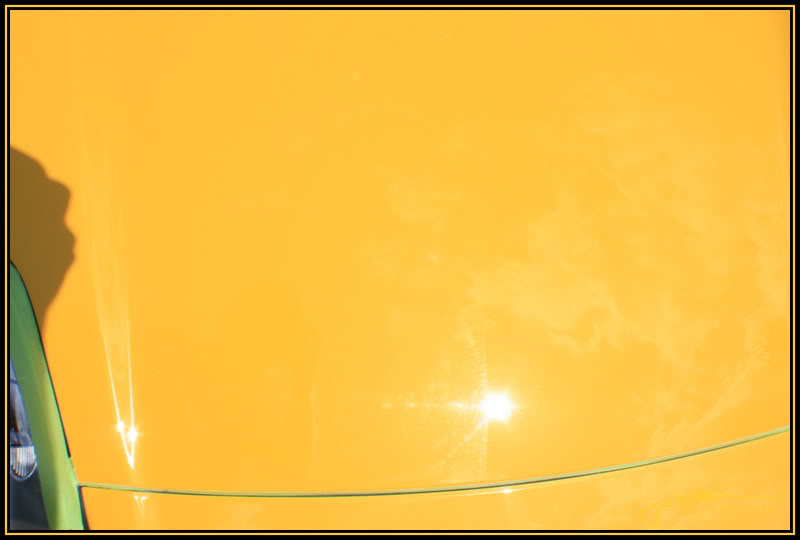
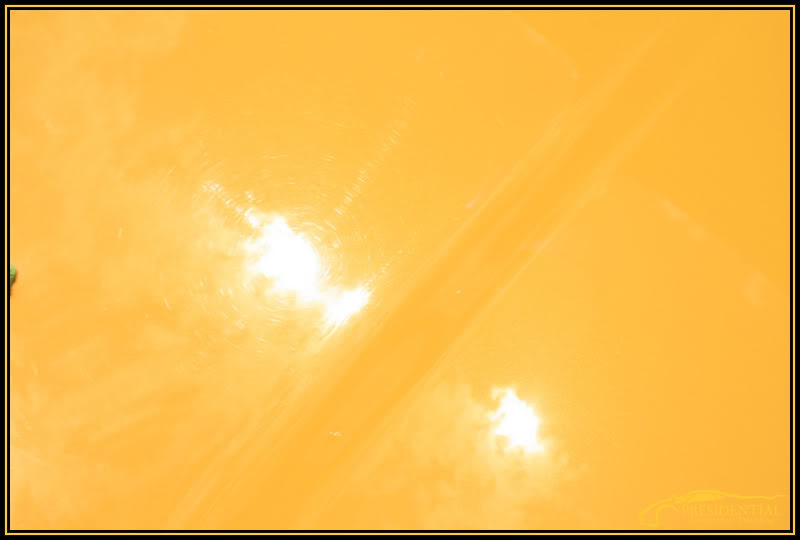
I then pulled the car outside to see it in all its glory! SUN SHOTS below!

After I finished polishing, I applied a thin layer of Blackfire Wet Diamond Paint Sealant using my G110 on speed 4 with a UK 3M Blue Finishing Pad. I let the sealant cure for about 20 minutes on the entire car before removing the first coat. I let the first coat cure overnight for the best possible adhesion and gloss, then applied a second coat in the morning. I waited about an hour after that before applying a final coat of P21S 100% Paste Wax to top it off.
Here, you can see the thin layer of Blackfire as I let it haze.
This REALLY amped up the gloss! Neither me or the owner could believe how much depth was brought out of the Spa Yellow NSX!
I then pulled the car outside to see it in all its glory! SUN SHOTS below!
#6
09-04-2009, 12:23 AM
The sun was going in and out, but mostly out. Weather hasnt been too great here in Central FL lately..but I managed to get a couple!
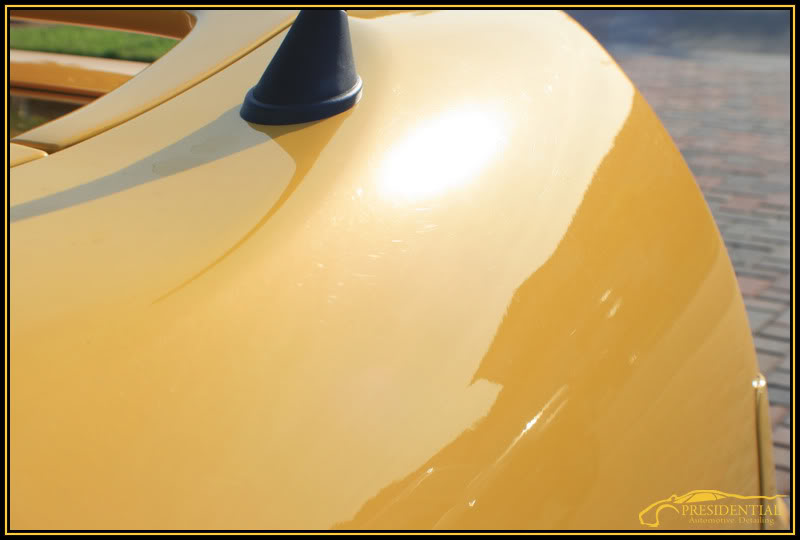
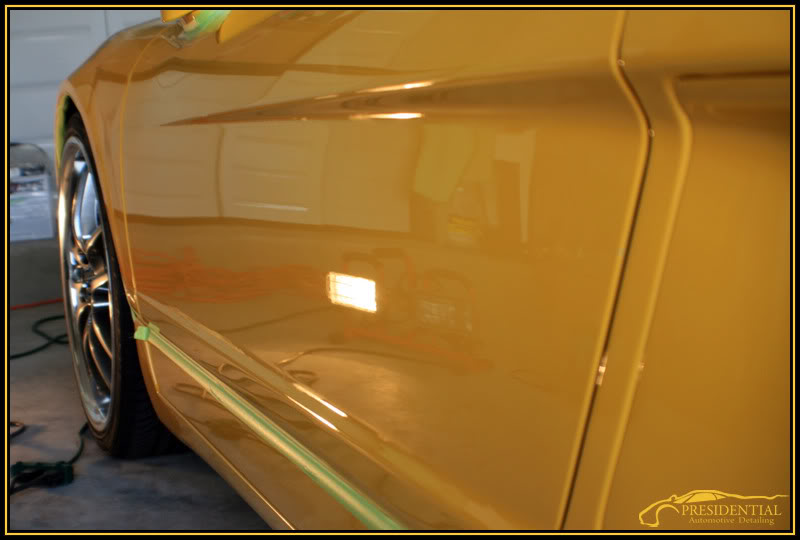
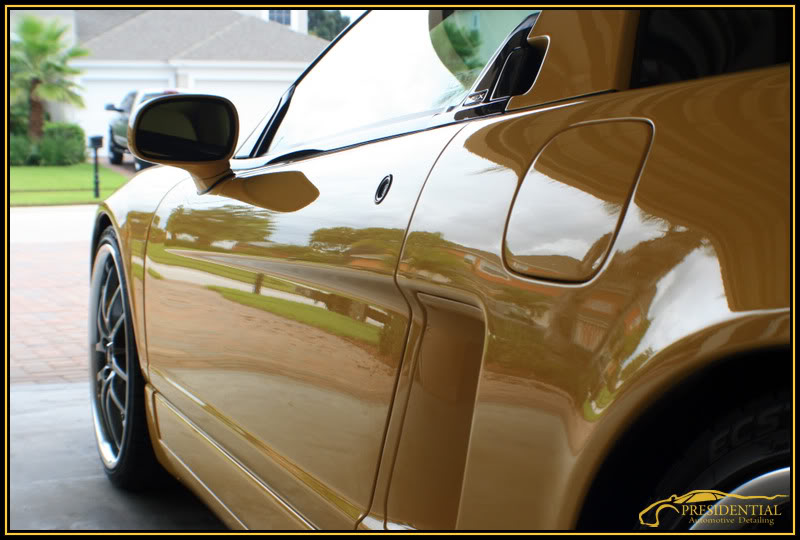
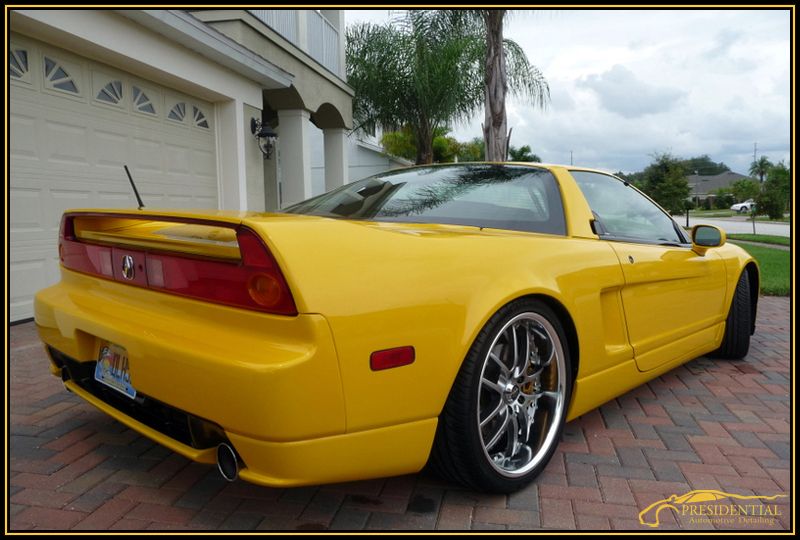
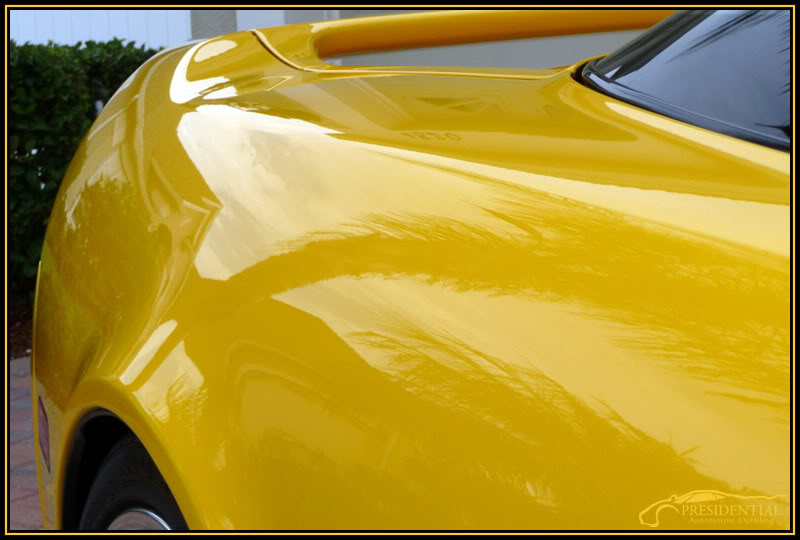
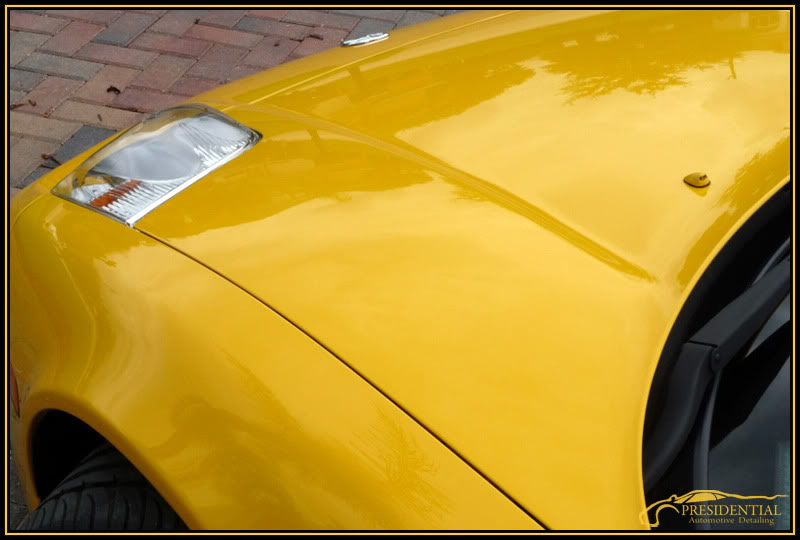
This is one my favorite shots, I really like how the yellow on yellow combination looks on this car!
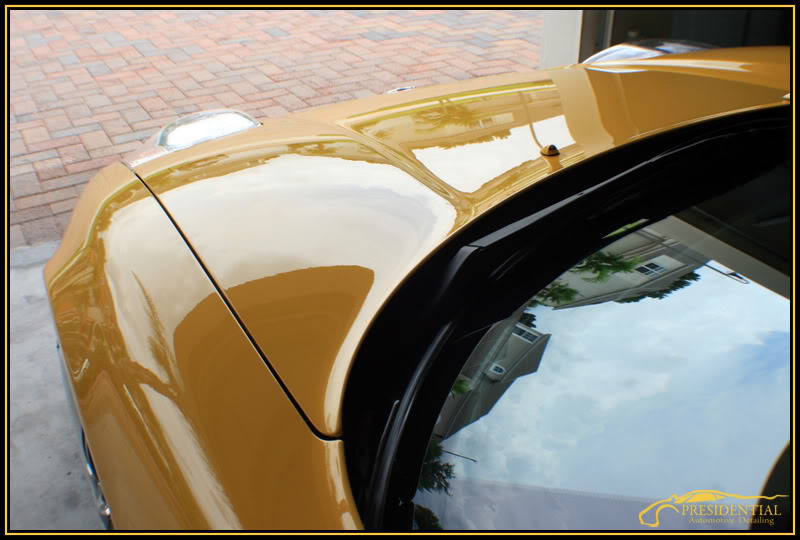
Heres a teaser of whats to come in the next couple weeks..

This is one my favorite shots, I really like how the yellow on yellow combination looks on this car!
Heres a teaser of whats to come in the next couple weeks..
#7
09-04-2009, 02:27 AM
Dude.. after seeing the last few jobs you did, I'm thinking a trip is in order... soon as I get enough cash
Great job!
Great job!
#9
09-04-2009, 11:27 AM
#10
09-04-2009, 11:28 AM
Im not aloud to post my own pricing without being deemed commercial, but you could expect to pay most pros $5-1200 depending upon their skillset.

