Presidential Detailed: 996 Turbo, E55 AMG, SL55 AMG, EVO X

Thread Starter
|
1st Gear
Joined: Sep 2008
Posts: 357
From: Tampa, FL
I recently made a trip out to West Palm Beach to take care of a few clients. I was lucky enough to work on these amazing cars and had a great time doing so! I spent 6 days with a friends day and we put in almost 60 hours that week EACH! I wouldn't have been able to do it without my friend Brian's help. My friend Brian took care of all the door shuts, interior, engine bays and smaller details so that I could keep my focus on the paint so that we could provide the best service possible! Ill get started with the pictures. 
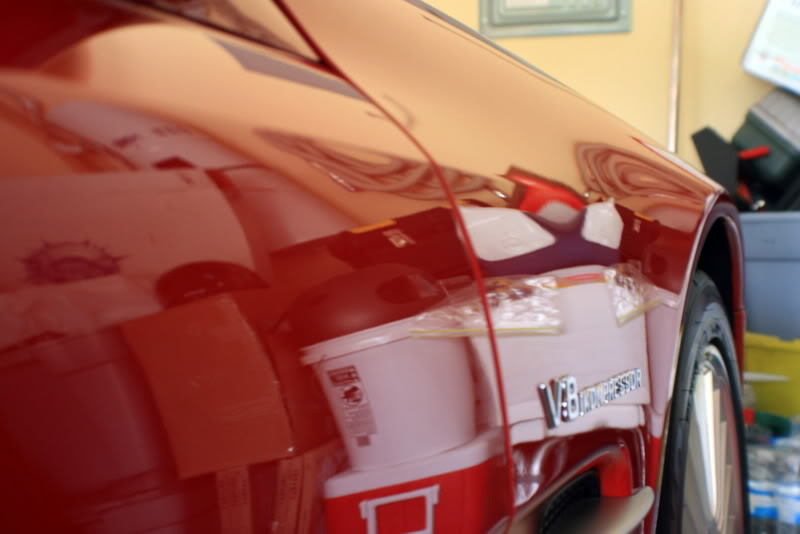
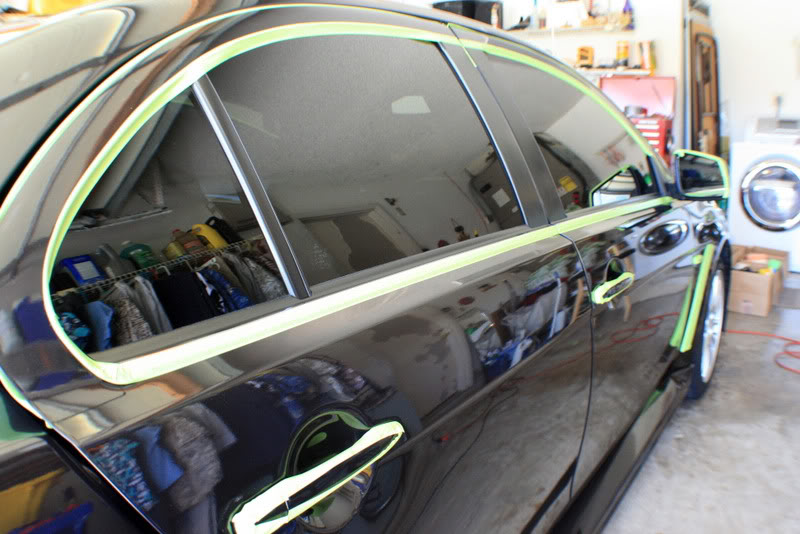
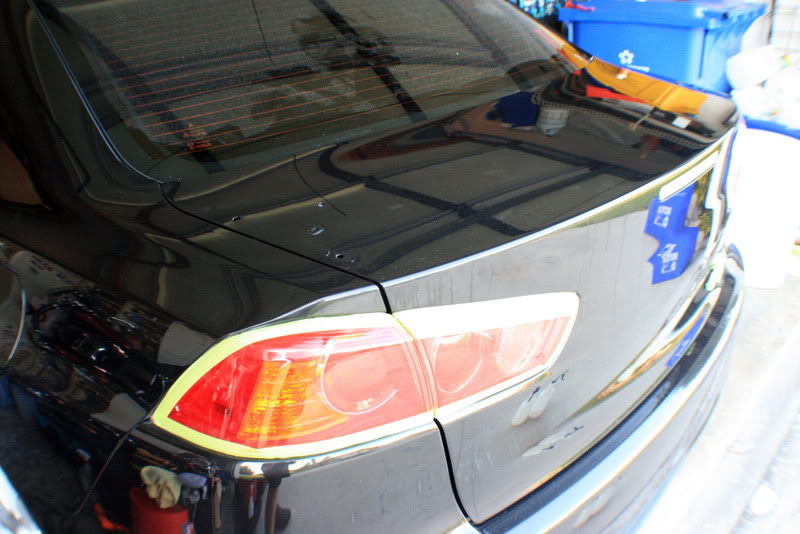
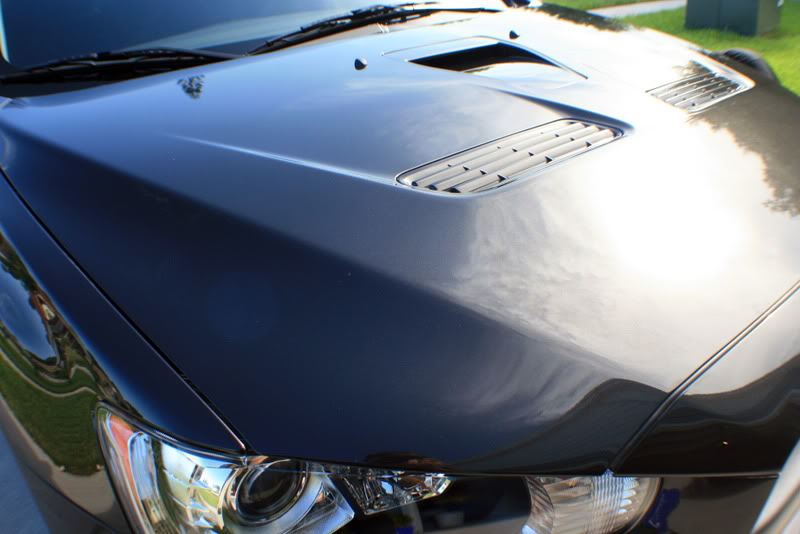
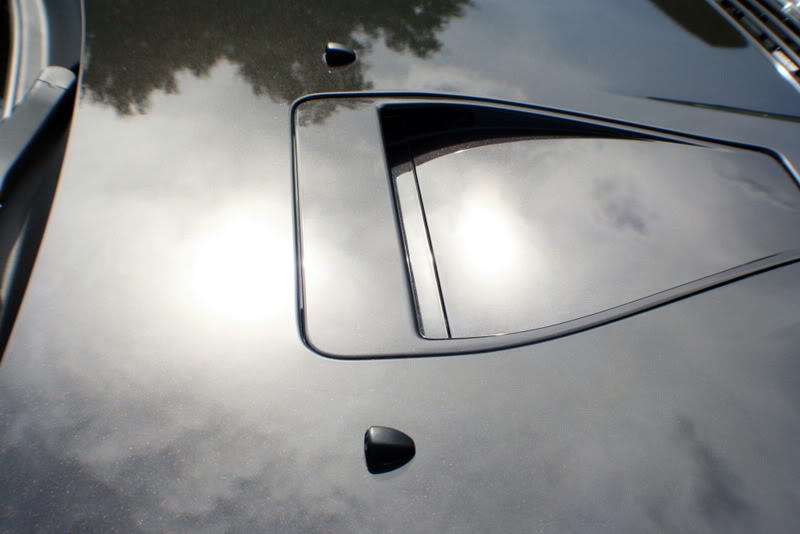
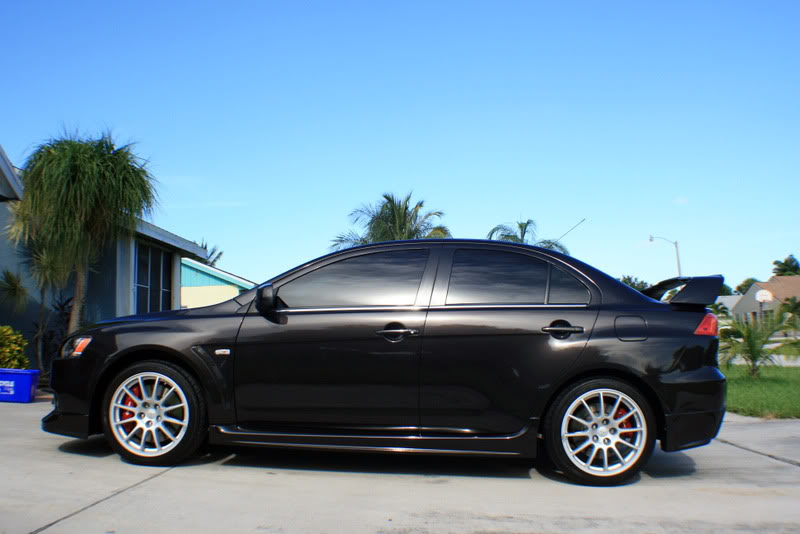
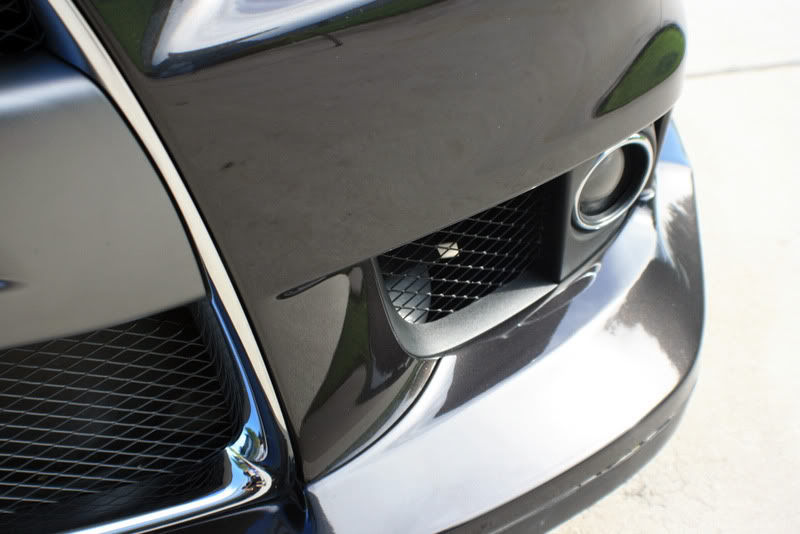
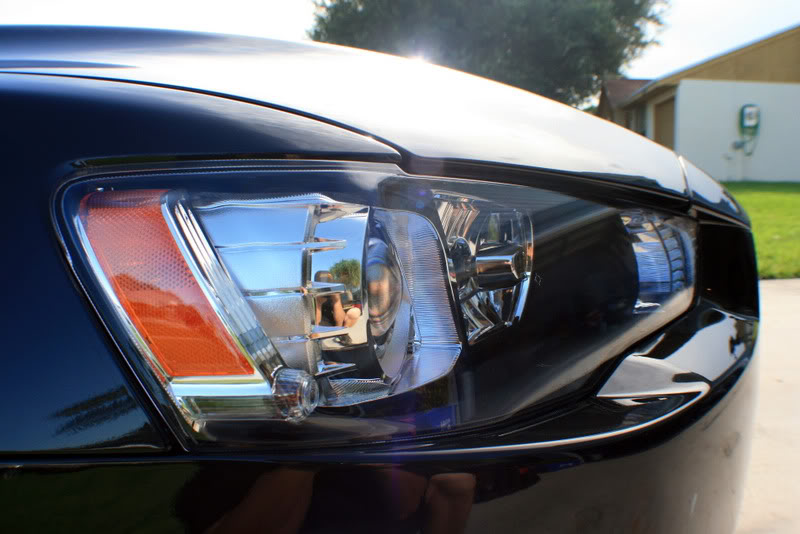
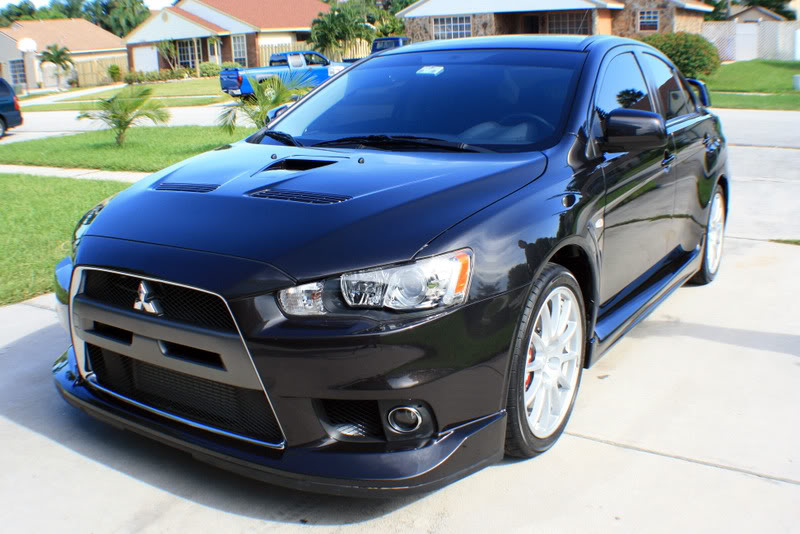
First up was a brand new Mitsubishi Evolution X, this is the first one that Ive worked on and I loved the color of this one! The owner heard I was coming to town and had a few things he wanted me to take care of on the car, but I think he got more than he asked for! We spent a good amount of time in the prepping of the car since there was quite a bit of dried up wax residue on almost all of the plastics, so we took care of those first.
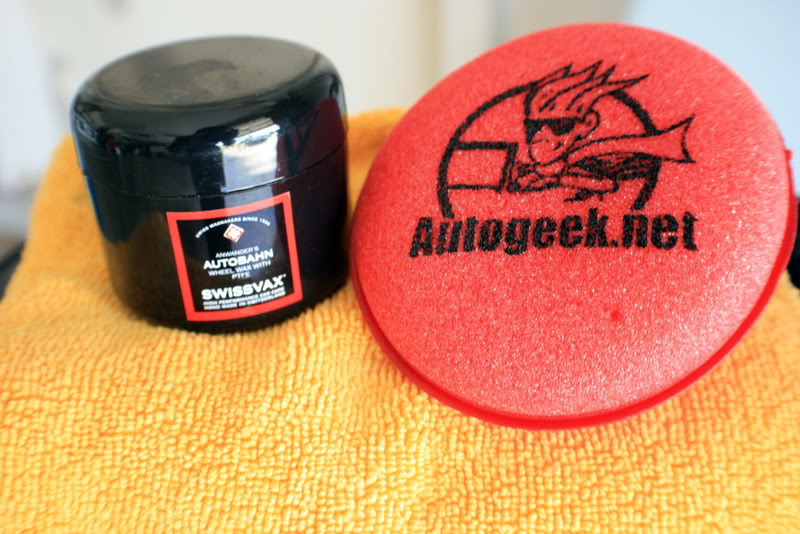
Using a Swissvax Boars Hair Brush and some Megs APC+ we agitated the wax build up until it was removed completely.
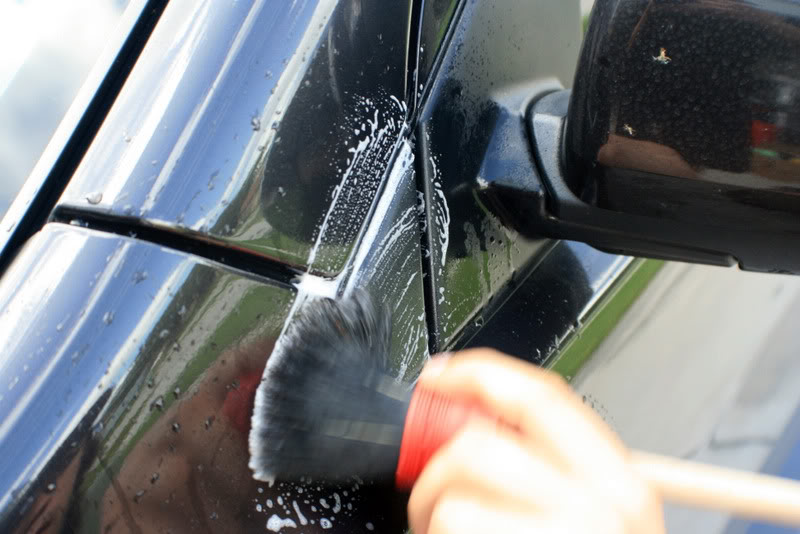
It was also in between the body panels.
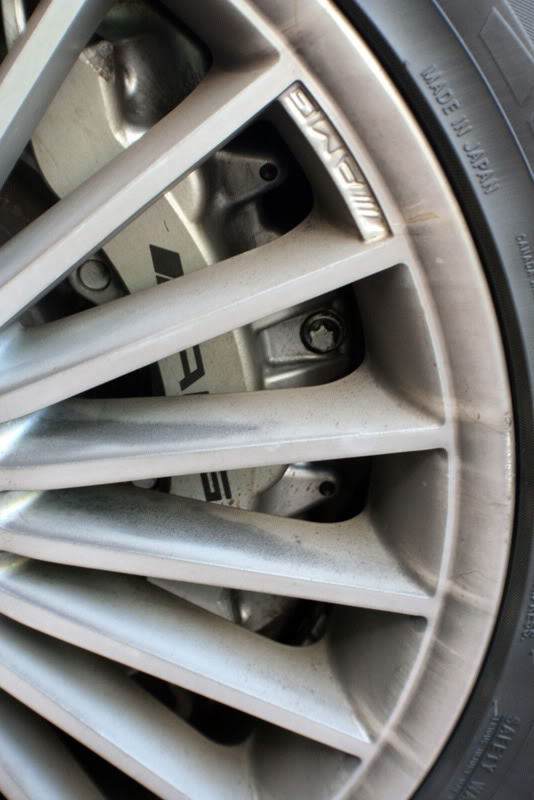
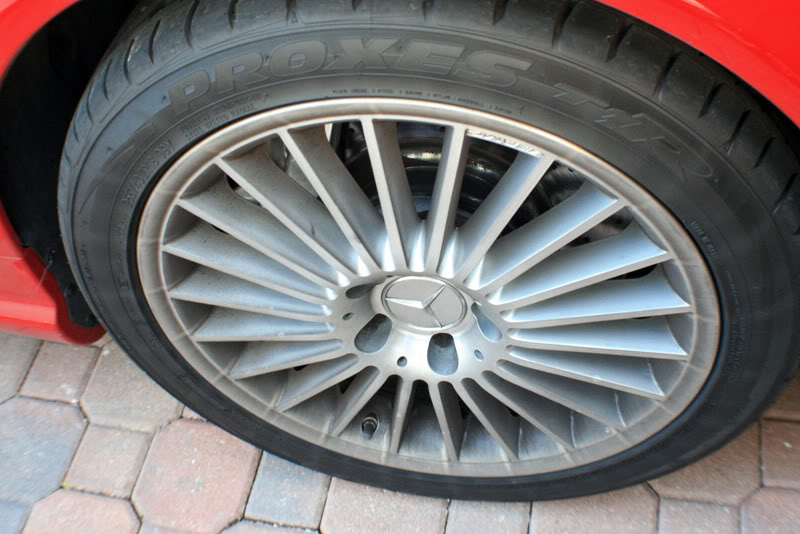
Once we had the wax removed, we then proceeded to wash the car as normal with an ONR wash. A healthy dosing of P21S Wheel Gel was applied to the wheels to restore them back to their new finish as well.
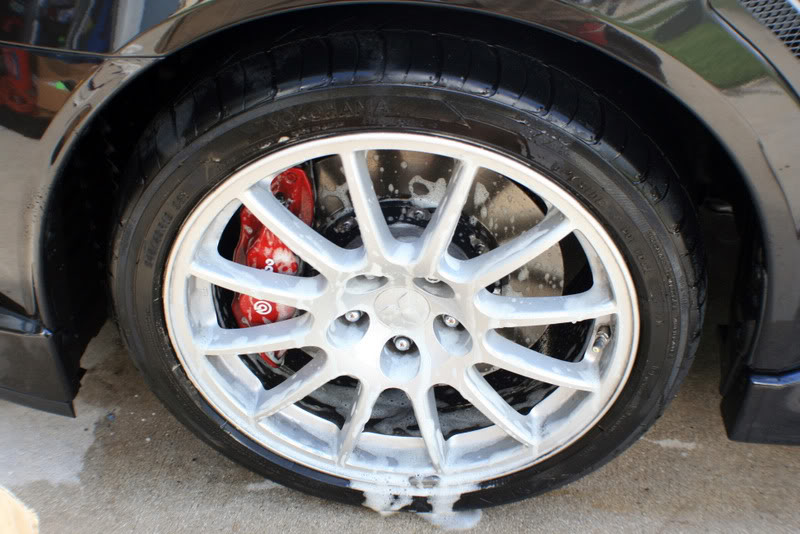
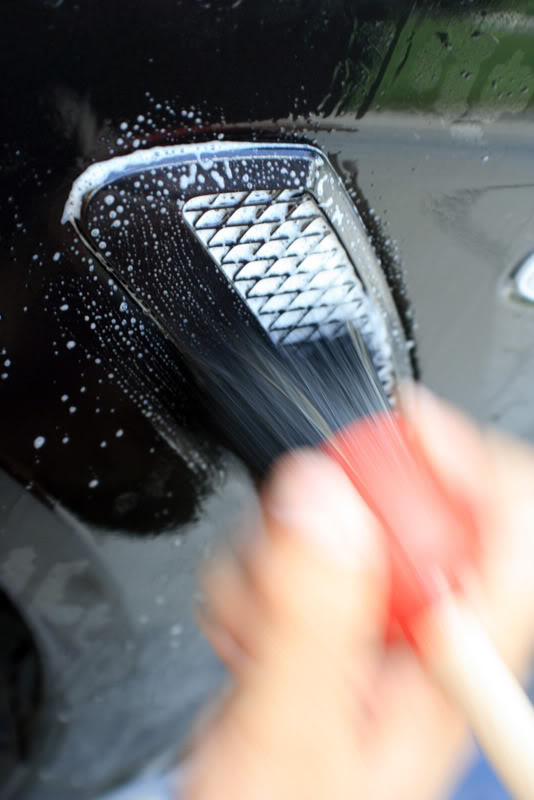
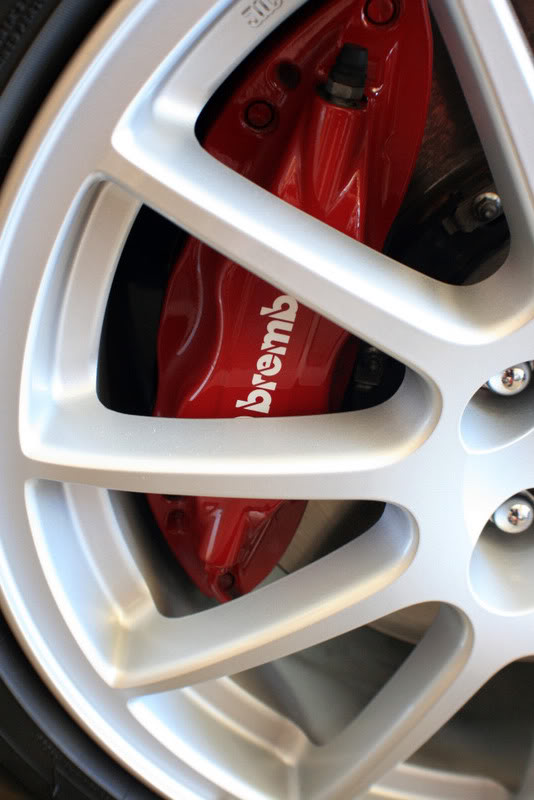
Another boars hair brush was used to get into the inner crevices such as the lug nut areas and the brake calipers, while a EZ Brush was used to clean the inner wheel barrels.
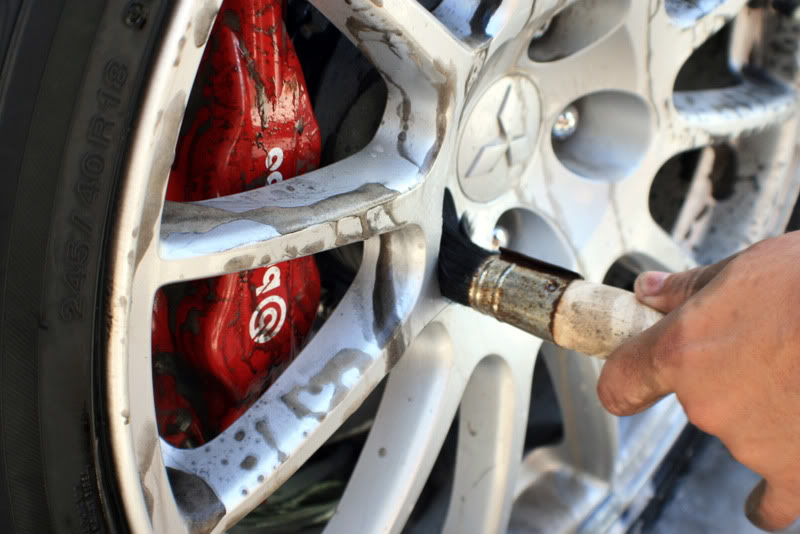
Once cleaned and dried, Swissvax Wheel Wax was then applied. I was wondering how I would put those million applicator pads that Meghan gave me to work, looks like I found a use for them!
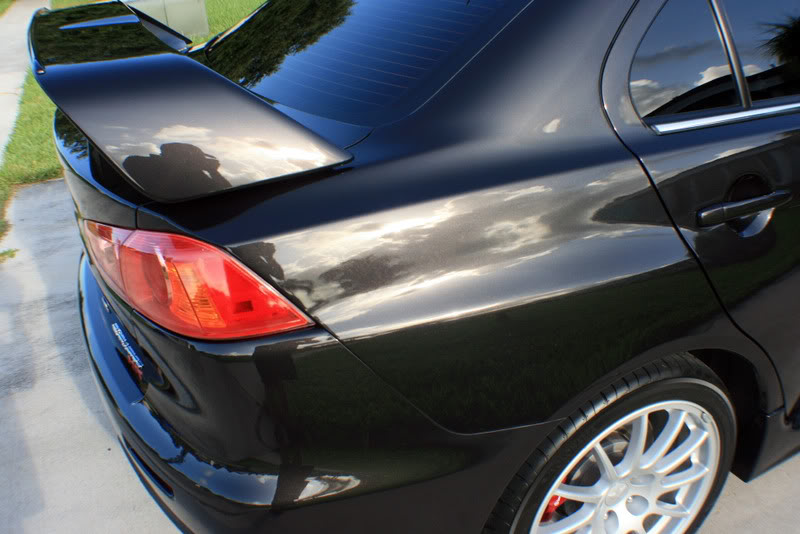
The wheels finished. They looked incredible in person!
First up was a brand new Mitsubishi Evolution X, this is the first one that Ive worked on and I loved the color of this one! The owner heard I was coming to town and had a few things he wanted me to take care of on the car, but I think he got more than he asked for!
We spent a good amount of time in the prepping of the car since there was quite a bit of dried up wax residue on almost all of the plastics, so we took care of those first.Using a Swissvax Boars Hair Brush and some Megs APC+ we agitated the wax build up until it was removed completely.
It was also in between the body panels.
Once we had the wax removed, we then proceeded to wash the car as normal with an ONR wash. A healthy dosing of P21S Wheel Gel was applied to the wheels to restore them back to their new finish as well.
Another boars hair brush was used to get into the inner crevices such as the lug nut areas and the brake calipers, while a EZ Brush was used to clean the inner wheel barrels.
Once cleaned and dried, Swissvax Wheel Wax was then applied. I was wondering how I would put those million applicator pads that Meghan gave me to work, looks like I found a use for them!
The wheels finished. They looked incredible in person!
Thread Starter
|
1st Gear
Joined: Sep 2008
Posts: 357
From: Tampa, FL
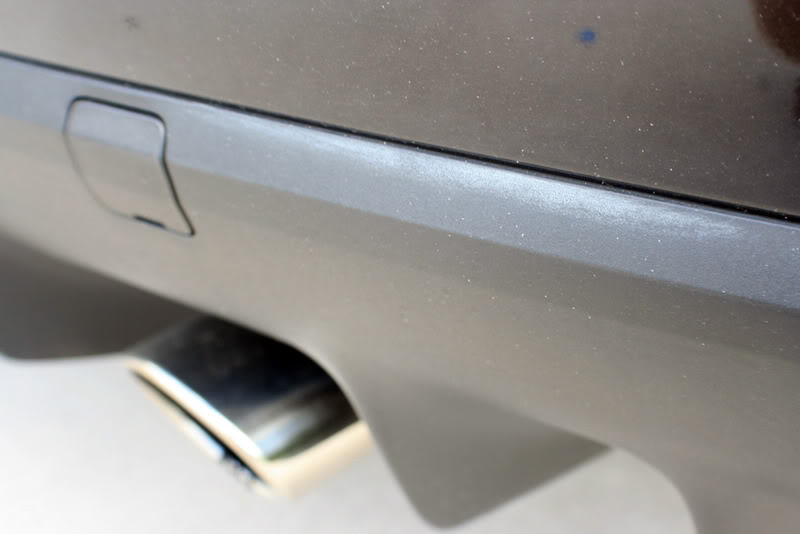
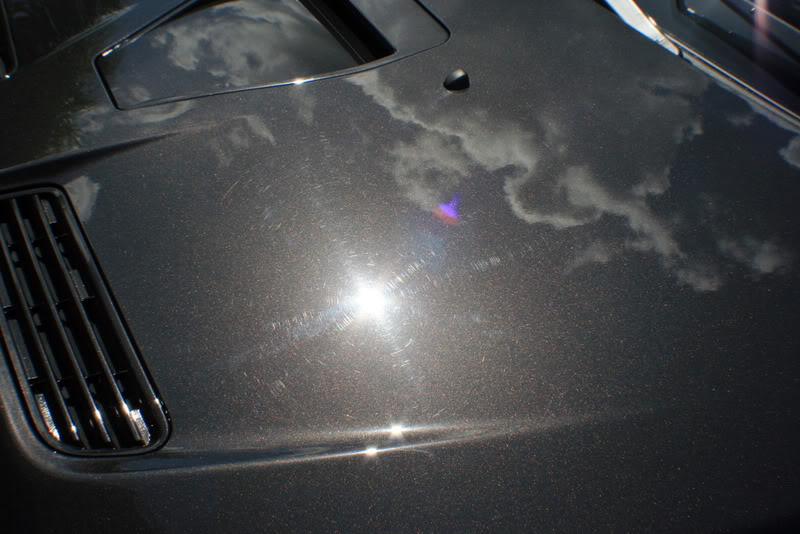
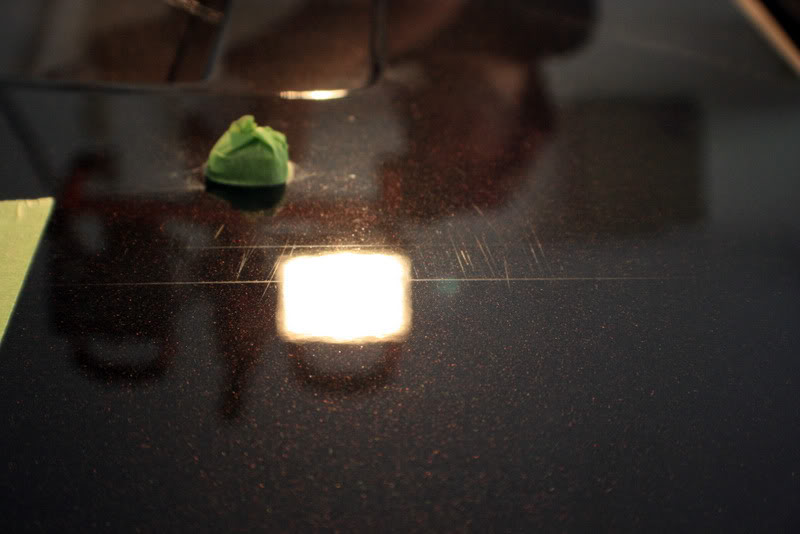
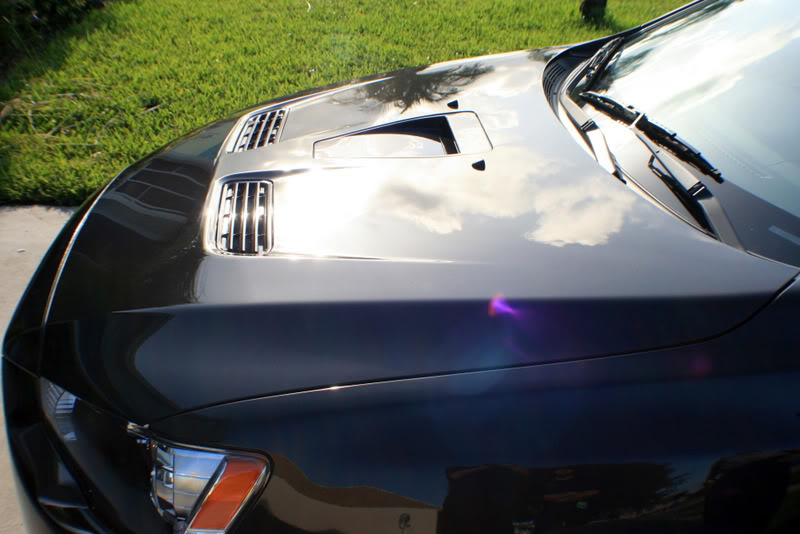
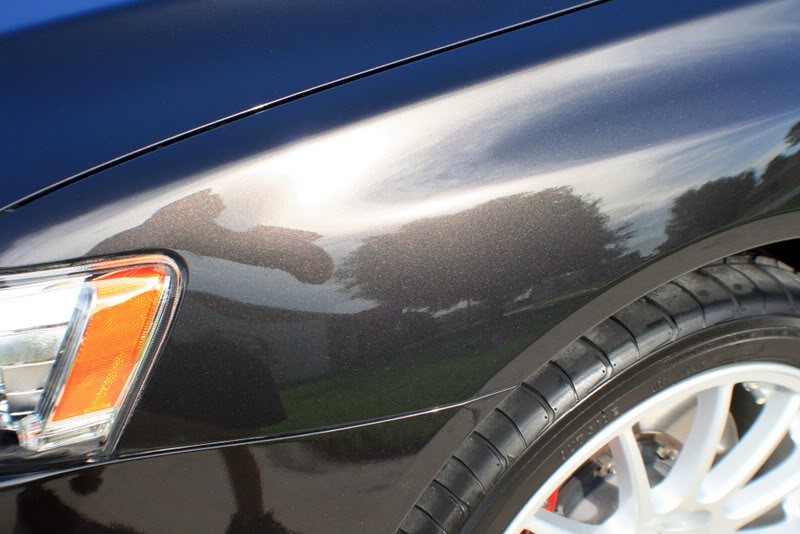
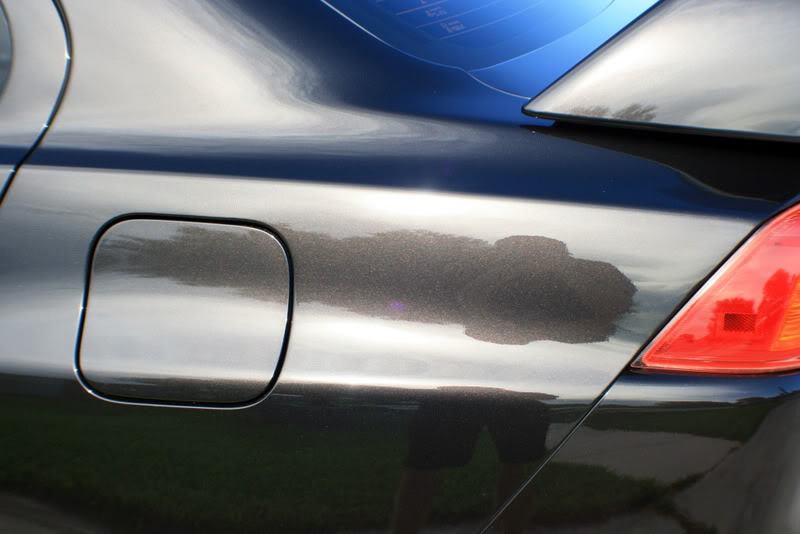
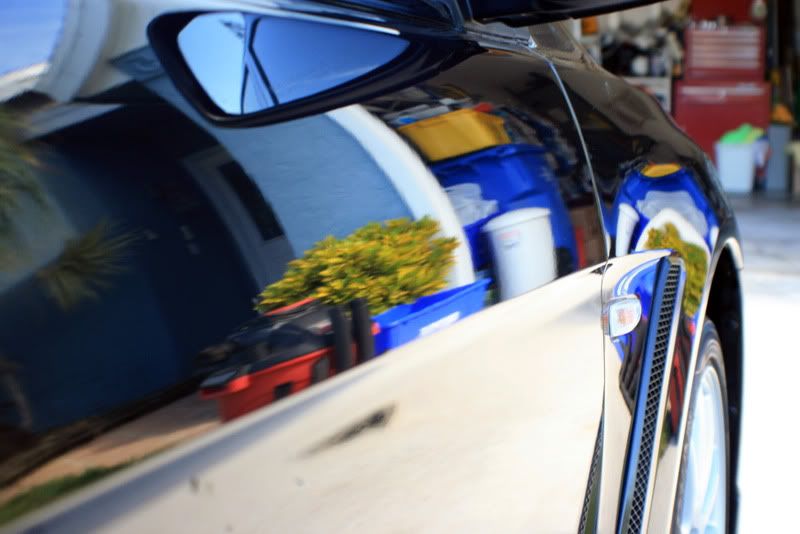
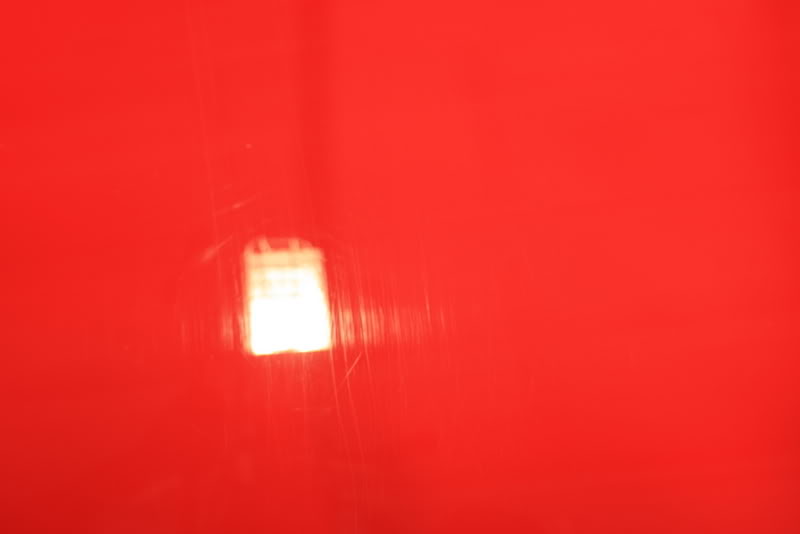
Once the wash was completed, we could see the true finish of the paint. The EVO has pretty soft paint, which may explain how this many swirls were induced in the short life span that its had(under 7k miles old).

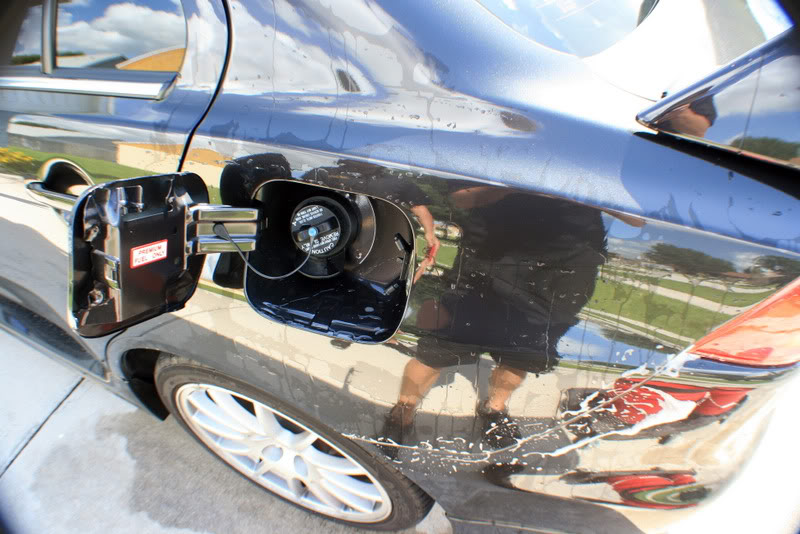
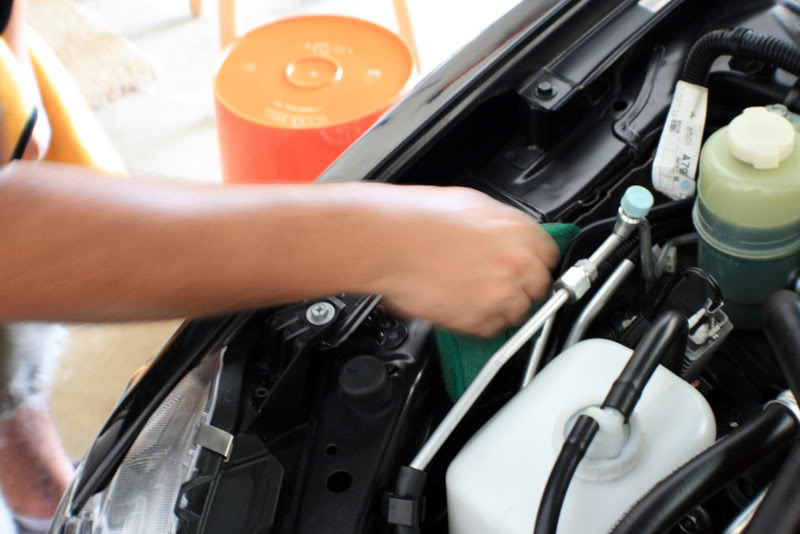
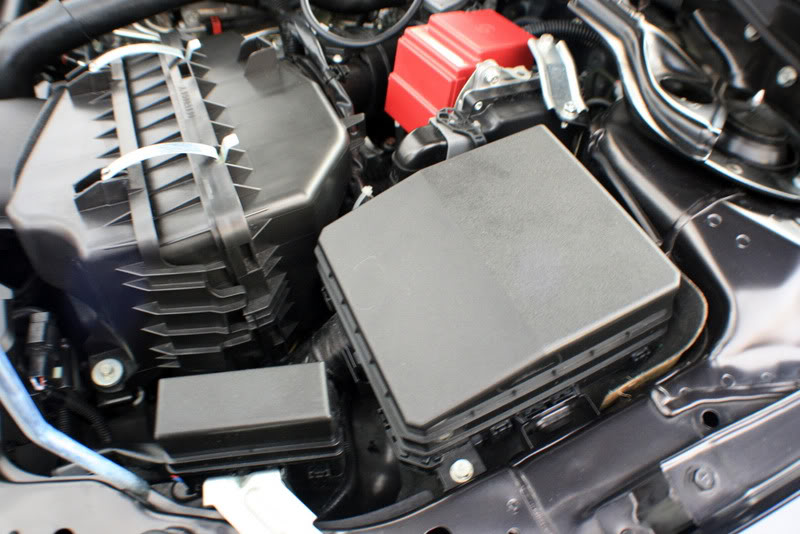
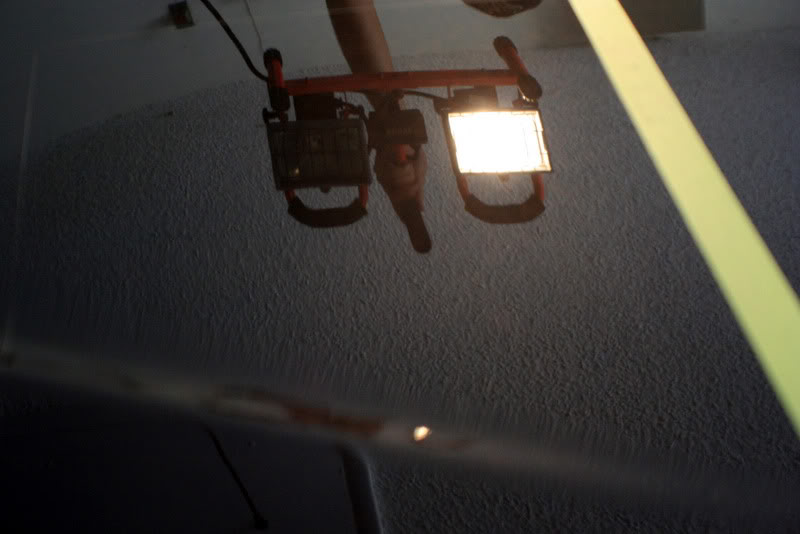
The engine bay was also quite dirty, so Brian got to work on that while I prepped the car before polishing.

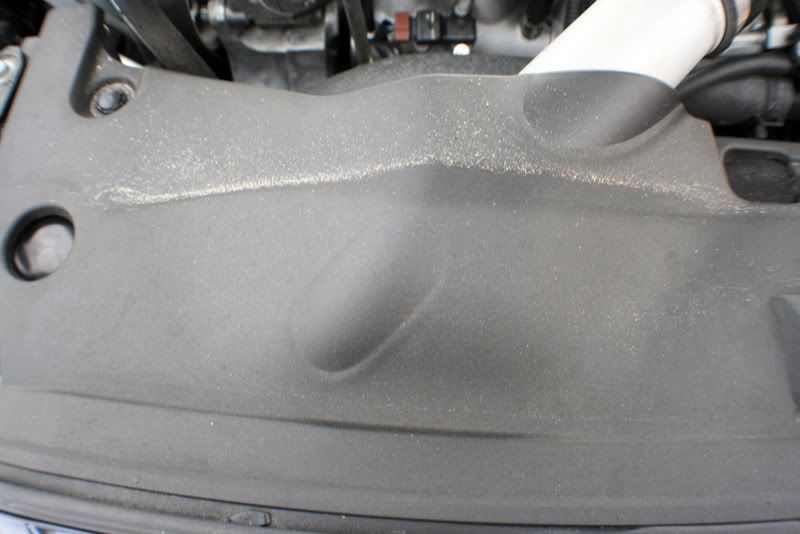
The engine bay was wiped clean with Megs APC+ and then Z-AIO was applied to everything in the bay. I opted not to use a dressing since the engine was fairly new and still looked very fresh. 1Z Gummi Pledge was also applied to the seals.
Finished.
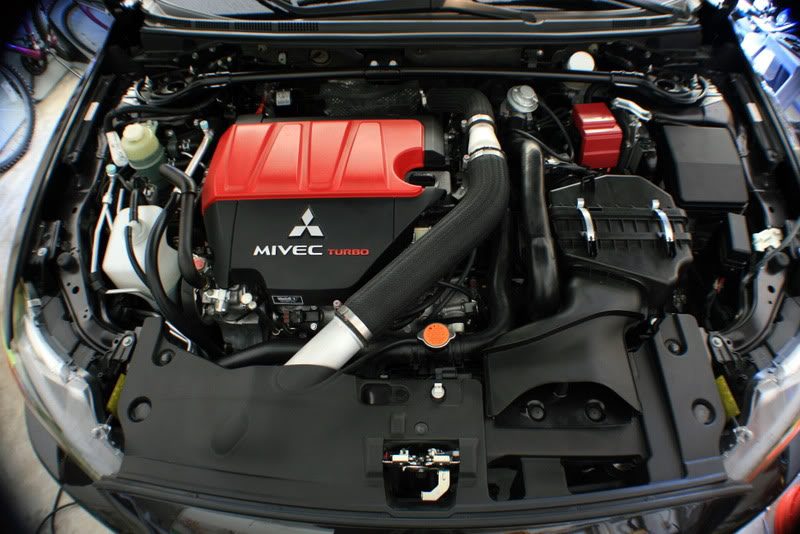
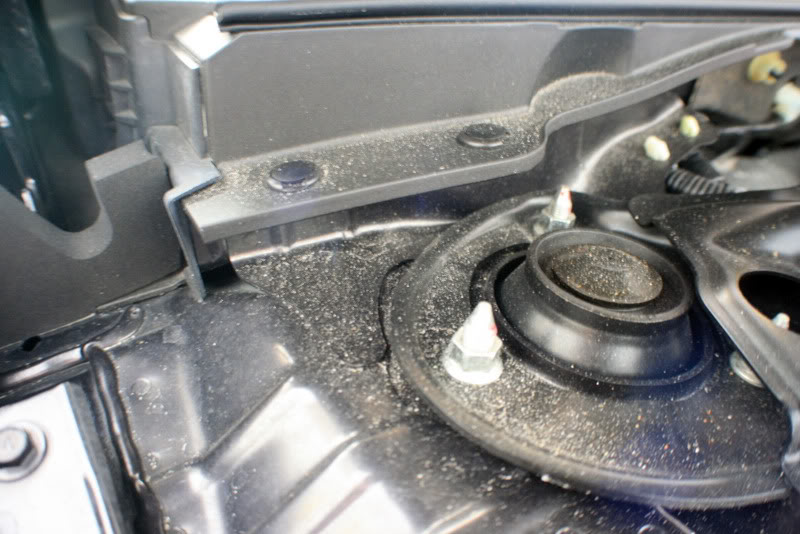
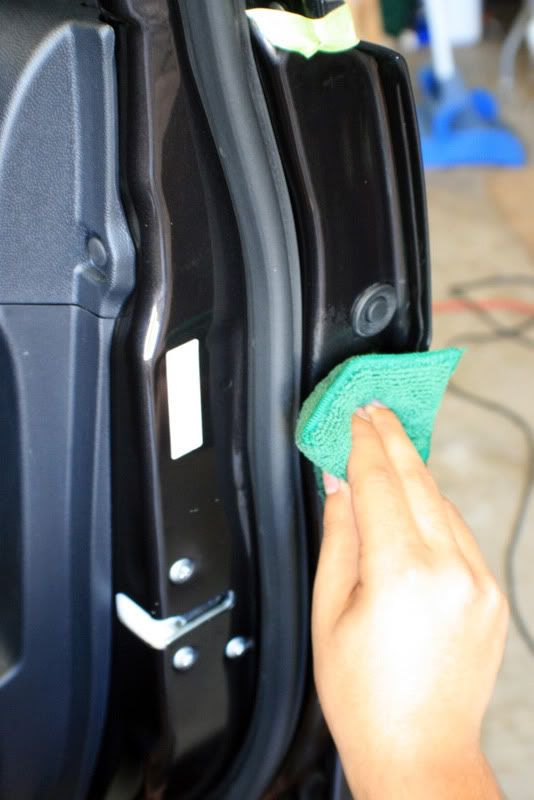
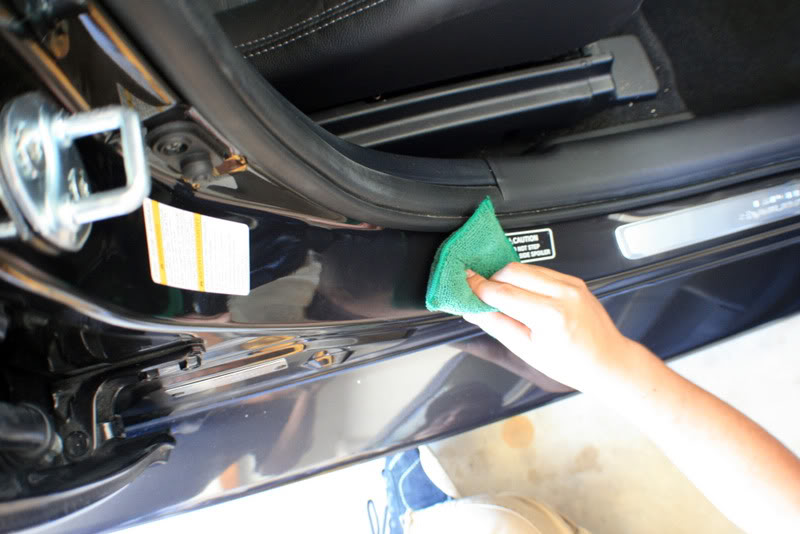
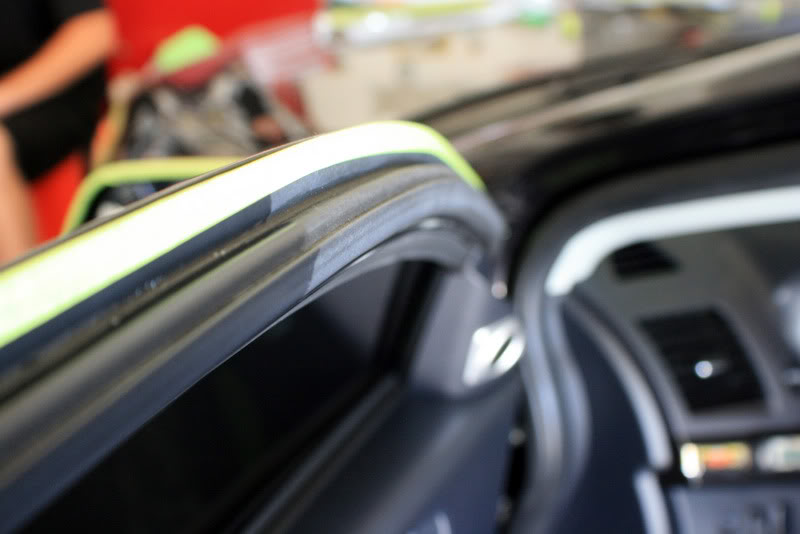
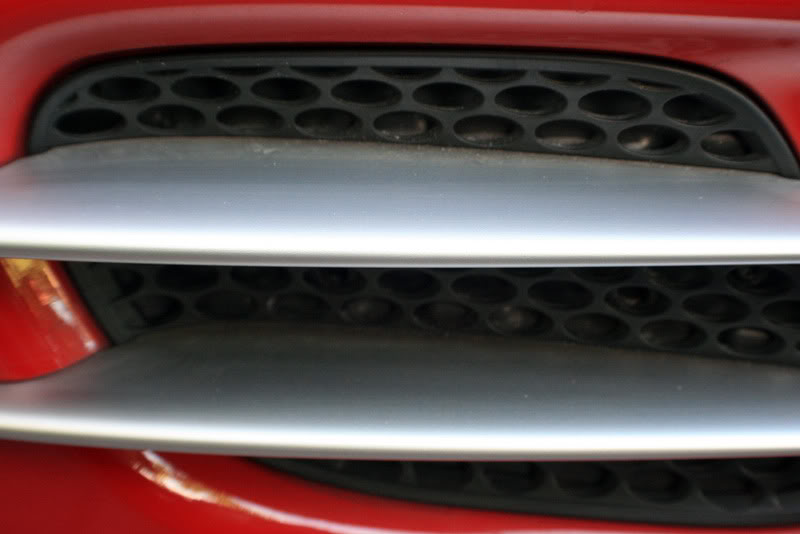
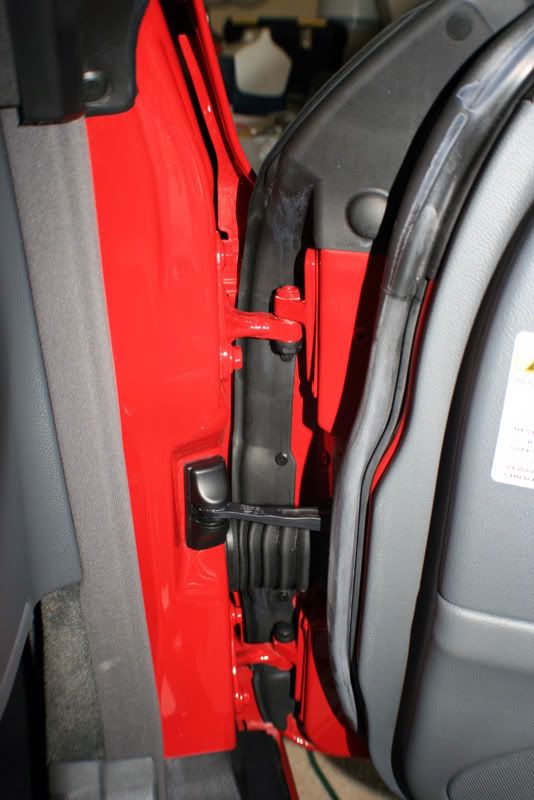
Z-AIO was also applied to all the door shuts and trunk area. This is more so to clean/protect them, but Ive found it also works quite well as a barrier between the polishing dust and the paint so that it removes easily.

Now that is all prepped, were ready to start polishing!
The engine bay was also quite dirty, so Brian got to work on that while I prepped the car before polishing.
The engine bay was wiped clean with Megs APC+ and then Z-AIO was applied to everything in the bay. I opted not to use a dressing since the engine was fairly new and still looked very fresh. 1Z Gummi Pledge was also applied to the seals.
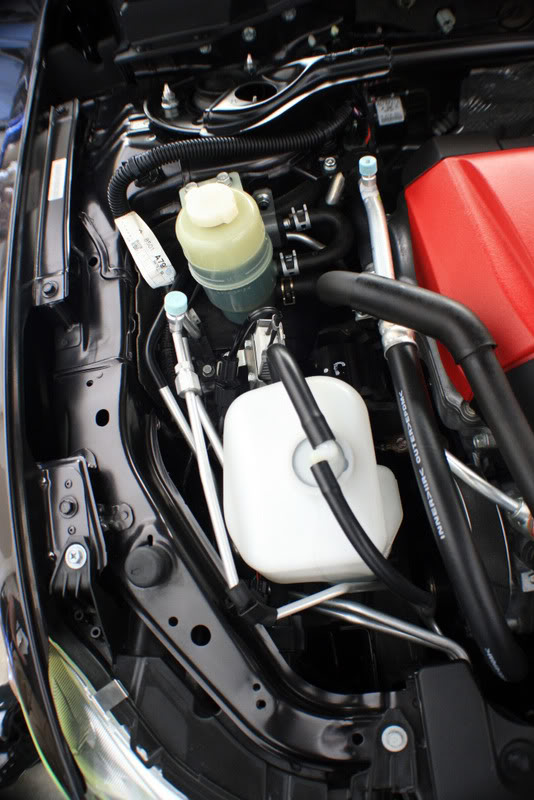
Finished.
Z-AIO was also applied to all the door shuts and trunk area. This is more so to clean/protect them, but Ive found it also works quite well as a barrier between the polishing dust and the paint so that it removes easily.
Now that is all prepped, were ready to start polishing!
Thread Starter
|
1st Gear
Joined: Sep 2008
Posts: 357
From: Tampa, FL
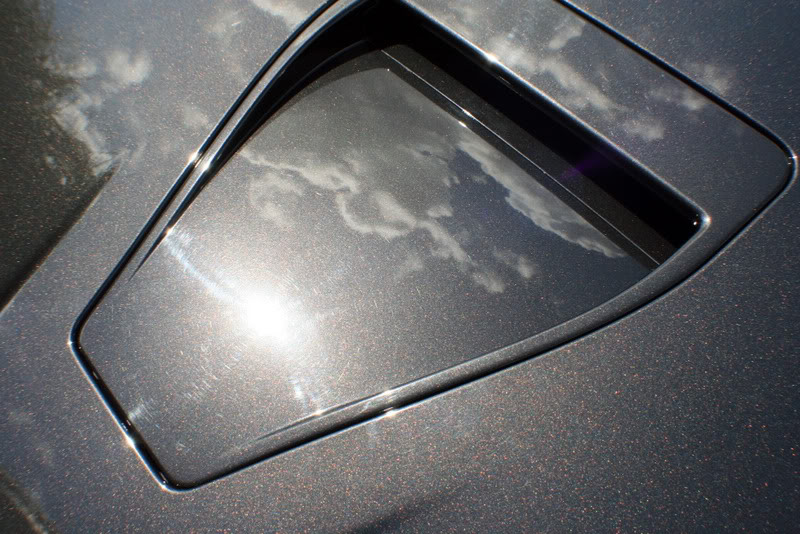
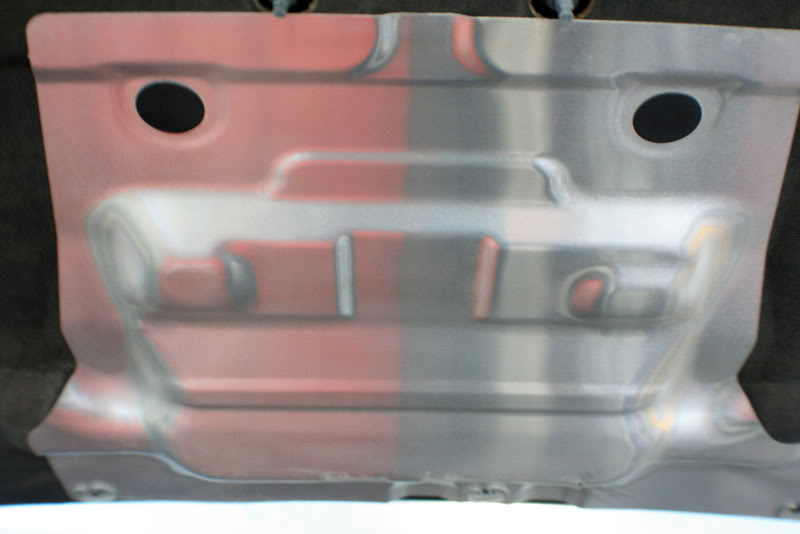
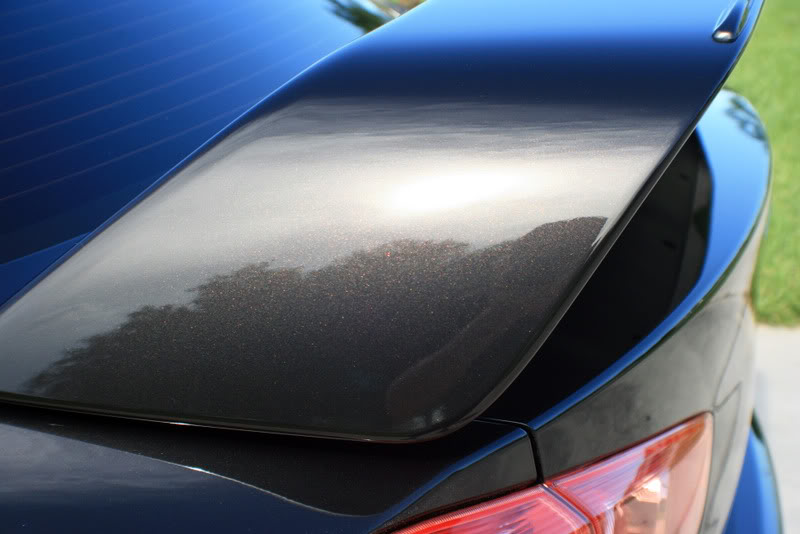
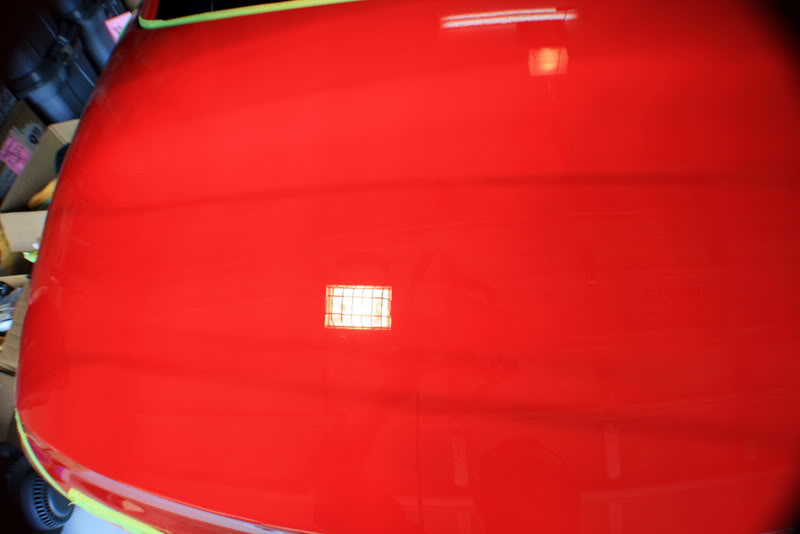
As you can see here, its a very different color. This is after correction.
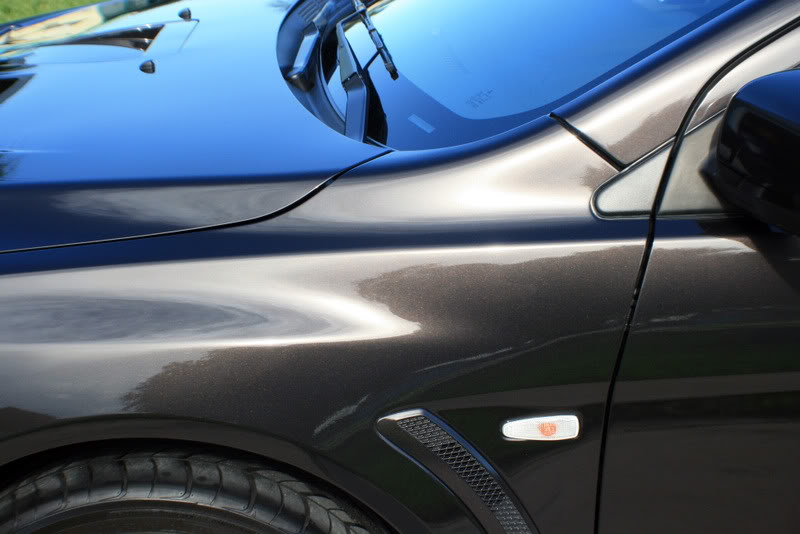
After getting into the paint, I noticed that most of the swirls were being removed but there were quite a bit of RIDS throughout as well. I thought for sure the rotary was going to be the winner. But I have laterly been seeing debates going back and forth about whether or not a DA can do full correction work or not. This actually surprised me a little bit. I taped off two sections.
One side for M105/Orange LC Pad via KBM and the other for M105/PFW via Rotary at 1500rpms both followed by M205/Orange via DA.
This is the right side, performed by the rotary.
And the left side, performed by the DA via KBM. As you can see there is hardly a differenece.
So I then decided to pull it into the sun just to make sure I was seeing things clearly and defects werent being hidden.
rotary.
DA.
No difference. HOWEVER, the DA does take quite a bit more time to achieve the same results(minus hologramming) and there were 1 or 2 defects that it could not touch where the rotary was needed, so I opted to go with the rotary since time was of concern and I wanted optimal results.
After my little experiment I then removed the wing so that I could begin my walk around the car.
Thread Starter
|
1st Gear
Joined: Sep 2008
Posts: 357
From: Tampa, FL
While I worked on the paint correction, Brian took care of the interior, interior seals and exhaust tips.

1Z Gummi Pledge applied to all seals.
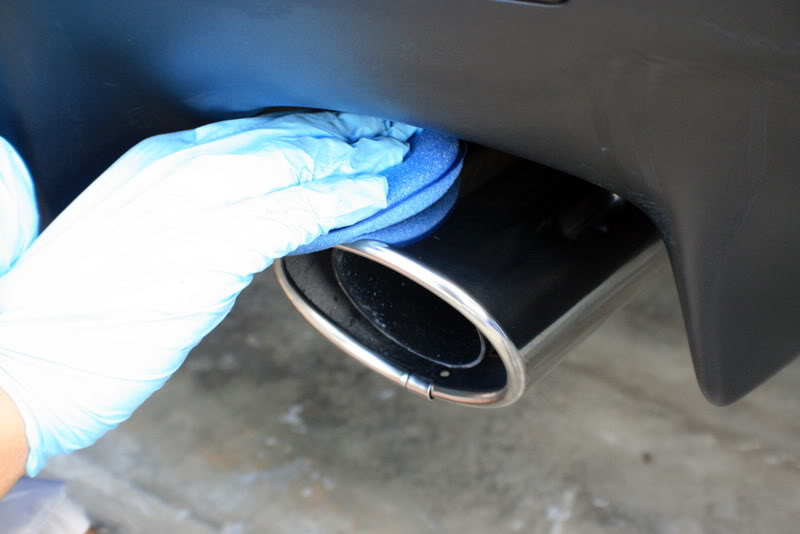
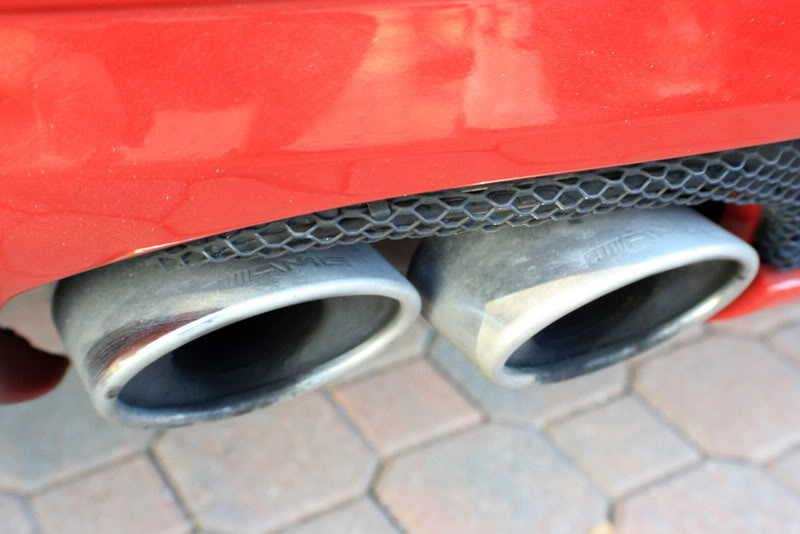
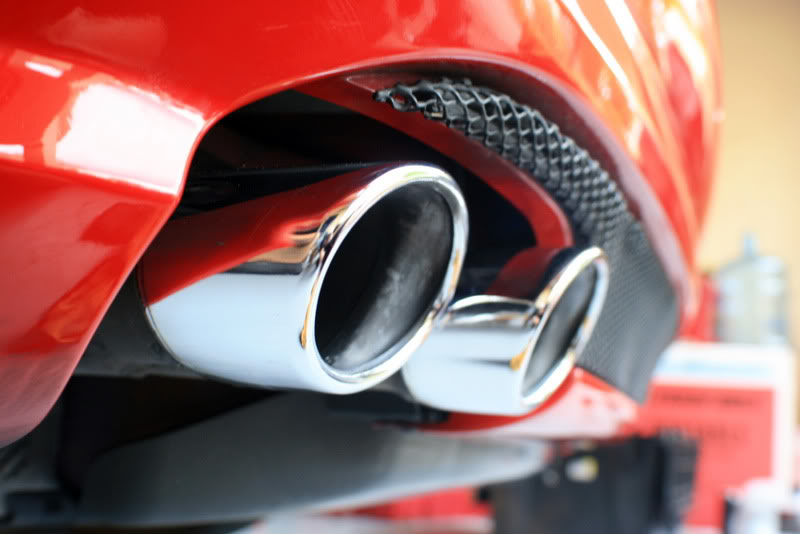
Exhaust tip before.

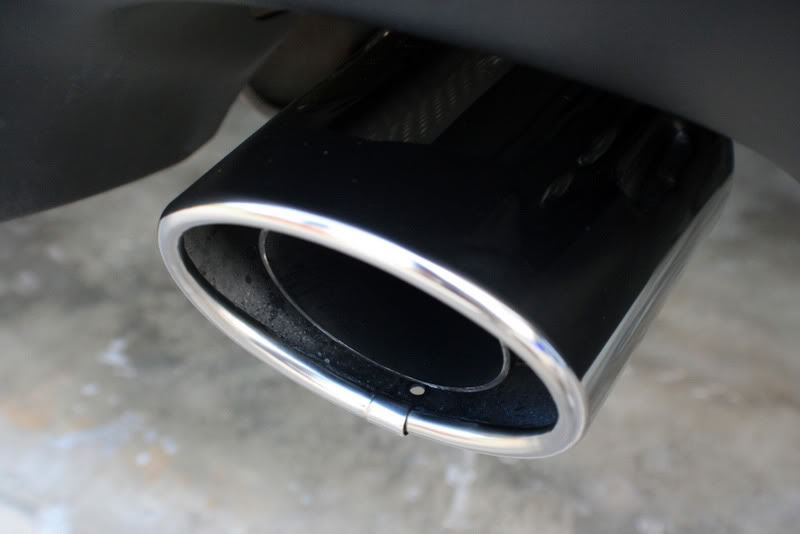
Polished with Adams Metal Polish #2/Steel Wool and then Sealed with Optiseal.
Finished.
Interior Finished.(Still had to vacuum the driver floorboard)
Are you ready for the final results?
1Z Gummi Pledge applied to all seals.
Exhaust tip before.
Polished with Adams Metal Polish #2/Steel Wool and then Sealed with Optiseal.
Finished.
Interior Finished.(Still had to vacuum the driver floorboard)
Are you ready for the final results?

Thread Starter
|
1st Gear
Joined: Sep 2008
Posts: 357
From: Tampa, FL
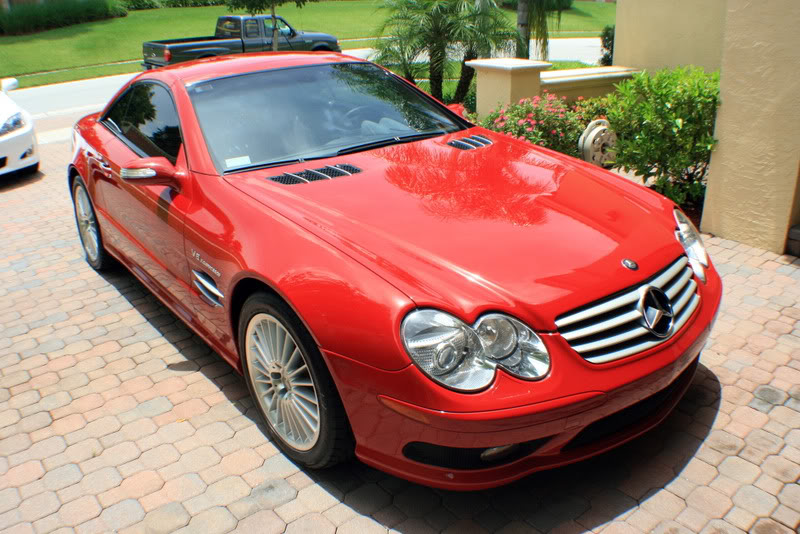
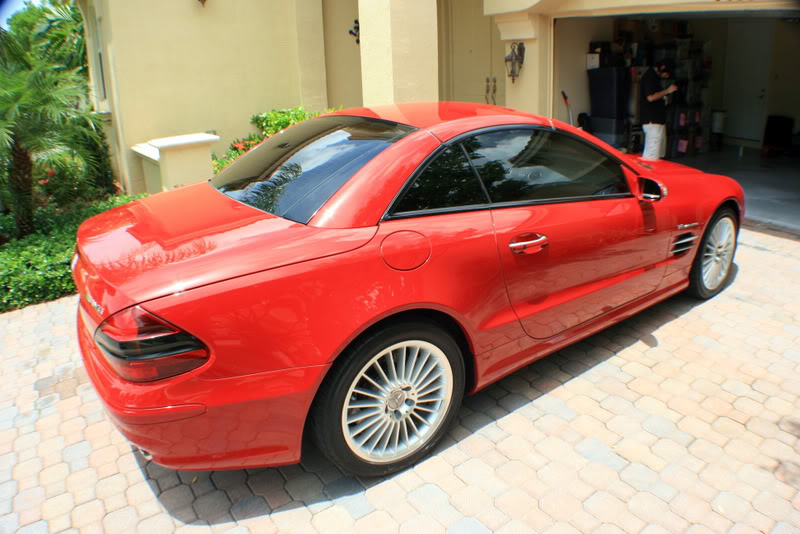
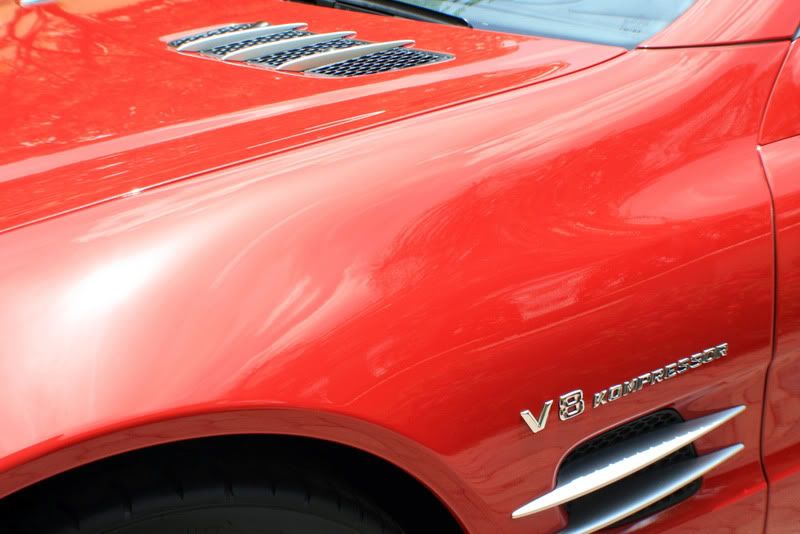
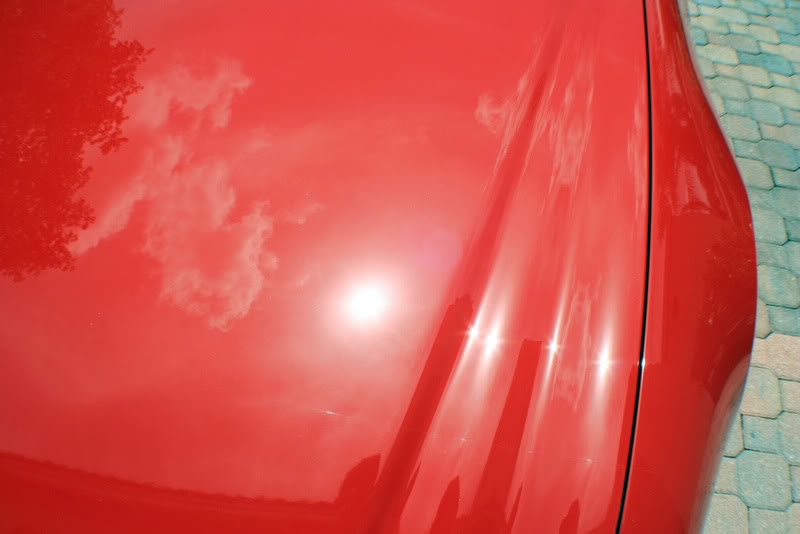
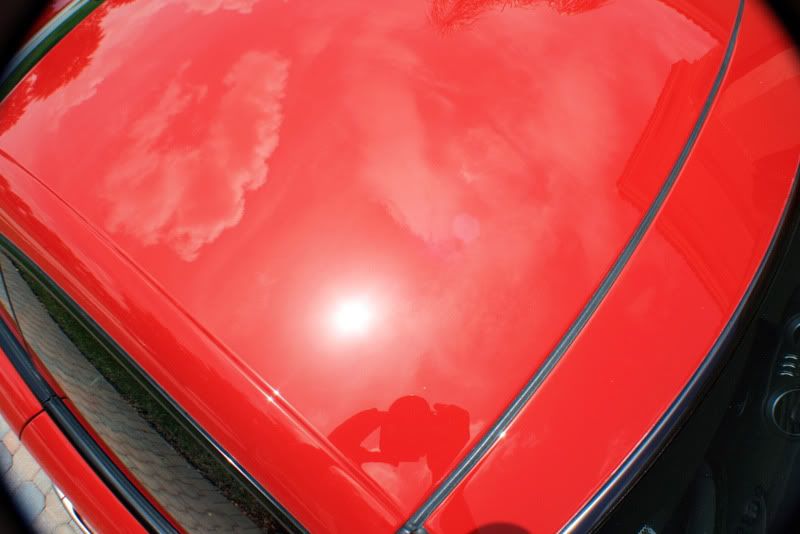
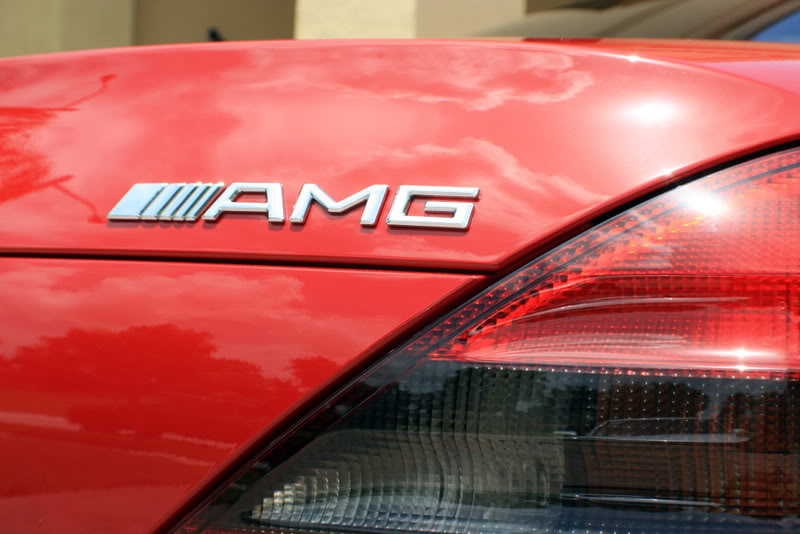
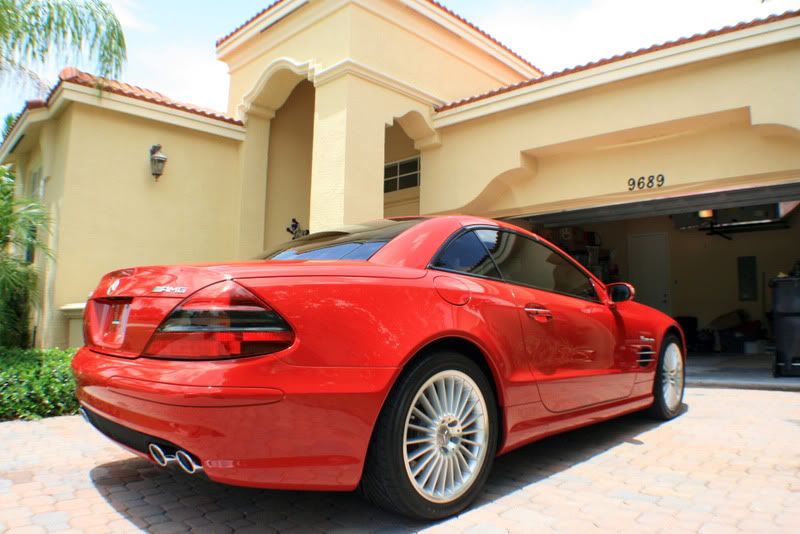
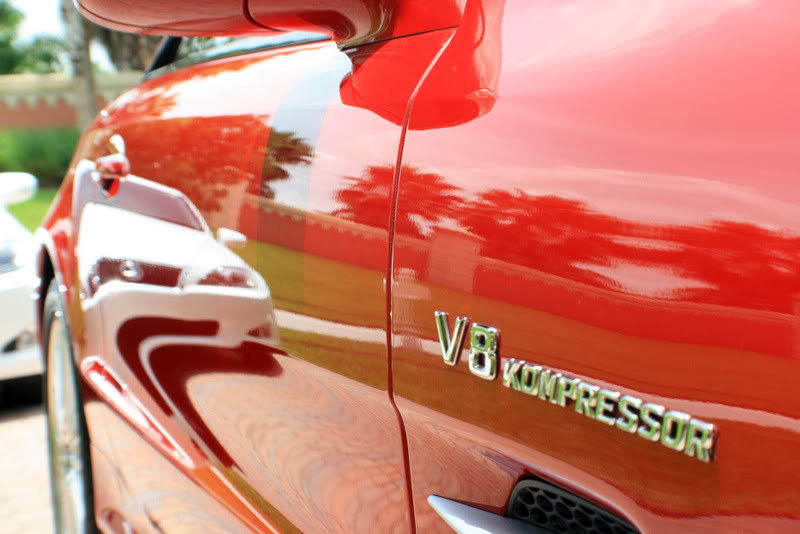
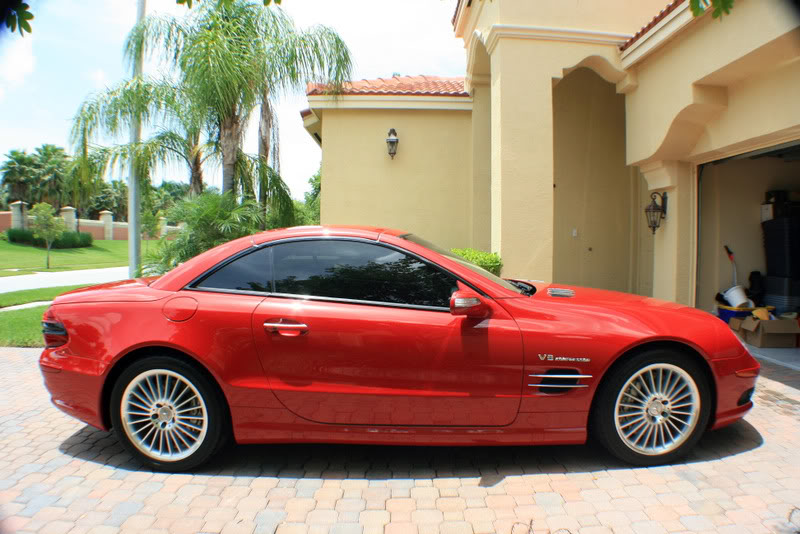
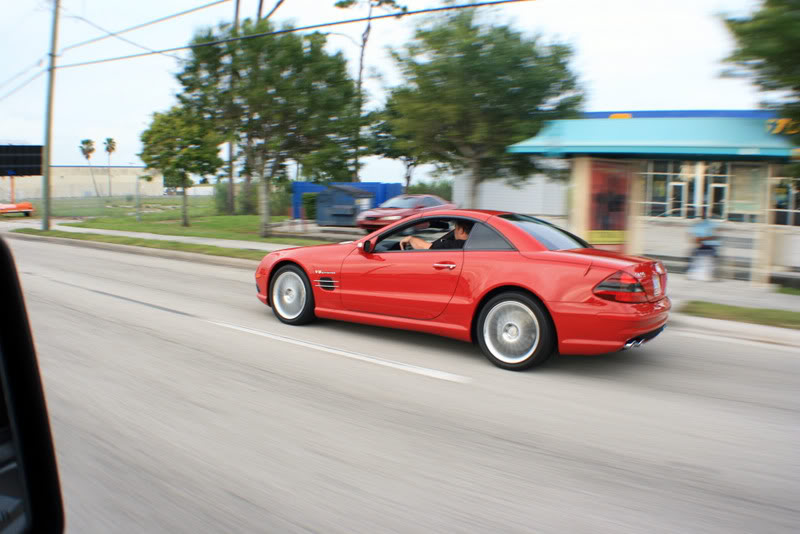
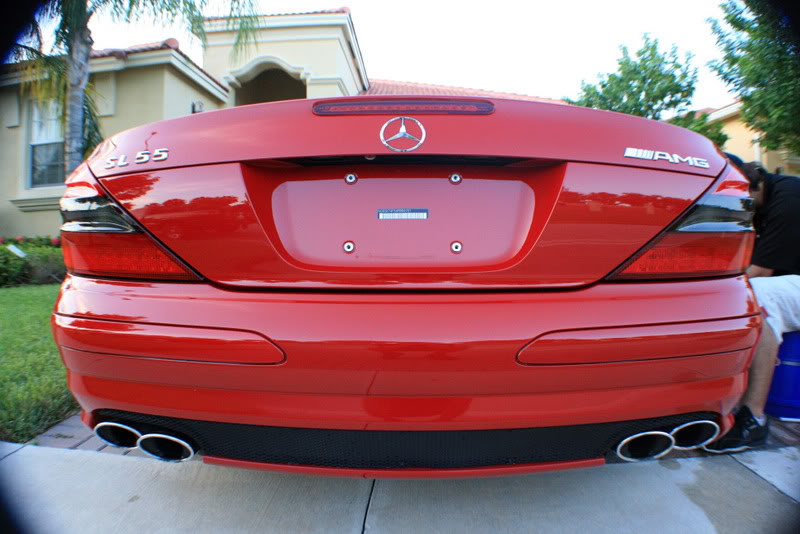
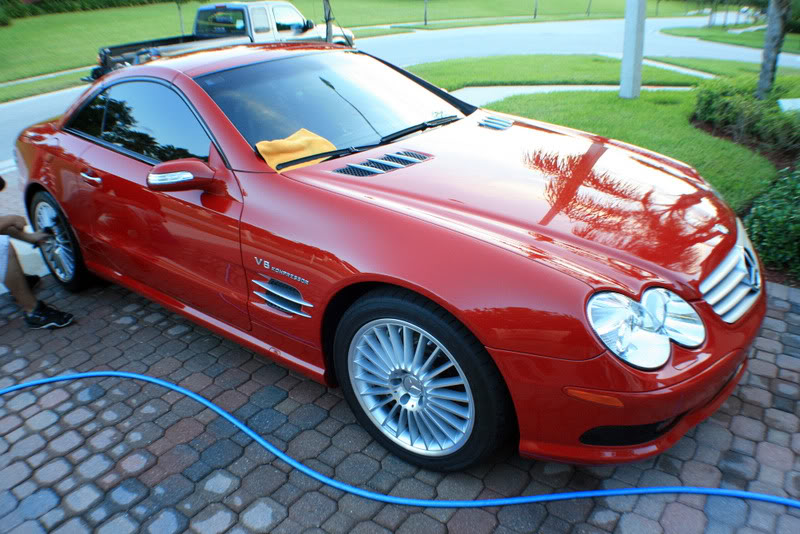
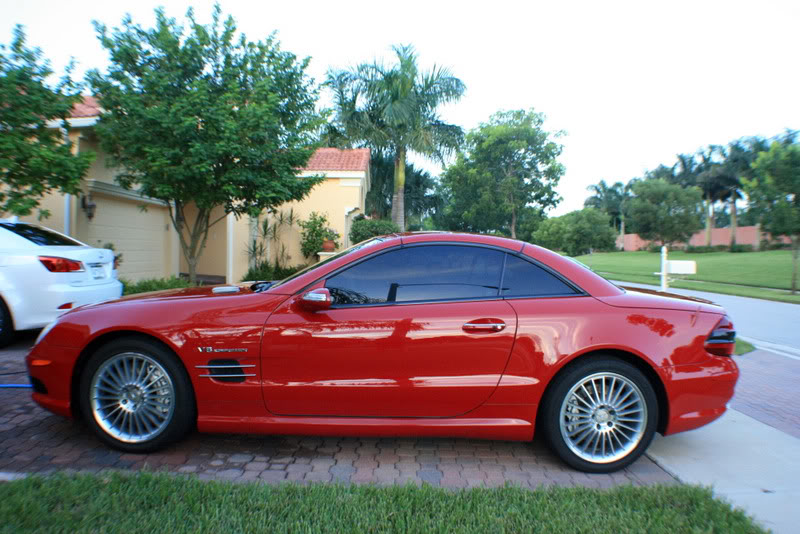
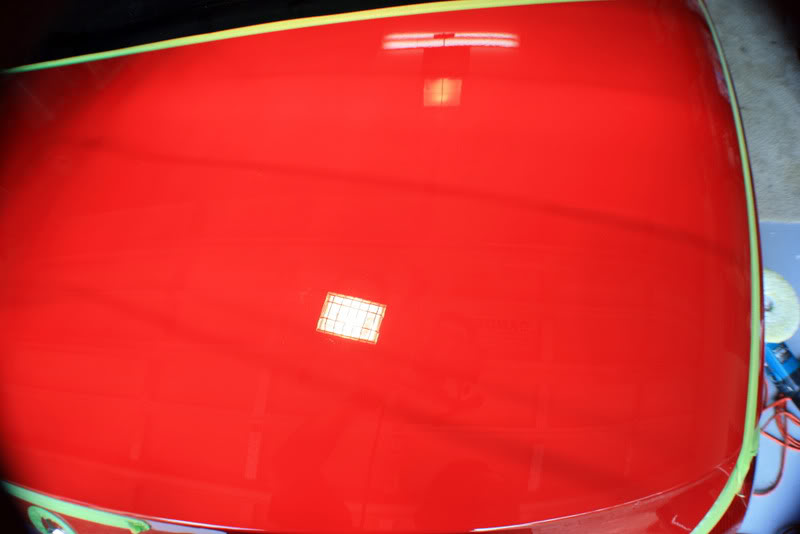
Next up we had a beautiful red SL55 AMG. I have been getting a lot of AMG cars lately they are always fun to work on! You gotta love the grumble of the motors coming out of a luxury car like these! This body onone was not exceptionally dirty, but it has some pretty severe scratches that the red paint does a good job of hiding and there were some overlooked areas that hadnt been cleaned in a while.
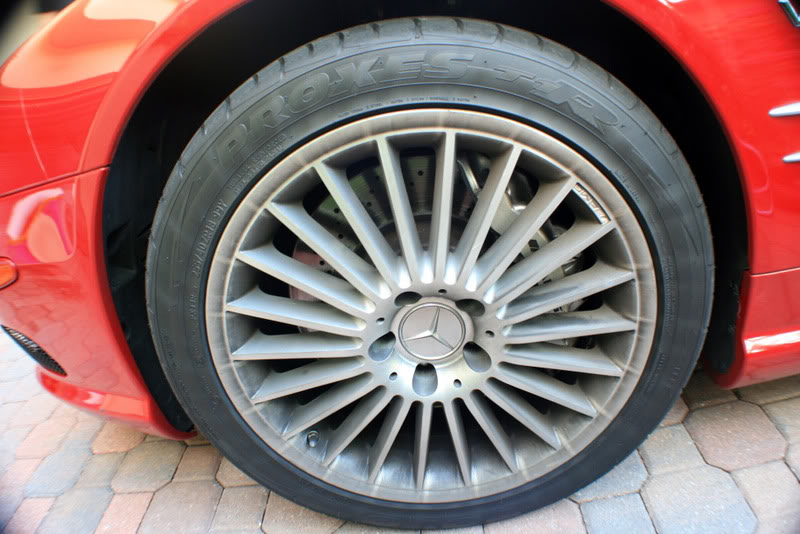
The wheels were pretty caked up with brake dust and ride grime. I knew P21S would help in that department, the stuff is incredible!
The exhaust tips needed some love as well.
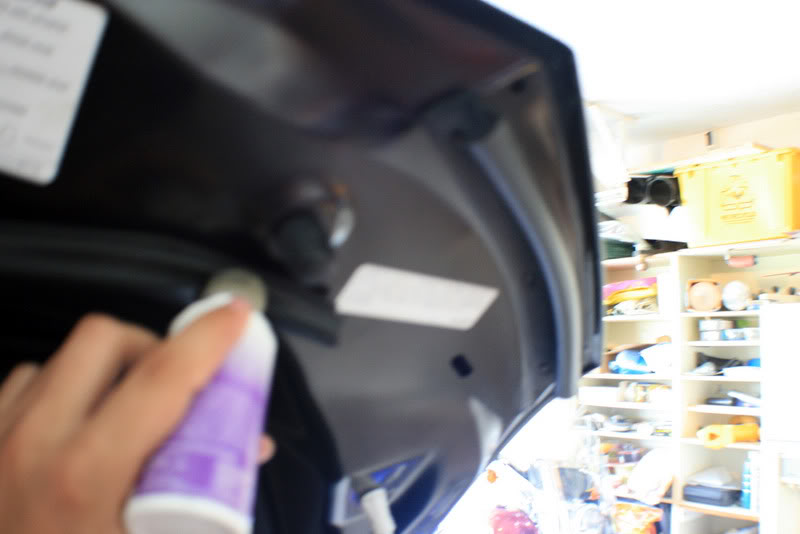
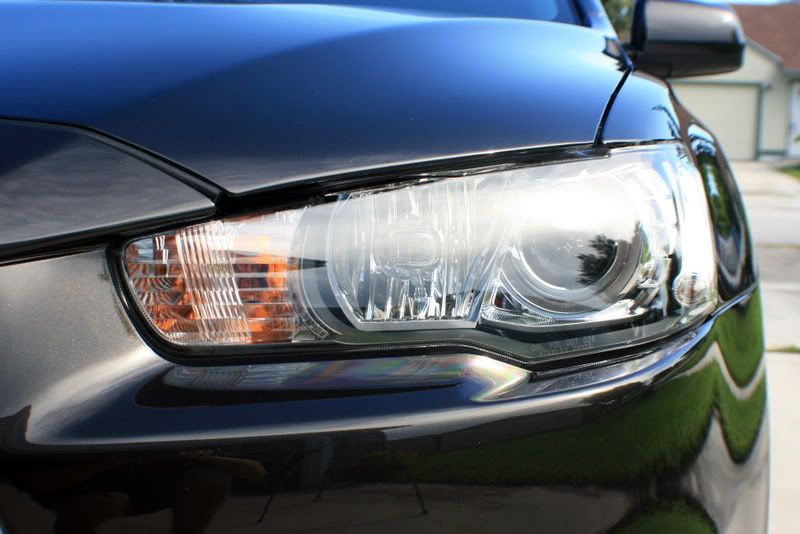
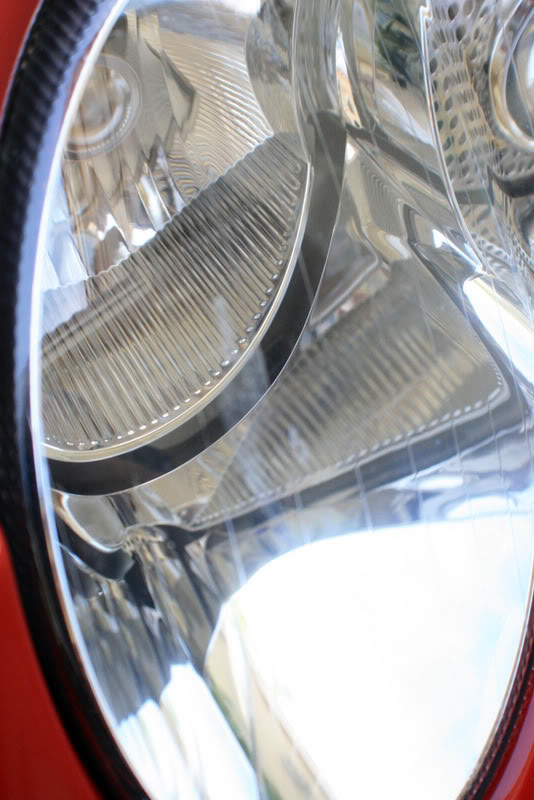
This headlight had a bit of etching in it which was removed later.
The license plate was removed and we proceed to wash the car using an ONR wash.
After the wash, wheels cleaned and sealed with Swissvax Wheel Wax.
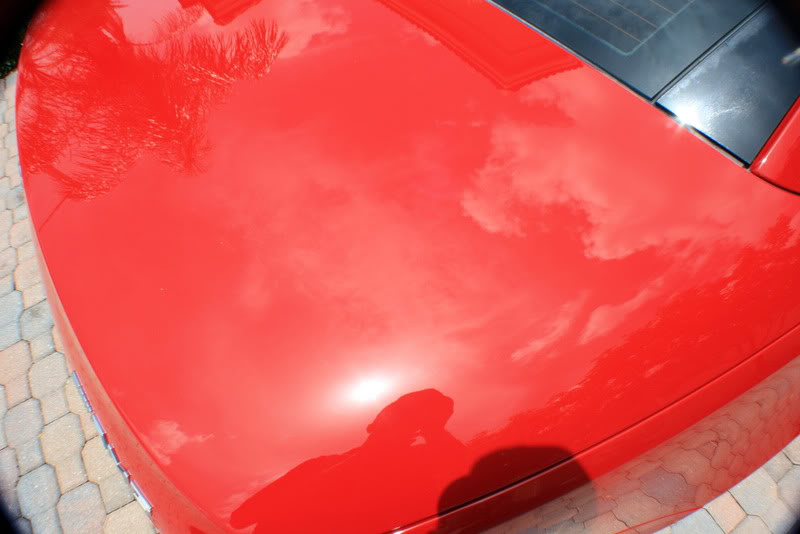
Looks good already, I know..but it still needed some work trust me!
The wheels were pretty caked up with brake dust and ride grime. I knew P21S would help in that department, the stuff is incredible!
The exhaust tips needed some love as well.
This headlight had a bit of etching in it which was removed later.
The license plate was removed and we proceed to wash the car using an ONR wash.
After the wash, wheels cleaned and sealed with Swissvax Wheel Wax.
Looks good already, I know..but it still needed some work trust me!
Thread Starter
|
1st Gear
Joined: Sep 2008
Posts: 357
From: Tampa, FL
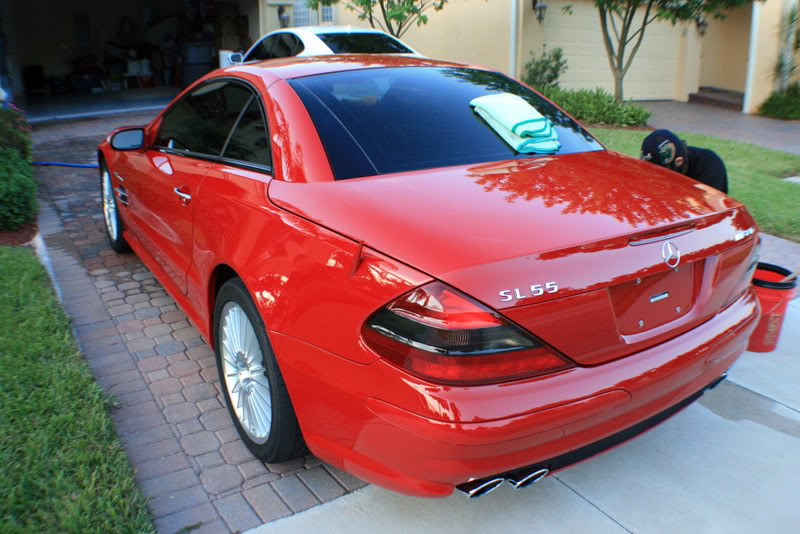
While I got to prepping Brian once again took care of the interior, engine, door shuts, rain channels with Z-AIO, treated the seals with Gummi Pledge and polished the exhaust tips.
Remember before?

After.
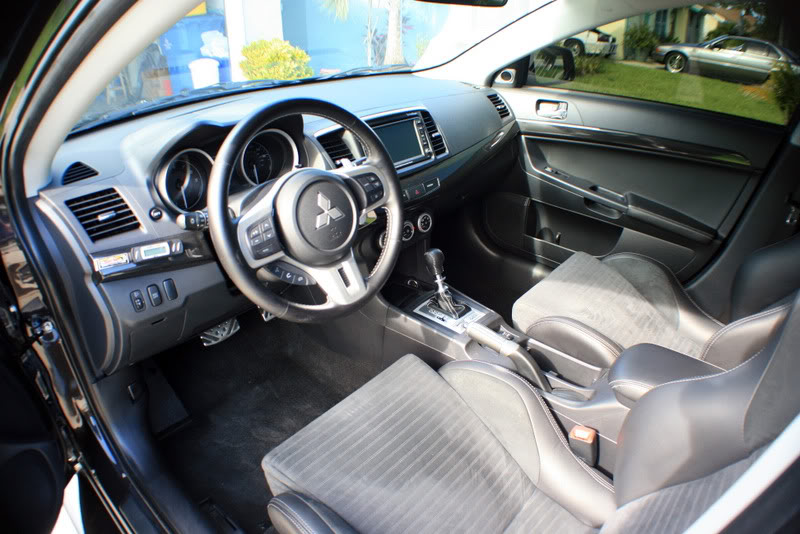
We were on a bit of a time crunch and I had a hard time reminding Brian to take pictures and the ones he did manage to get came out too blury to post. So we have no interior shots. Doh!
In the meantime, I had these to deal with. They were fairly deep and required a few passes to completely remove them.
But M105 wins this battle once again, I never thought they would come out.
Remember before?
After.
We were on a bit of a time crunch and I had a hard time reminding Brian to take pictures and the ones he did manage to get came out too blury to post. So we have no interior shots. Doh!
In the meantime, I had these to deal with. They were fairly deep and required a few passes to completely remove them.
But M105 wins this battle once again, I never thought they would come out.