Wes_R x R8 (113 pics)
#1
Hi everybody,
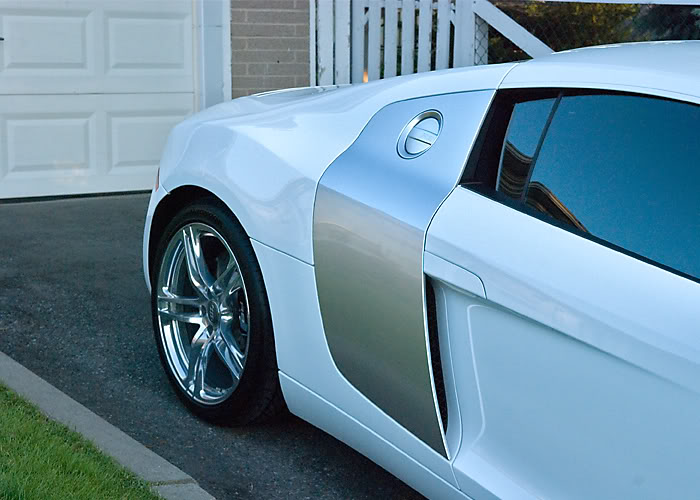
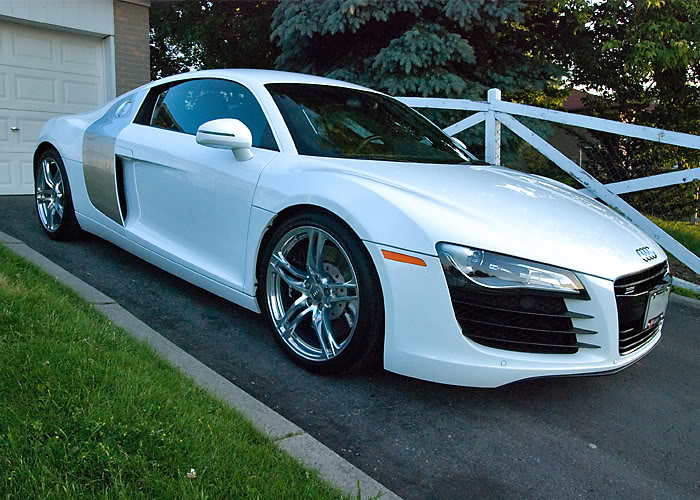
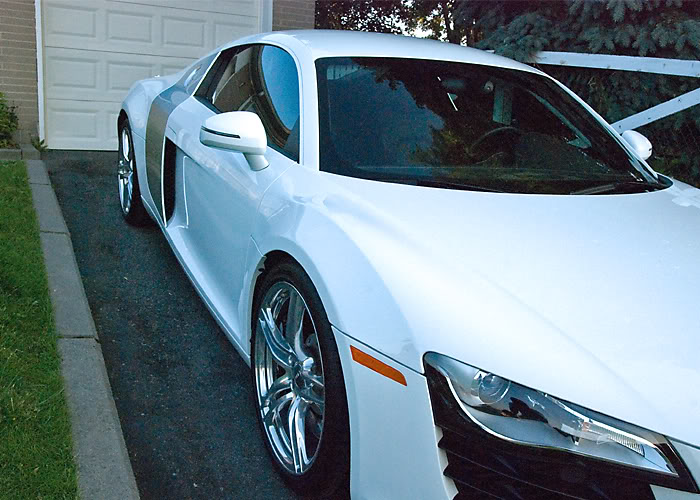
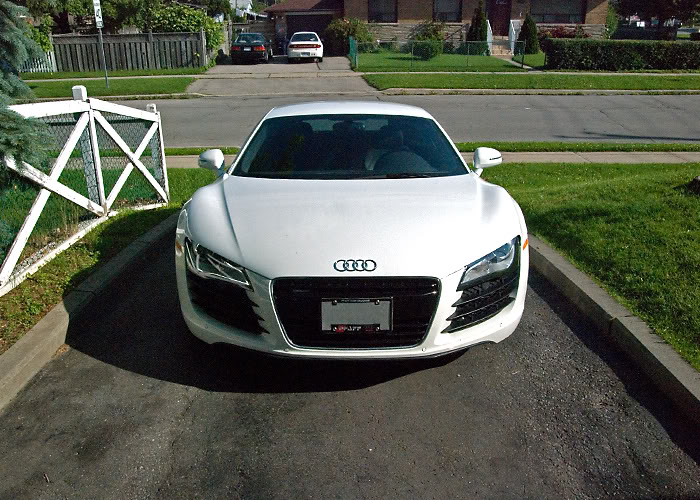
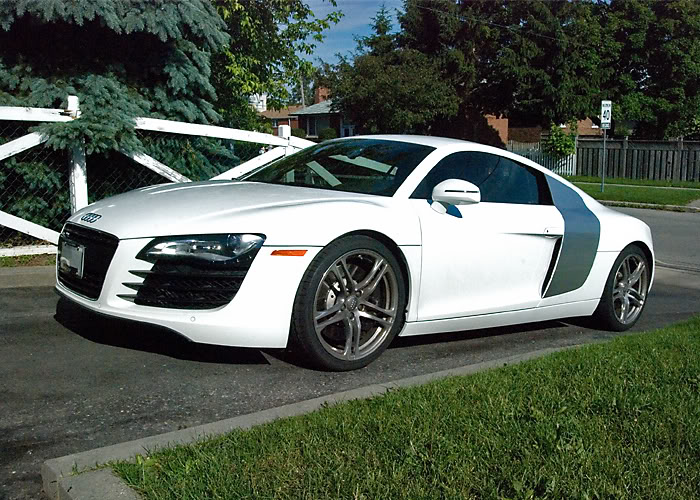
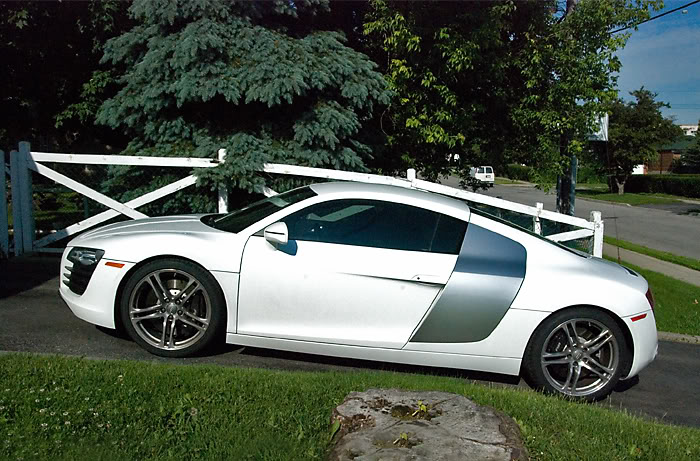
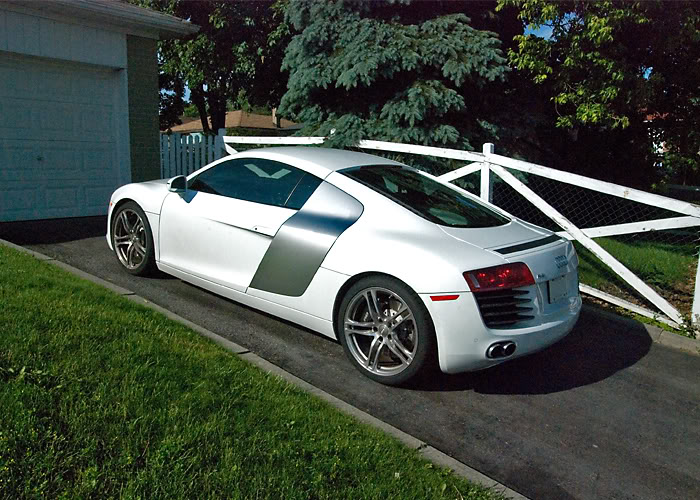
Todays write up is on a Ibis White R8 with the silver side blade, very classy in my opinion. I had seen this R8 before near the area where I had grown up and can actually remember spotting it one night on my way to the Pacquiao vs Clottey fight(I asked the owner later to confirm it was him). Funny how a car you admire on the street just ends up in your drive way... I love it when life works out like that .
.
Anyway let's get into the write up.
Here she is and a quick walk around of the car.
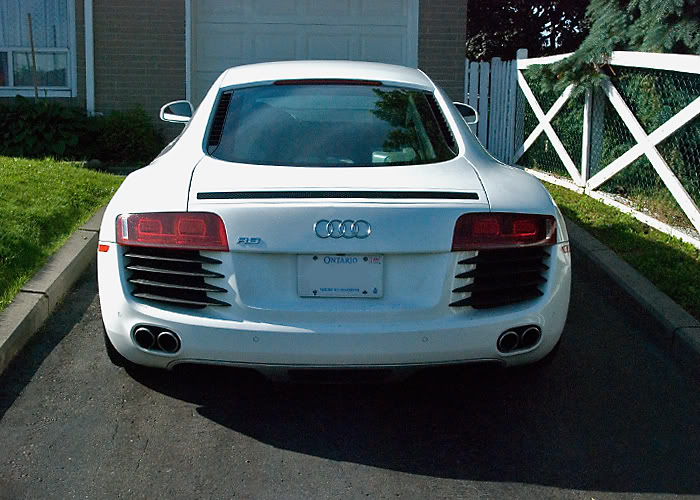
I start with the wheels/engine/exhaust first, reason being things can get messy and you wouldn't want that mess with a clean already washed car. So we start with these areas first.
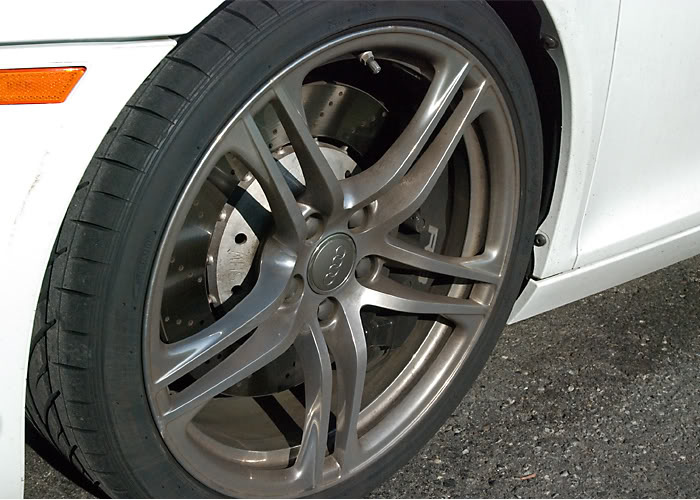
Brake dust covered rim
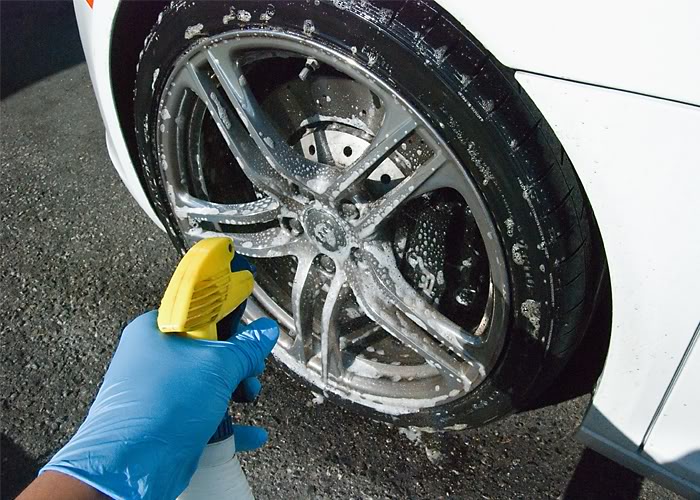
Applying Autoglym Custom Wheel Cleaner.
Anything non acidic to clean your rim is best and one thing I love about this cleaner is it's ability to pull dirt out of the tire very well and with some agitation you can turn a brown tire back into black which is great for later on when you apply the tire dressing. You wouldn't wax a dirty car would you? But yet a lot of people dress their tires while they are still dirty not realizing brake dust gets on the tire to.
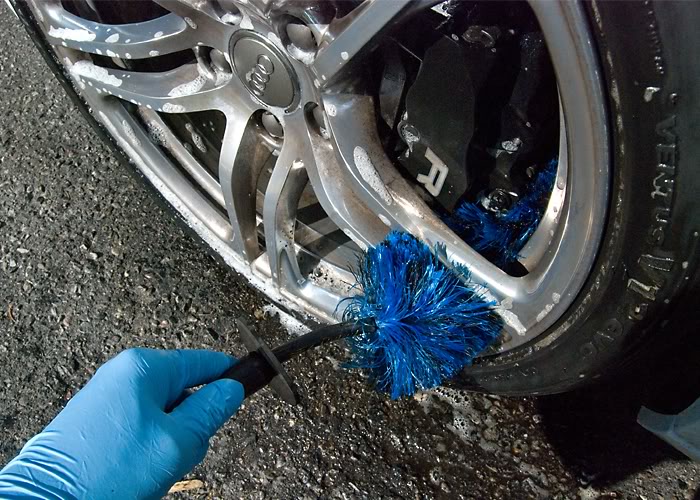
Agitating the inner barrel with my EZ Brush.
Cleaning the rim face with a microfibre mitt.
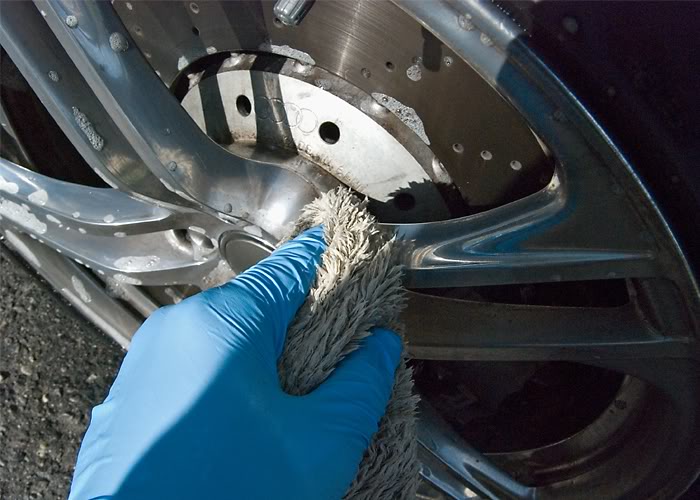
And cleaning the caliper with my Race Glaze Brush.
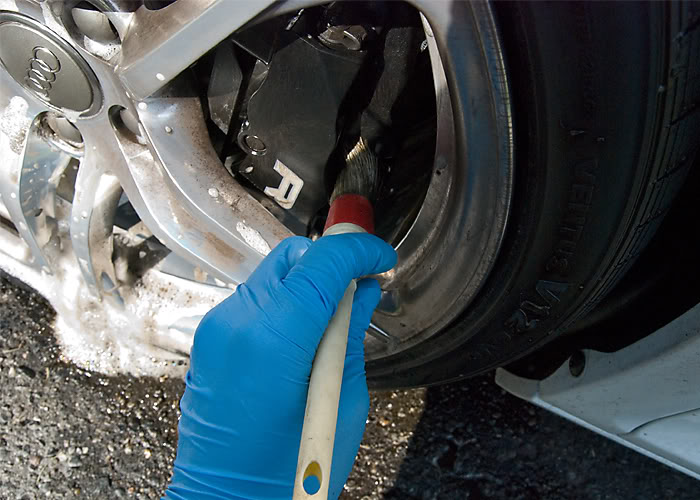
Cleaned up the exhaust as well.
Here they are with some Chemical Guys Grime Reaper applied to them.
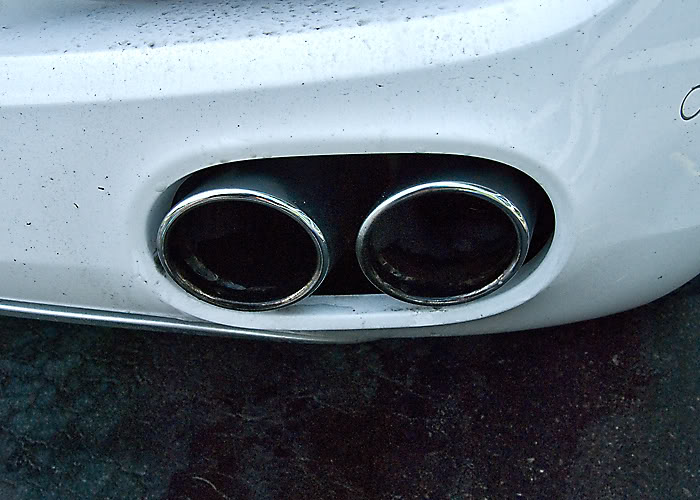
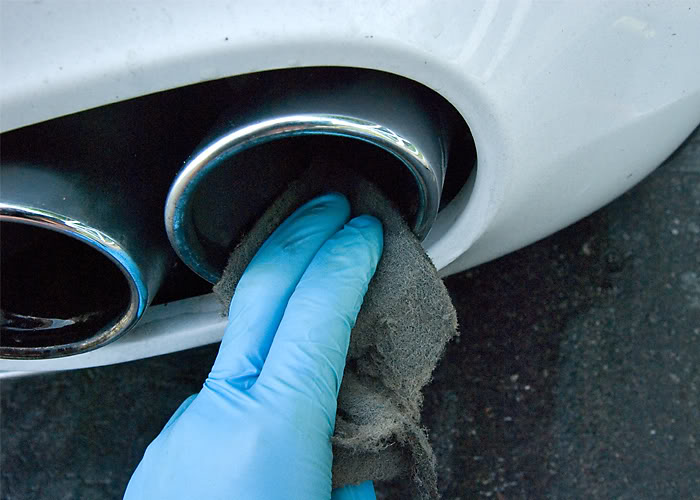
Used my mini EZ Brush to clean in between the dual exhaust.
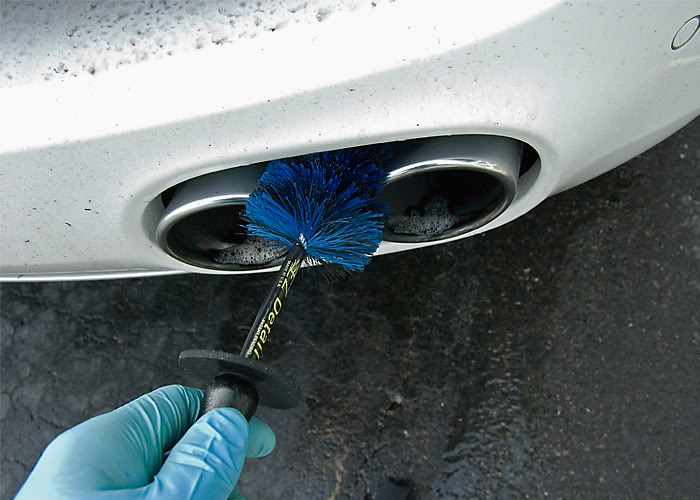
And a 0000 steel wool pad to clean inside the pipes.
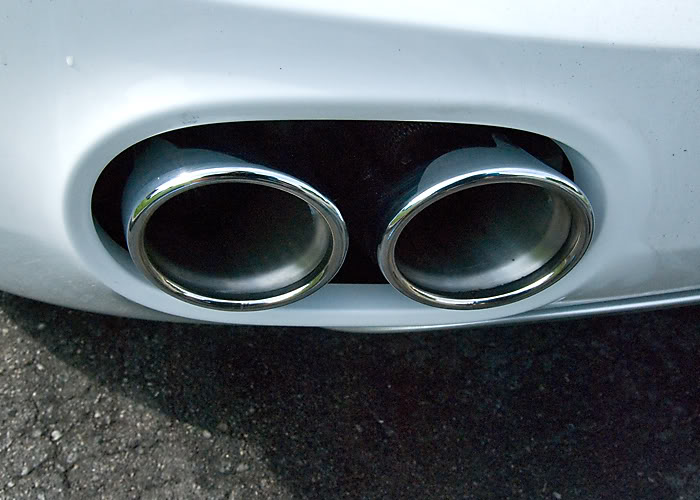
Here is an after of how the driver's side looks.
Todays write up is on a Ibis White R8 with the silver side blade, very classy in my opinion. I had seen this R8 before near the area where I had grown up and can actually remember spotting it one night on my way to the Pacquiao vs Clottey fight(I asked the owner later to confirm it was him). Funny how a car you admire on the street just ends up in your drive way... I love it when life works out like that
 .
.Anyway let's get into the write up.
Here she is and a quick walk around of the car.


I start with the wheels/engine/exhaust first, reason being things can get messy and you wouldn't want that mess with a clean already washed car. So we start with these areas first.
Brake dust covered rim

Applying Autoglym Custom Wheel Cleaner.
Anything non acidic to clean your rim is best and one thing I love about this cleaner is it's ability to pull dirt out of the tire very well and with some agitation you can turn a brown tire back into black which is great for later on when you apply the tire dressing. You wouldn't wax a dirty car would you? But yet a lot of people dress their tires while they are still dirty not realizing brake dust gets on the tire to.

Agitating the inner barrel with my EZ Brush.

Cleaning the rim face with a microfibre mitt.

And cleaning the caliper with my Race Glaze Brush.

Cleaned up the exhaust as well.
Here they are with some Chemical Guys Grime Reaper applied to them.

Used my mini EZ Brush to clean in between the dual exhaust.

And a 0000 steel wool pad to clean inside the pipes.

Here is an after of how the driver's side looks.

#2
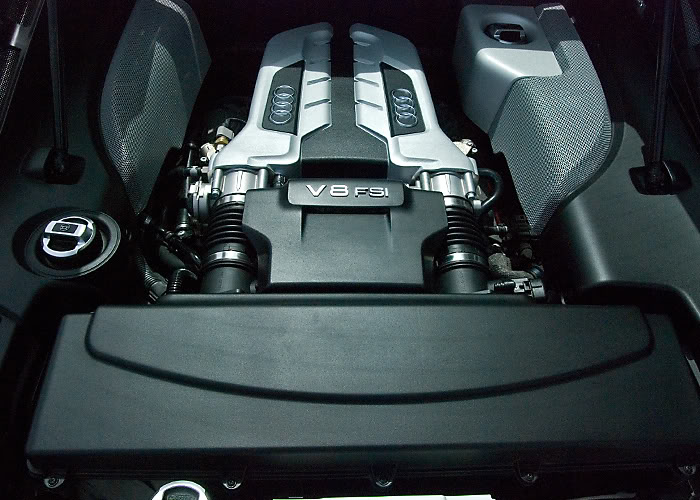
I didn't want to do an all out cleaning on the engine as I believe this is the same V8 from the RS4 and the coils are exposed, so to get them wet would mean problems. Yet I couldn't just leave the engine bay dusty because it is on display and will be looked at. So I used Optimum Power Clean cut 30/70 with water and wiped the engine bay down with a damp microfibre cloth getting clean areas that I could reach. Afterwards I wiped on Meguiars Hyper Dressing cut 20/80 with water for a natural finish.
Here is an after pic of the engine bay.
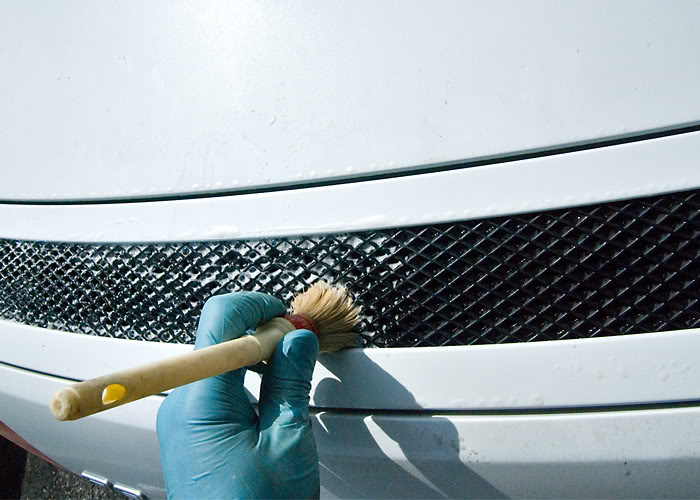
Just before the wash I wanted to clean up all the mesh vents & etc. So I took my Race Glaze Brush and the Optimum Power Clean and cleaned up all these areas first.

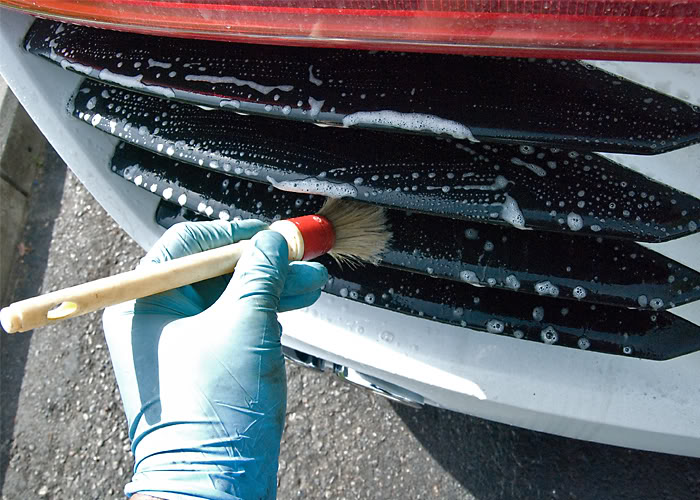

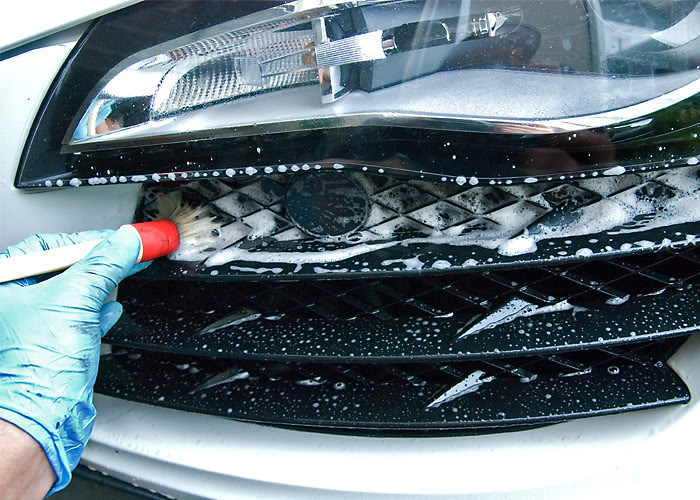
After brushing out the vents I foamed down the car with Prep Wash to strip off any silicones that might have been applied to the paint. Doing this would help reveal the true condition of the paint stripping off any filler products that might have been hiding anything.
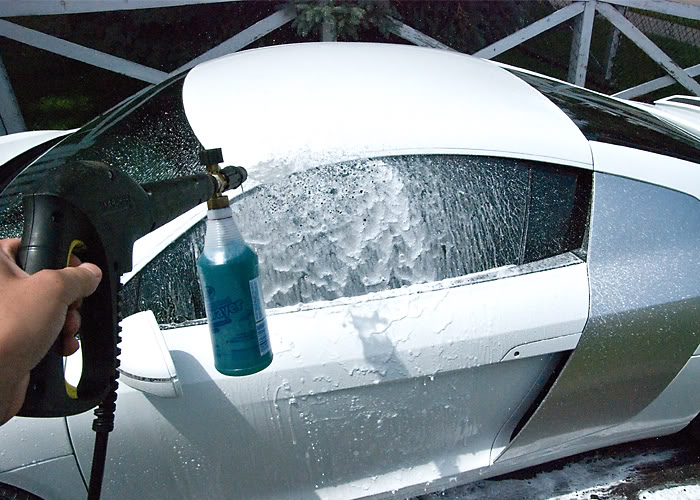
Let it dwell for a bit while I prepared to wash the car.
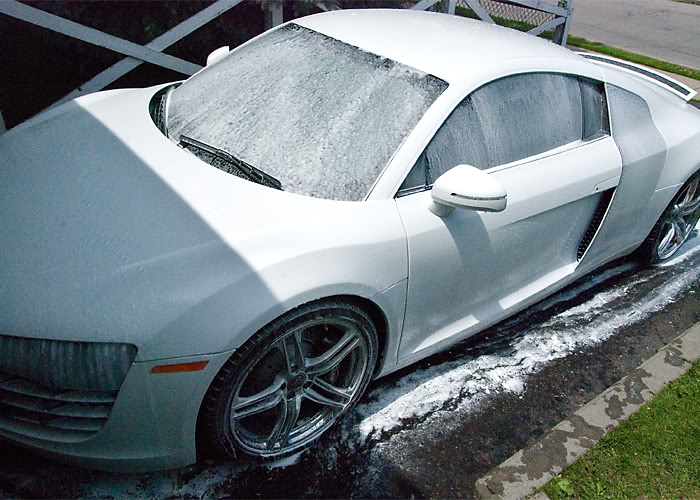
The two bucket method was used to wash the car. The reason for washing with two buckets is simple one bucket is water the other soap, after every panel you rinse off the dirt from your wash media in the water only bucket before you dip it back in the soap bucket. Doing it this way prevents you from dragging dirt all over your paint causing more swirls on the paint. Some can say that I am going to polish out the swirls any way but I feel it is backwards to induce more while I am washing.

Natural Sea Sponge was my wash media.
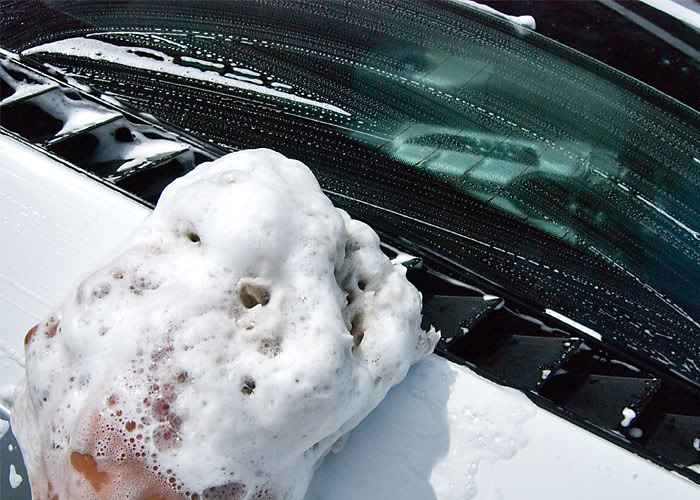
Dried off the car with my waffle weave towels and then brought it in to clay the paint.
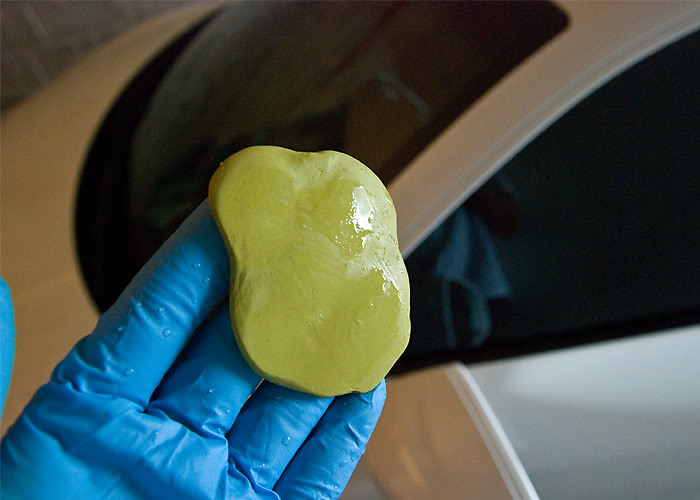
For those of you not to familiar with what clay does, it basically sheers out contaminants embedded in the paint. This can be raildust, fallout, or even just tiny dirt debris. If you wash your car and run your hands along the paint you will probably find that it is rough. What you are feeling is the surface contaminants.
Riccardo Yellow clay was used. I had run out of lube which is usually Meguairs Last Touch cut 50/50 with water but this time it was just straight water.

Paint was fairly contaminated but not terribly.
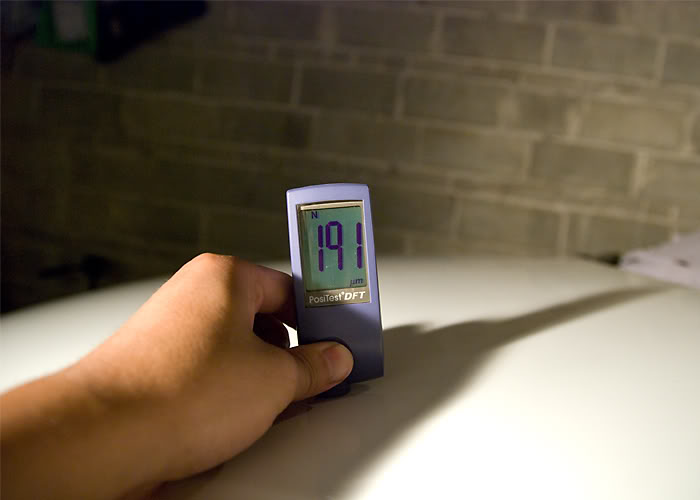
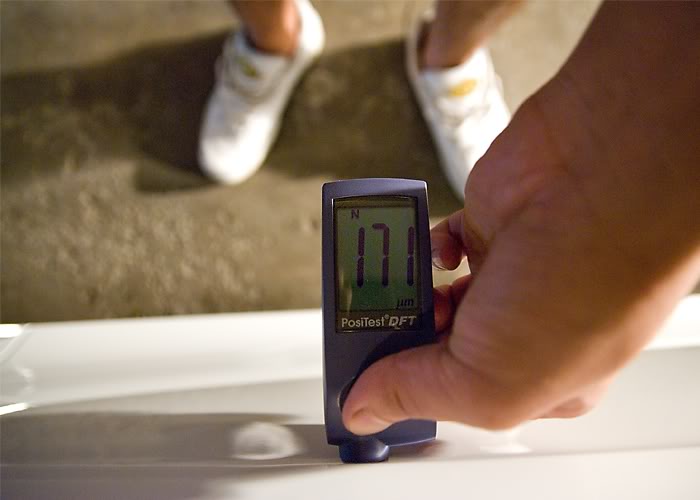
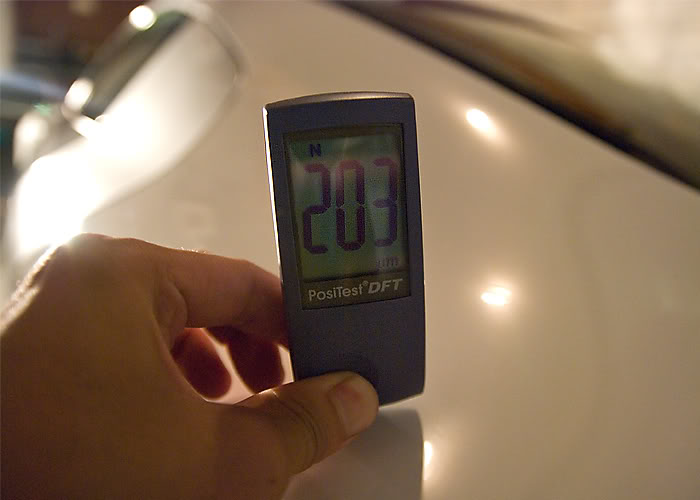
Moving along I measured the paint to look out for any low spots or if anything had been repainted. I found the paint to be fairly thick with every panel being 170 microns or more with the average being about 200 microns. I found it funny that a stone chip I noticed still had paint in it instead of exposed metal, just to give you an idea of how thick the paint was as well Audi paint is known to be rock hard so that helps to.
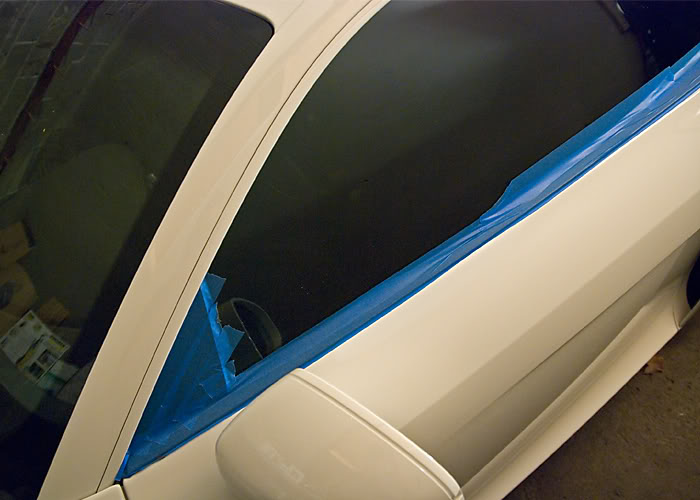
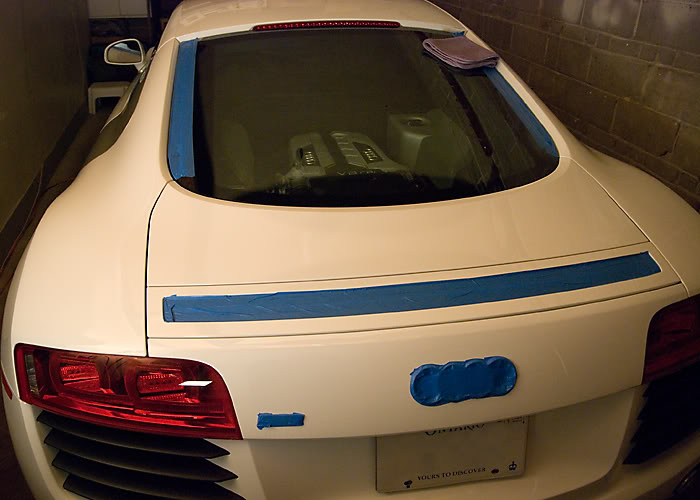
I masked up all the non metallic trim to protect them from getting burnt.
Here is an after pic of the engine bay.

Just before the wash I wanted to clean up all the mesh vents & etc. So I took my Race Glaze Brush and the Optimum Power Clean and cleaned up all these areas first.


After brushing out the vents I foamed down the car with Prep Wash to strip off any silicones that might have been applied to the paint. Doing this would help reveal the true condition of the paint stripping off any filler products that might have been hiding anything.

Let it dwell for a bit while I prepared to wash the car.

The two bucket method was used to wash the car. The reason for washing with two buckets is simple one bucket is water the other soap, after every panel you rinse off the dirt from your wash media in the water only bucket before you dip it back in the soap bucket. Doing it this way prevents you from dragging dirt all over your paint causing more swirls on the paint. Some can say that I am going to polish out the swirls any way but I feel it is backwards to induce more while I am washing.

Natural Sea Sponge was my wash media.

Dried off the car with my waffle weave towels and then brought it in to clay the paint.
For those of you not to familiar with what clay does, it basically sheers out contaminants embedded in the paint. This can be raildust, fallout, or even just tiny dirt debris. If you wash your car and run your hands along the paint you will probably find that it is rough. What you are feeling is the surface contaminants.
Riccardo Yellow clay was used. I had run out of lube which is usually Meguairs Last Touch cut 50/50 with water but this time it was just straight water.

Paint was fairly contaminated but not terribly.

Moving along I measured the paint to look out for any low spots or if anything had been repainted. I found the paint to be fairly thick with every panel being 170 microns or more with the average being about 200 microns. I found it funny that a stone chip I noticed still had paint in it instead of exposed metal, just to give you an idea of how thick the paint was as well Audi paint is known to be rock hard so that helps to.


I masked up all the non metallic trim to protect them from getting burnt.


#3
Now we begin the surgery.
I was hoping to just 1 step polish the paint but with Audi paint being rock hard I had to 2 step it to correct the swirls and then to jewel the paint to a high gloss.
My process for the first step was Meguiars M205 with a Lake Country orange pad on the Makita rotary and here are the results I was getting.
Before
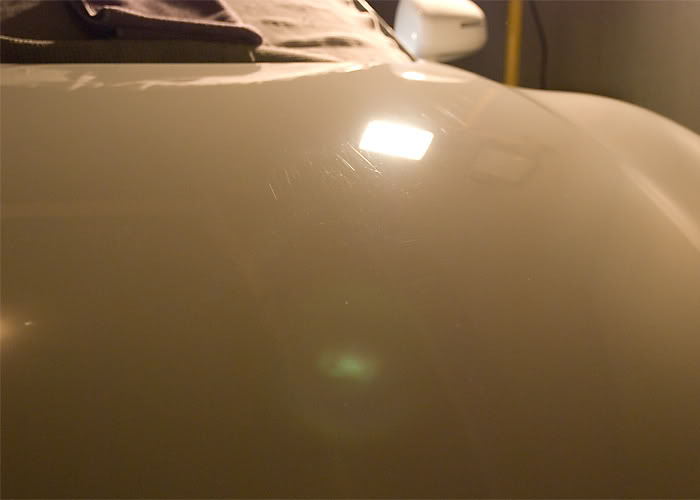
After
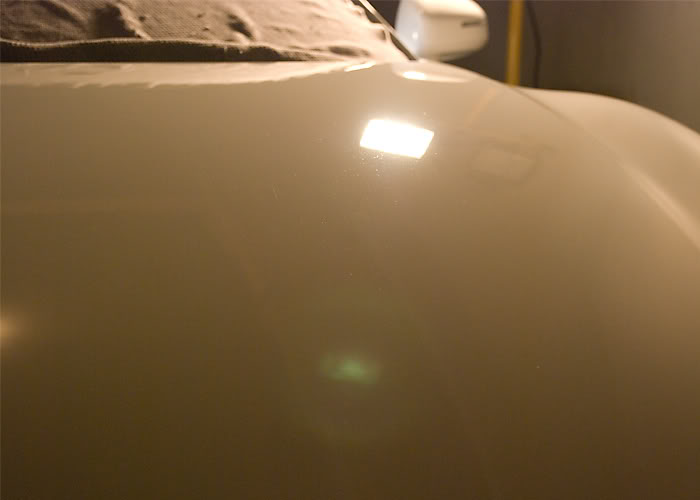
Before
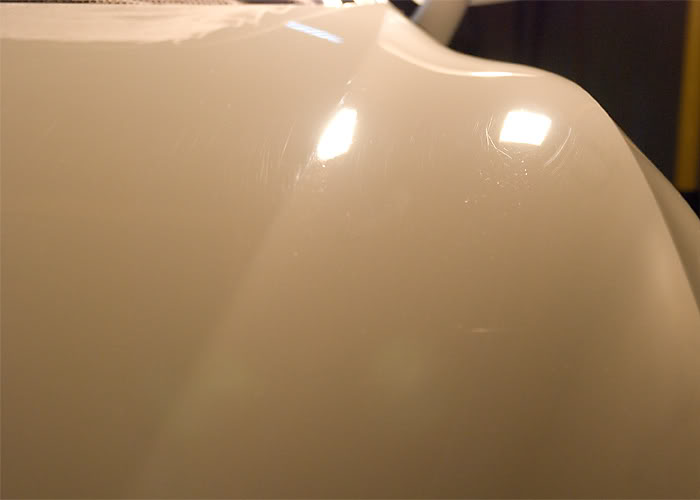
After
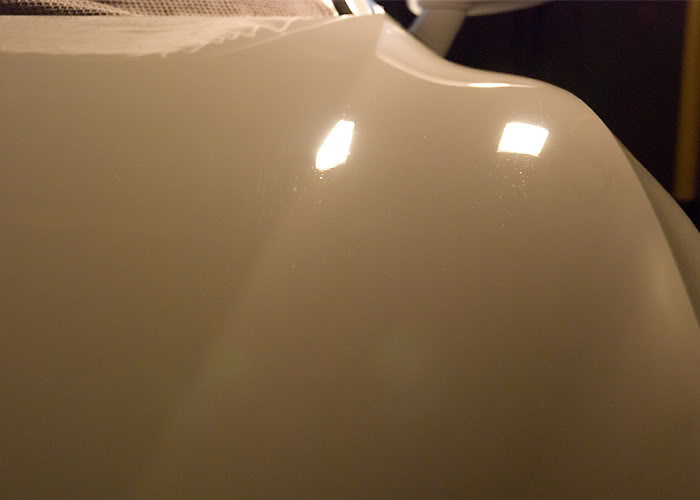
Before(I don't know what happened here, but it looks like brillio pad work)
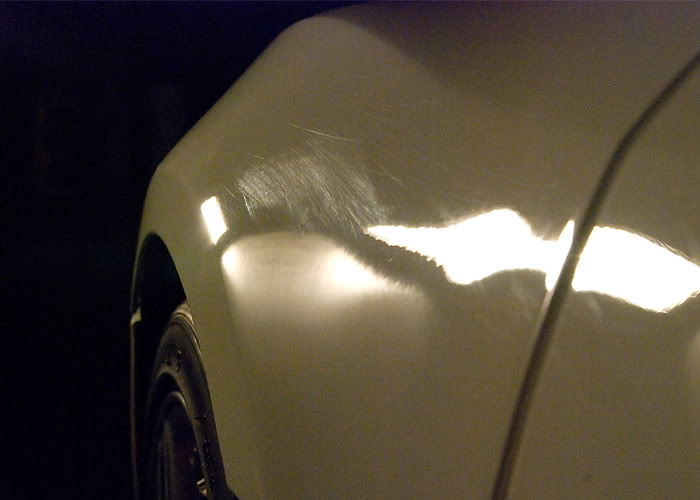
After
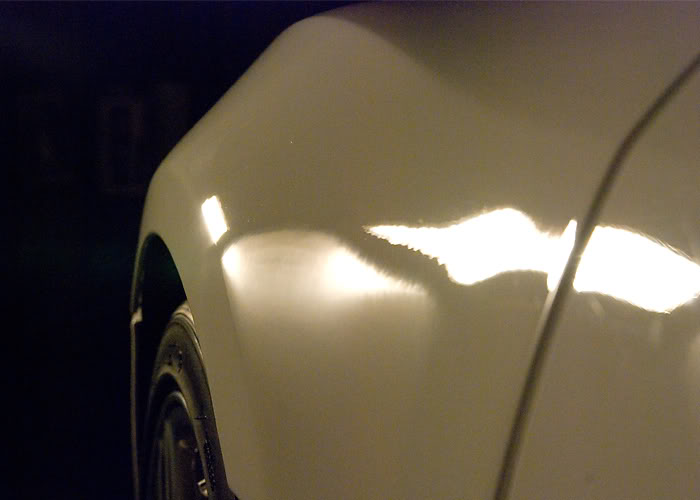
Before
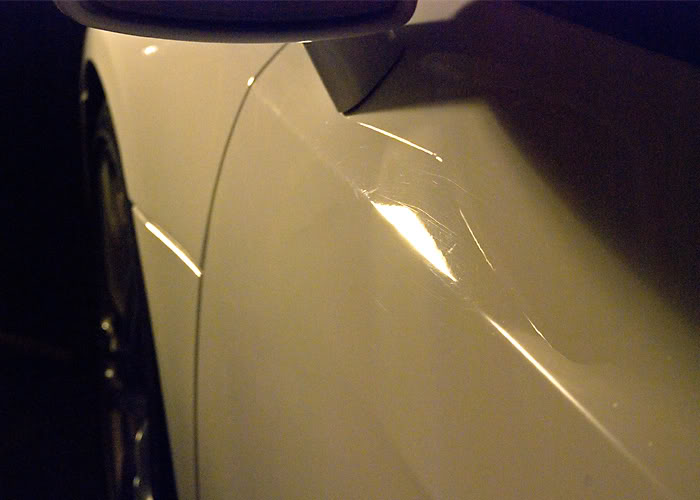
After
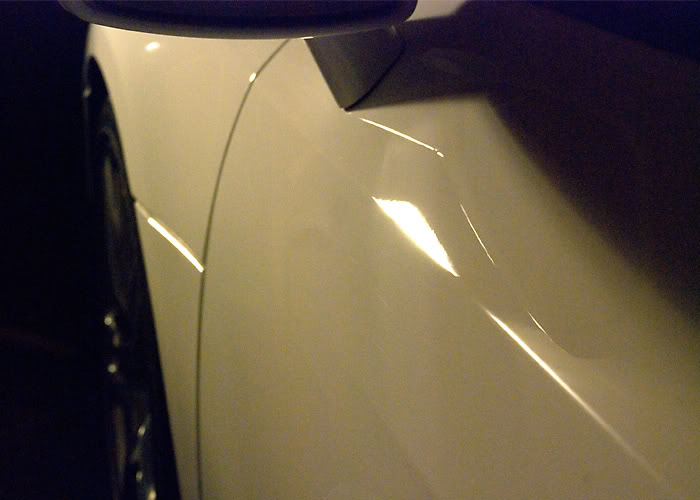
Before
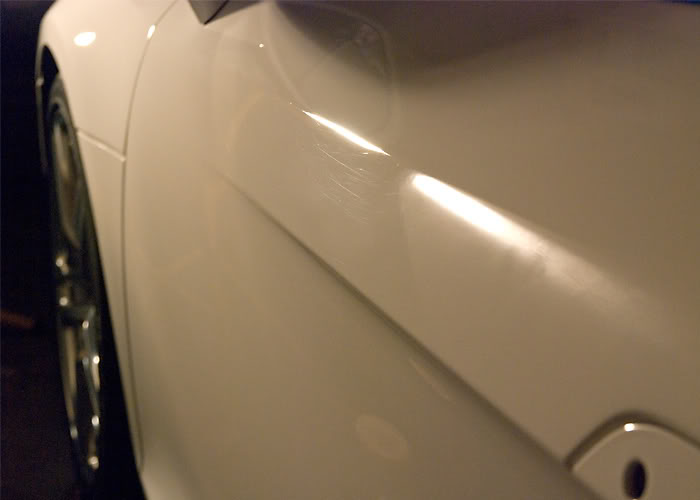
After
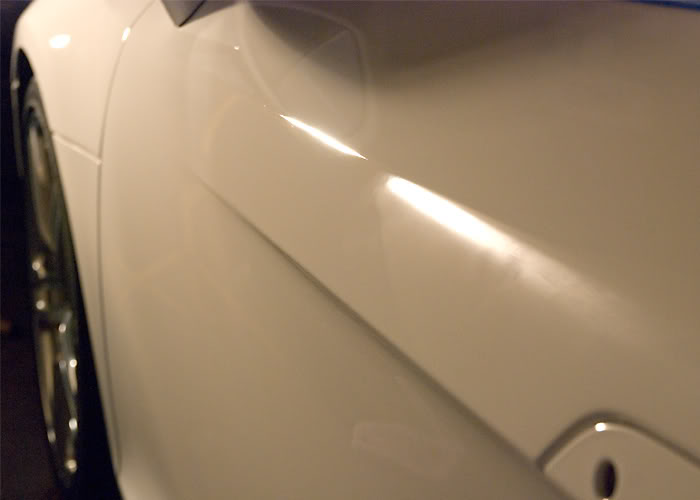
Before
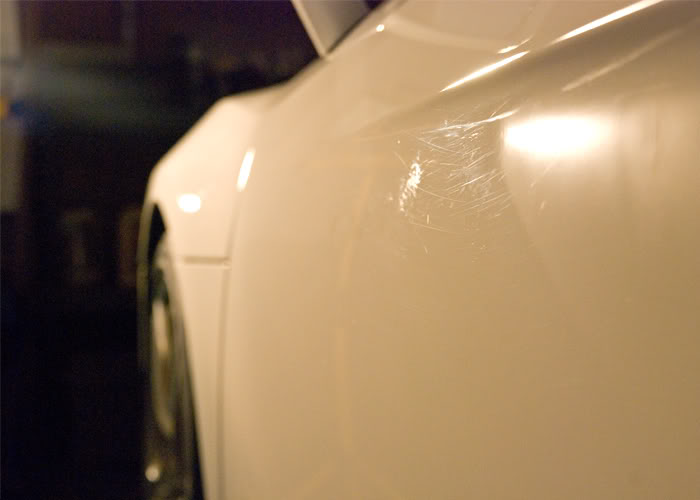
After
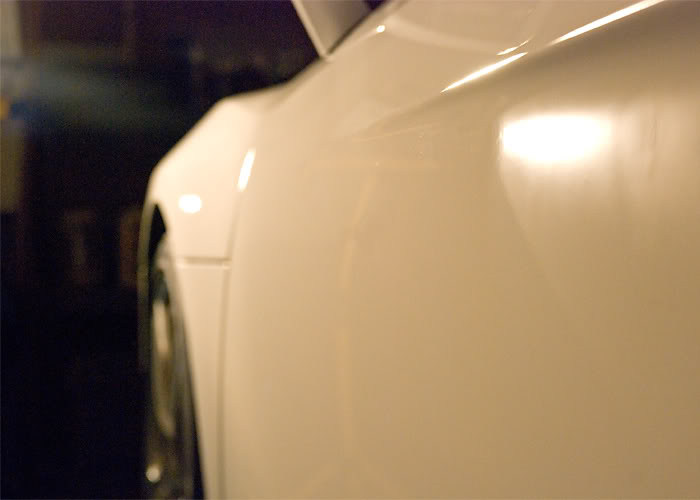
Before
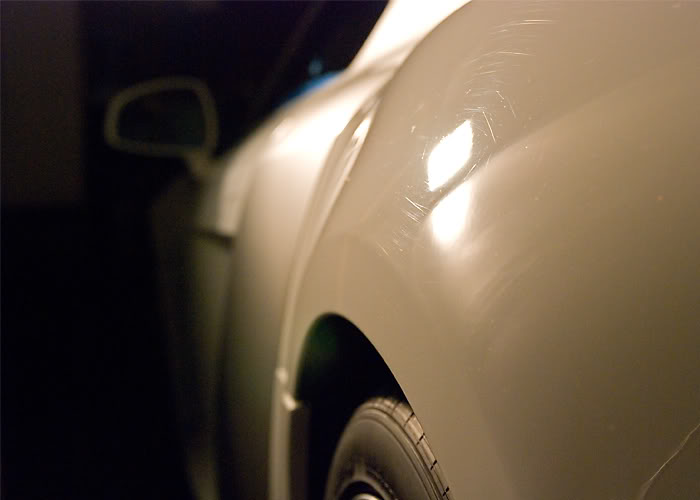
After
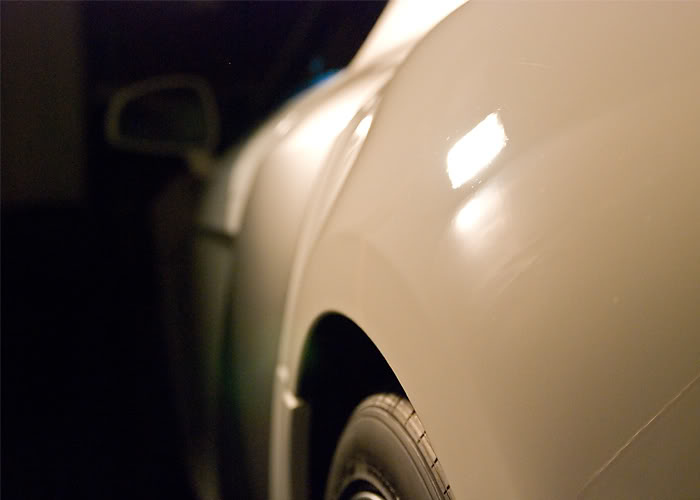
Before
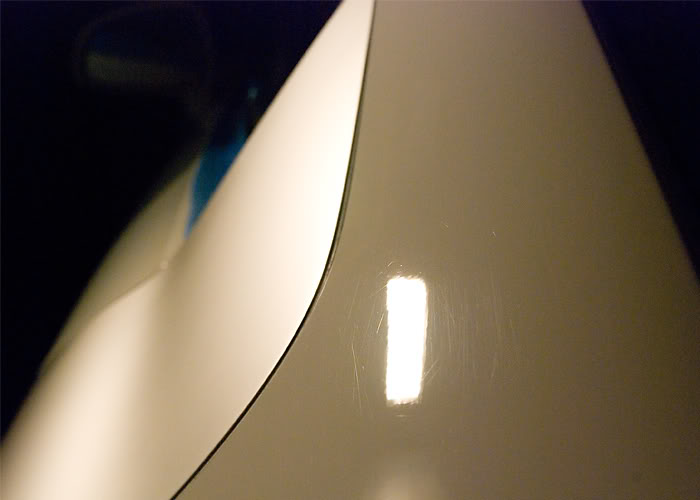
After

Before
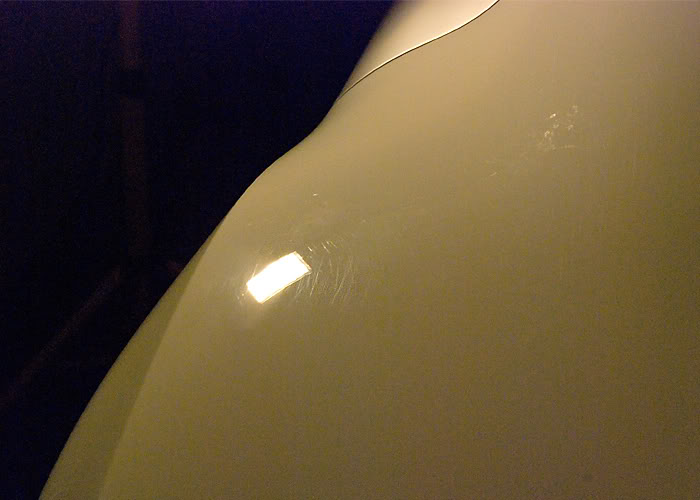
After
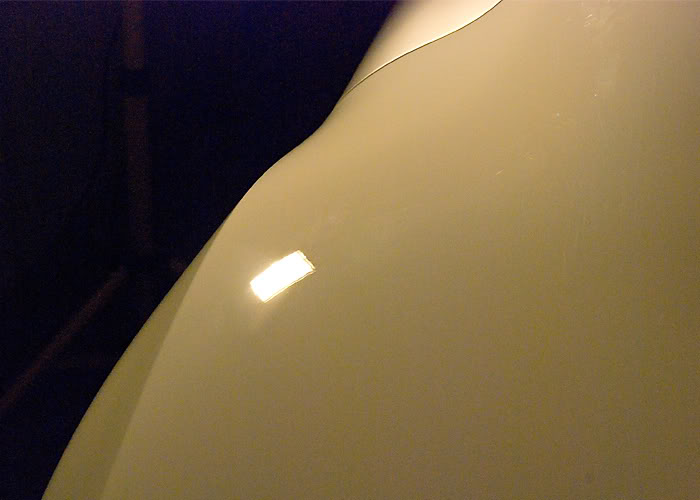
I was hoping to just 1 step polish the paint but with Audi paint being rock hard I had to 2 step it to correct the swirls and then to jewel the paint to a high gloss.
My process for the first step was Meguiars M205 with a Lake Country orange pad on the Makita rotary and here are the results I was getting.
Before

After

Before

After

Before(I don't know what happened here, but it looks like brillio pad work)

After

Before

After

Before

After

Before

After

Before

After

Before

After

Before

After

#4
Before
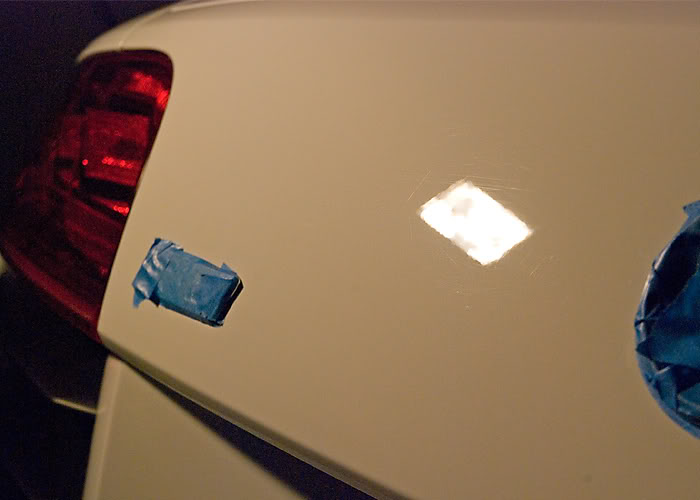
After
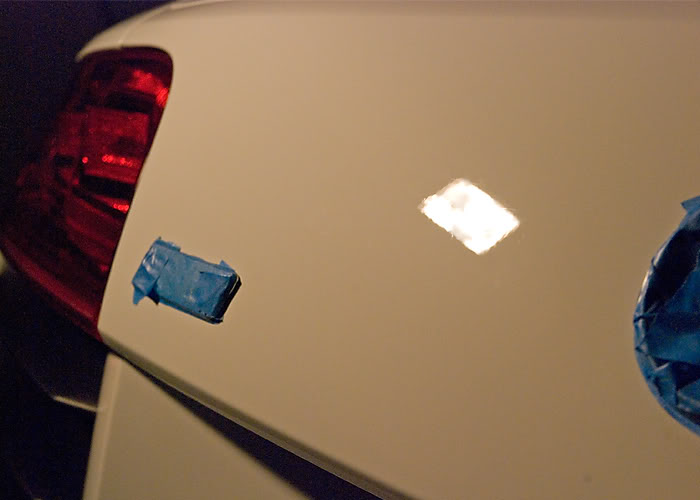
The tail lights were even swirly so I gave those a polish to.
Before
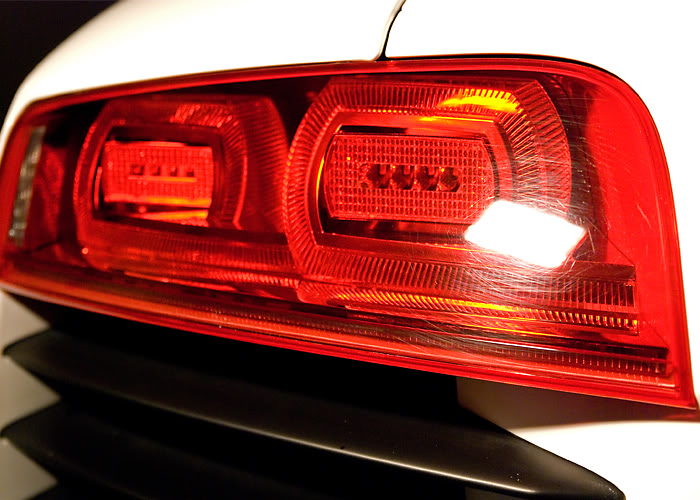
After(this was after one hit, to correct it better it required a second hit)
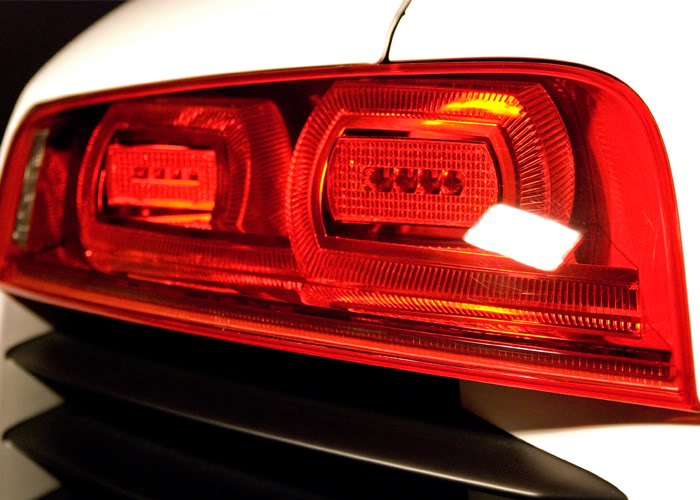
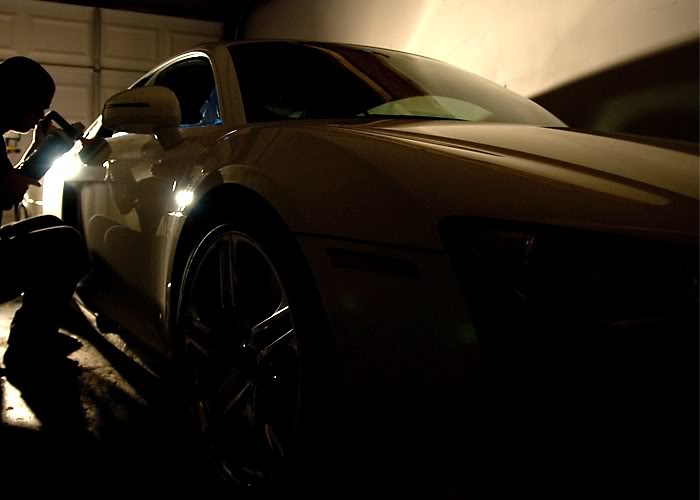
I gave the car a wipe down with ipa alcohol cut 50/50 with water and then jeweled the paint with a grey 3M backing plate, a white Lake Country pad, and Menzerna PO85rd.
Here is a shot of me jeweling the paint.
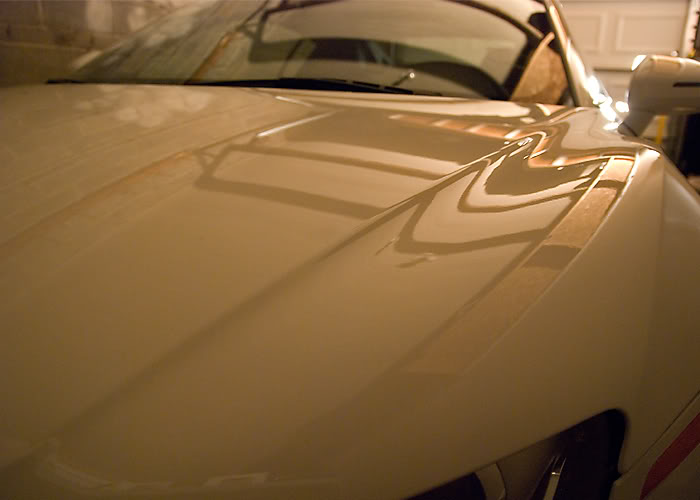
And the results of my work.
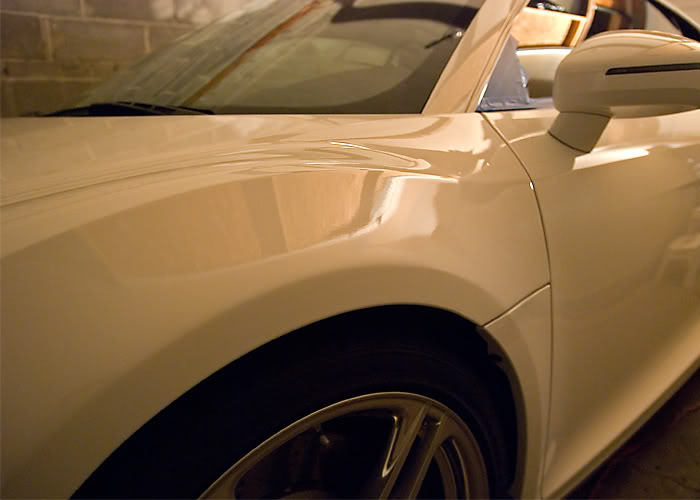
After a couple hours of jeweling the paint and completing the last step I finally unmasked the car.
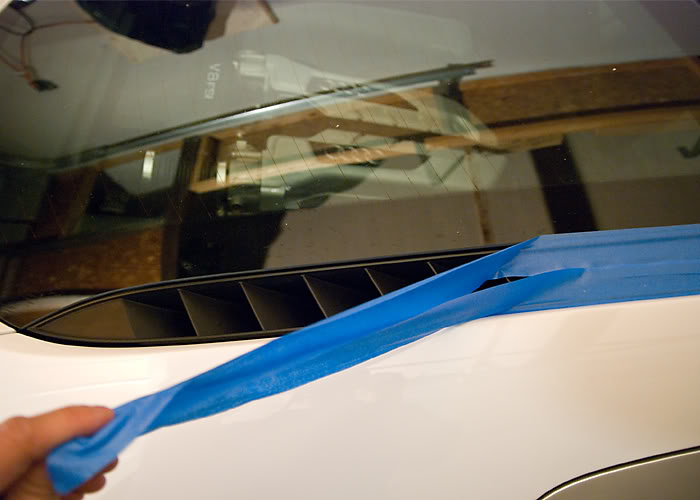

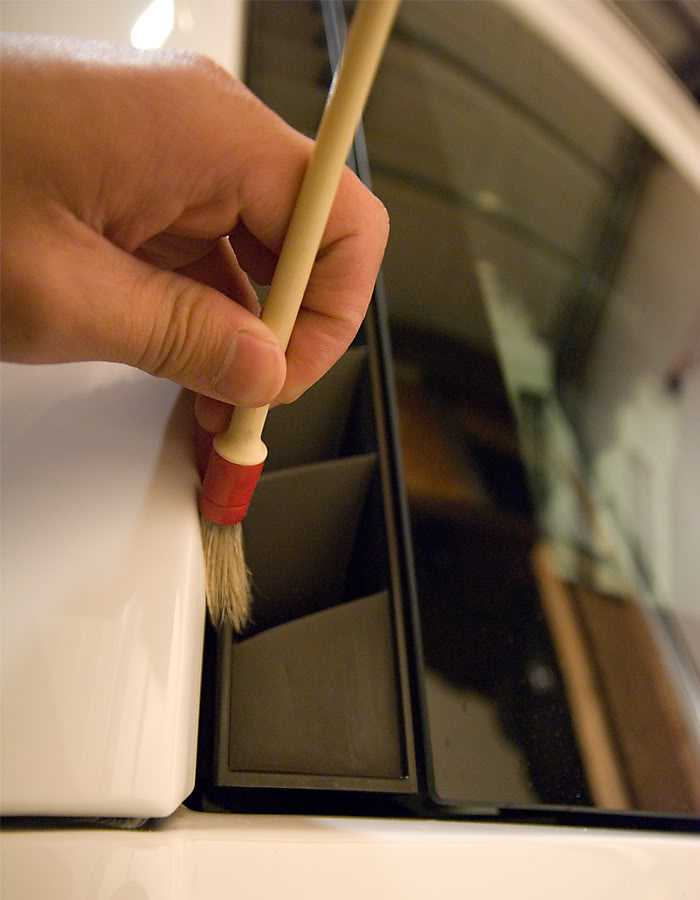
Dusted out the crevices.
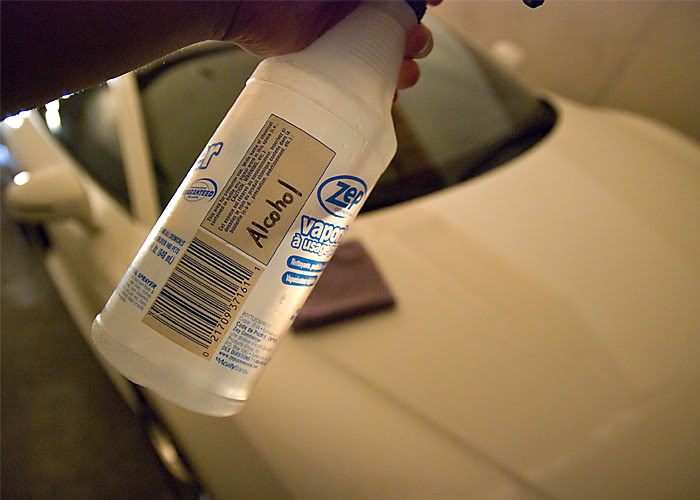
And then gave the paint a 2nd ipa wipe down to clean off the polishing oils.
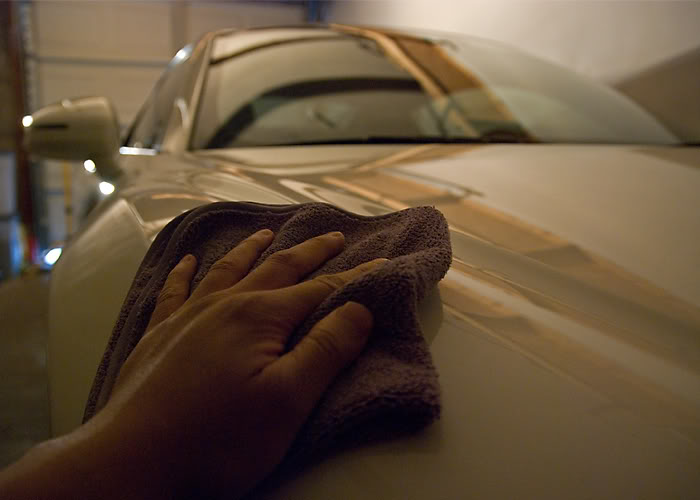
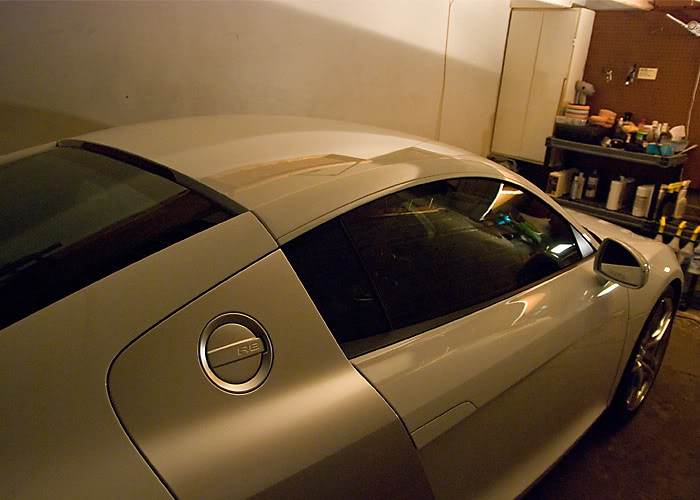
Here she is cleaned up. No wax yet but still a nice gloss because of the jeweling.
As well before doing my last steps I double checked the paint with my 3M Sun Gun which omits the same spectrum light as the sun.
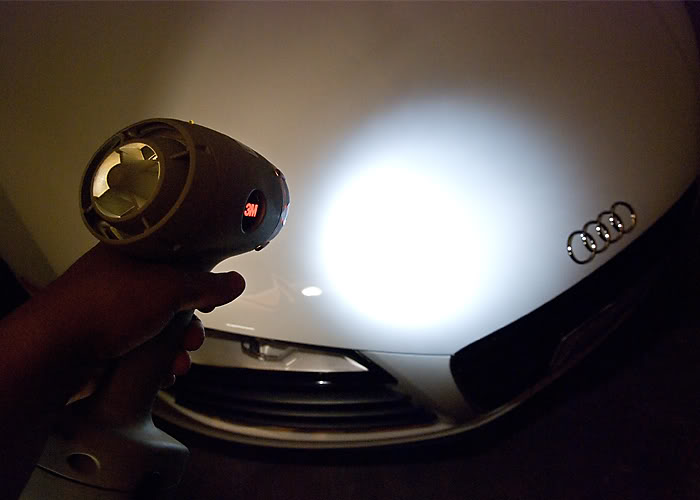
No swirls.
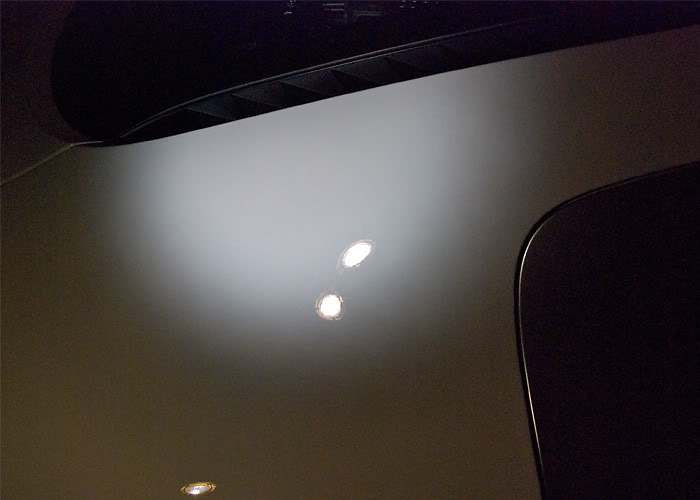
On to the waxing now to protect the new finish.
Wax for the day is Swissvax Concorso.
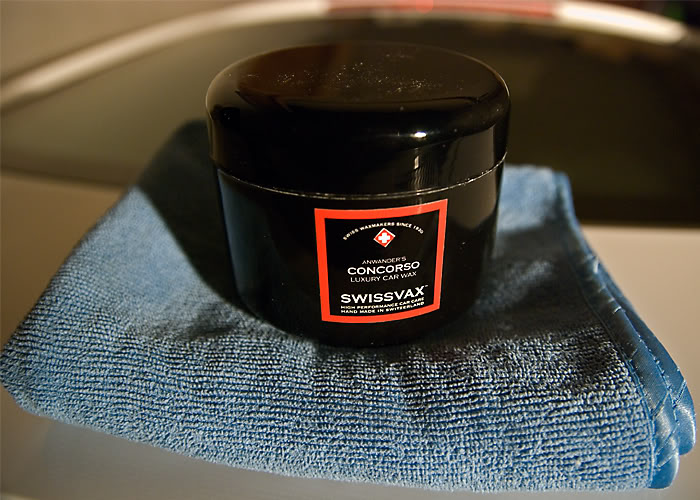
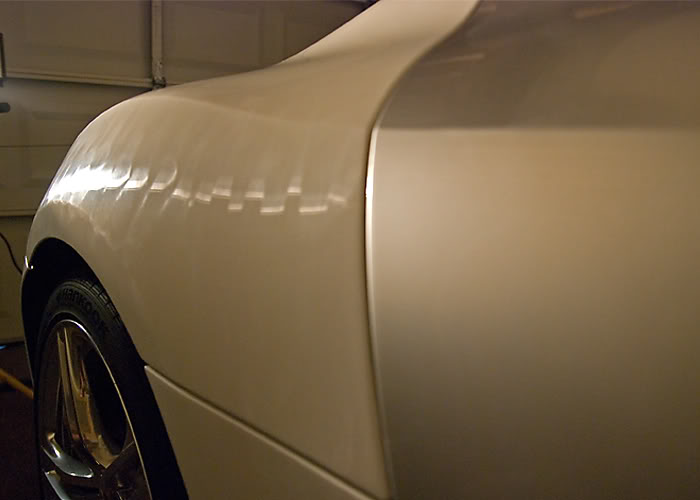
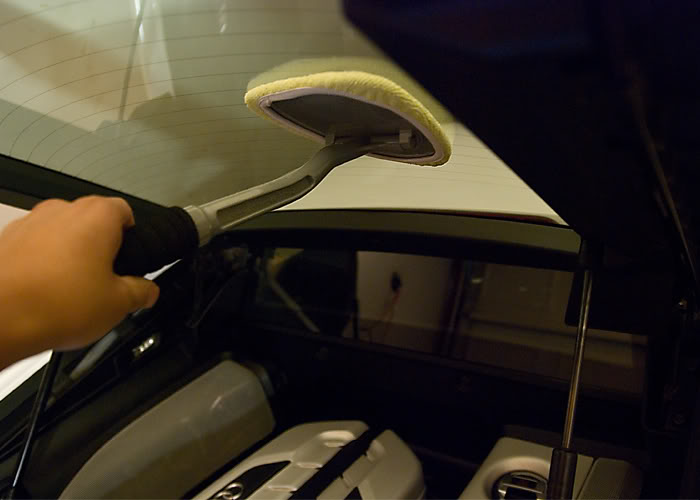
While the wax was curing I cleaned the windows with my Glass Master Pro and Stoners Invisible Glass.
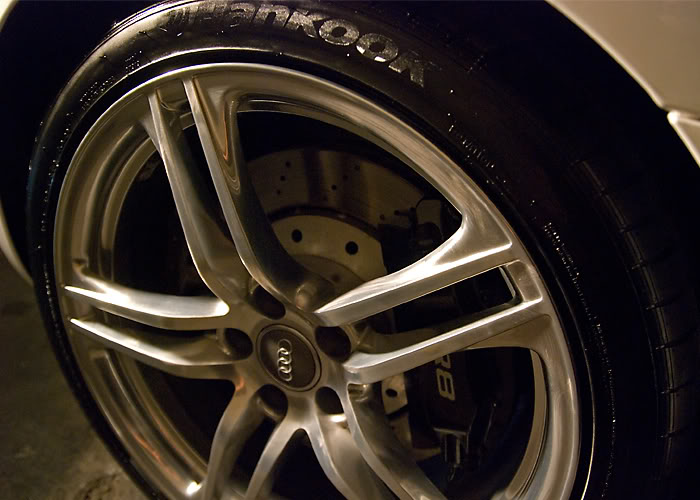
Dressed the tires with Blackfire Long Lasting Tyre Gel which was applied then wiped off later for a natural finish. And I applied Poorboys Wheel Sealant to the rims to protect against brake dust and the exhaust as well.

After

The tail lights were even swirly so I gave those a polish to.
Before

After(this was after one hit, to correct it better it required a second hit)

I gave the car a wipe down with ipa alcohol cut 50/50 with water and then jeweled the paint with a grey 3M backing plate, a white Lake Country pad, and Menzerna PO85rd.
Here is a shot of me jeweling the paint.

And the results of my work.


After a couple hours of jeweling the paint and completing the last step I finally unmasked the car.


Dusted out the crevices.

And then gave the paint a 2nd ipa wipe down to clean off the polishing oils.


Here she is cleaned up. No wax yet but still a nice gloss because of the jeweling.

As well before doing my last steps I double checked the paint with my 3M Sun Gun which omits the same spectrum light as the sun.

No swirls.

On to the waxing now to protect the new finish.
Wax for the day is Swissvax Concorso.


While the wax was curing I cleaned the windows with my Glass Master Pro and Stoners Invisible Glass.

Dressed the tires with Blackfire Long Lasting Tyre Gel which was applied then wiped off later for a natural finish. And I applied Poorboys Wheel Sealant to the rims to protect against brake dust and the exhaust as well.

#5
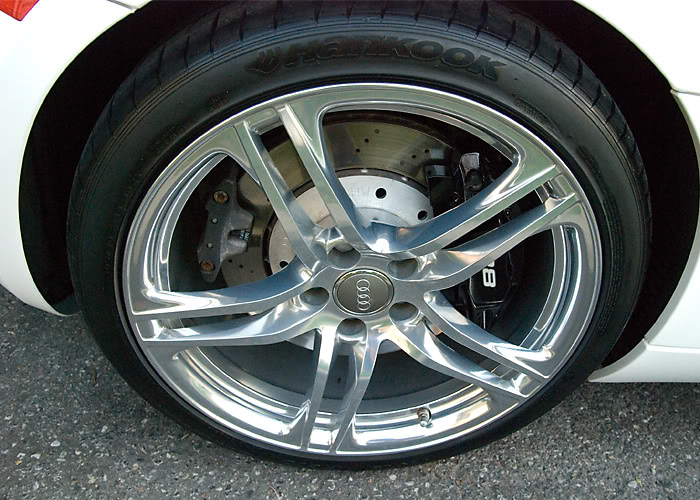
Poorboys Wheel Sealant on the rims
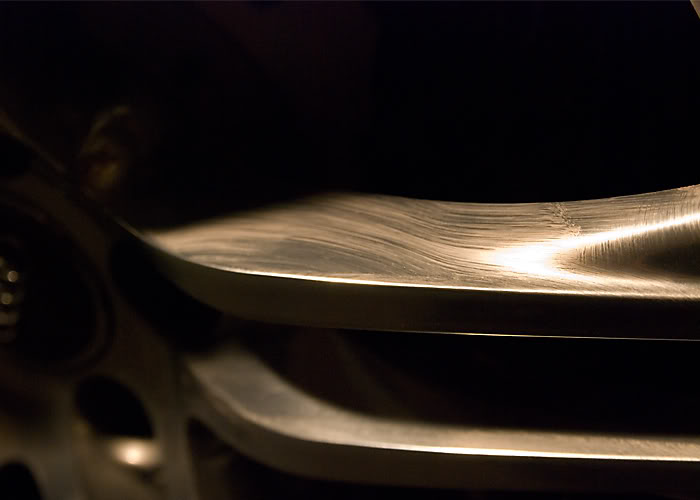
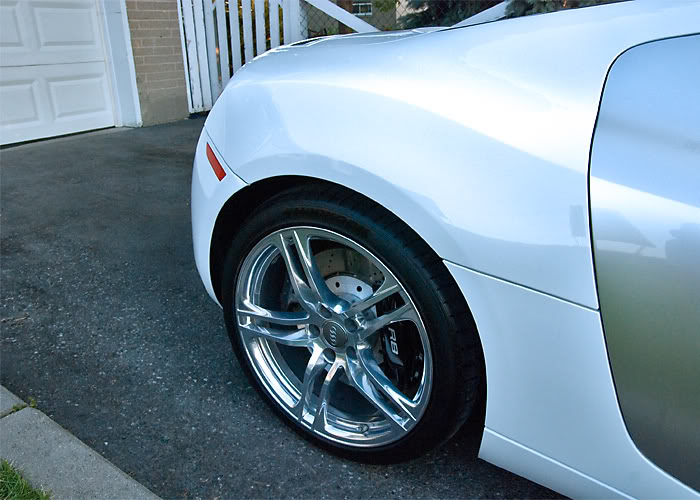
An after pic of the rims and tires.
And Poorboys Wheel Sealant on the exhaust.
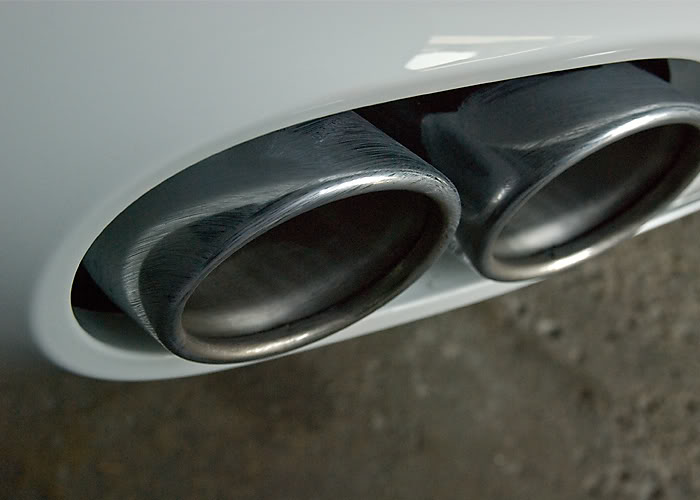
And an after pic of the exhaust.
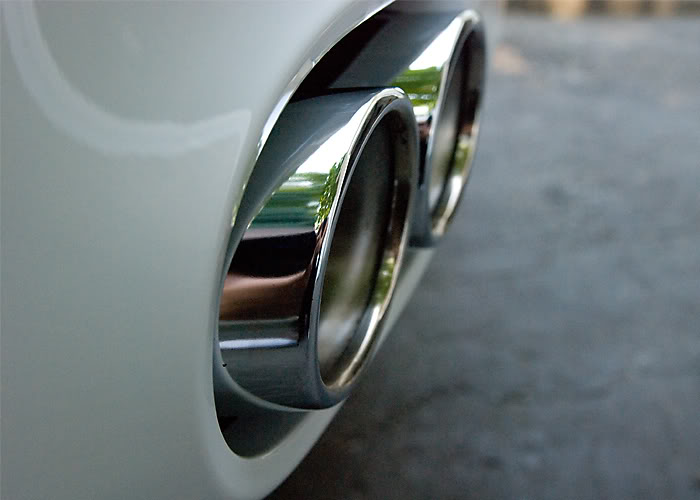
I wiped off the wax and rolled it out to inspect it under the "light of truth".
Perfection(not really lol, there were a few deeper scratches but we got close enough)
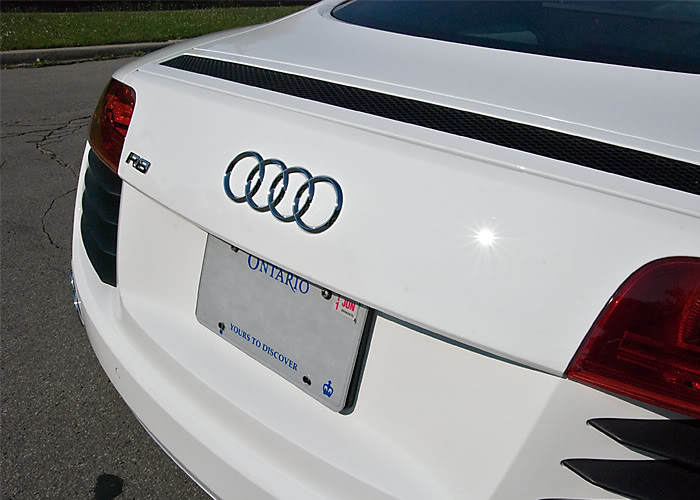
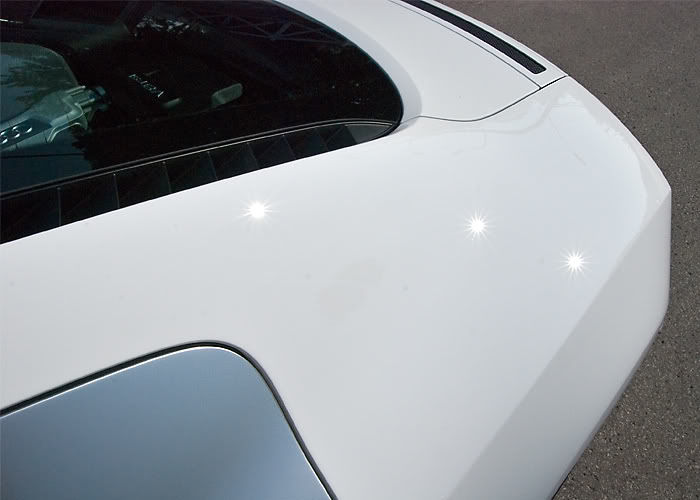
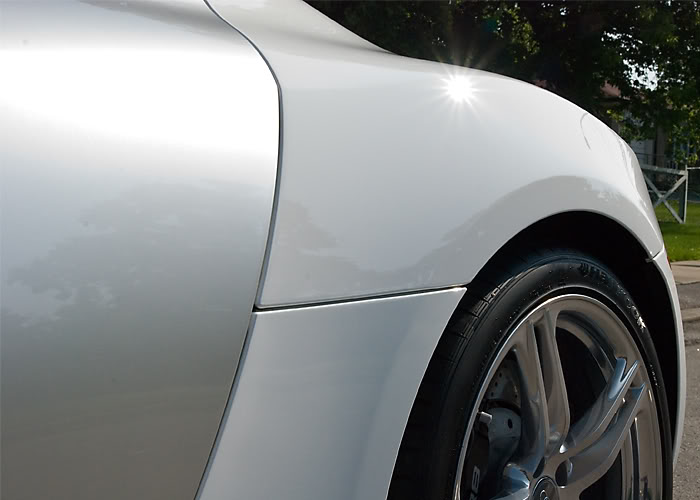
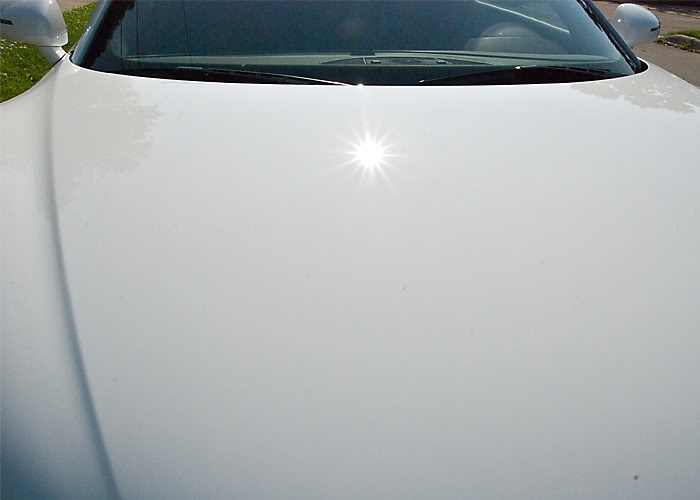
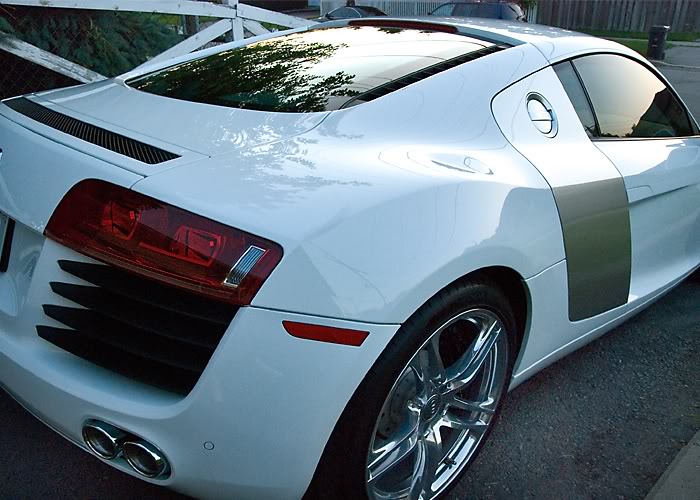
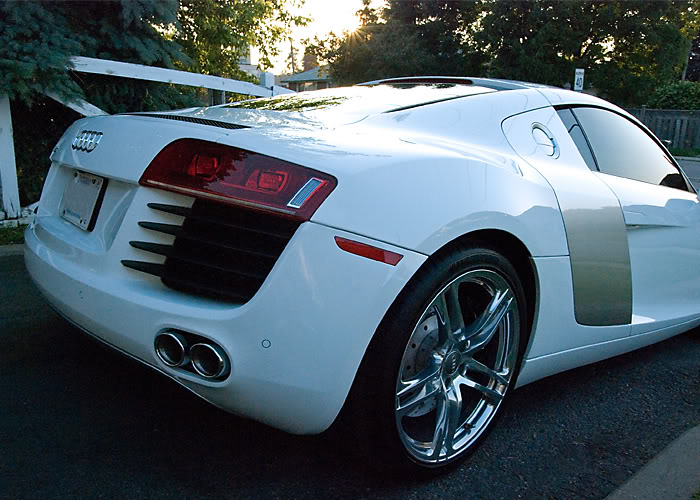
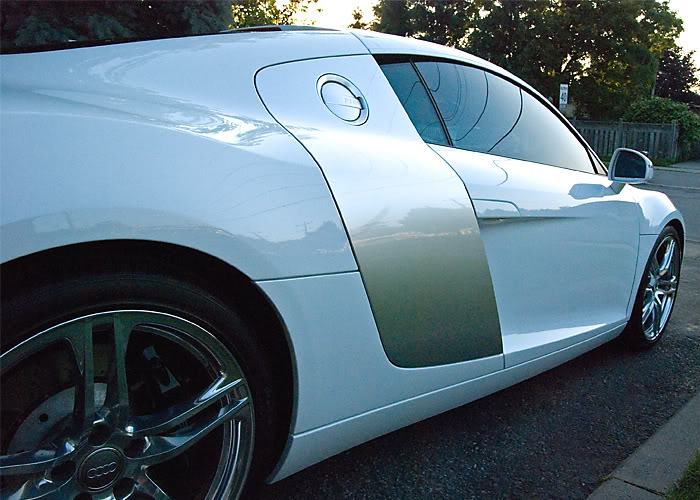
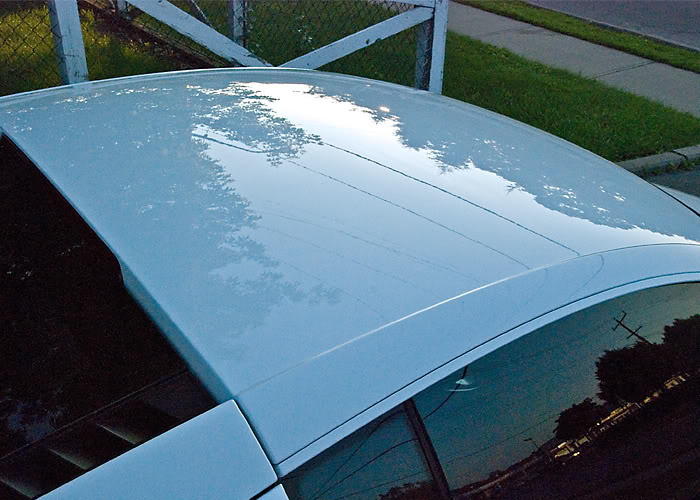
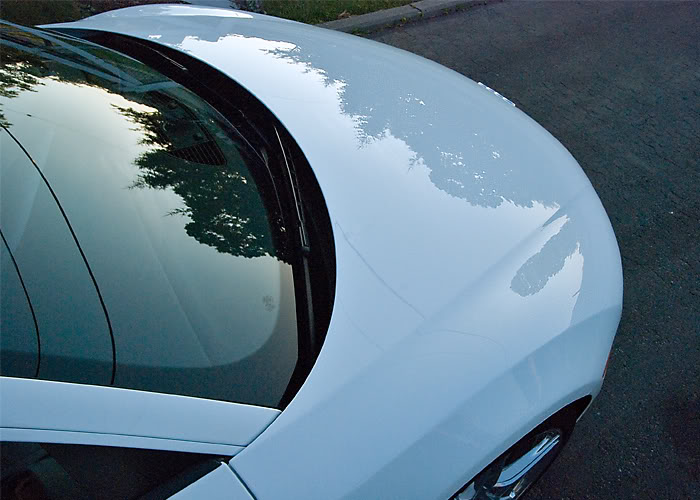
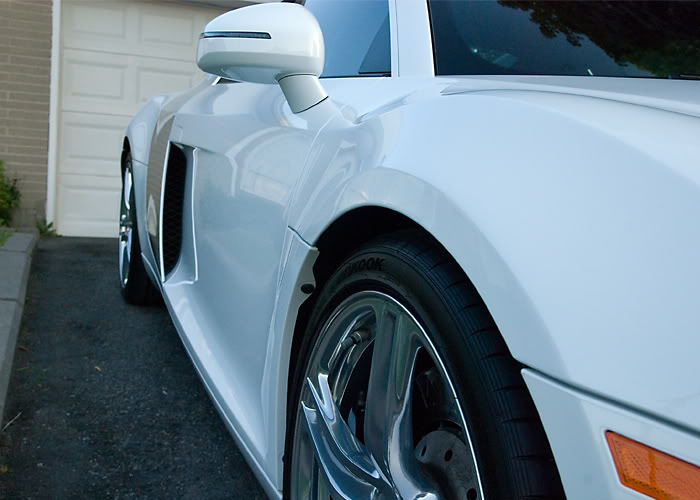
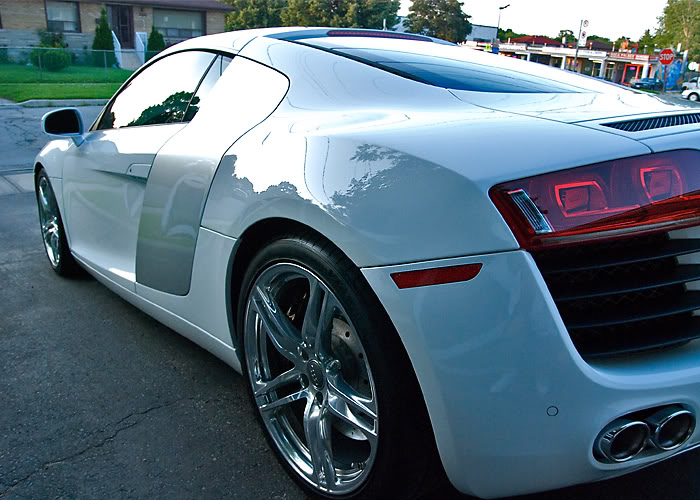
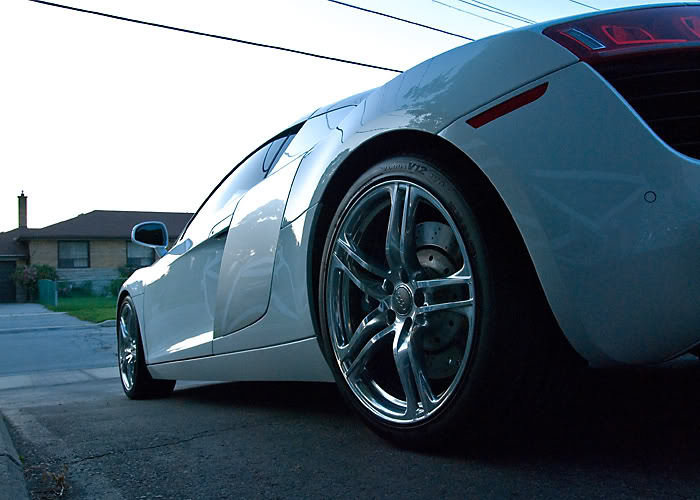
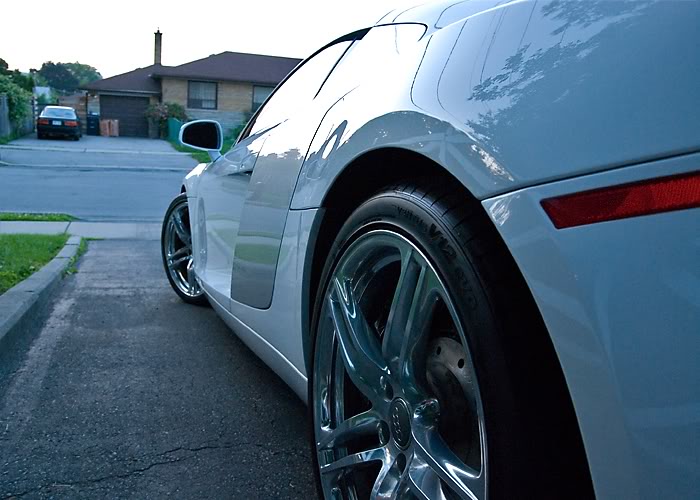
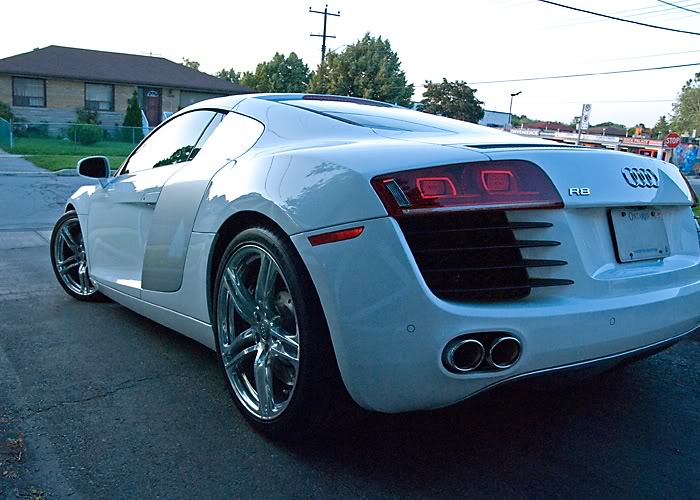
Now the after pics and the fruits of my labour.
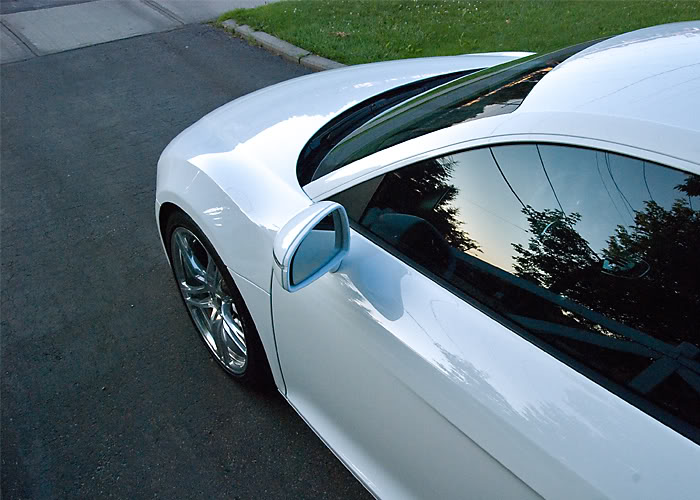
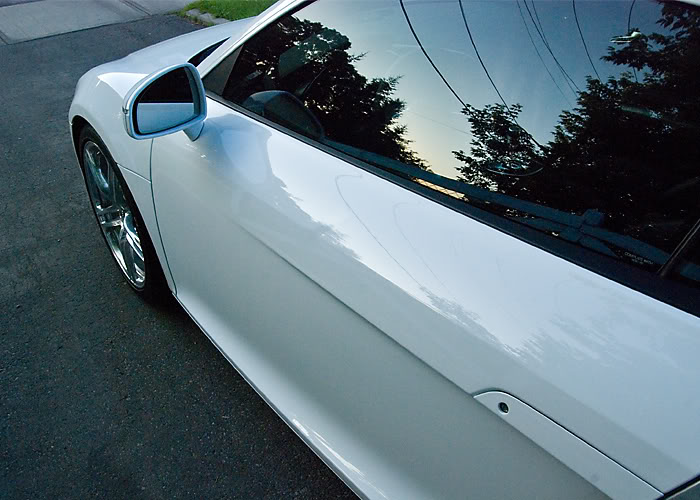
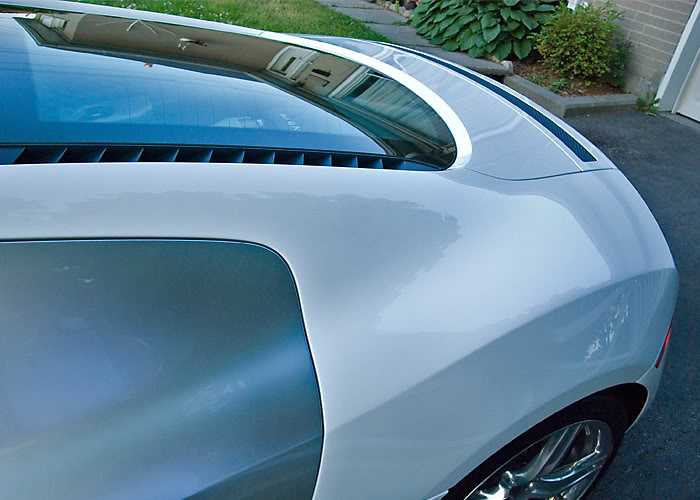
As a quick explanation, I did not adjust the white balance on my camera properly so the pics have a blue tinge to them but to be honest I kind of like it as it makes them look artsy fartsy. Anyway you be the judge.
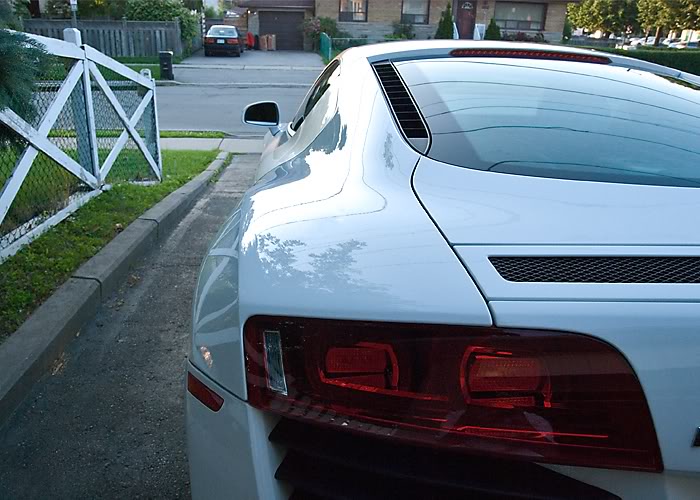
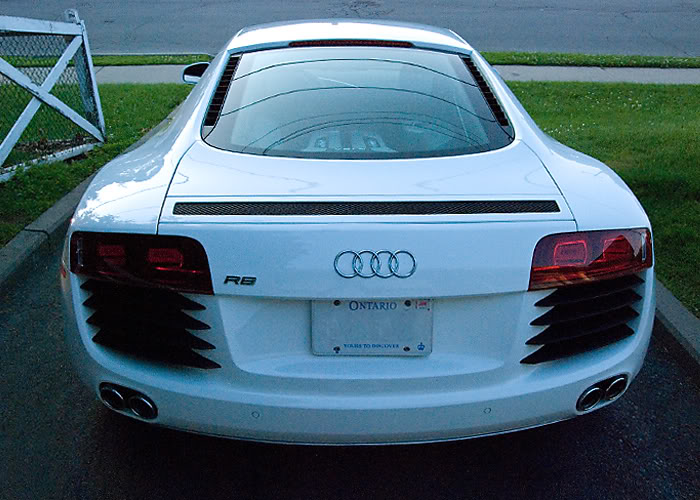
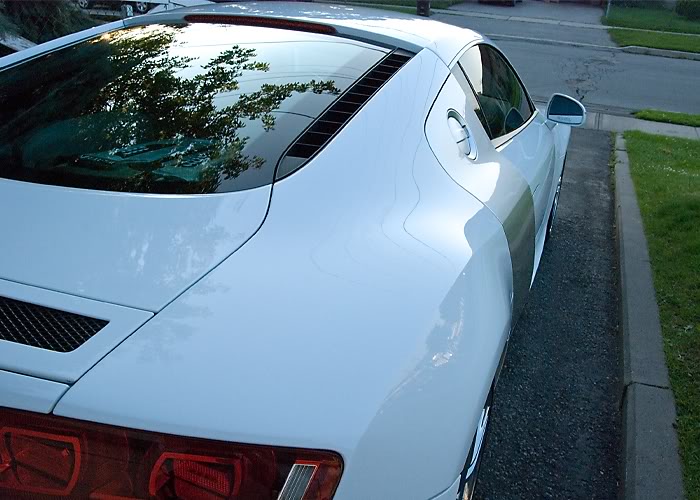
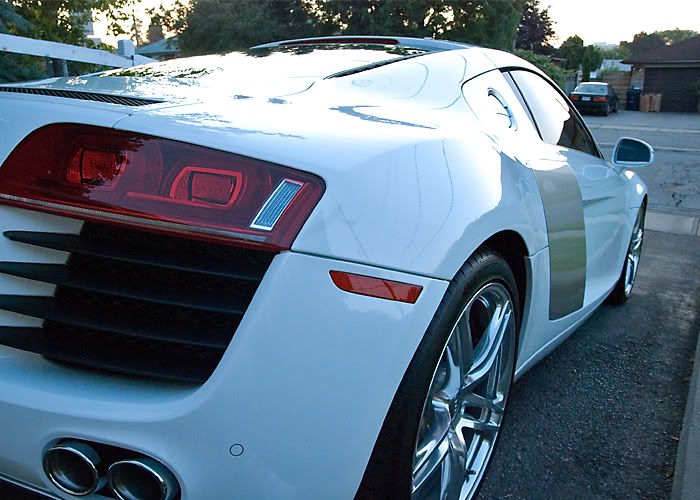

An after pic of the rims and tires.

And Poorboys Wheel Sealant on the exhaust.

And an after pic of the exhaust.

I wiped off the wax and rolled it out to inspect it under the "light of truth".
Perfection(not really lol, there were a few deeper scratches but we got close enough)


Now the after pics and the fruits of my labour.
As a quick explanation, I did not adjust the white balance on my camera properly so the pics have a blue tinge to them but to be honest I kind of like it as it makes them look artsy fartsy. Anyway you be the judge.


#7
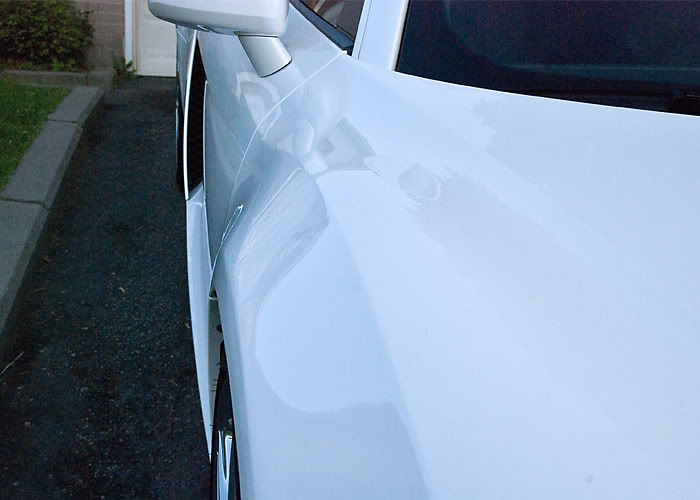
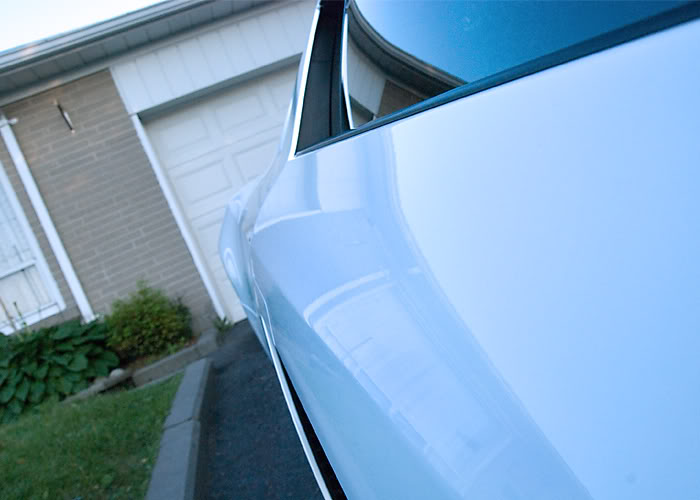
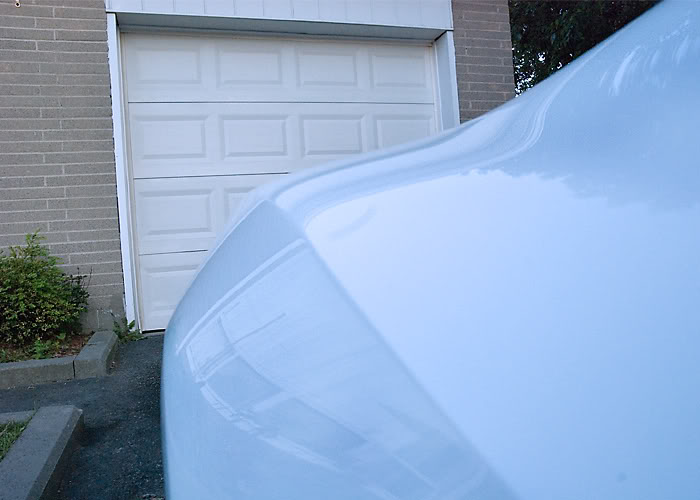
I thought the reflection on the hood was crazy, it looks like another dimension in there.
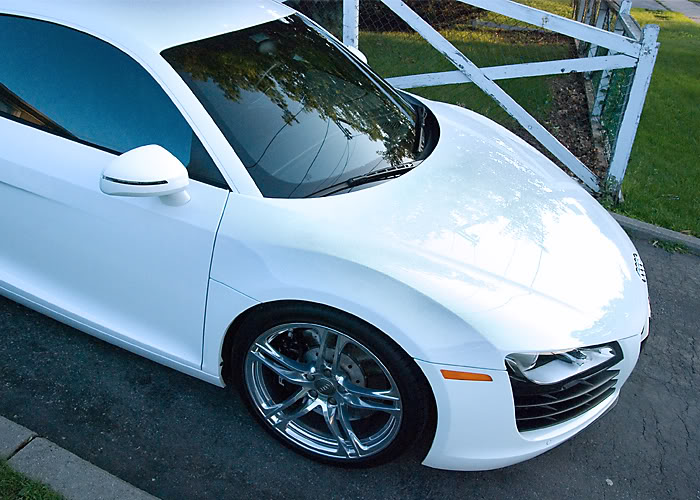
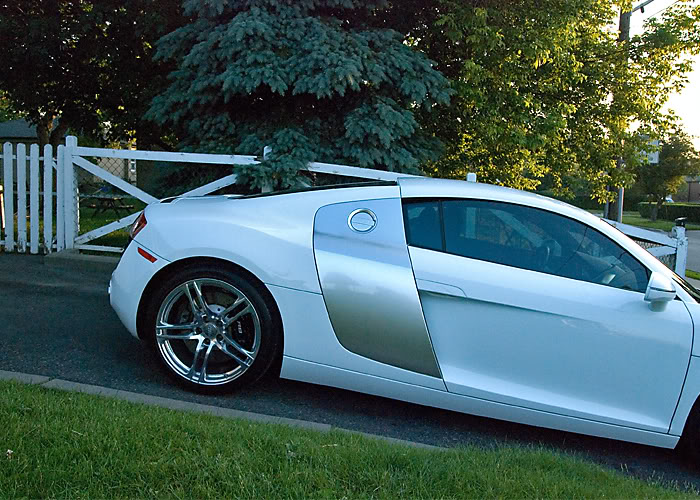
A couple of those "cool guy" pics. No dry steering was involved in these shots.

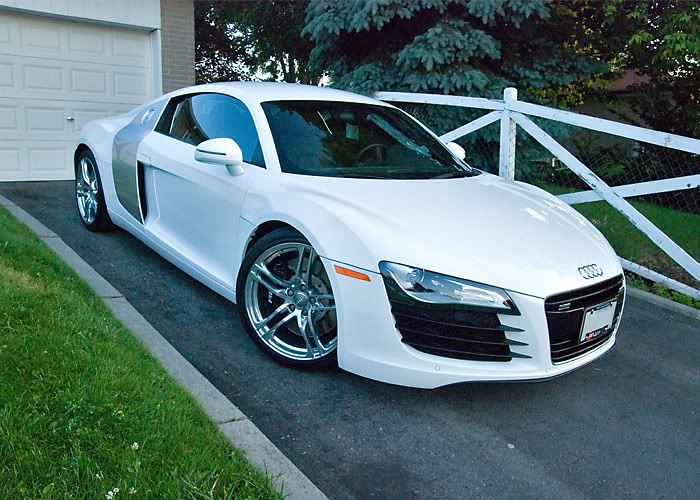
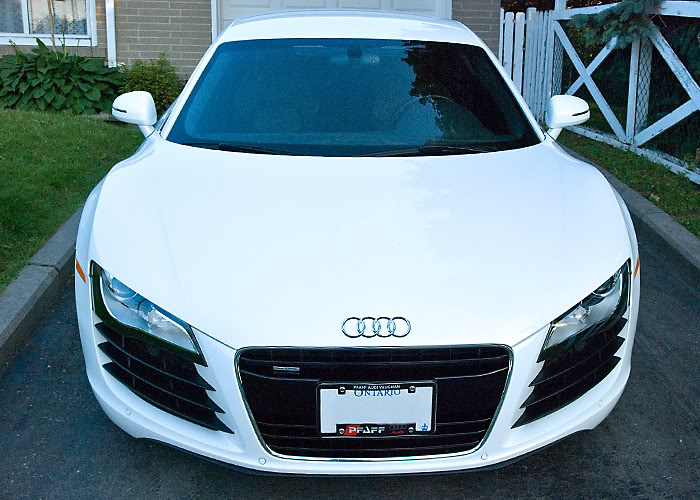
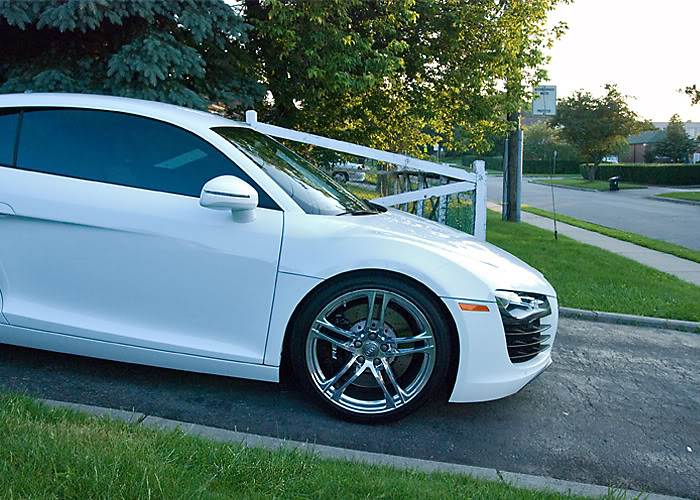
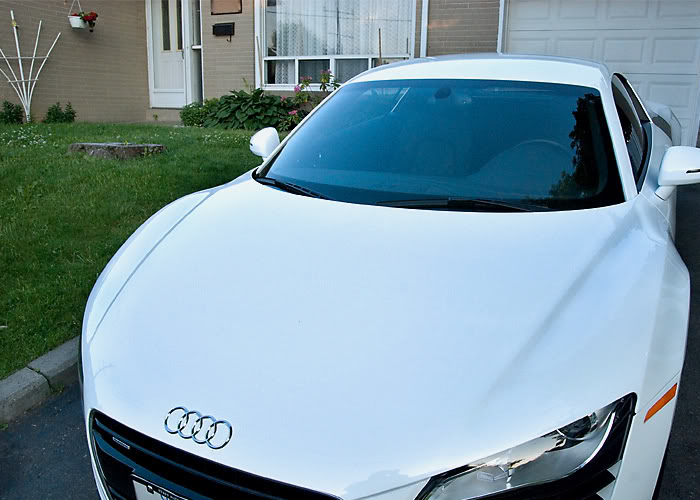
I like the way the hood looks in this shot.
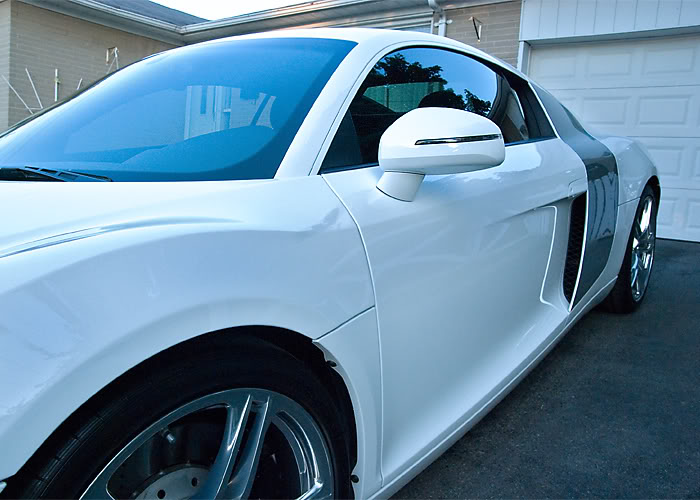
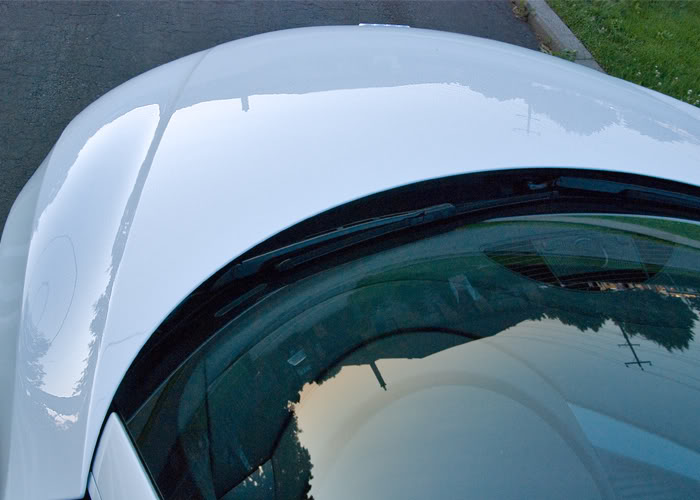
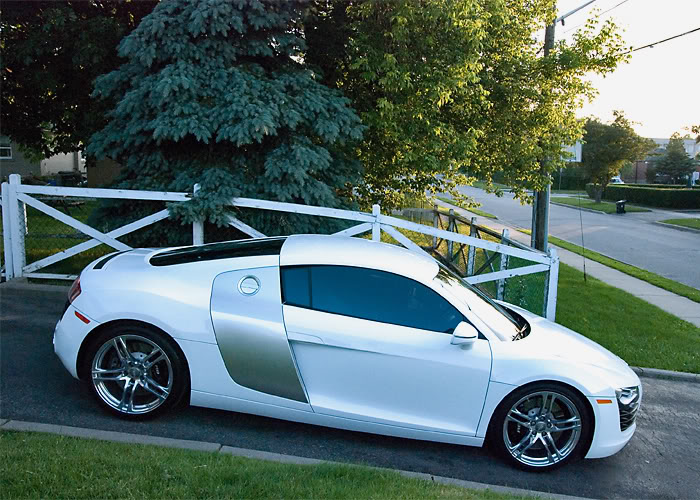
The gloss in this shot looks crazy too.

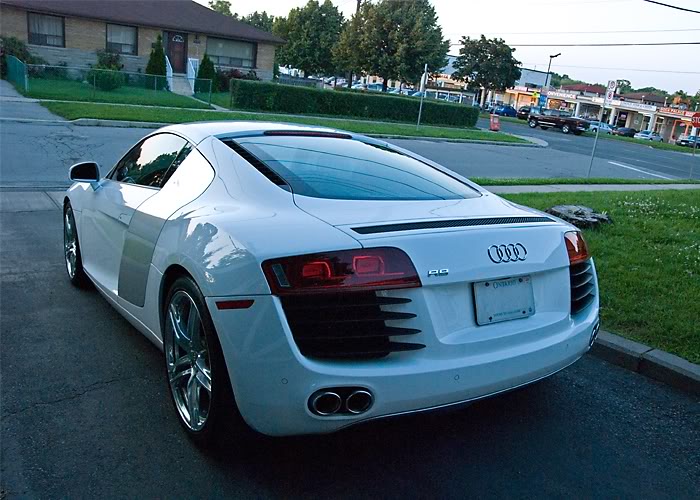
And the money shot.
I hope you enjoyed reading through and seeing the transformation, as well as picked up a couple things on the proper way of taking care of your car.
All comments are welcome and any questions feel free to ask.
Cheers,
Wes

A couple of those "cool guy" pics. No dry steering was involved in these shots.


I like the way the hood looks in this shot.


The gloss in this shot looks crazy too.


And the money shot.

I hope you enjoyed reading through and seeing the transformation, as well as picked up a couple things on the proper way of taking care of your car.
All comments are welcome and any questions feel free to ask.
Cheers,
Wes
Thread
Thread Starter
Forum
Replies
Last Post


