How to replace Rear Brake pads / Rotors on your B5!
#1
so i felt like doing a lil write up on how to remove and replace your rear pads and rotors on your b5 a4... its quite simple and i'll provide lots of pics for all you visual learners...
ok first thing u need is a b5 with bad / worn brakes ... next thing you'll need is some tools... i think either a 8 or 7mm hex key socket , 13mm wrench, a 15 mm wrench, and a ratcheting caliper piston depressor tool and some brand new brakes.
now if youve got everything stated above then ur ready to go ahead and do you're brakes..
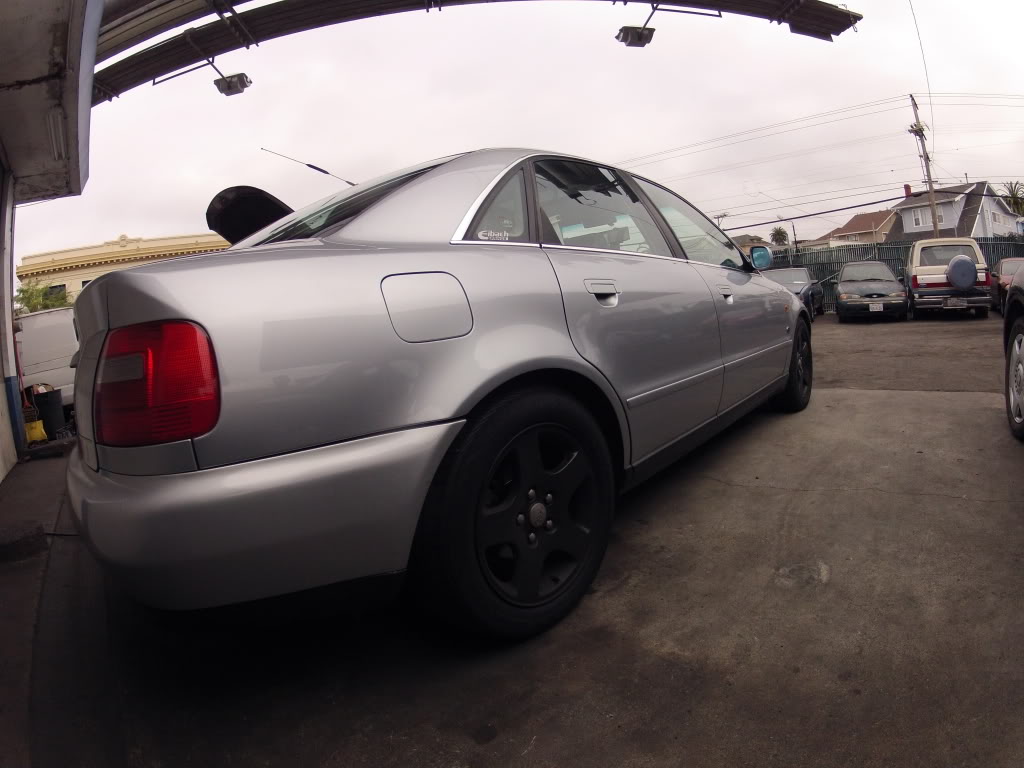
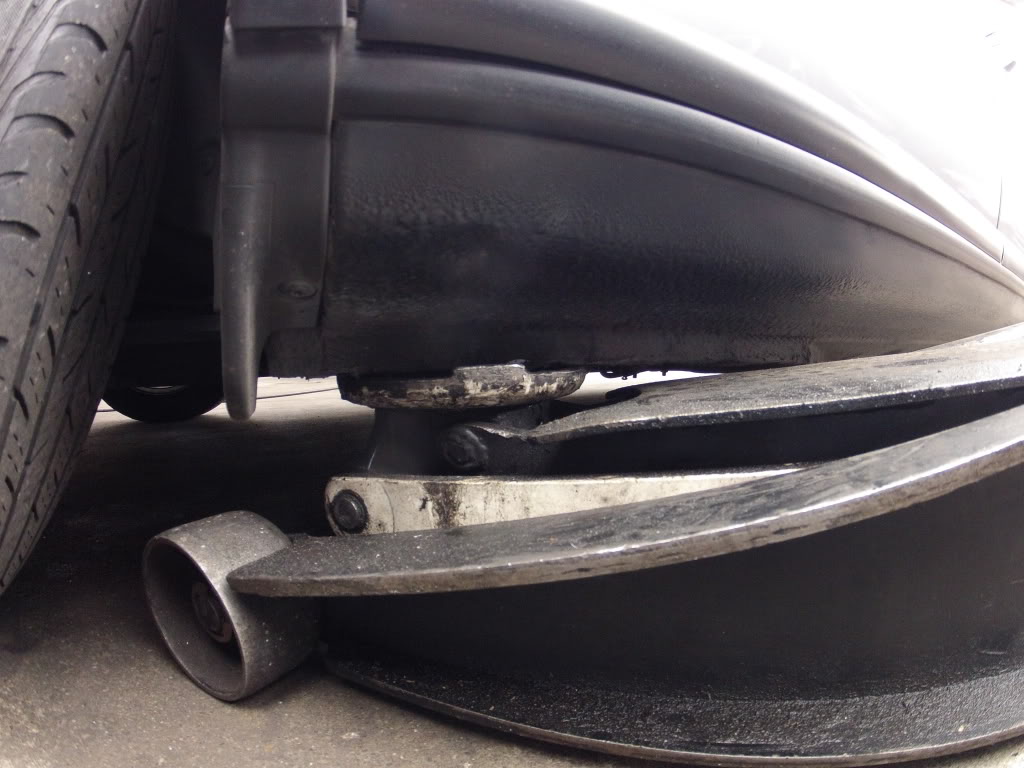
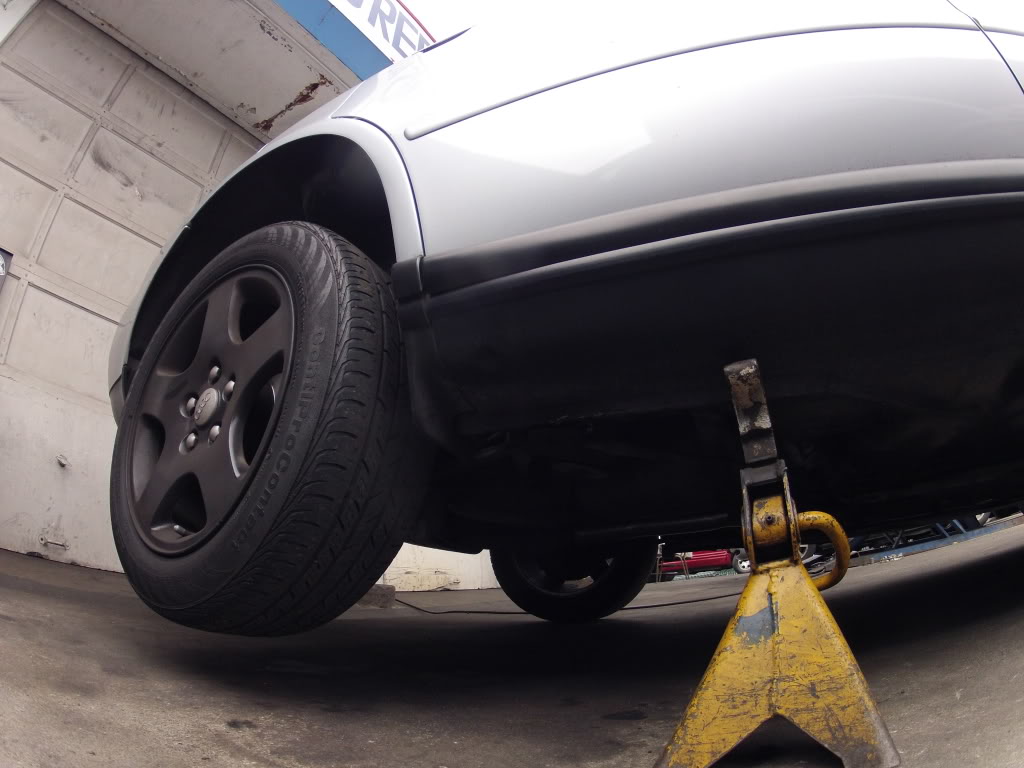
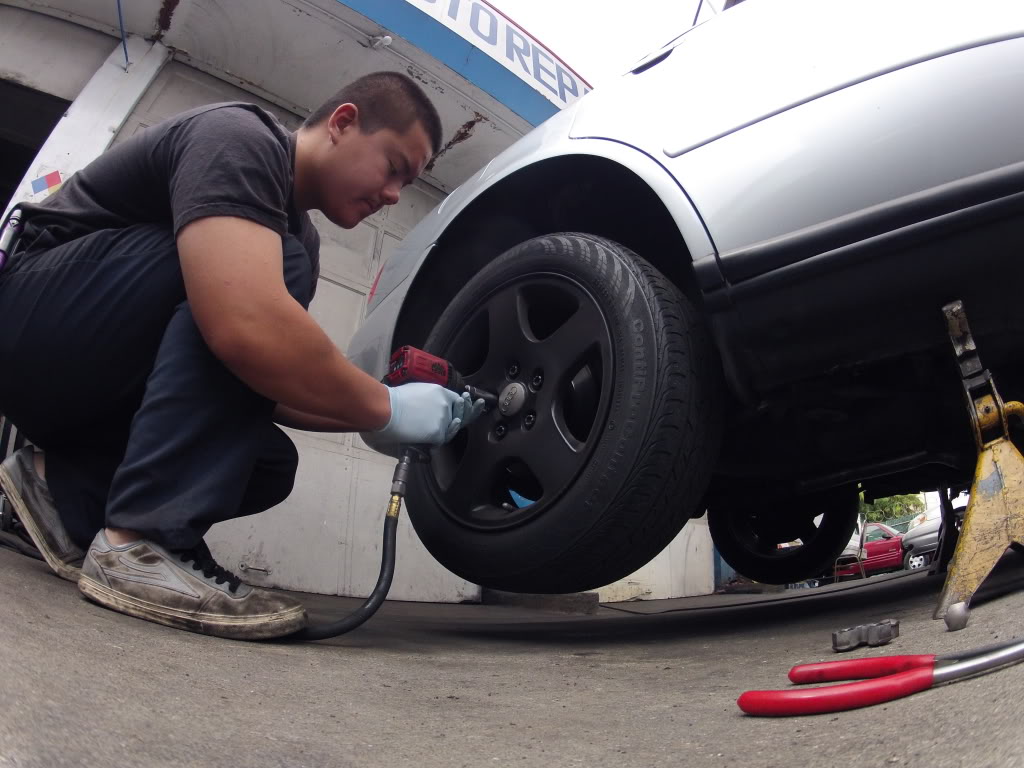
start off by jacking the car up and putting it on jack stands (NOTE: if you dont have air tools then i suggest u break loose the lugs while the car is still on the ground then jack the car up.) then take the tire off.. if you have those plastic caps over your lugs then take those off first...


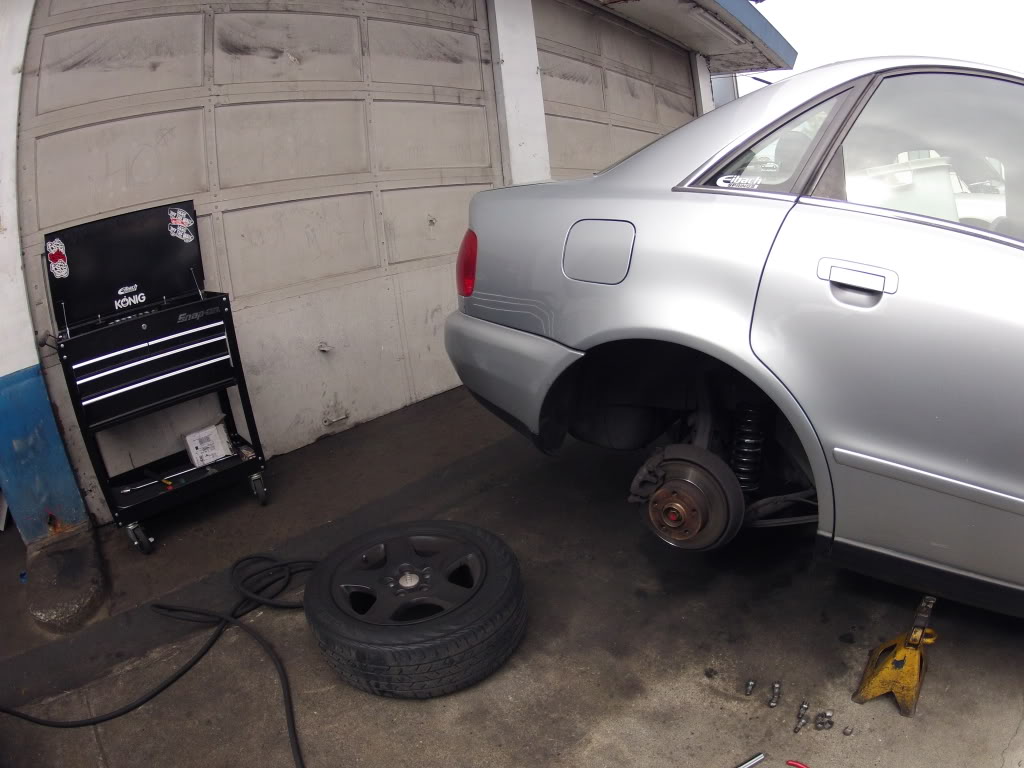
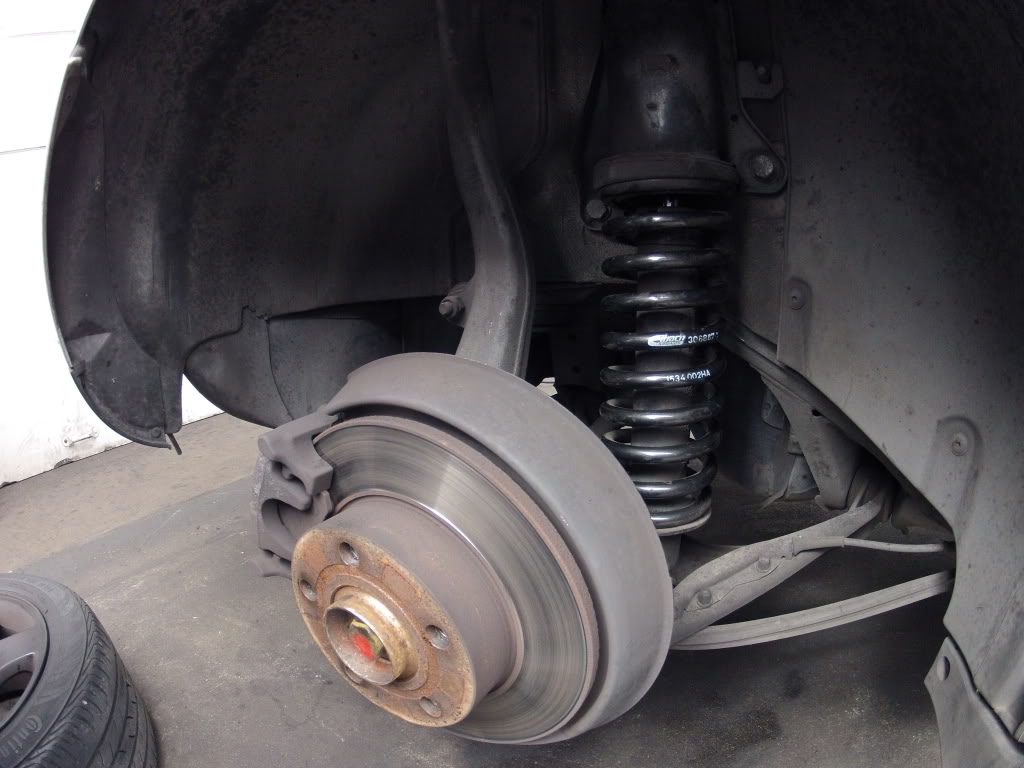
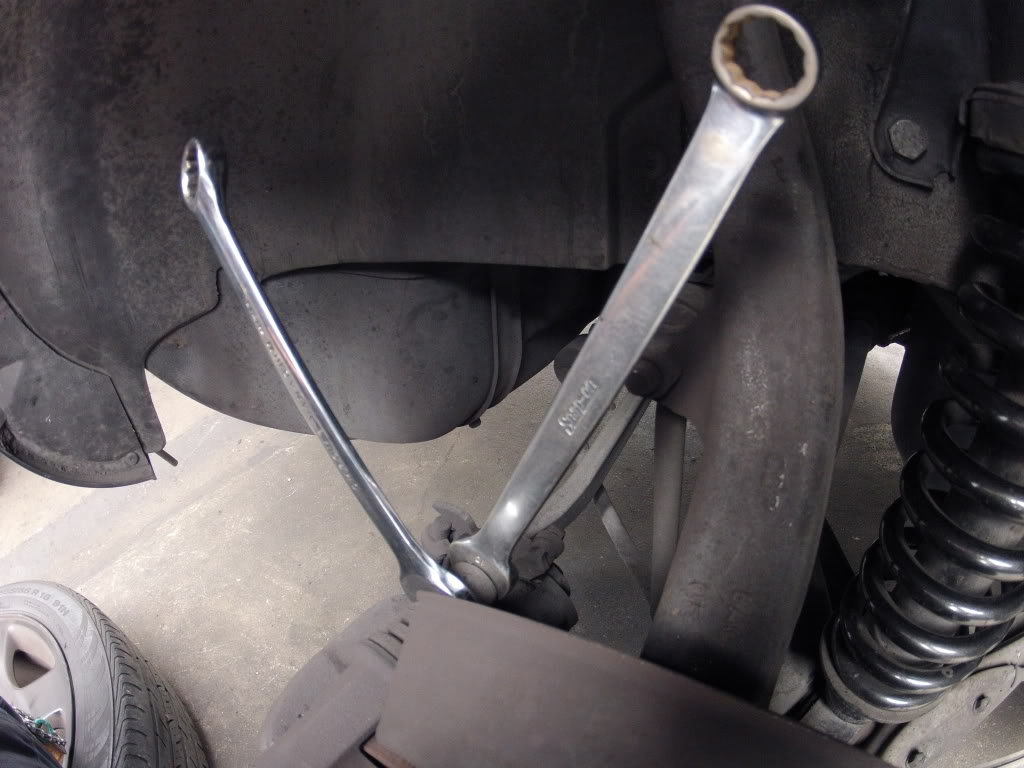
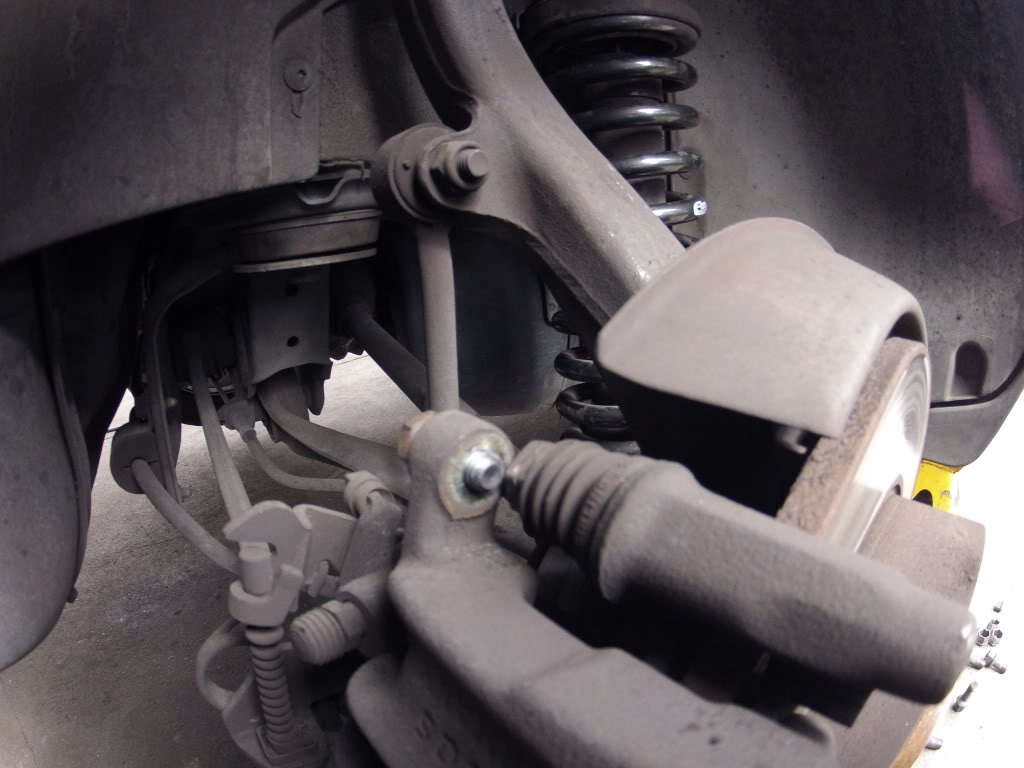
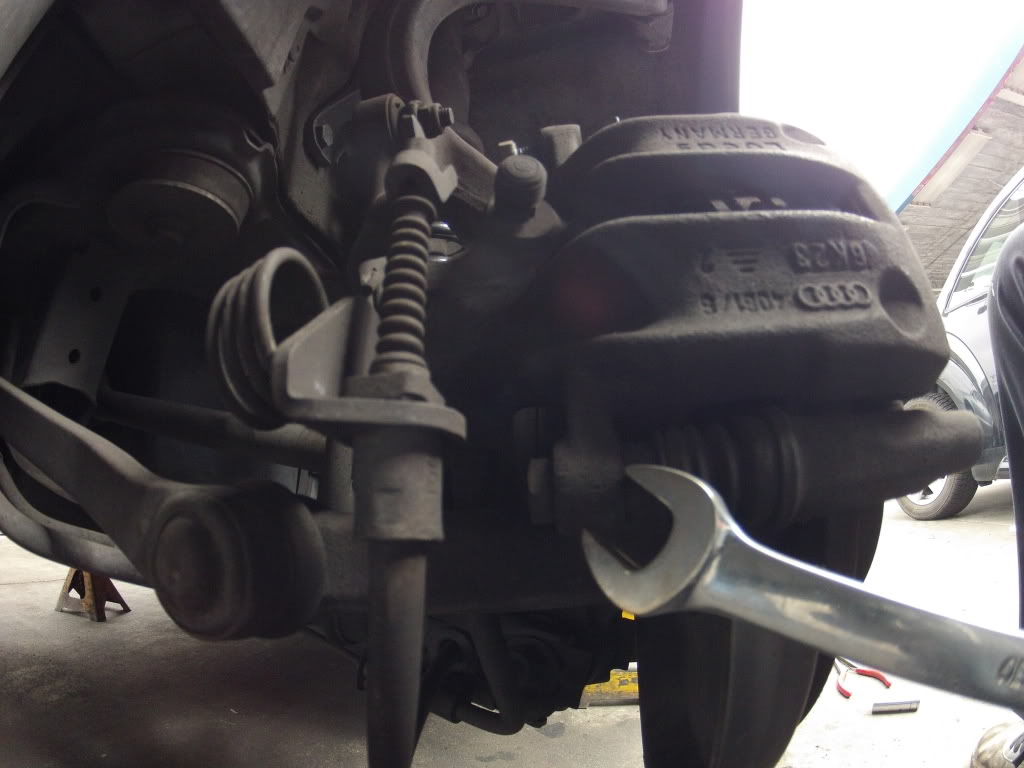
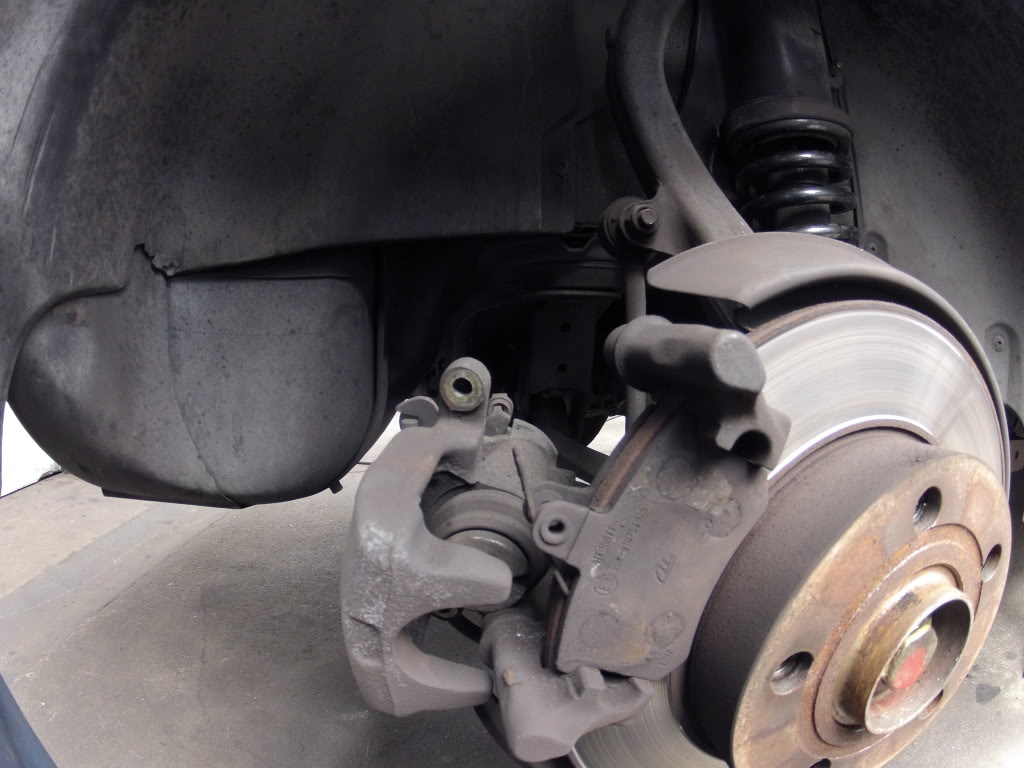
Now that the tire is off and you have a clear view of the rear rotor / caliper.. look on the caliper... there should be two 13mm bolts on the back of the caliper.. take your 13 mm wrench to loosen the bolt while using your 15mm wrench to hold the second nut thats on there... after loosening one loosen the other and then just pull the caliper off.

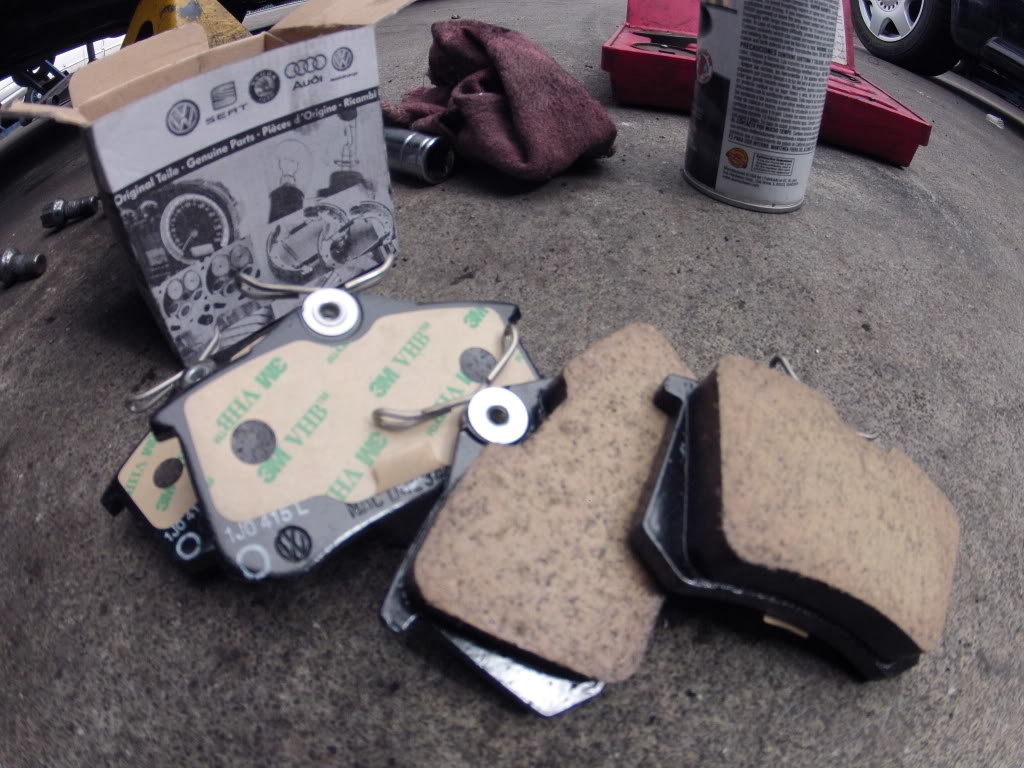
old pads
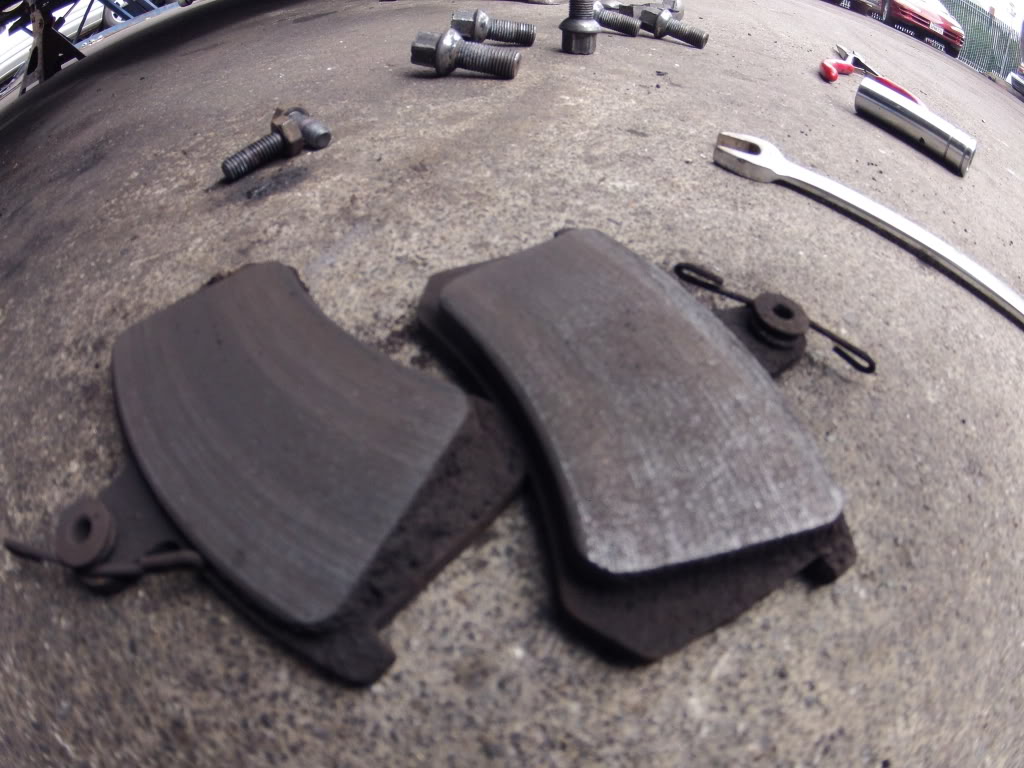
New pads ... genuine VAG parts
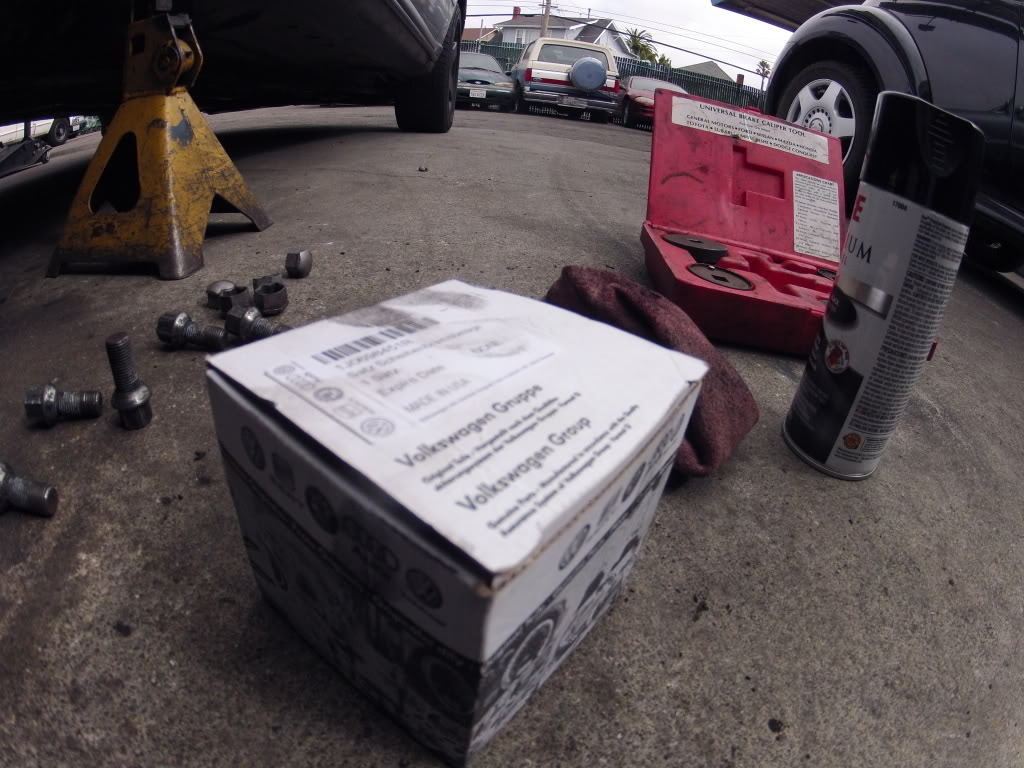
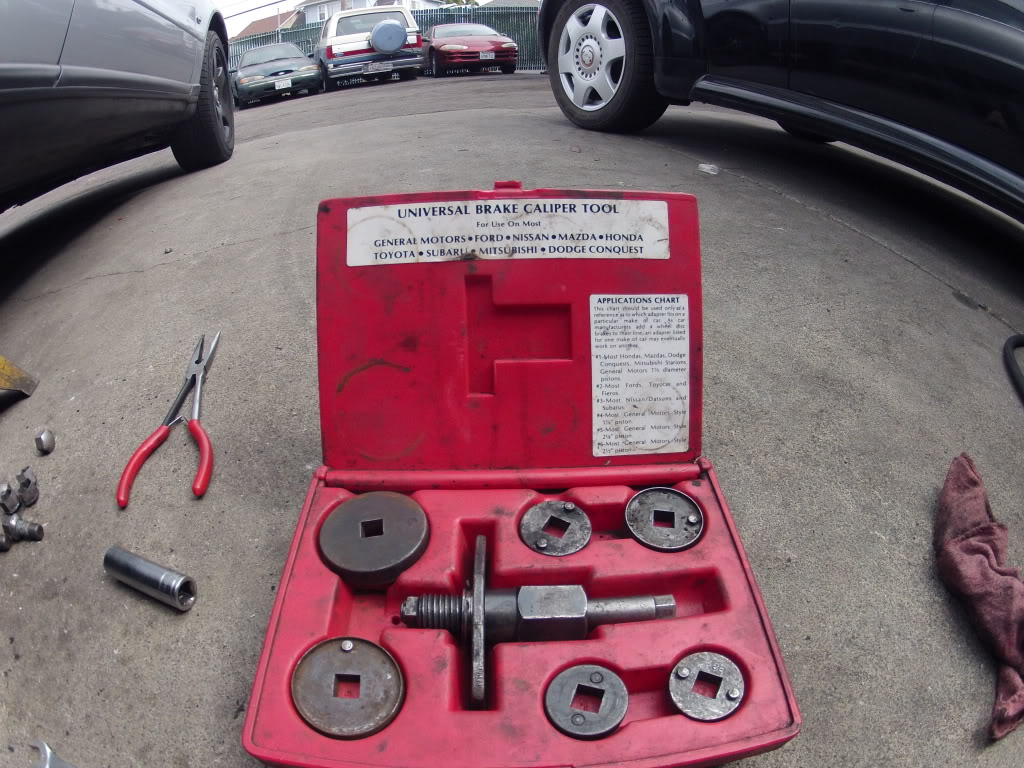
Now that the caliper is off you need a caliper tool to depress the piston on the caliper back in... DO NOT use a c clamp or a regular brake piston depressor that you would use on the front brakes... these rear brakes are the screw in type brakes... if you try to force the piston straight in without screwing it you might break the ratcheting mechanism inside..
Anyways with your caliper tool just put it on and tighten the end with your 15mm wrench clock wise..

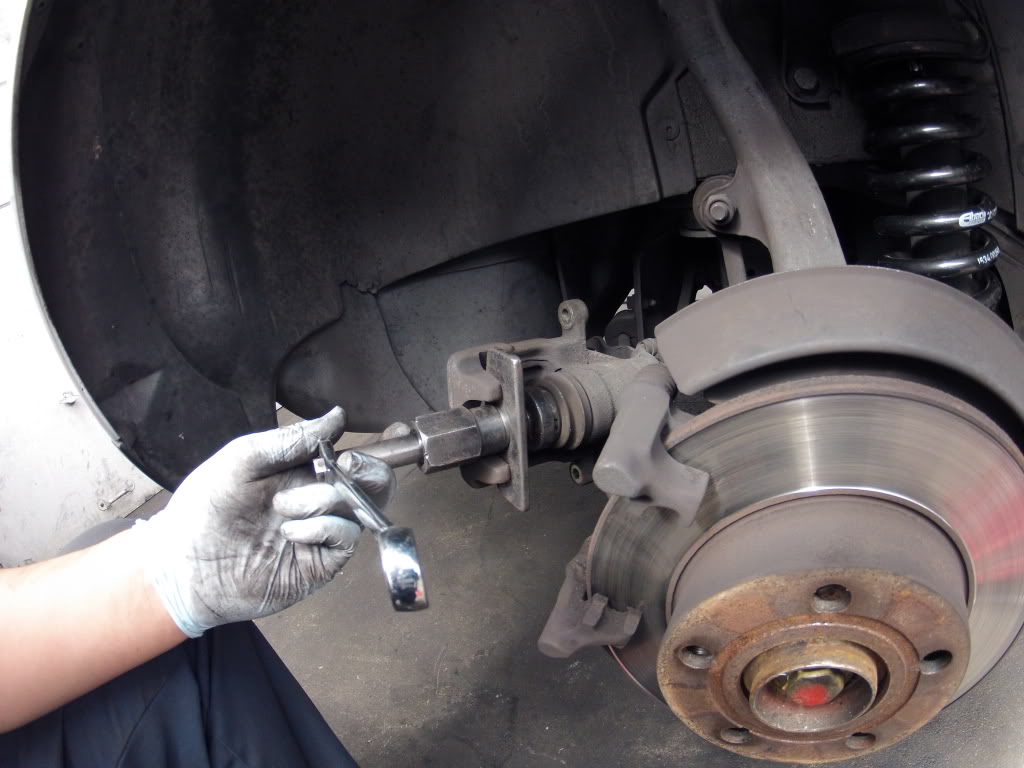
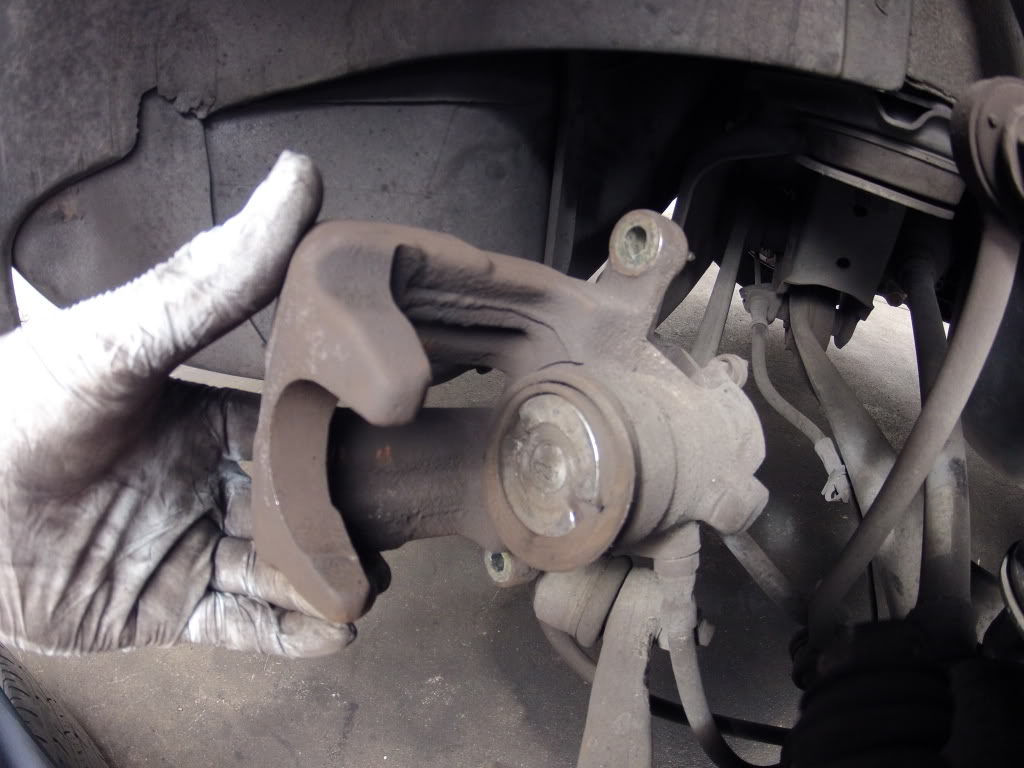
Now that the piston is depressed you are ready to slap your new pads on... now theres pretty much two ways you can go from here... if you only want to replace the pads then go ahead and put the new pads on there... put the caliper back and then put the bolts back... put the tire back... then pump the brake pedal a couple times so the piston can adjust... then you're ready to go! but if you want to replace or resurface the rotor... then follow the steps below in part 2
ok first thing u need is a b5 with bad / worn brakes ... next thing you'll need is some tools... i think either a 8 or 7mm hex key socket , 13mm wrench, a 15 mm wrench, and a ratcheting caliper piston depressor tool and some brand new brakes.
now if youve got everything stated above then ur ready to go ahead and do you're brakes..
start off by jacking the car up and putting it on jack stands (NOTE: if you dont have air tools then i suggest u break loose the lugs while the car is still on the ground then jack the car up.) then take the tire off.. if you have those plastic caps over your lugs then take those off first...


Now that the tire is off and you have a clear view of the rear rotor / caliper.. look on the caliper... there should be two 13mm bolts on the back of the caliper.. take your 13 mm wrench to loosen the bolt while using your 15mm wrench to hold the second nut thats on there... after loosening one loosen the other and then just pull the caliper off.


old pads

New pads ... genuine VAG parts


Now that the caliper is off you need a caliper tool to depress the piston on the caliper back in... DO NOT use a c clamp or a regular brake piston depressor that you would use on the front brakes... these rear brakes are the screw in type brakes... if you try to force the piston straight in without screwing it you might break the ratcheting mechanism inside..
Anyways with your caliper tool just put it on and tighten the end with your 15mm wrench clock wise..


Now that the piston is depressed you are ready to slap your new pads on... now theres pretty much two ways you can go from here... if you only want to replace the pads then go ahead and put the new pads on there... put the caliper back and then put the bolts back... put the tire back... then pump the brake pedal a couple times so the piston can adjust... then you're ready to go! but if you want to replace or resurface the rotor... then follow the steps below in part 2
Last edited by FishEye; 07-28-2012 at 07:09 PM.
#2
PART 2
so you're probably reading this part right here because you want to replace your rotors along with your new pads (good idea!). In this write up i'll be resurfacing my rotors (the shop where i work at has a brake lathe for resurfacing) but the removal and instalation process is just the same..
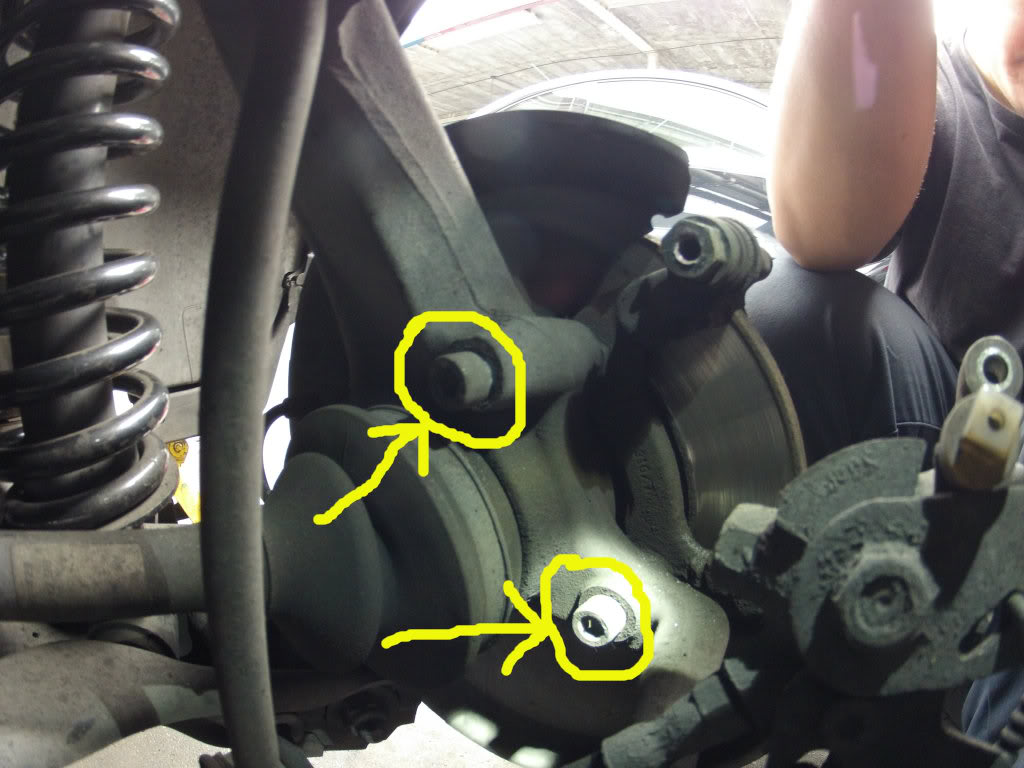
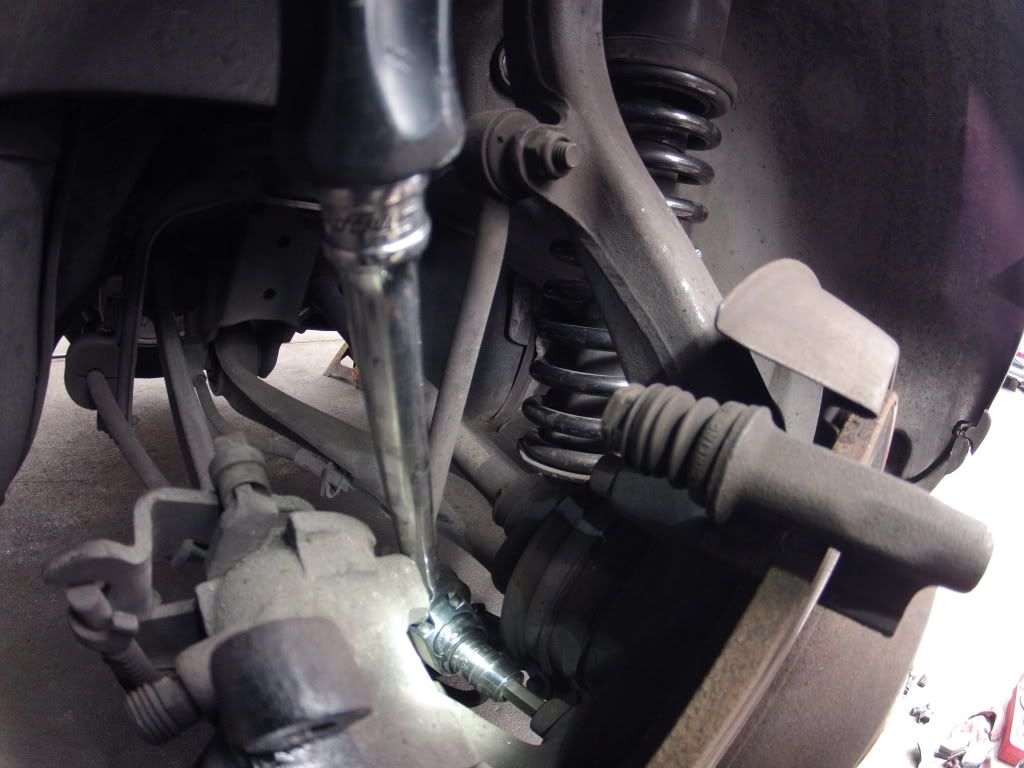
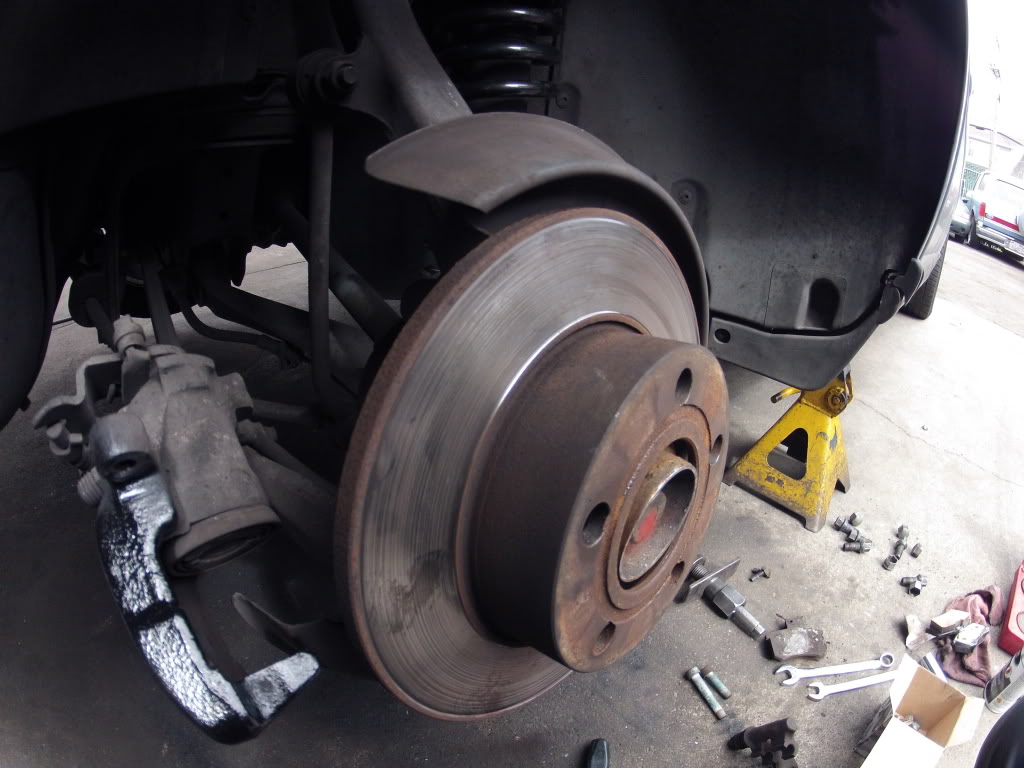
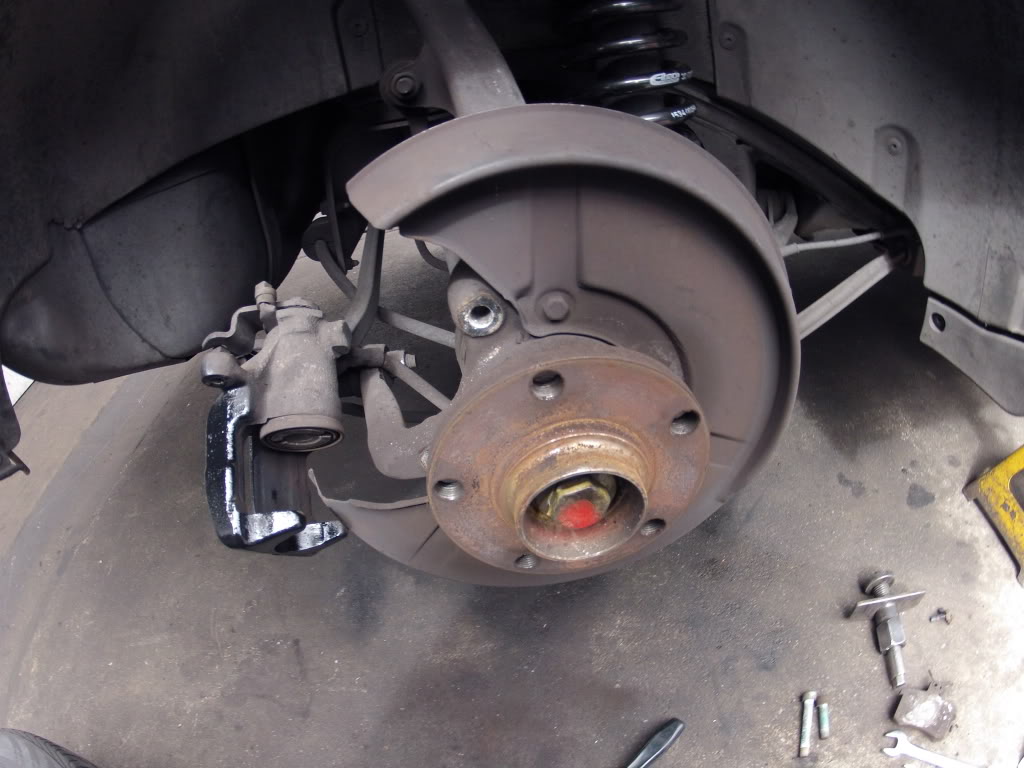
now to remove the rear rotor theres two bolts holding the caliper carrier in... they should be 7 or 8mm allen bolts... just find the socket that fits in there snugly and break them loose... they are a bit tight... once the carrier is loose you can just pull the rotor off and put the new one on there... then just put the carrier back... in my case i painted my caliper and carrier black to give it a fresh look...
Resurfacing my rotors
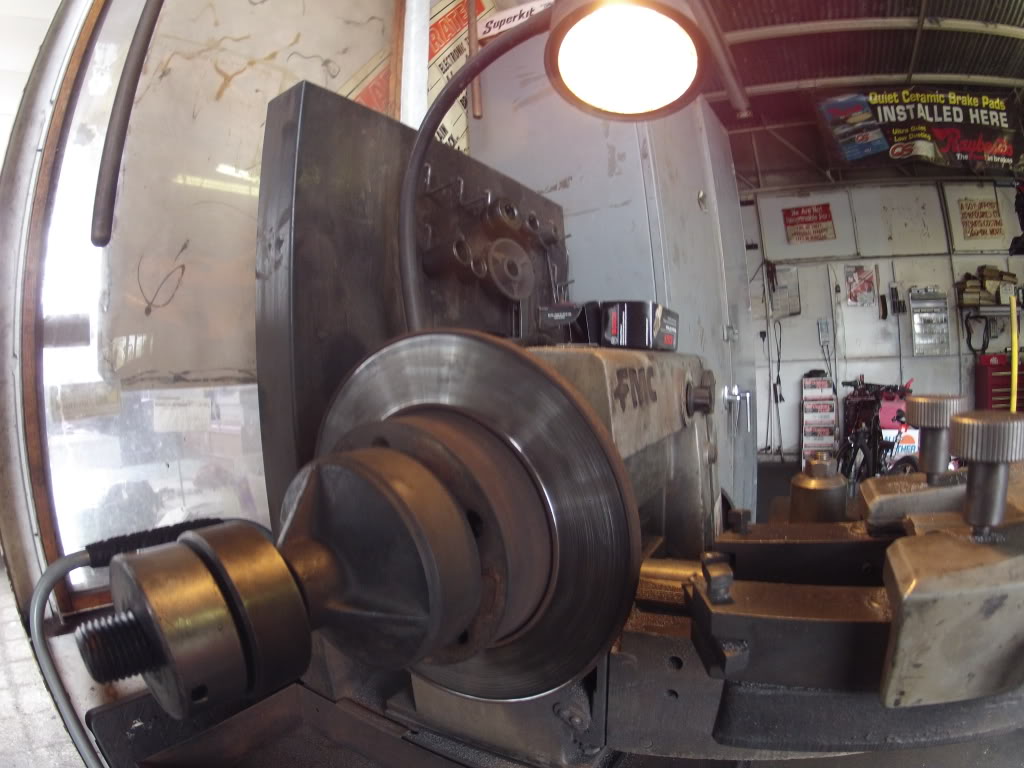
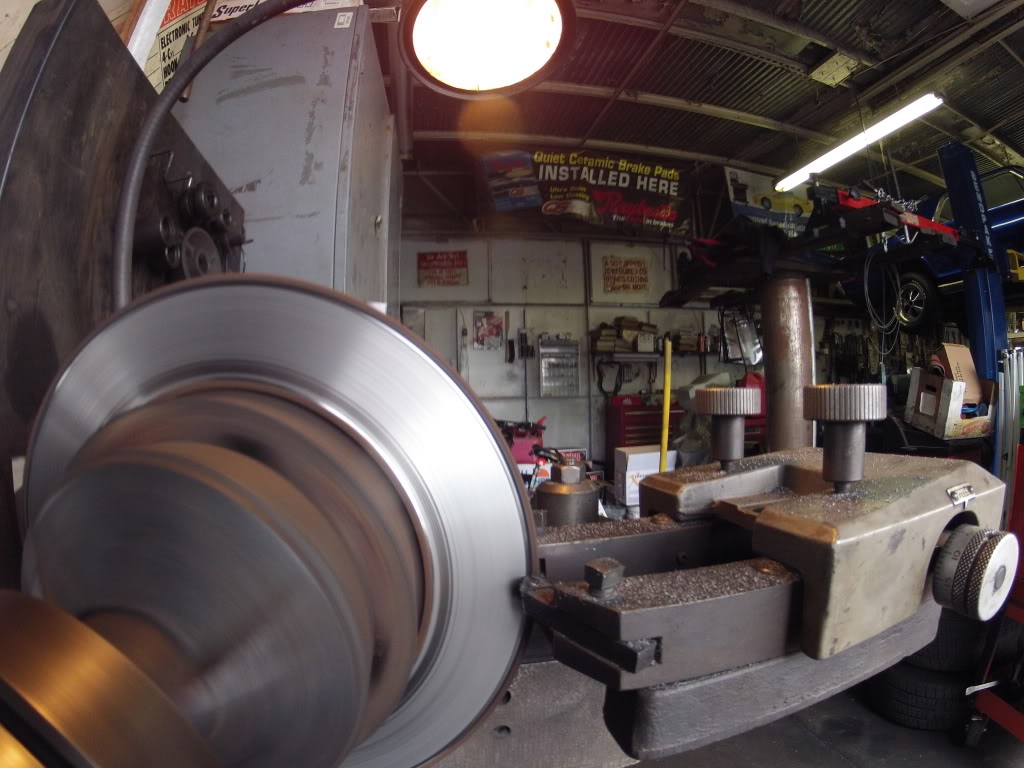
once your new / resurfaced rotor is on... put the carriers back on and slap those new pads on there and put everything back... dont forget to pump the pedal a couple times to adjust the piston!
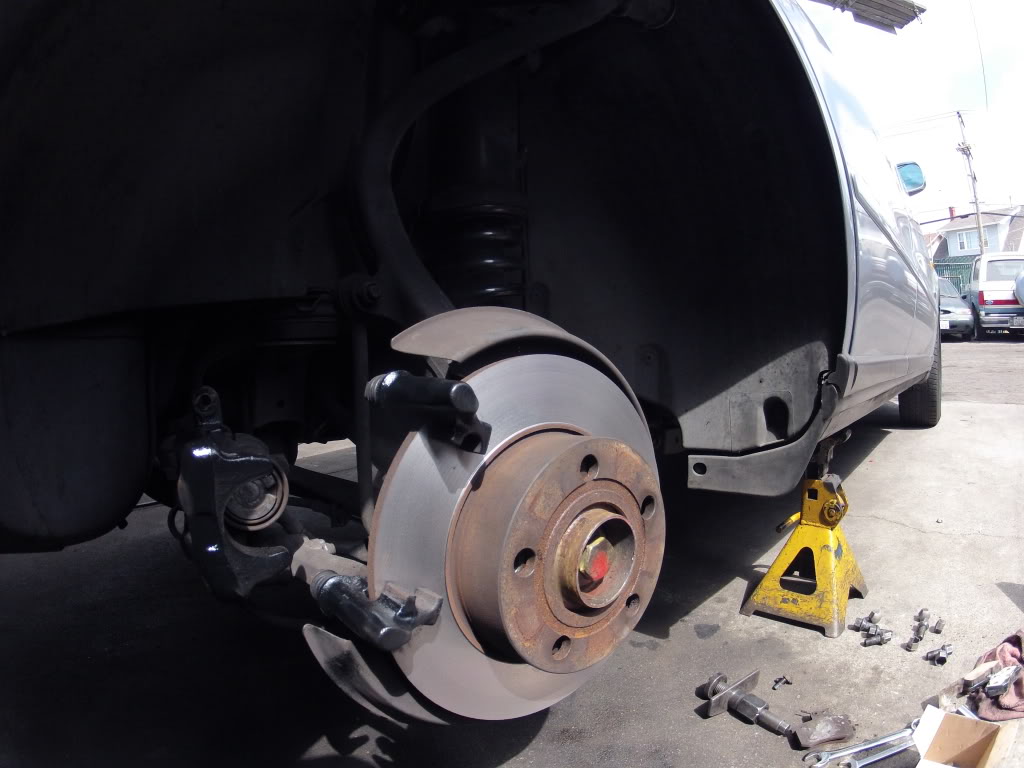

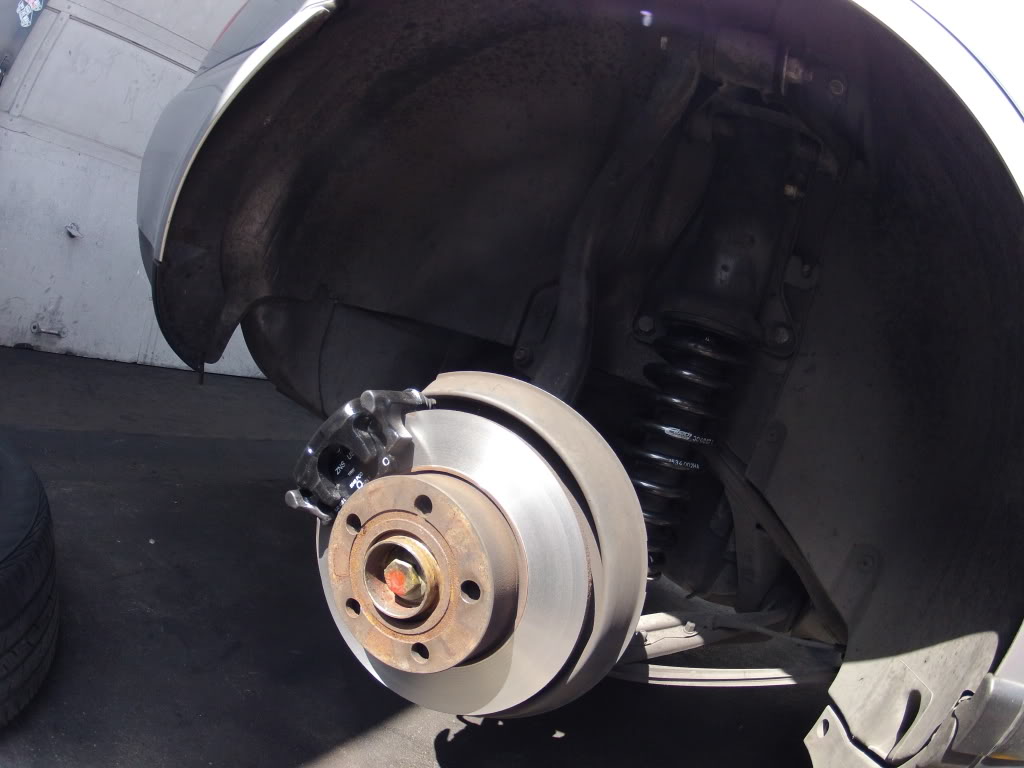
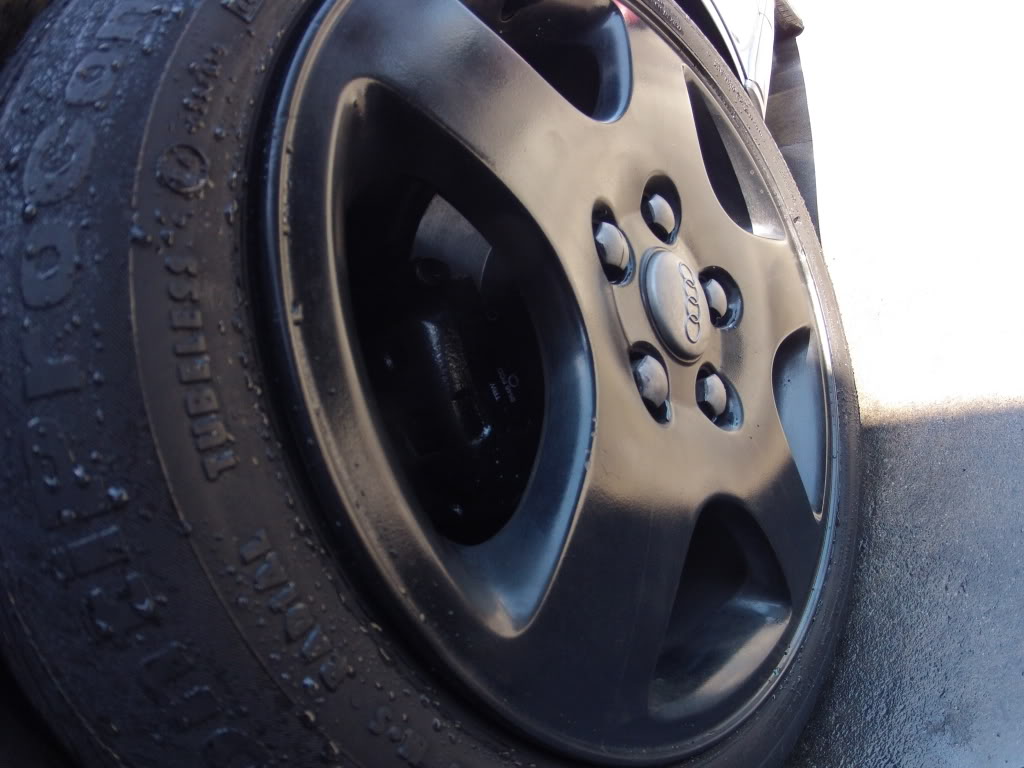
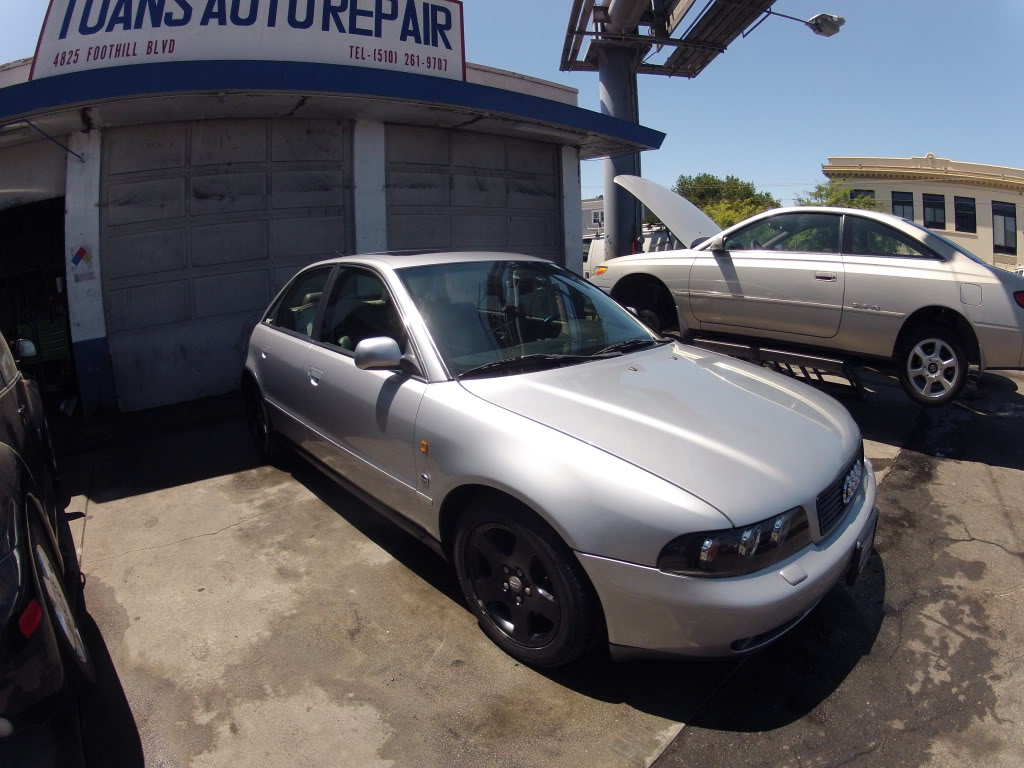
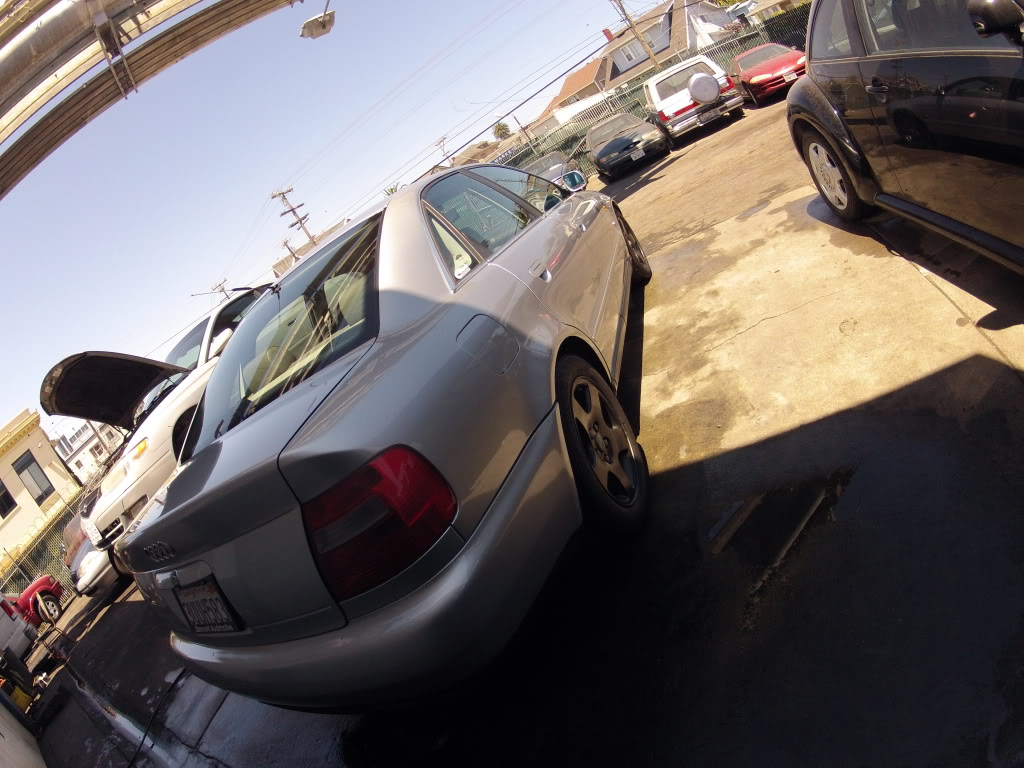
Enjoy your new fresh brakes and i hope i helped a bunch of you guys out... feel free to ask any questions or whatever! thanks
- Fisheye
so you're probably reading this part right here because you want to replace your rotors along with your new pads (good idea!). In this write up i'll be resurfacing my rotors (the shop where i work at has a brake lathe for resurfacing) but the removal and instalation process is just the same..
now to remove the rear rotor theres two bolts holding the caliper carrier in... they should be 7 or 8mm allen bolts... just find the socket that fits in there snugly and break them loose... they are a bit tight... once the carrier is loose you can just pull the rotor off and put the new one on there... then just put the carrier back... in my case i painted my caliper and carrier black to give it a fresh look...


Resurfacing my rotors


once your new / resurfaced rotor is on... put the carriers back on and slap those new pads on there and put everything back... dont forget to pump the pedal a couple times to adjust the piston!


Enjoy your new fresh brakes and i hope i helped a bunch of you guys out... feel free to ask any questions or whatever! thanks
- Fisheye
Last edited by FishEye; 07-28-2012 at 07:09 PM.
#4
Thanks man.. and yea i know but i've been jacking cars up from the skirts for years now never had a problem... theres not much weight in the rear but you are definitely correct... thats how they teach you in school to use pads of some sort when jacking the car up.
#5
Very nicely done. I'll move it to the DIY area. Something to consider adding though is to soak all bolts (especially the Allen caliper carrier bolts) with penetrating fluid. They easily corrode there and if you strip the head out, you're in for some real work. Additionally, while the brakes are apart, use quality grease on any sliders after thoroughly cleaning them so that you don't end up with them seizing on you later on.
#6
Very nicely done. I'll move it to the DIY area. Something to consider adding though is to soak all bolts (especially the Allen caliper carrier bolts) with penetrating fluid. They easily corrode there and if you strip the head out, you're in for some real work. Additionally, while the brakes are apart, use quality grease on any sliders after thoroughly cleaning them so that you don't end up with them seizing on you later on.


