
My very own update thread


Thread Starter
|
Site Moderator/B5 Tech Guru
Joined: Feb 2010
Posts: 1,745
From: Bay Area, CA
2 days ago I heard a snap from my passenger door. I figured something with the window had just broken. When I got home I completely forgot and rolled the window down and wasn't able to get it back up.
I pulled the door card and frame off to find a nice collection of broken plastic pieces.
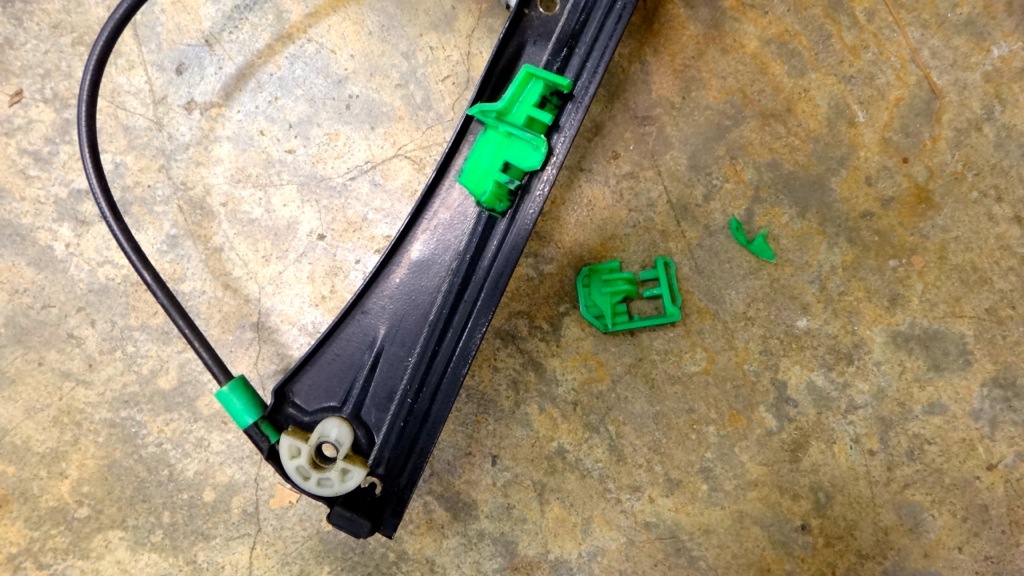
So I borrowed my dads A4 and made a run up to the pick n pull to grab the window regulator and motor from the 97 with 50,000 fewer miles on it than my car.
Success!
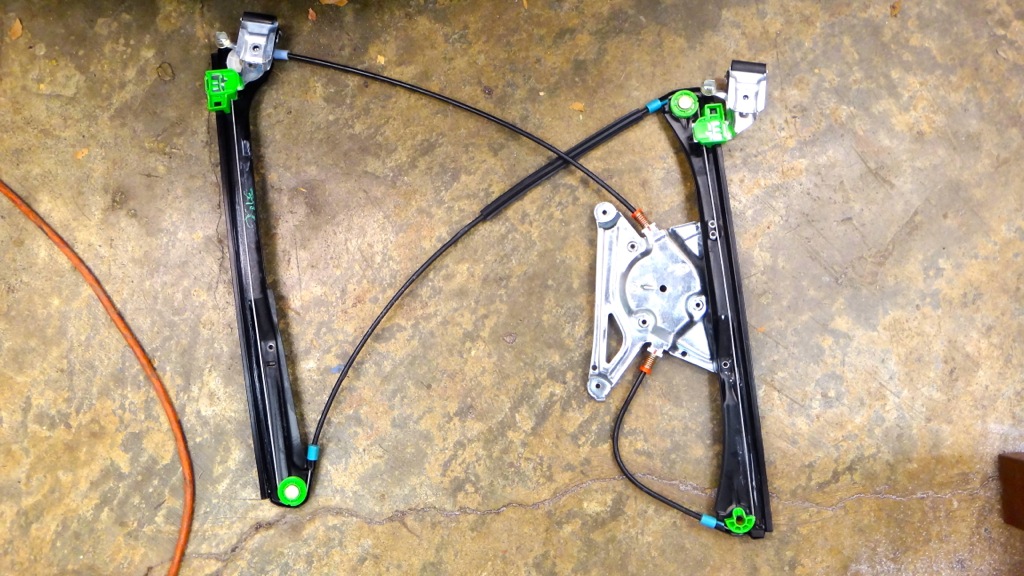
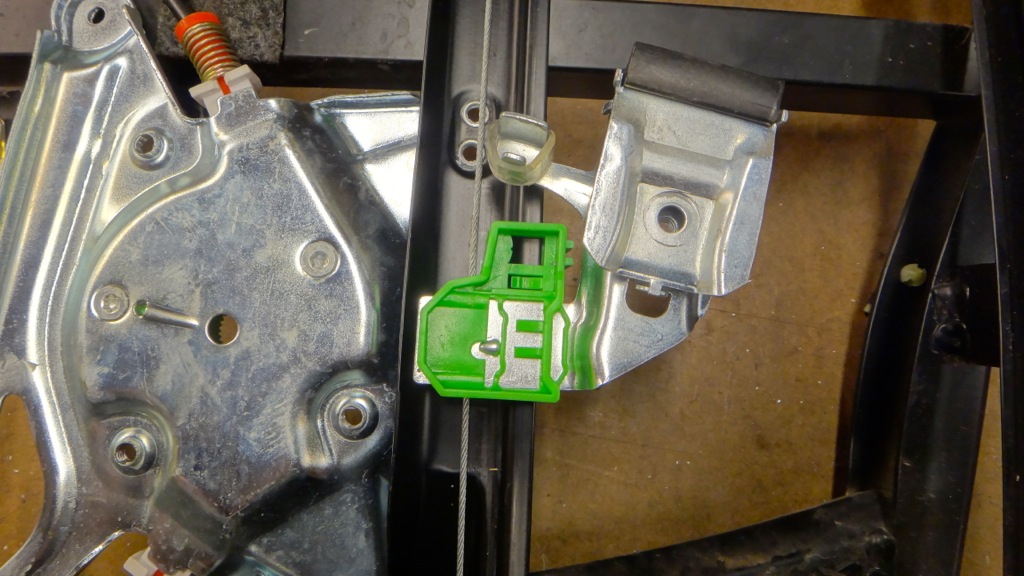
Rail guides intact.
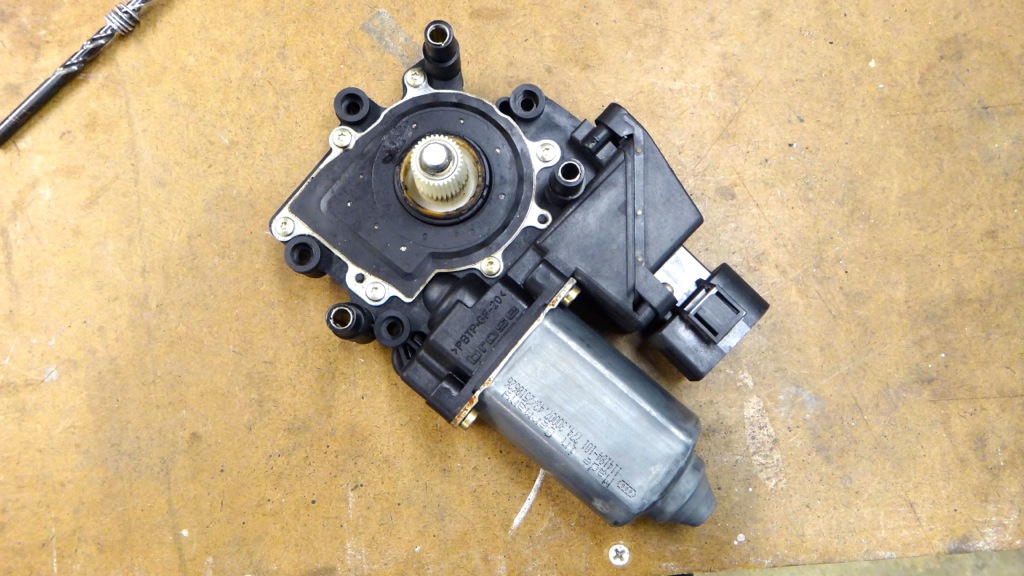
I got the motor as well and its a bit quicker than my old one.
I will say that I underestimated the pain-in-the-assness of this replacement. It was one headache after another. The rivets holding the regulator to the frame were aluminum on the donor car, easy deal to drill them out, took 5 minutes.
On my car? Steel rivets. Not the end of the world, just an unexpected pain. Also had to drill through and bolt one of them in place since the rivet was boxed in place. I installed new rivets in all the other locations. Also still trying to get the door frame aligned correctly, its pretty close though.
While I was there I checked out how the donor car for my cluster swap had it's coolant level sensor wired up. Turns out it was wired the same as my car with the coolant level signal going to pin 20 on the blue connector to the cluster. Tomorrow I'll do more testing to see if I can get that warning to trigger.
Still looking for a sport suspension...and I may have to get the new Treadstone intercooler.
I pulled the door card and frame off to find a nice collection of broken plastic pieces.
So I borrowed my dads A4 and made a run up to the pick n pull to grab the window regulator and motor from the 97 with 50,000 fewer miles on it than my car.
Success!
Rail guides intact.
I got the motor as well and its a bit quicker than my old one.
I will say that I underestimated the pain-in-the-assness of this replacement. It was one headache after another. The rivets holding the regulator to the frame were aluminum on the donor car, easy deal to drill them out, took 5 minutes.
On my car? Steel rivets. Not the end of the world, just an unexpected pain. Also had to drill through and bolt one of them in place since the rivet was boxed in place. I installed new rivets in all the other locations. Also still trying to get the door frame aligned correctly, its pretty close though.
While I was there I checked out how the donor car for my cluster swap had it's coolant level sensor wired up. Turns out it was wired the same as my car with the coolant level signal going to pin 20 on the blue connector to the cluster. Tomorrow I'll do more testing to see if I can get that warning to trigger.
Still looking for a sport suspension...and I may have to get the new Treadstone intercooler.
Last edited by BaseDrifter; Jan 23, 2013 at 05:32 AM.
Thread Starter
|
Site Moderator/B5 Tech Guru
Joined: Feb 2010
Posts: 1,745
From: Bay Area, CA
Sure, if you want to waste money buying parts you don't need.
I already paid more than I would've liked for the regulator and motor. The last thing I wanted to do was buy a whole window frame to avoid dealing with some rivets, all because some plastic guides broke.
I already paid more than I would've liked for the regulator and motor. The last thing I wanted to do was buy a whole window frame to avoid dealing with some rivets, all because some plastic guides broke.
Last edited by BaseDrifter; Jan 23, 2013 at 02:21 PM.
Thread Starter
|
Site Moderator/B5 Tech Guru
Joined: Feb 2010
Posts: 1,745
From: Bay Area, CA
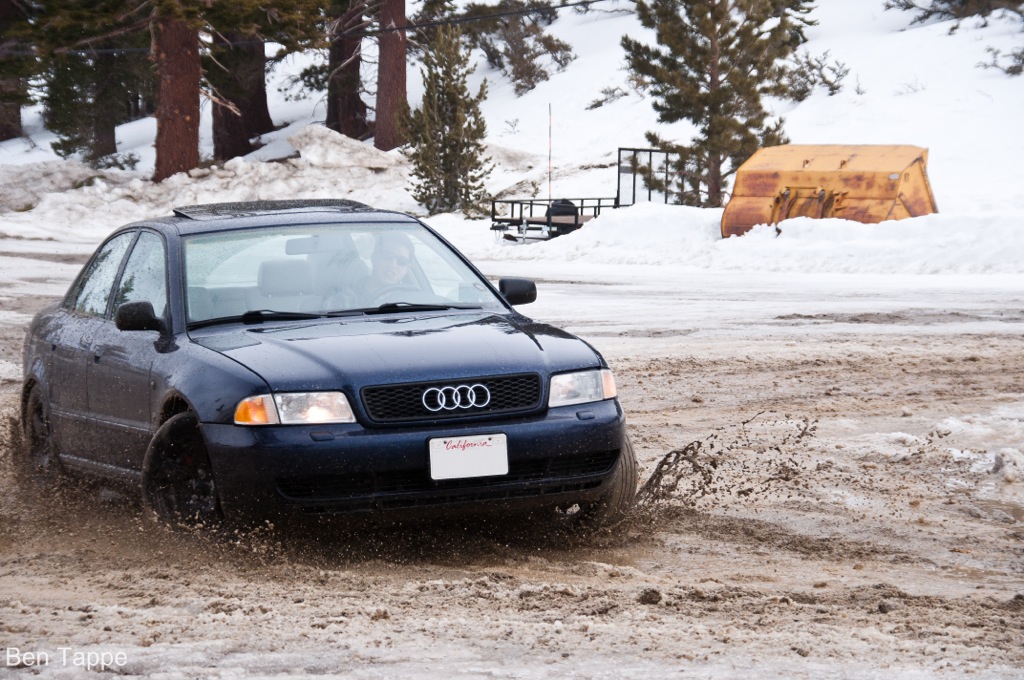
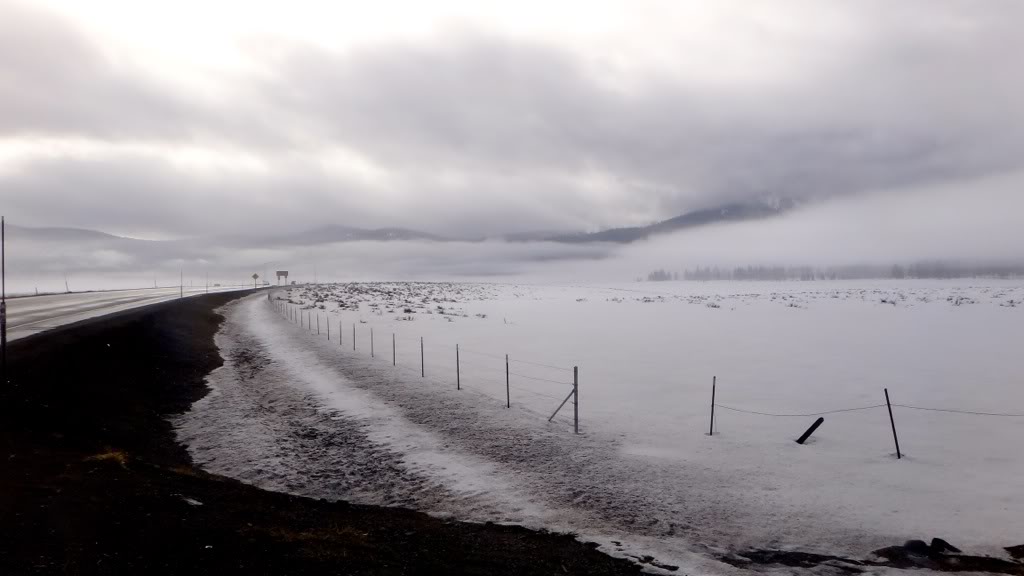
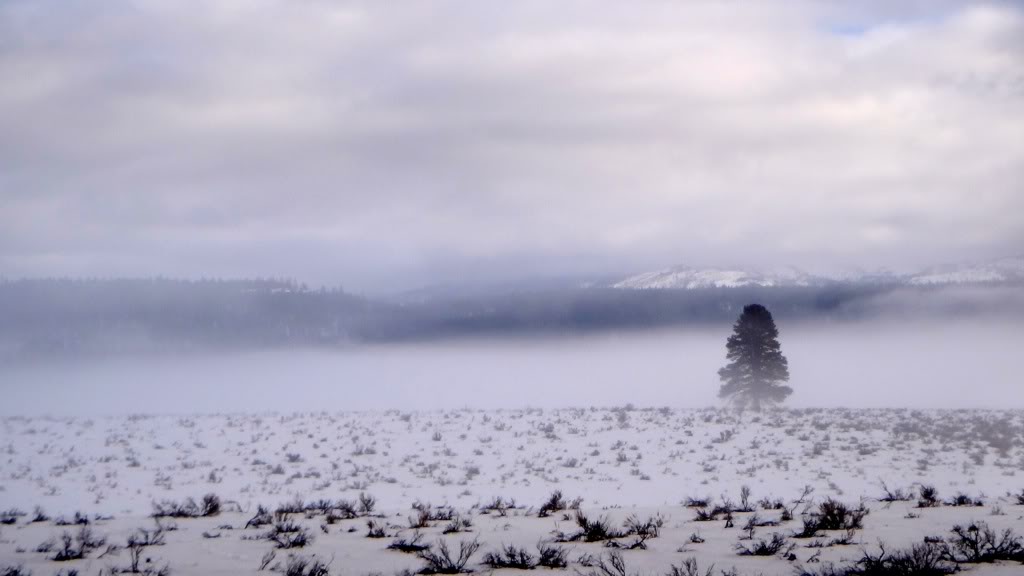
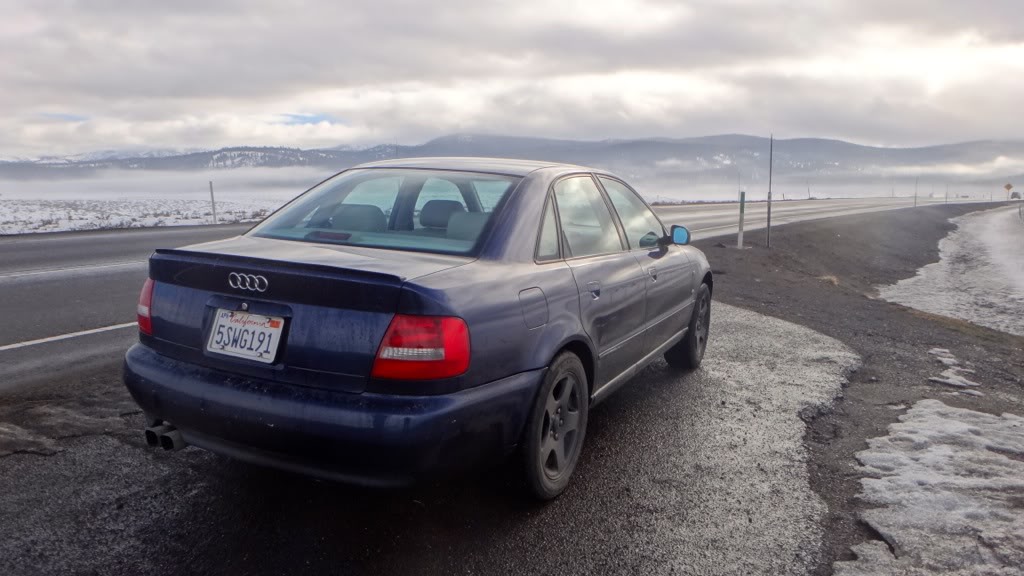
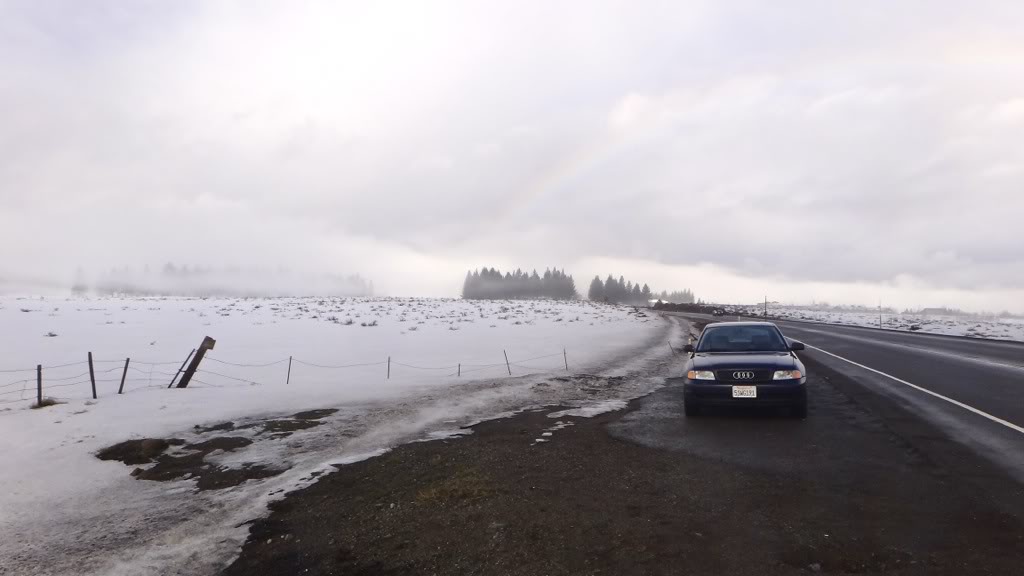
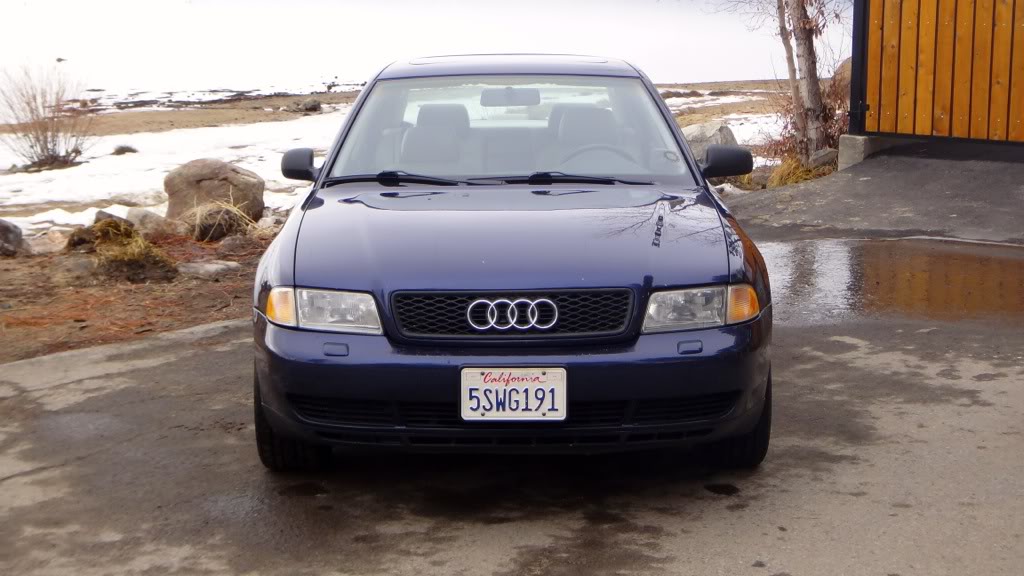
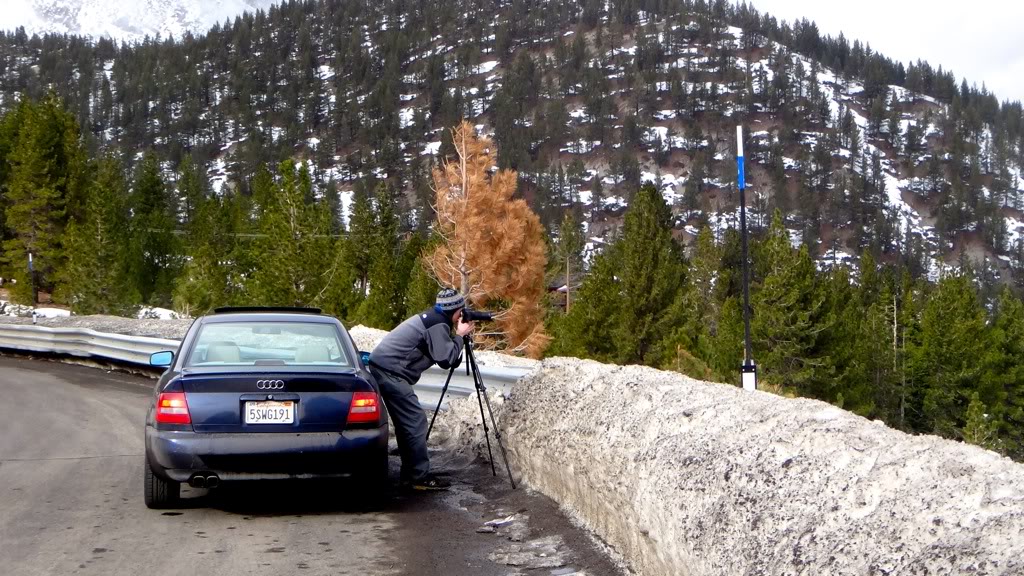
Yesterday my friend and I went on a day trip to Lake Tahoe and Reno Nevada. It was basically a day of driving and taking pictures, I drove all 465 miles and averaged 22mpg.
This was the first time taking this A4 up to the snow and it performed flawlessly, even with the TONS of snow on the roads.")
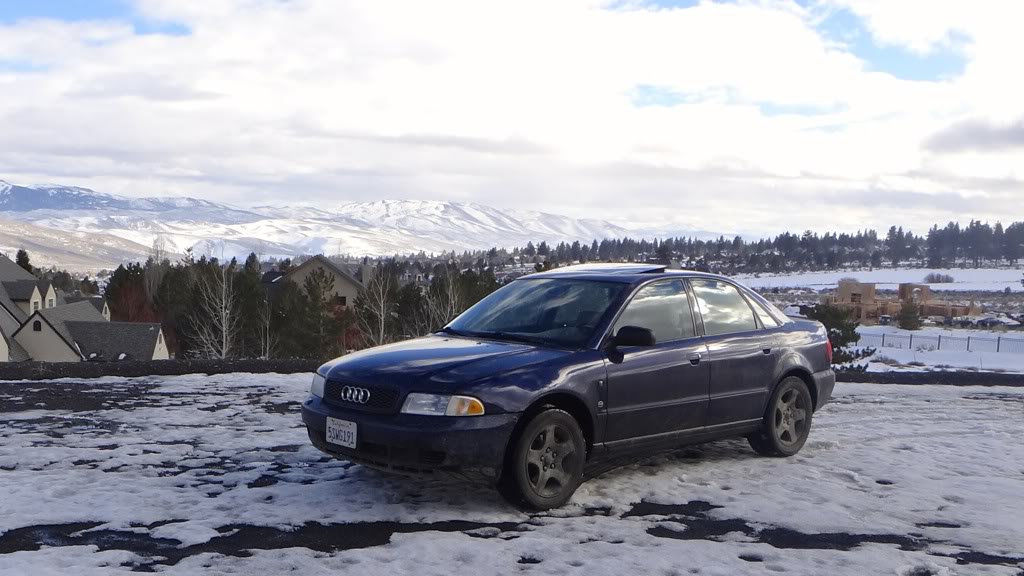
Had lots of fun though!


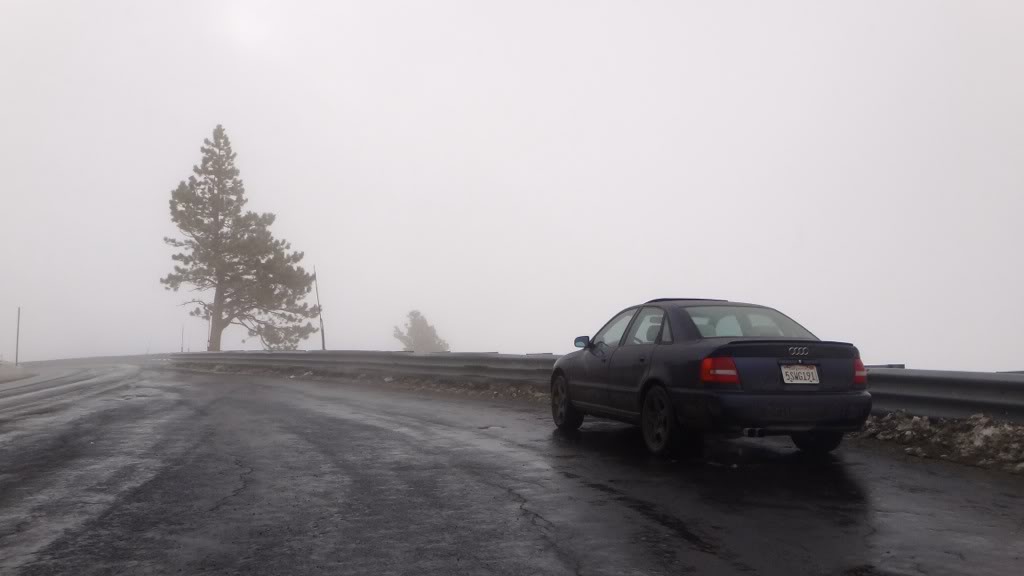
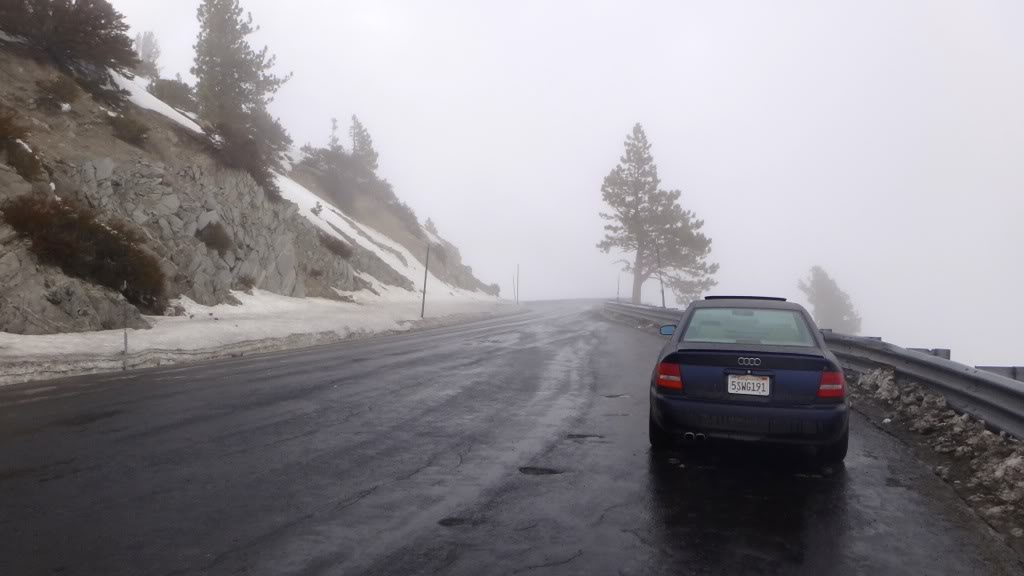
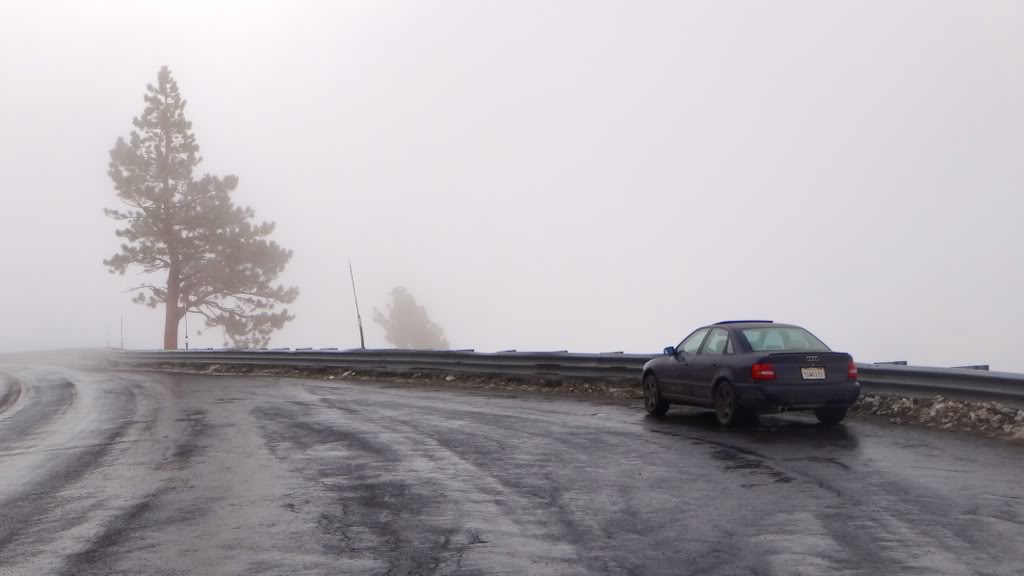
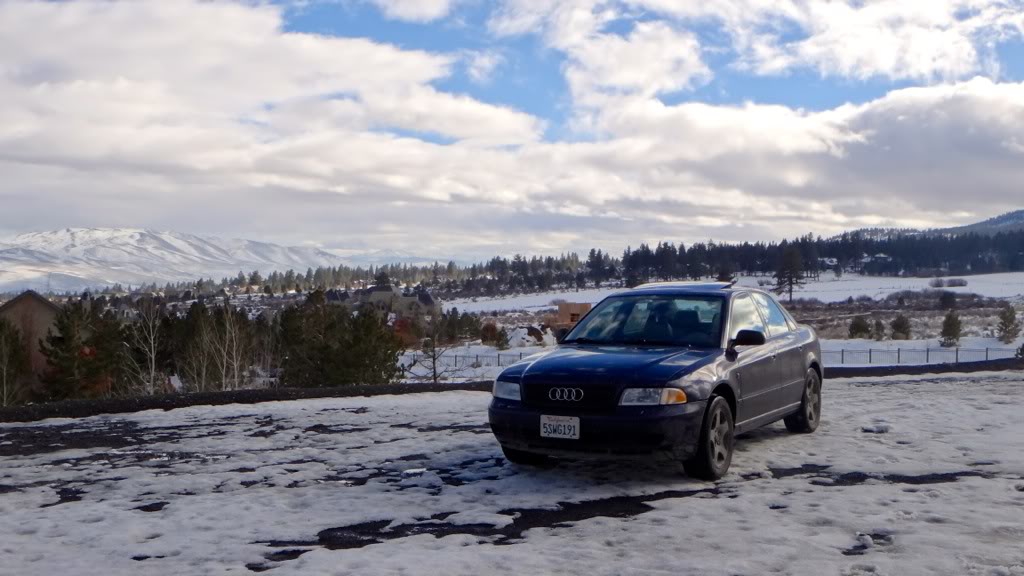
This was the first time taking this A4 up to the snow and it performed flawlessly, even with the TONS of snow on the roads.
Had lots of fun though!
Last edited by BaseDrifter; Jan 26, 2013 at 10:33 PM.
Thread Starter
|
Site Moderator/B5 Tech Guru
Joined: Feb 2010
Posts: 1,745
From: Bay Area, CA
Got some updates.
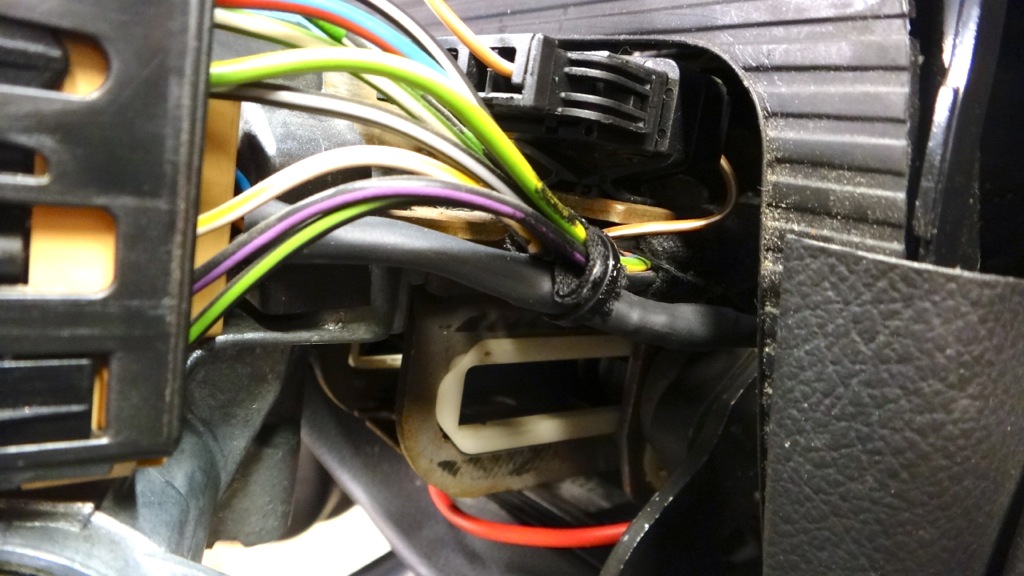
Pulled the steering column apart again to finalize the wiring for the cluster swap.
Here was the "test" harness I made to make sure all the hardware worked.

And here is the finished harness. The wire coming out goes to ground and is a common ground for the washer stalk and for the warning light ground outs.
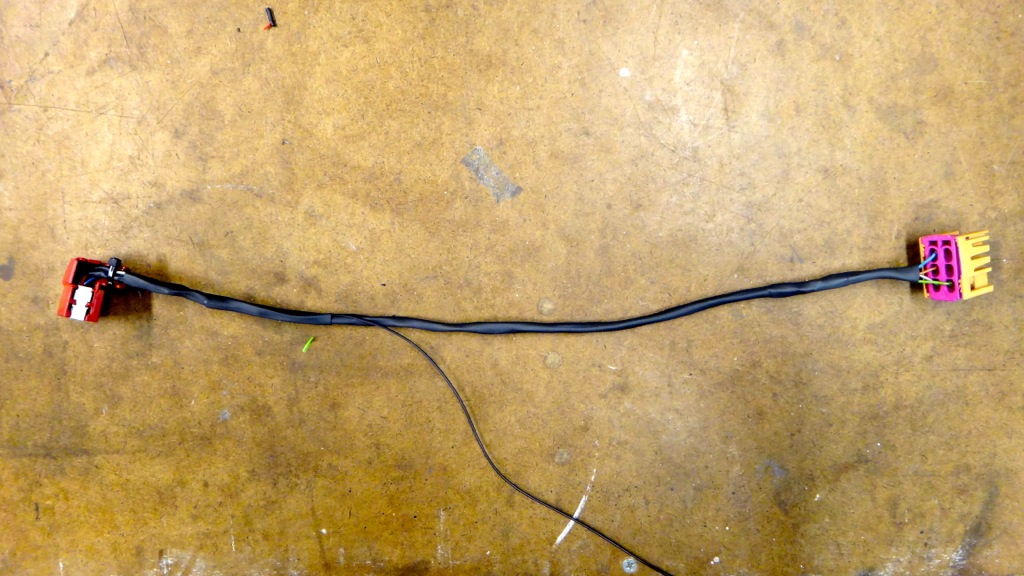
The cluster side wrapped and strain relieved.
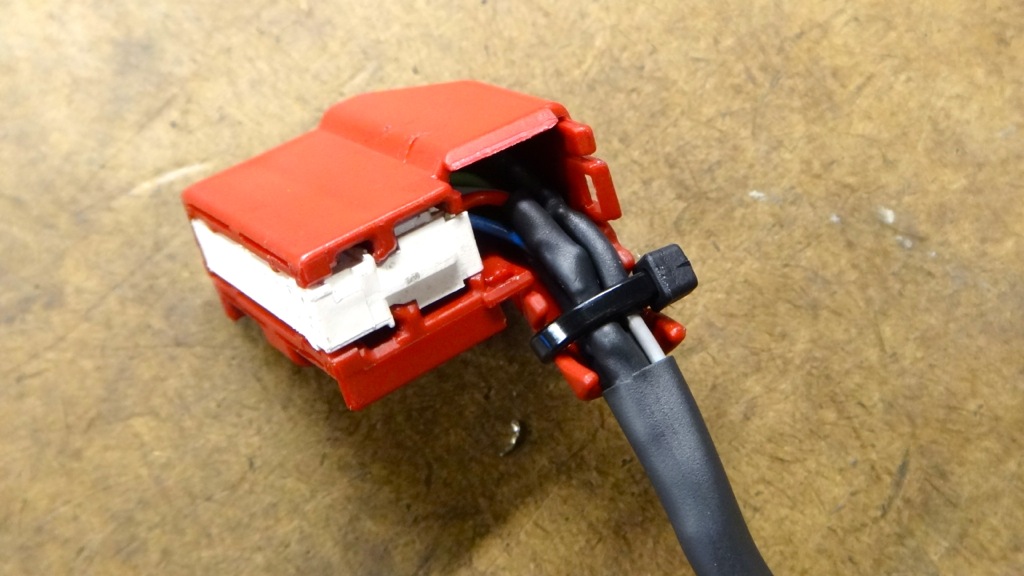
OEM as could be!
Unfortunately I'm getting an unexpected error in getting the odometer corrected, so I'm still waiting on one last hang up before I can call that project done.
The fog light retrofit has been on hold after the grilles I ordered did not arrive as advertised and did not fit. I had just the fog lights, no grilles and no pig tails (I know you can use terminal connectors, but I wanted the cleanest possible install.)
So in the meantime I saw a set pop up on ebay that included the grilles and the pig tails for ~$70. I snagged that and will piece together a 2nd set to resell and recoupe the cost.
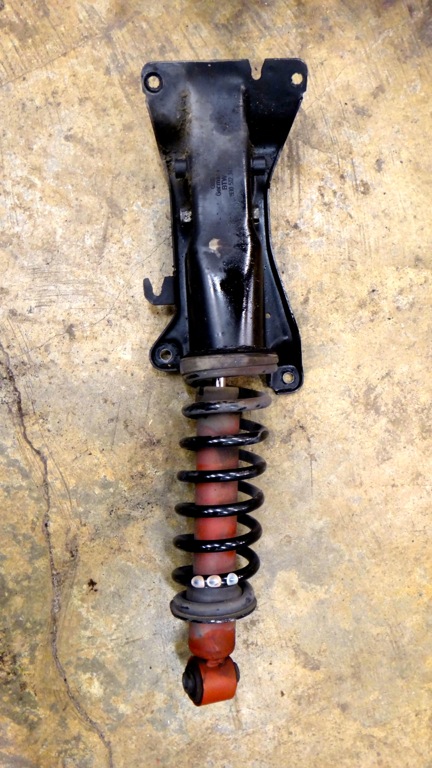
I finally bought a used 1.8T sport suspension. The set I bought had the front replaced with a Sachs OEM replacement. When the kit arrived one of the rear springs was broken.
The seller refunded me $25 for the broken spring and I was off to the pick n pull again.
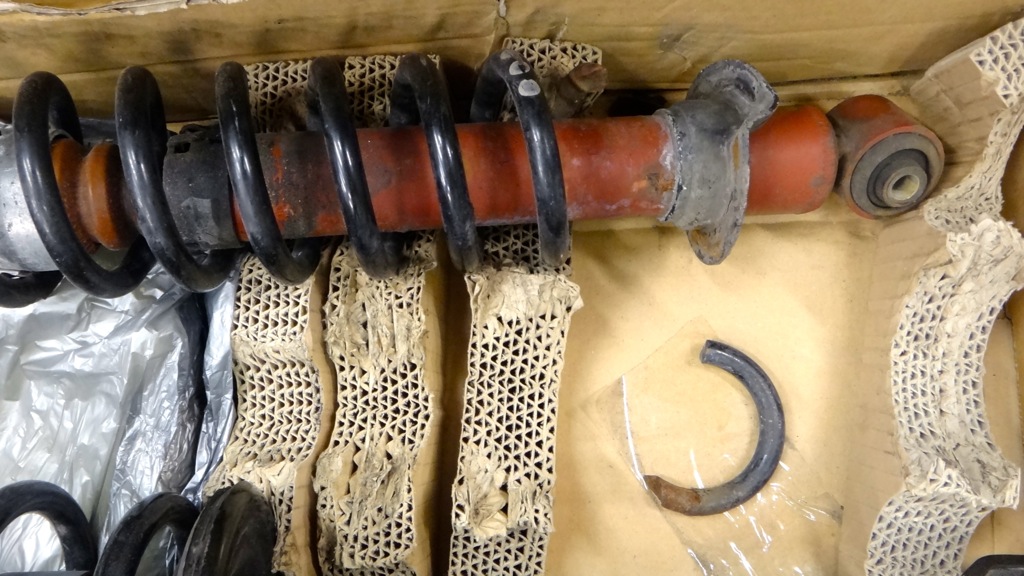
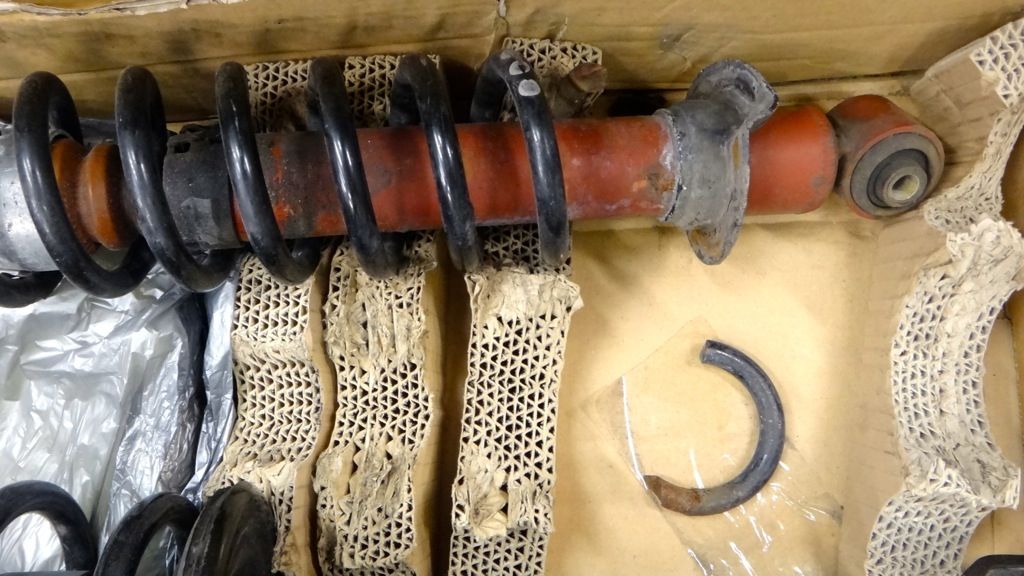
I got both rear shocks, springs, and mounts for $40, as well as another "N" revision CLP to sell and the ECU from a 99 2.8.
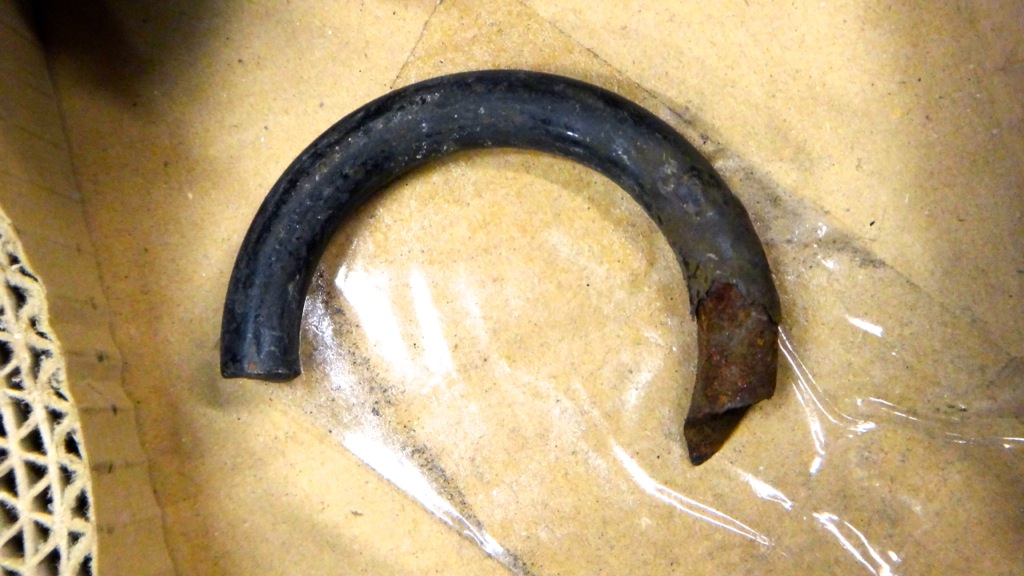
I started to install the suspension and have run into a problem mounting the rear shock. The spring appears to be pushing the shock sideways, making the whole unit angle in one direction. This is making it difficult to line up the lower bolt holes. I was able to get the bolt through the lower shock mount, line up the upper mount, and the lower body mount is a good 1" off the mark. I tried wedging it with a large screwdriver but wasn't able to get it to pop into place over the alignment pins. Any insight for getting this straightened out? (literally.)
You can see the curve here.
Pulled the steering column apart again to finalize the wiring for the cluster swap.
Here was the "test" harness I made to make sure all the hardware worked.
And here is the finished harness. The wire coming out goes to ground and is a common ground for the washer stalk and for the warning light ground outs.
The cluster side wrapped and strain relieved.
OEM as could be!
Unfortunately I'm getting an unexpected error in getting the odometer corrected, so I'm still waiting on one last hang up before I can call that project done.
The fog light retrofit has been on hold after the grilles I ordered did not arrive as advertised and did not fit. I had just the fog lights, no grilles and no pig tails (I know you can use terminal connectors, but I wanted the cleanest possible install.)
So in the meantime I saw a set pop up on ebay that included the grilles and the pig tails for ~$70. I snagged that and will piece together a 2nd set to resell and recoupe the cost.
I finally bought a used 1.8T sport suspension. The set I bought had the front replaced with a Sachs OEM replacement. When the kit arrived one of the rear springs was broken.
The seller refunded me $25 for the broken spring and I was off to the pick n pull again.
I got both rear shocks, springs, and mounts for $40, as well as another "N" revision CLP to sell and the ECU from a 99 2.8.
I started to install the suspension and have run into a problem mounting the rear shock. The spring appears to be pushing the shock sideways, making the whole unit angle in one direction. This is making it difficult to line up the lower bolt holes. I was able to get the bolt through the lower shock mount, line up the upper mount, and the lower body mount is a good 1" off the mark. I tried wedging it with a large screwdriver but wasn't able to get it to pop into place over the alignment pins. Any insight for getting this straightened out? (literally.)
You can see the curve here.
1st Gear
Joined: Feb 2012
Posts: 91
From: Utica, NY
Got some updates.
Pulled the steering column apart again to finalize the wiring for the cluster swap.
Here was the "test" harness I made to make sure all the hardware worked.

And here is the finished harness. The wire coming out goes to ground and is a common ground for the washer stalk and for the warning light ground outs.

The cluster side wrapped and strain relieved.

OEM as could be!

Unfortunately I'm getting an unexpected error in getting the odometer corrected, so I'm still waiting on one last hang up before I can call that project done.
The fog light retrofit has been on hold after the grilles I ordered did not arrive as advertised and did not fit. I had just the fog lights, no grilles and no pig tails (I know you can use terminal connectors, but I wanted the cleanest possible install.)
So in the meantime I saw a set pop up on ebay that included the grilles and the pig tails for ~$70. I snagged that and will piece together a 2nd set to resell and recoupe the cost.
I finally bought a used 1.8T sport suspension. The set I bought had the front replaced with a Sachs OEM replacement. When the kit arrived one of the rear springs was broken.

The seller refunded me $25 for the broken spring and I was off to the pick n pull again.
I got both rear shocks, springs, and mounts for $40, as well as another "N" revision CLP to sell and the ECU from a 99 2.8.
I started to install the suspension and have run into a problem mounting the rear shock. The spring appears to be pushing the shock sideways, making the whole unit angle in one direction. This is making it difficult to line up the lower bolt holes. I was able to get the bolt through the lower shock mount, line up the upper mount, and the lower body mount is a good 1" off the mark. I tried wedging it with a large screwdriver but wasn't able to get it to pop into place over the alignment pins. Any insight for getting this straightened out? (literally.)
You can see the curve here.

Pulled the steering column apart again to finalize the wiring for the cluster swap.
Here was the "test" harness I made to make sure all the hardware worked.
And here is the finished harness. The wire coming out goes to ground and is a common ground for the washer stalk and for the warning light ground outs.
The cluster side wrapped and strain relieved.
OEM as could be!
Unfortunately I'm getting an unexpected error in getting the odometer corrected, so I'm still waiting on one last hang up before I can call that project done.
The fog light retrofit has been on hold after the grilles I ordered did not arrive as advertised and did not fit. I had just the fog lights, no grilles and no pig tails (I know you can use terminal connectors, but I wanted the cleanest possible install.)
So in the meantime I saw a set pop up on ebay that included the grilles and the pig tails for ~$70. I snagged that and will piece together a 2nd set to resell and recoupe the cost.
I finally bought a used 1.8T sport suspension. The set I bought had the front replaced with a Sachs OEM replacement. When the kit arrived one of the rear springs was broken.
The seller refunded me $25 for the broken spring and I was off to the pick n pull again.
I got both rear shocks, springs, and mounts for $40, as well as another "N" revision CLP to sell and the ECU from a 99 2.8.
I started to install the suspension and have run into a problem mounting the rear shock. The spring appears to be pushing the shock sideways, making the whole unit angle in one direction. This is making it difficult to line up the lower bolt holes. I was able to get the bolt through the lower shock mount, line up the upper mount, and the lower body mount is a good 1" off the mark. I tried wedging it with a large screwdriver but wasn't able to get it to pop into place over the alignment pins. Any insight for getting this straightened out? (literally.)
You can see the curve here.
That may not make a whole lot of sense, but that's how I got it to work for me. Good luck.