
My very own update thread

Thread Starter
|
Site Moderator/B5 Tech Guru
Joined: Feb 2010
Posts: 1,745
From: Bay Area, CA
Success! The rear is done.
Brute force is all that was necessary, guess I was too tired last night . Those alignment pins are there for just that, aligning the shock mount haha. Oddly enough the driver side was MUCH easier and took less persuasion to get seated correctly.
Everything is cleaned, torqued, and ready to go. Now on to the front..
Brute force is all that was necessary, guess I was too tired last night
. Those alignment pins are there for just that, aligning the shock mount haha. Oddly enough the driver side was MUCH easier and took less persuasion to get seated correctly.Everything is cleaned, torqued, and ready to go. Now on to the front..
Thread Starter
|
Site Moderator/B5 Tech Guru
Joined: Feb 2010
Posts: 1,745
From: Bay Area, CA
What a pain in the ***, almost done though.
I started with the driver's side and disconnected the lower shock mount and sway bar first. Went up top and undid the 3 upper shock mount bolts and dropped it down a few inches to get at the 2 bolts holding the shock to the mount. I was able to remove those but the shock would not budge from the mount.
I ended up pulling the pinch bolt and popping the front upper CA out. That freed up the shock mount and I was able to break the shock from the mount.
After another 10 minutes of wrestling with the shock trying to get it past the spindle and axle I got it free.
Pulled out my favorite tool, spring compressors! Always makes for an exciting friday night.")
I got everything swapped and tightened and realized I forgot to line up the lower and upper mounts to an 11 degree offset. Another round with the spring compressors and I had it swapped and installed. No problems with the reinstall, everything torqued to spec (lower shock mount torqued under compression.)
Now that I knew what I was dealing with I had the passenger side out pretty quick. I decided to take out the pinch bolt and remove the whole shock mount this time. It made removing the shock an easy deal. Slipped the shock mount out and had plenty of room to lift the shock up and over the CA.
Shock part swap went well. Everything was going just swell! Then I broke the damn pinch bolt on reinstall.
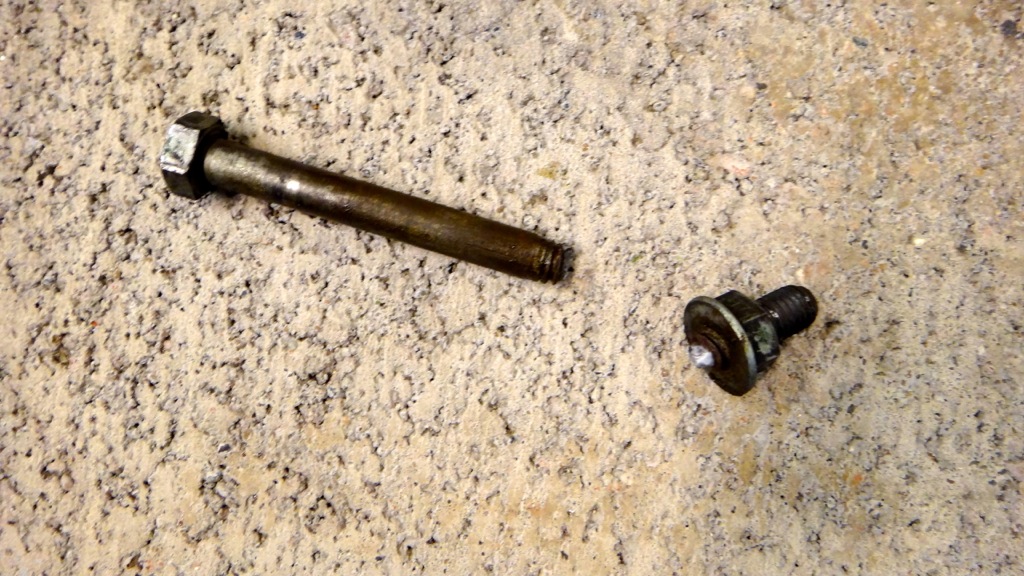
Tomorrow I'll go to the local bolt specialist and pick up a replacement. I should've taken the time to get new hardware and new bump stops. Oh well.
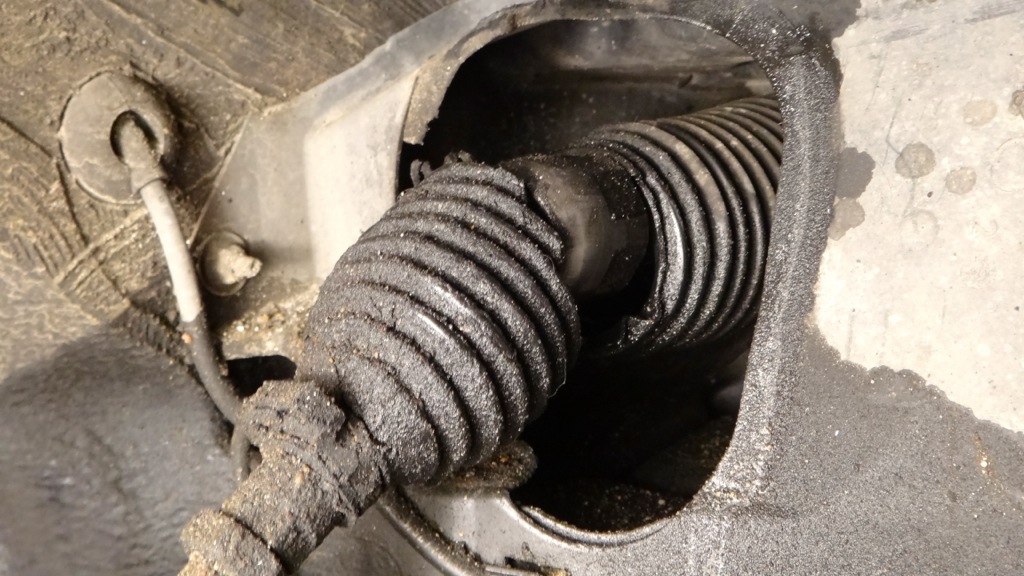
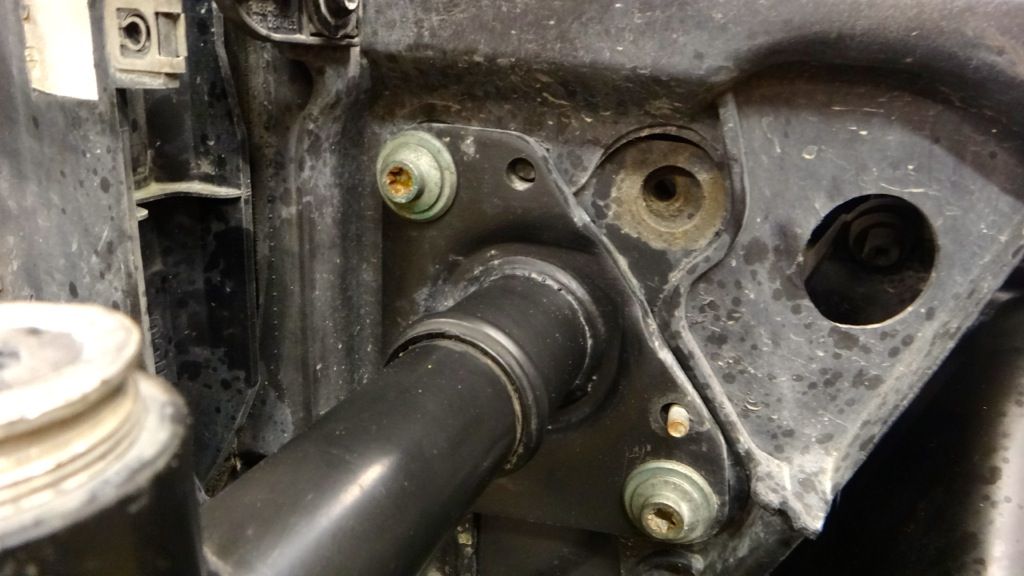
I don't know how to say this...but I think I found my power steering leak. The driver's side looks like it has the wrong boot on it as well.
I started with the driver's side and disconnected the lower shock mount and sway bar first. Went up top and undid the 3 upper shock mount bolts and dropped it down a few inches to get at the 2 bolts holding the shock to the mount. I was able to remove those but the shock would not budge from the mount.
I ended up pulling the pinch bolt and popping the front upper CA out. That freed up the shock mount and I was able to break the shock from the mount.
After another 10 minutes of wrestling with the shock trying to get it past the spindle and axle I got it free.
Pulled out my favorite tool, spring compressors! Always makes for an exciting friday night.
I got everything swapped and tightened and realized I forgot to line up the lower and upper mounts to an 11 degree offset. Another round with the spring compressors and I had it swapped and installed. No problems with the reinstall, everything torqued to spec (lower shock mount torqued under compression.)
Now that I knew what I was dealing with I had the passenger side out pretty quick. I decided to take out the pinch bolt and remove the whole shock mount this time. It made removing the shock an easy deal. Slipped the shock mount out and had plenty of room to lift the shock up and over the CA.
Shock part swap went well. Everything was going just swell! Then I broke the damn pinch bolt on reinstall.
Tomorrow I'll go to the local bolt specialist and pick up a replacement. I should've taken the time to get new hardware and new bump stops. Oh well.
I don't know how to say this...but I think I found my power steering leak. The driver's side looks like it has the wrong boot on it as well.
Last edited by BaseDrifter; Feb 9, 2013 at 06:10 AM.

Moderator
Joined: Aug 2011
Posts: 2,380
Looking good so far! Glad you got the bolts out.
As for the new pinch bolt - make sure to get the higher grade bolts.
Pays to get every single thing that you need so you can just get in there and be done. Its hard tho, i had to order a bunch of stuff when I did mine.
As for the new pinch bolt - make sure to get the higher grade bolts.
Pays to get every single thing that you need so you can just get in there and be done. Its hard tho, i had to order a bunch of stuff when I did mine.
Thread Starter
|
Site Moderator/B5 Tech Guru
Joined: Feb 2010
Posts: 1,745
From: Bay Area, CA
Looking good so far! Glad you got the bolts out.
As for the new pinch bolt - make sure to get the higher grade bolts.
Pays to get every single thing that you need so you can just get in there and be done. Its hard tho, i had to order a bunch of stuff when I did mine.
As for the new pinch bolt - make sure to get the higher grade bolts.
Pays to get every single thing that you need so you can just get in there and be done. Its hard tho, i had to order a bunch of stuff when I did mine.
Of course getting high grade bolts
.Yeah it would've been nice to have new bump stops, but these old ones will still work. It is always nice to replace all the cheap stuff you can though while this stuff is out of the car. Needless to say I won't be pulling these shocks to put on new bump stops anytime soon.
I'll be getting that bolt soon and hopefully getting her feet on the ground.
Thread Starter
|
Site Moderator/B5 Tech Guru
Joined: Feb 2010
Posts: 1,745
From: Bay Area, CA
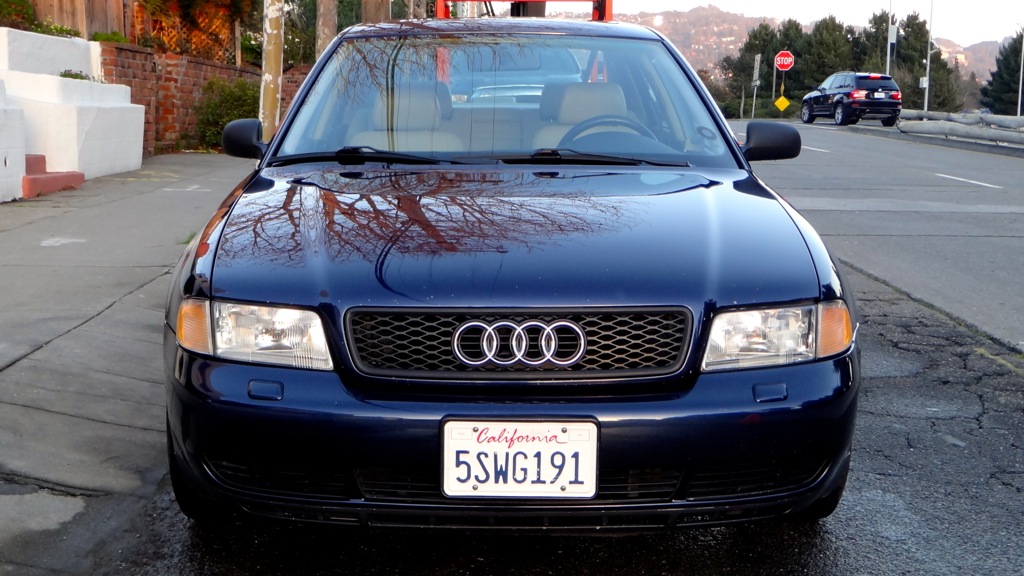
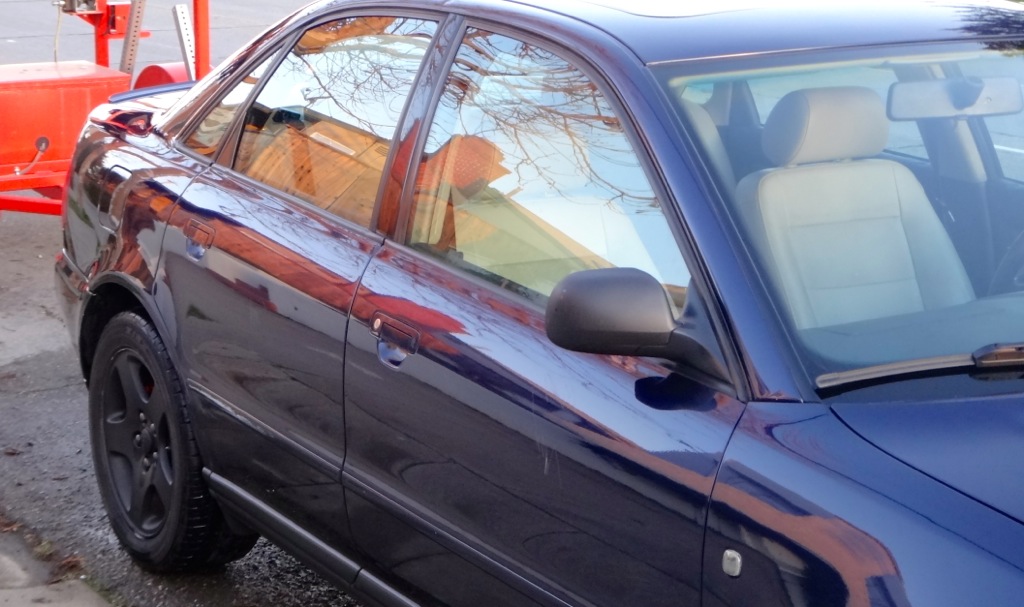
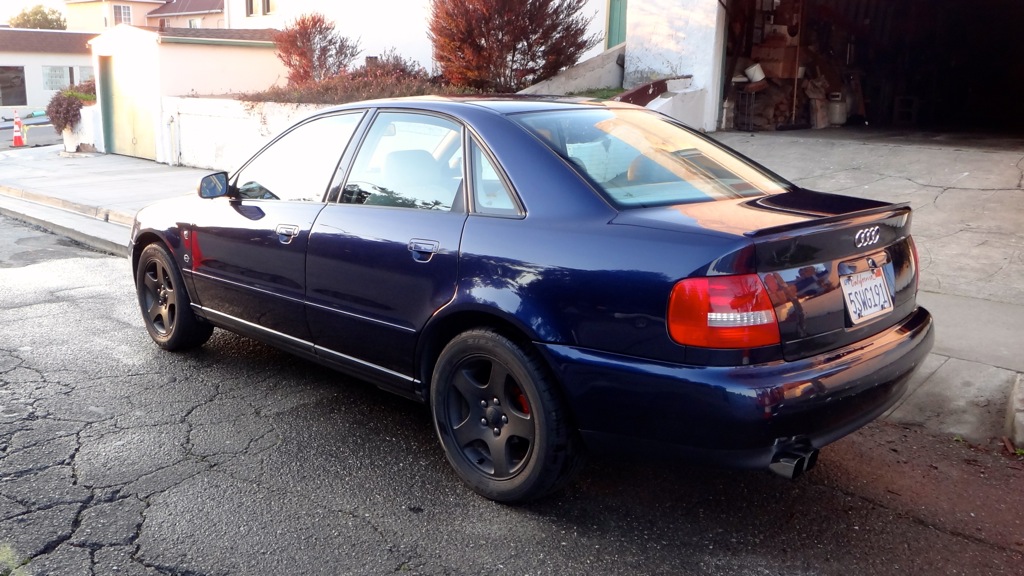
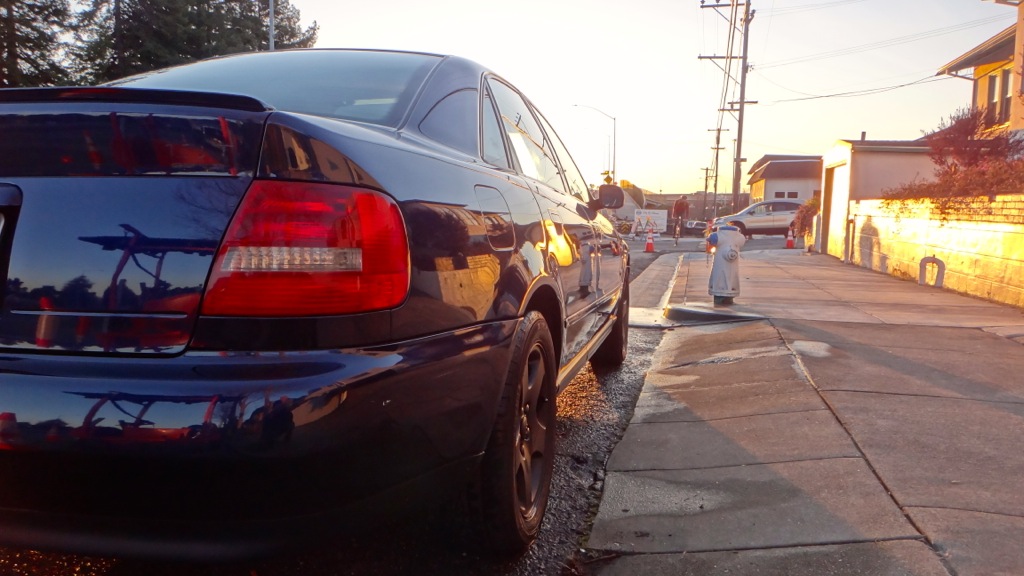
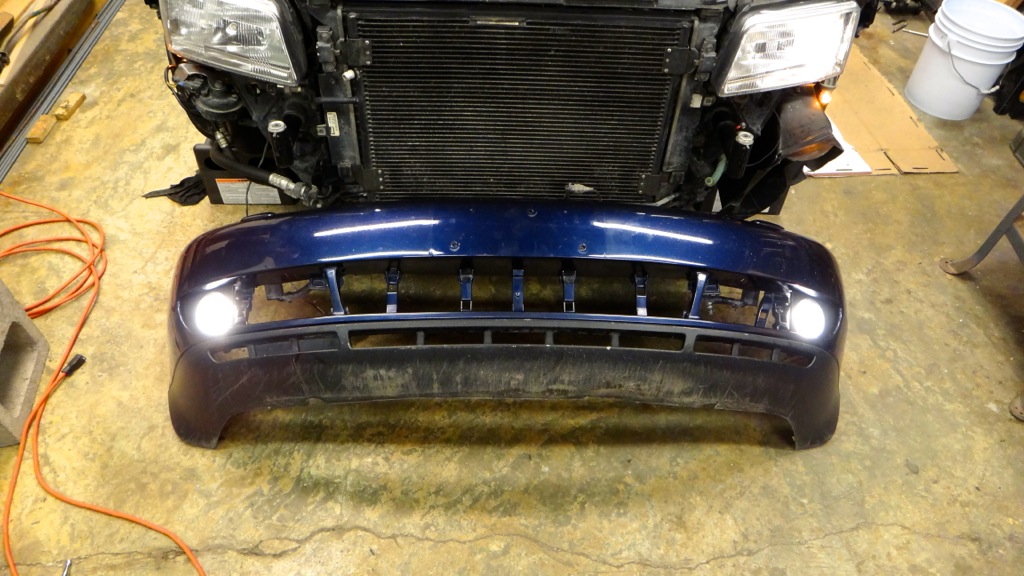
Finished installing the fronts yesterday. The drop is noticeable but not drastic, as expected. Haven't noticed any real handling improvement, but I haven't really pushed it yet either.
Now it actually sits at a normal car height instead of a 4x4 with negative rake.

Now it actually sits at a normal car height instead of a 4x4 with negative rake.
Thread Starter
|
Site Moderator/B5 Tech Guru
Joined: Feb 2010
Posts: 1,745
From: Bay Area, CA
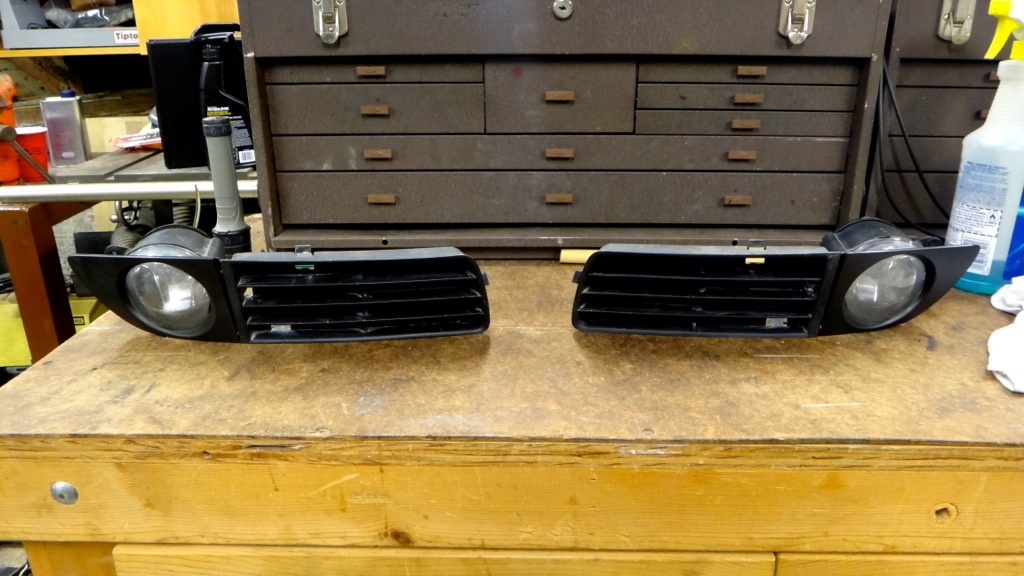
In the process of installing facelift fog lights right now. I decided to take the bumper off for the first time to give myself more room to relocate the horn and to see how much trimming would be required with the treadstone intercooler, doesn't look too bad.

Found out I'm missing a screw. I'll snag one tomorrow.

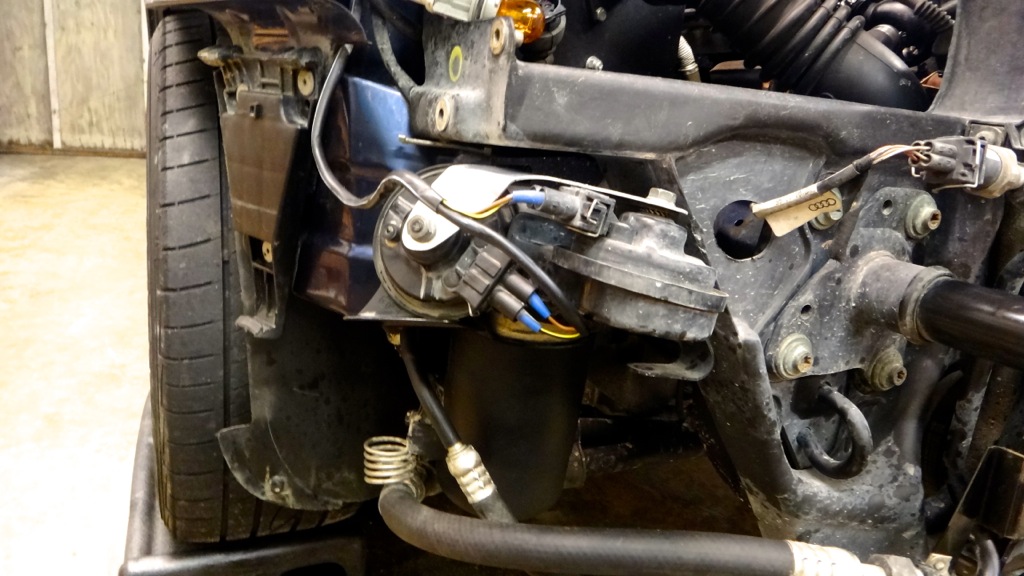
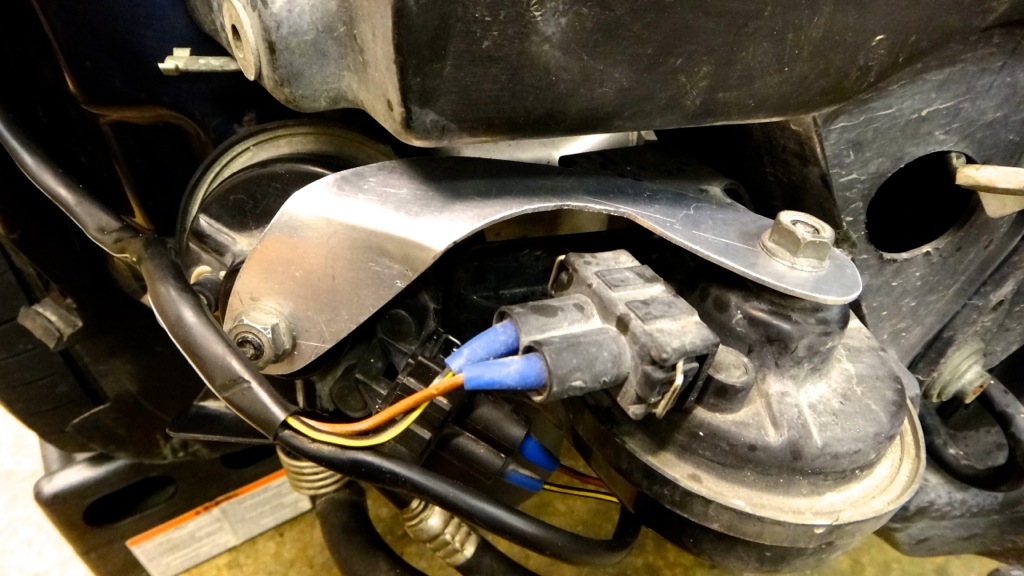
And my solution to relocate the 2nd horn. It SHOULD clear the bumper..I'll know in a few hours.
Found out I'm missing a screw. I'll snag one tomorrow.
And my solution to relocate the 2nd horn. It SHOULD clear the bumper..I'll know in a few hours.

3rd Gear
Joined: Jan 2010
Posts: 1,973
From: Costa Mesa, SoCal
You're only missing a bolt if there aren't 4 on the other side. These cars came with 3 on one side, though I really doubt it will hurt to add a 4th bolt.
Also may I ask why you decided to relocate the bottom horn? Both of mine are in their original locations with no FMIC piping fitment issues.
Also may I ask why you decided to relocate the bottom horn? Both of mine are in their original locations with no FMIC piping fitment issues.