
DIY A4 Mud Flap Install by Colin519


Thread Starter
|
1st Gear
Joined: Jul 2006
Posts: 128
From:
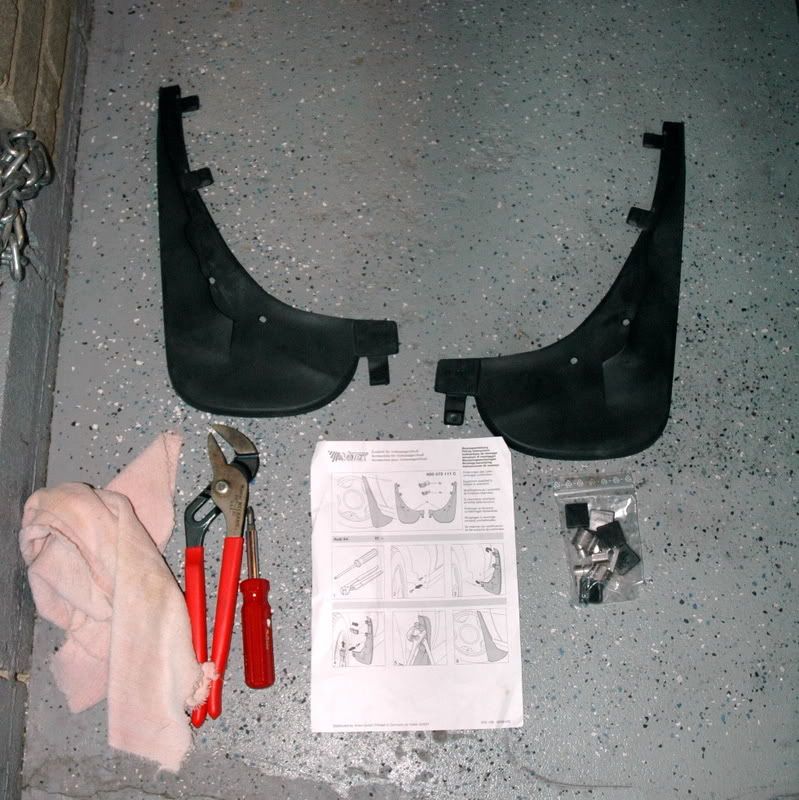
Tools I needed & used:
Wrench
Hammer
Extended Pliers
Drill and Bit
Scissors
Screwdriver
Shop light
Towel and cleaner
Now the drivers side front mud flap and the rear passenger mud flap have different bolts and that are shown on the instructions which are a little hard to follow but I just did this process today in my garage and it took me about 2 hours to do it all together because this was my first time and I had to do a few alterations to get things to fit just right.
PART 1: Front Mud Flaps
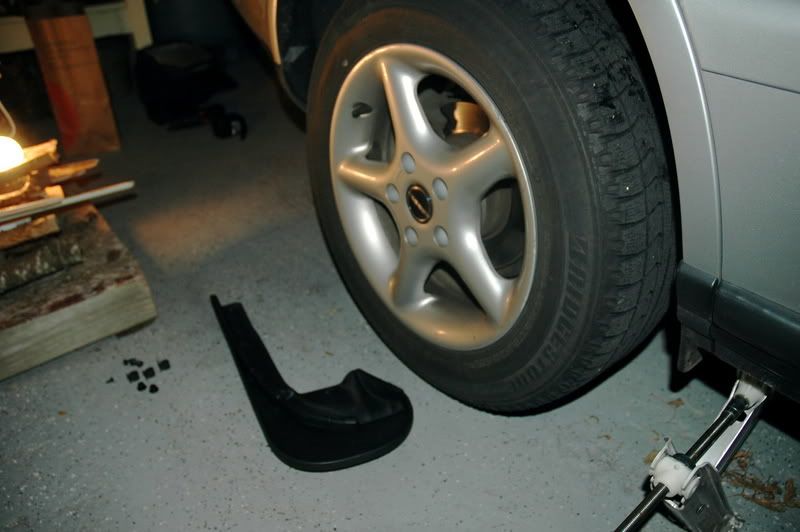
The front wheels are a little easier because you just need to turn your wheels away and there is enough room for you to work. But you can take off your wheel for more room. The front comes with 6 black items, and 4 small clips to be inserted the black housing, 2 large clips for the bottom.
Make sure you clean the area before you install so there is no dirt.
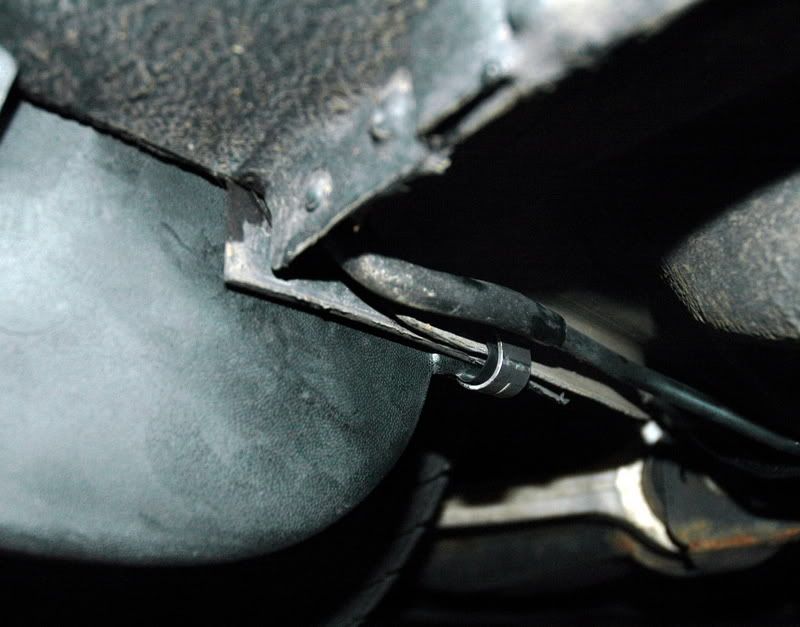
The two bolts at the bottom of the wheel well need to be removed but they will be used again.
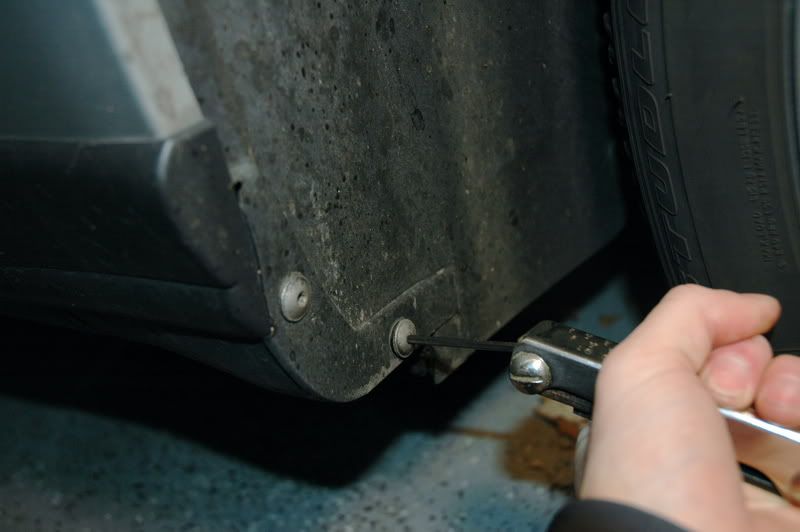
I found it easier to put the mud flap on and lightly screw in the bottom bolts and then tweak and position everything into place after that.
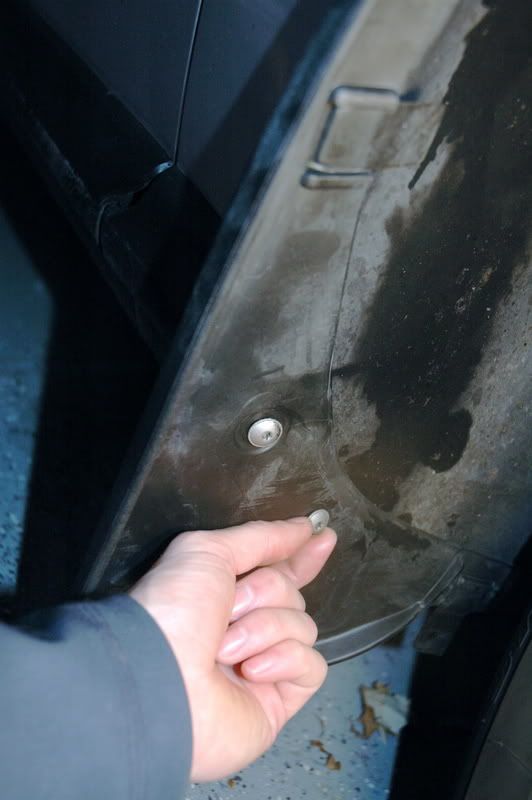
Now there are three rubber tabs and those need to be folded over. The two at the top go between the metal fender and the fender lining.
This is one of the smaller clips (top two have smaller clips) that you place the black to the metal clip and the clip follows the rubber that you put between the fender lining and metal fender.
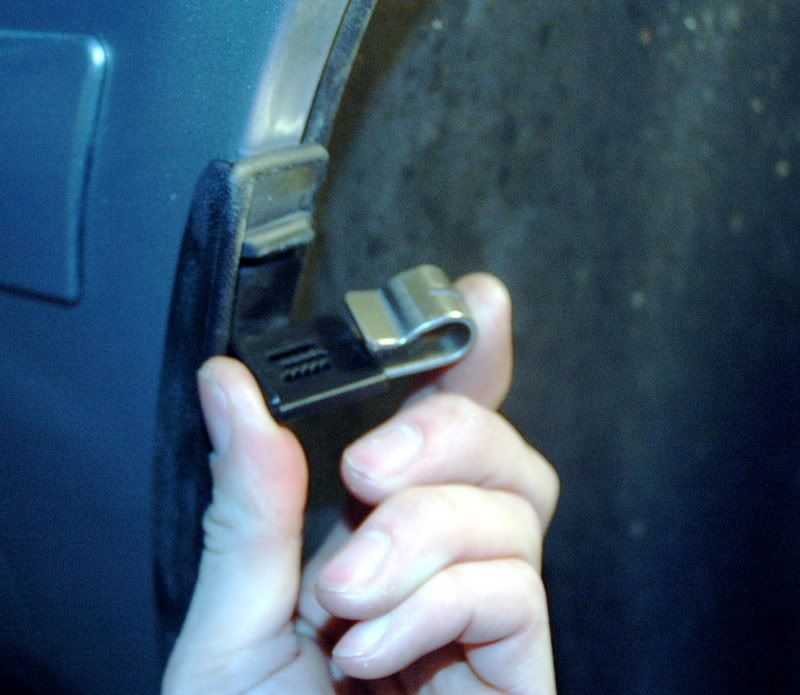
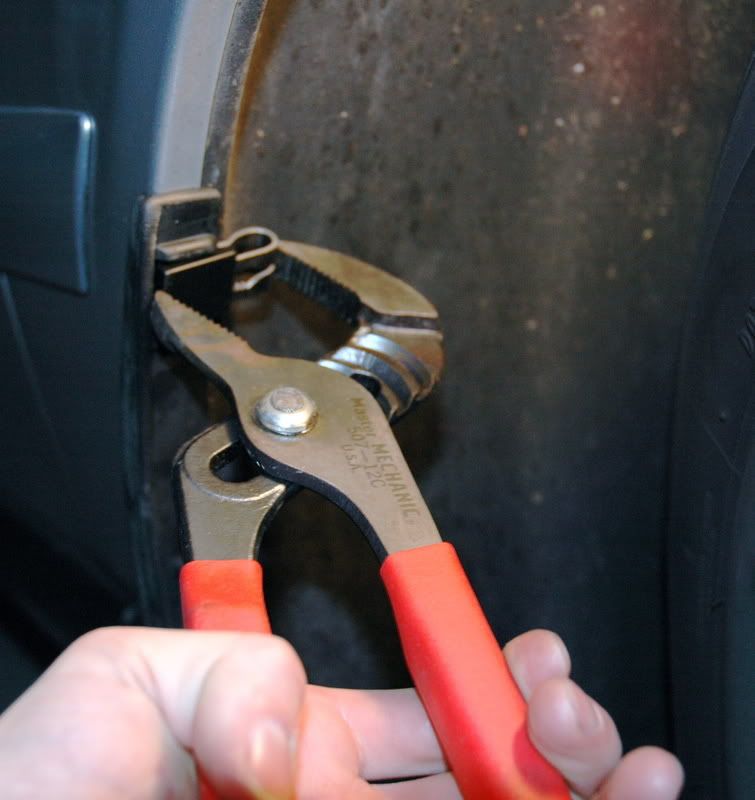
Take your big wrench and press it together so its tight and lined up correctly.
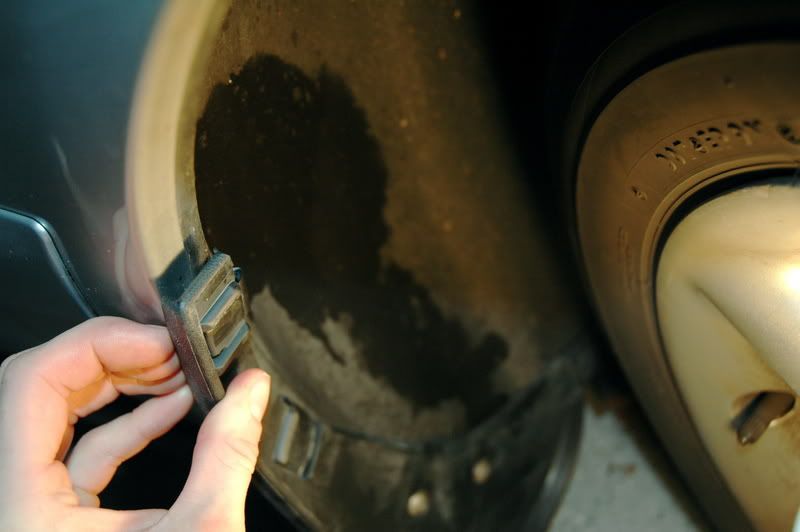
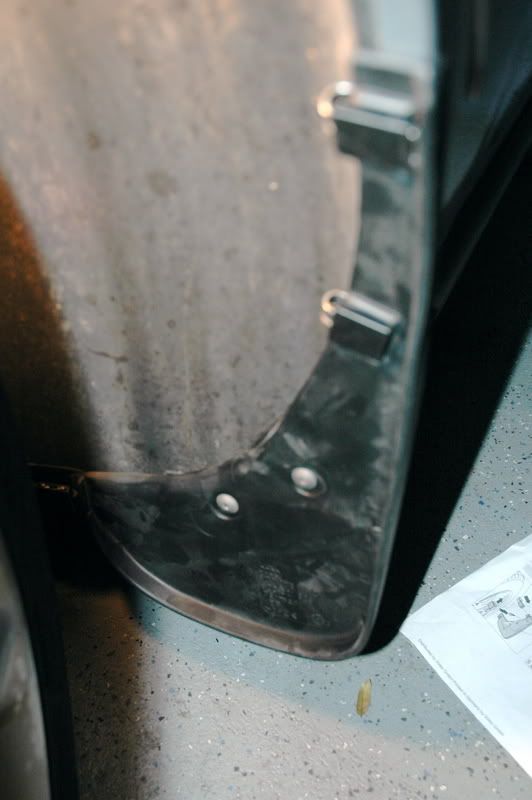
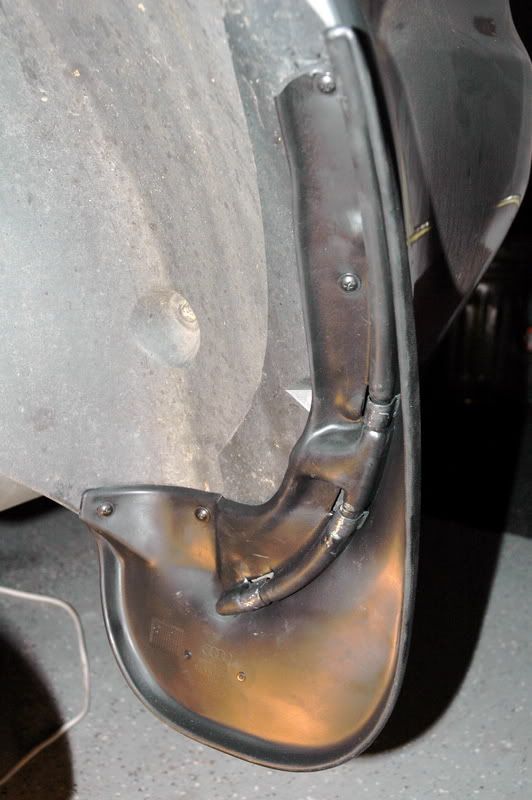
The lower clip (big clip) can be a little tricky. The driver’s side was all right but the passenger side I had to pry some of the molding from the frame to get it to sit right. Here is a picture of the drivers side bottom clip after installed.
After the 3 clips are pressed together and the two screws are tightened you are now done and can move onto the next front Mud flap.
PART 2: Rear Mud Flaps
Now with the rear mud flaps you are advised to remove your rear wheels because you will not have enough room to work without it being off. So you must remove your rear wheels and then clean off the area where the flaps will be placed.
**Note** the top of both mud flaps on the rear didn’t fit the best when placed them on, so i got out my trusty scissors and just cut the top off so it would fit better in the wheel well. You may have to do this to your but place on it to see.
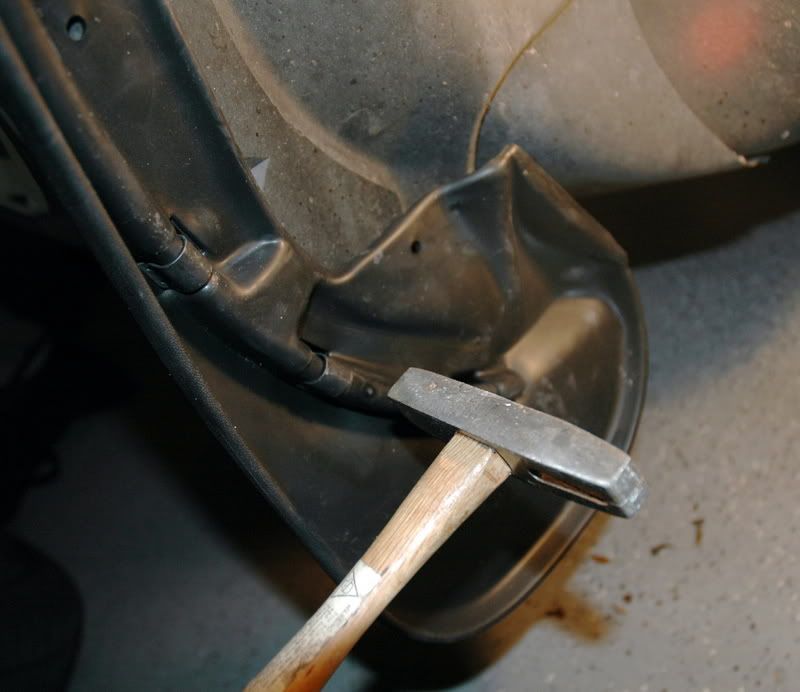
The rear wheels do not have bolts already in place but you are given 6 clips, 4 nuts, 7 screws, and 1 short screw which will be used only on the passenger rear side. Place the rear mud flap on and make sure it is in the correct place and it lines up. Take your three clips out and hammer into place.
Now i got a drill out and pre-drilled small holes to have the screws follow into. Attach the top two screws

The passenger two-bottom bolts have nuts that will have to be placed behind them and tightened down using your wrench. The passenger fall screw is the small bolt. Now I couldn’t get mine in the correct hole, so I just drilled to the right of the hole and installed it and it worked just fine.
Now put the wheel back on and do the same over on the driver’s side. Driver’s side rear is much easier. Has four of the same screws and two nuts to go in the bottom two screws (which is much easier to get to, to tighten) Rear drivers side done
Real true German Parts

Put the wheel back on and you are now set to go through rain, mud, snow, gravel, grass, and you wont have those splashes on the back of your car or doors anymore.
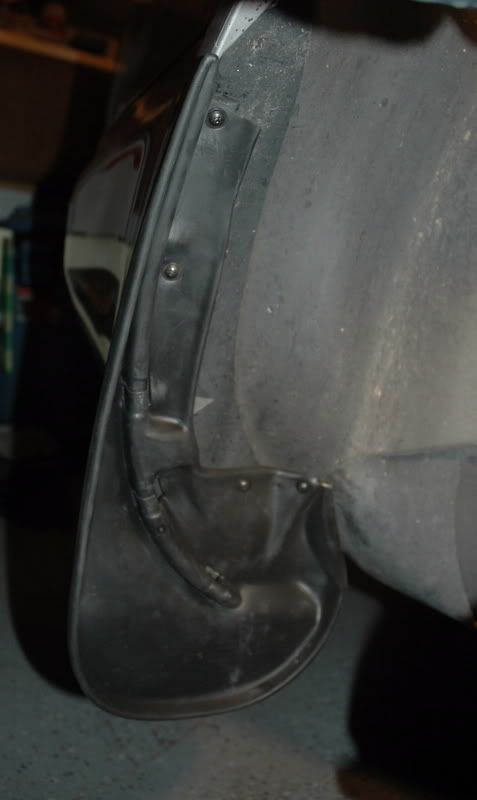
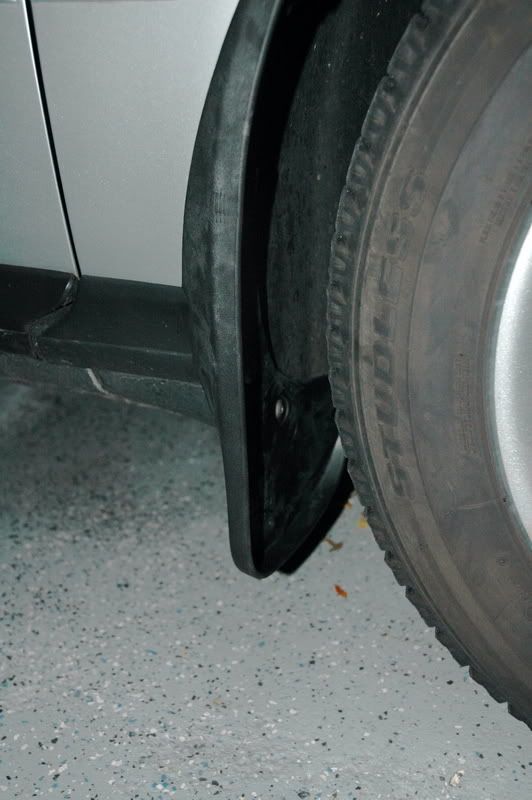
Here are finished pictures of how it sits.
Rear flaps

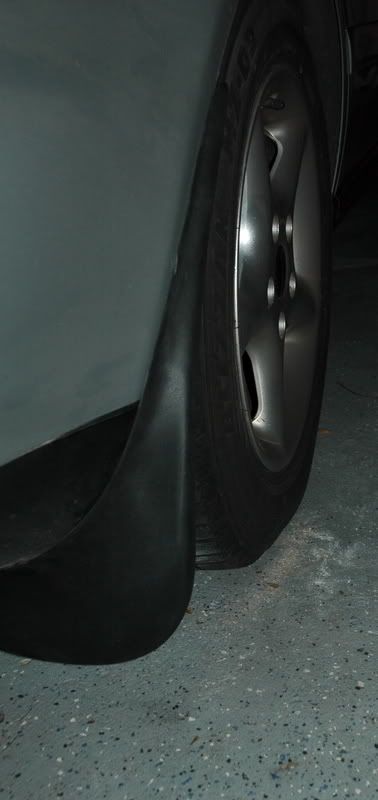
Front flap
Wrench
Hammer
Extended Pliers
Drill and Bit
Scissors
Screwdriver
Shop light
Towel and cleaner
Now the drivers side front mud flap and the rear passenger mud flap have different bolts and that are shown on the instructions which are a little hard to follow but I just did this process today in my garage and it took me about 2 hours to do it all together because this was my first time and I had to do a few alterations to get things to fit just right.
PART 1: Front Mud Flaps
The front wheels are a little easier because you just need to turn your wheels away and there is enough room for you to work. But you can take off your wheel for more room. The front comes with 6 black items, and 4 small clips to be inserted the black housing, 2 large clips for the bottom.
Make sure you clean the area before you install so there is no dirt.
The two bolts at the bottom of the wheel well need to be removed but they will be used again.
I found it easier to put the mud flap on and lightly screw in the bottom bolts and then tweak and position everything into place after that.
Now there are three rubber tabs and those need to be folded over. The two at the top go between the metal fender and the fender lining.
This is one of the smaller clips (top two have smaller clips) that you place the black to the metal clip and the clip follows the rubber that you put between the fender lining and metal fender.
Take your big wrench and press it together so its tight and lined up correctly.
The lower clip (big clip) can be a little tricky. The driver’s side was all right but the passenger side I had to pry some of the molding from the frame to get it to sit right. Here is a picture of the drivers side bottom clip after installed.
After the 3 clips are pressed together and the two screws are tightened you are now done and can move onto the next front Mud flap.
PART 2: Rear Mud Flaps
Now with the rear mud flaps you are advised to remove your rear wheels because you will not have enough room to work without it being off. So you must remove your rear wheels and then clean off the area where the flaps will be placed.
**Note** the top of both mud flaps on the rear didn’t fit the best when placed them on, so i got out my trusty scissors and just cut the top off so it would fit better in the wheel well. You may have to do this to your but place on it to see.
The rear wheels do not have bolts already in place but you are given 6 clips, 4 nuts, 7 screws, and 1 short screw which will be used only on the passenger rear side. Place the rear mud flap on and make sure it is in the correct place and it lines up. Take your three clips out and hammer into place.
Now i got a drill out and pre-drilled small holes to have the screws follow into. Attach the top two screws
The passenger two-bottom bolts have nuts that will have to be placed behind them and tightened down using your wrench. The passenger fall screw is the small bolt. Now I couldn’t get mine in the correct hole, so I just drilled to the right of the hole and installed it and it worked just fine.
Now put the wheel back on and do the same over on the driver’s side. Driver’s side rear is much easier. Has four of the same screws and two nuts to go in the bottom two screws (which is much easier to get to, to tighten) Rear drivers side done
Real true German Parts
Put the wheel back on and you are now set to go through rain, mud, snow, gravel, grass, and you wont have those splashes on the back of your car or doors anymore.
Here are finished pictures of how it sits.
Rear flaps
Front flap


Site Moderator
Joined: Sep 2005
Posts: 13,664
Not a mud flap fan myself.. But that is a great DIY article. Except that "wrench" you refer to has a full name, it is a channel lock wrench, and is a must have in everybody's tool box!
