
Monitor Console Fabrication, 01' TT, *WORKLOG*, DSL Wanring


Thread Starter
|
1st Gear
Joined: May 2008
Posts: 7
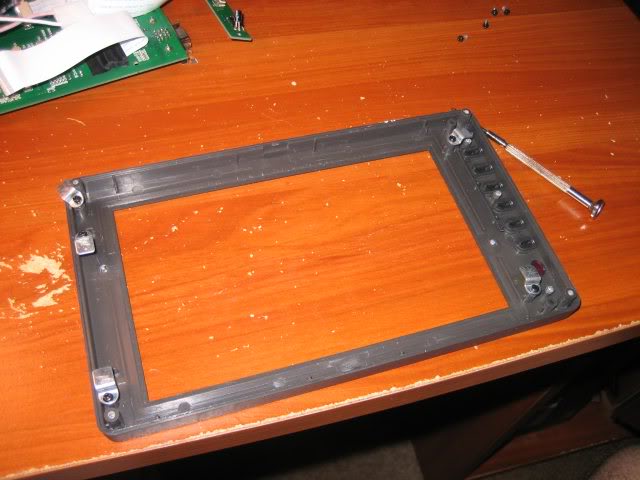
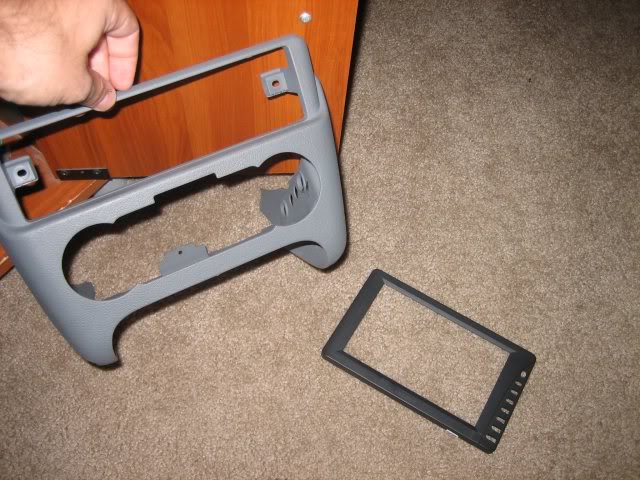
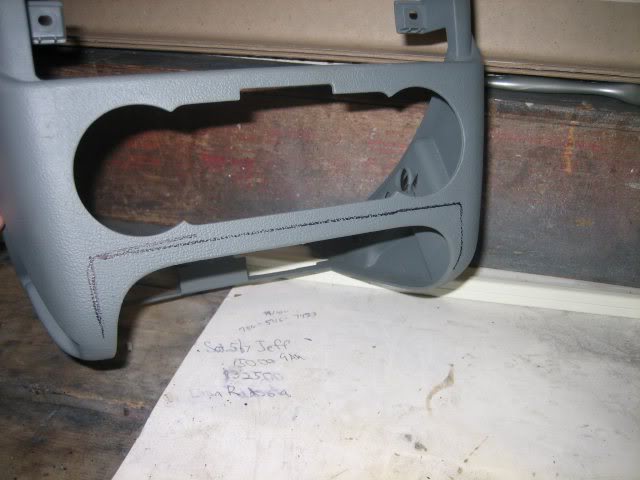
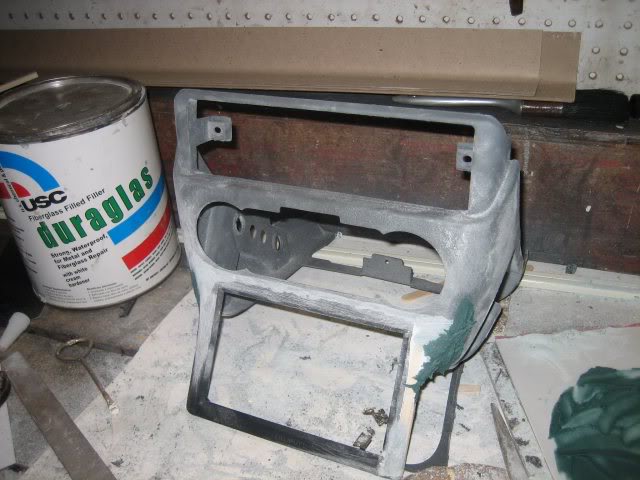
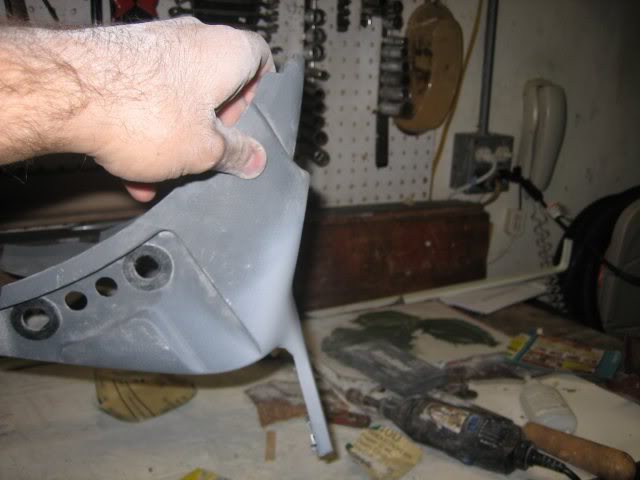
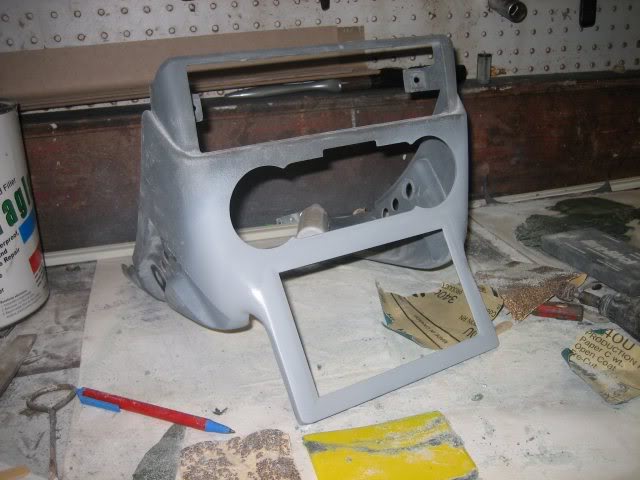
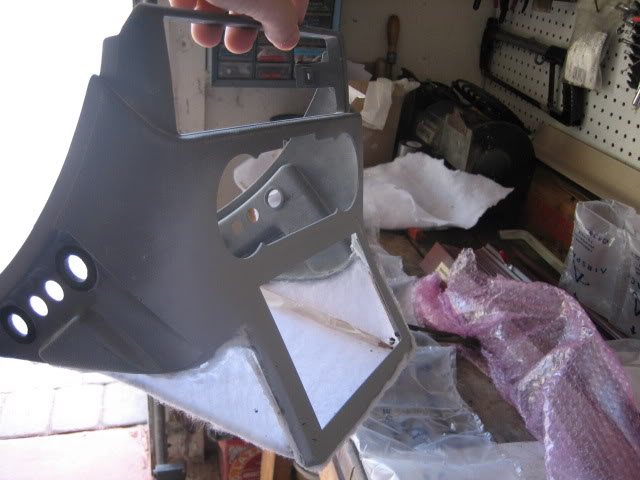
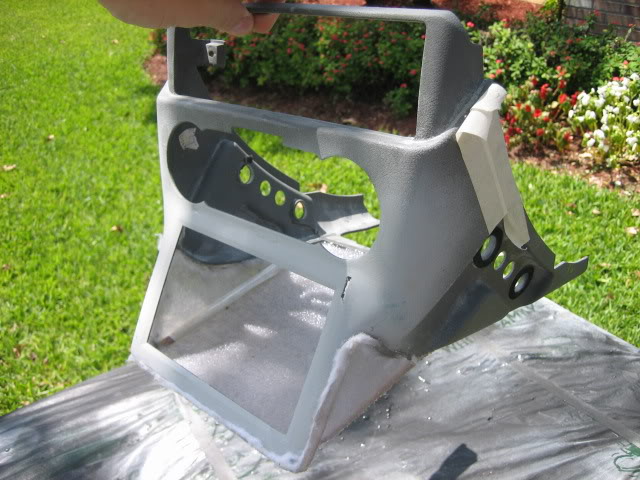
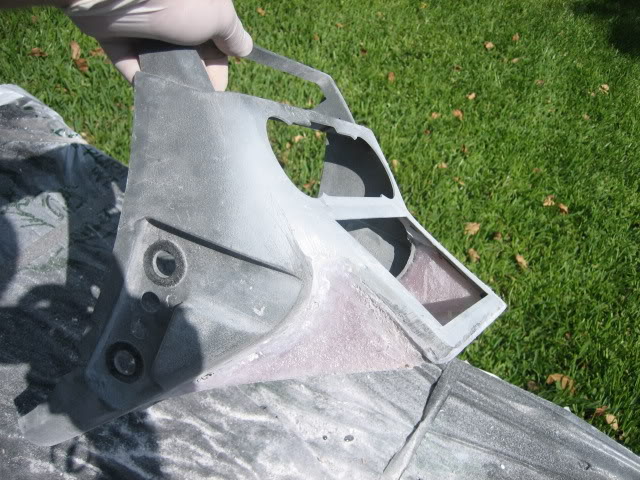
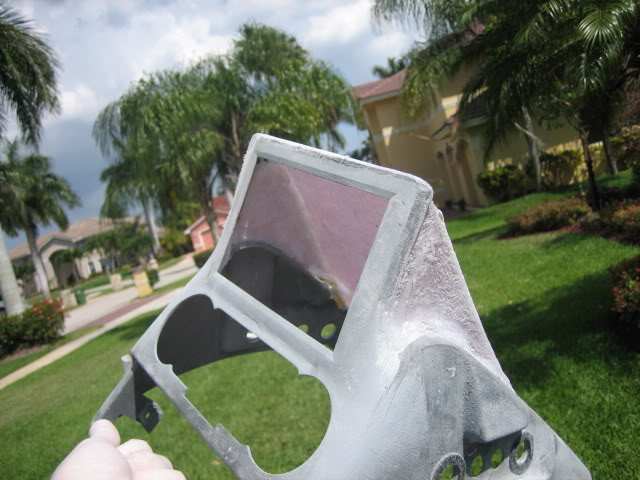
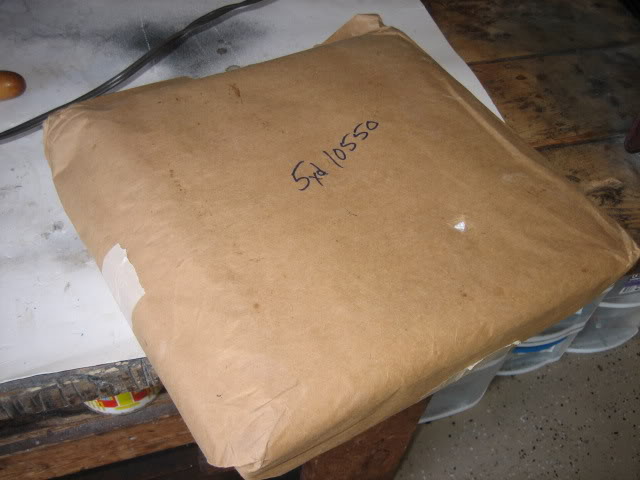
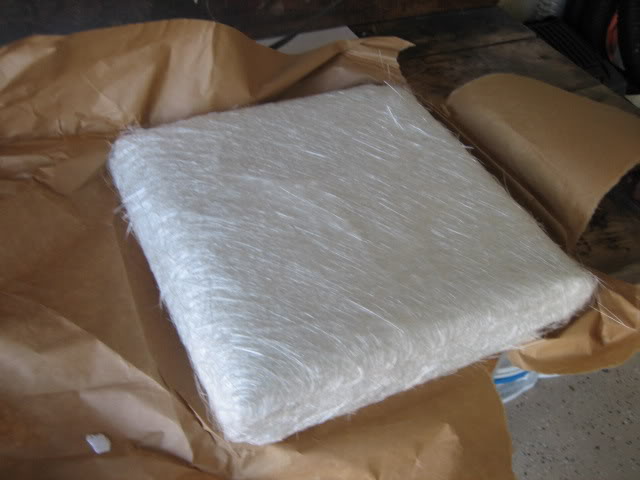
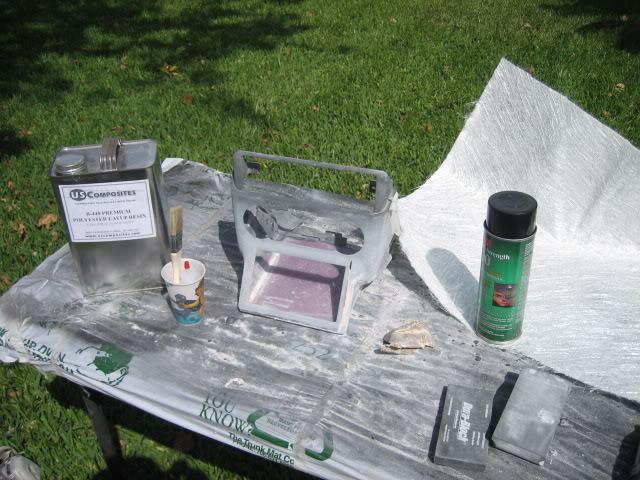
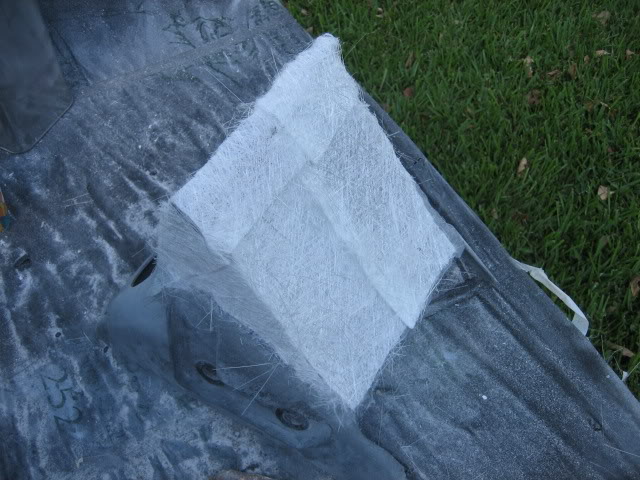
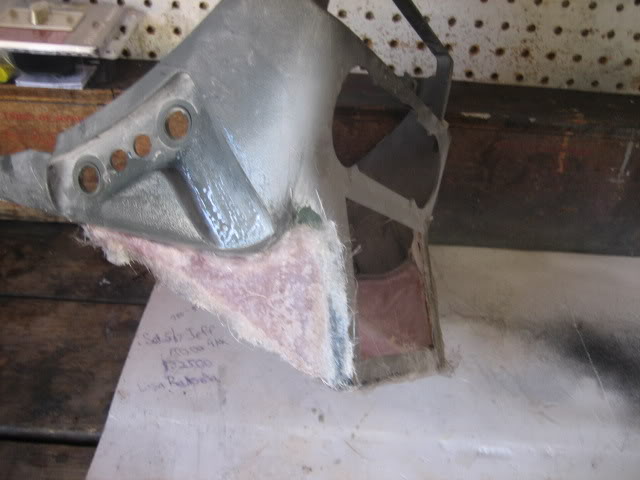
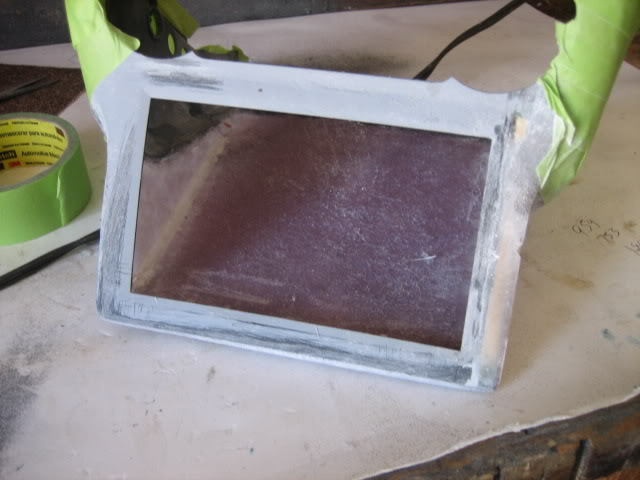
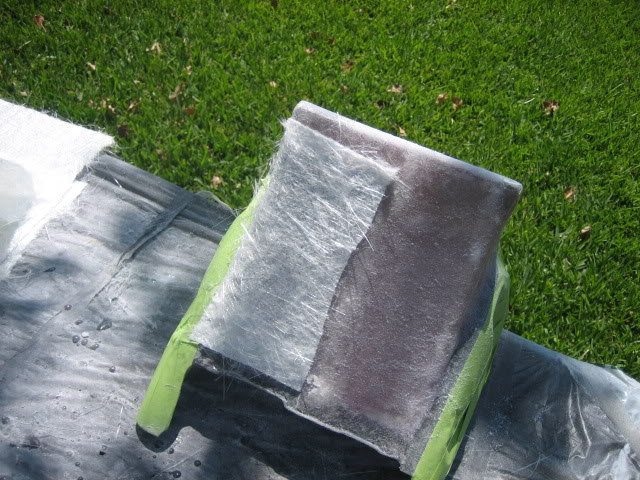
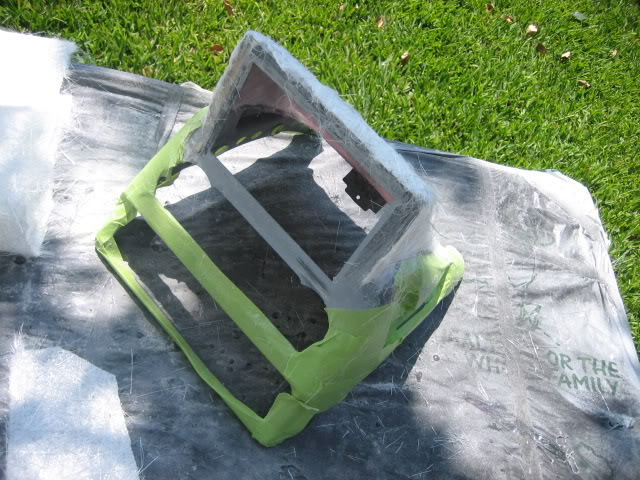
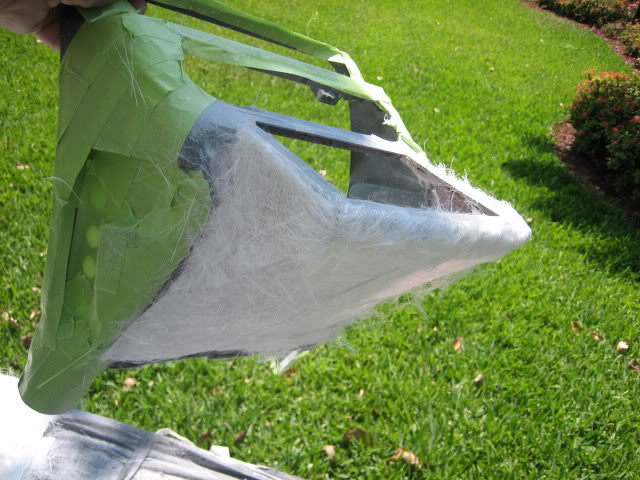
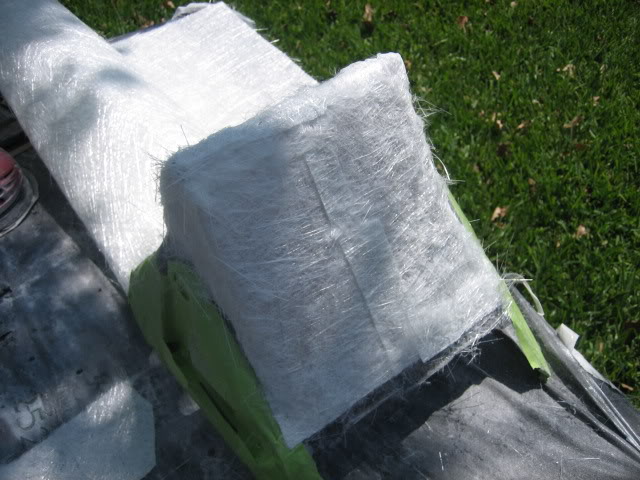
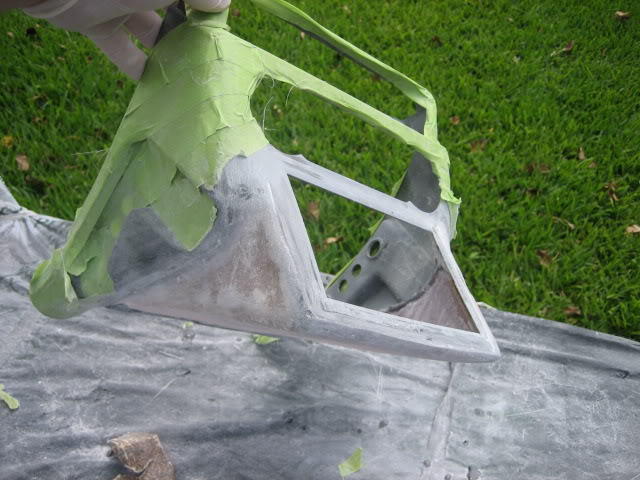
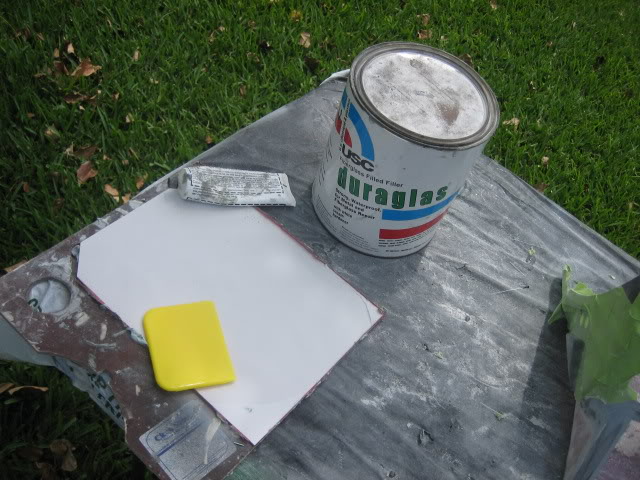
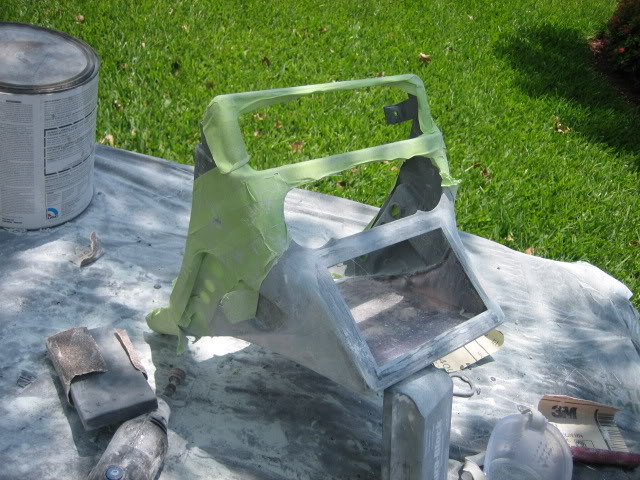
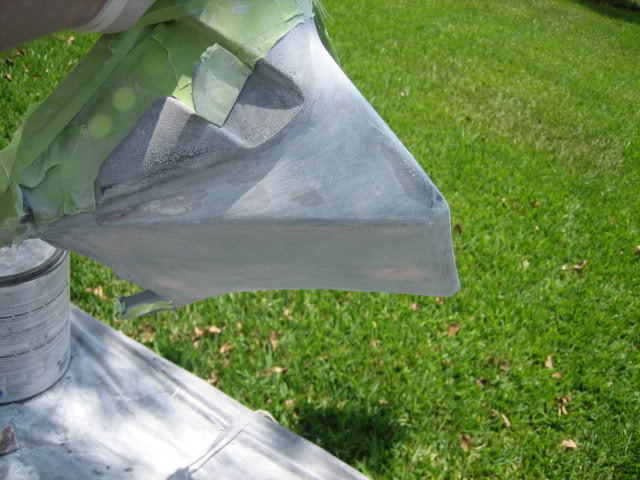
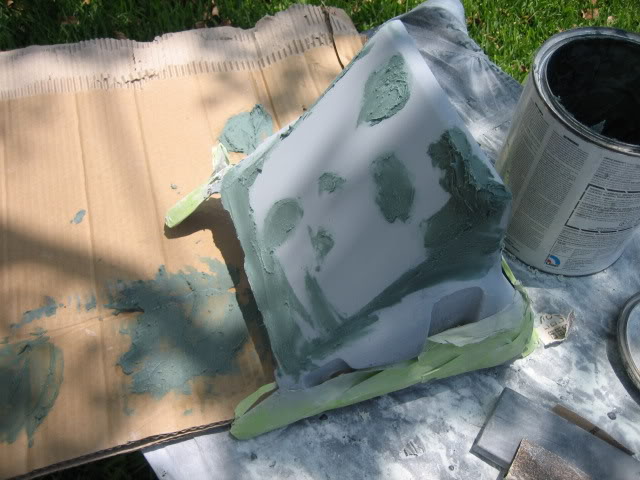
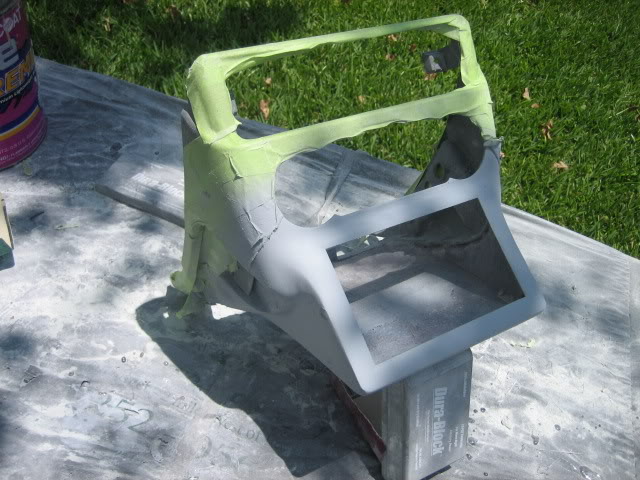
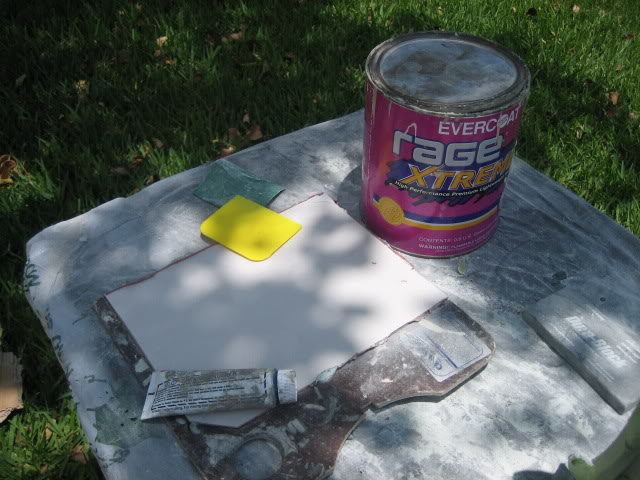
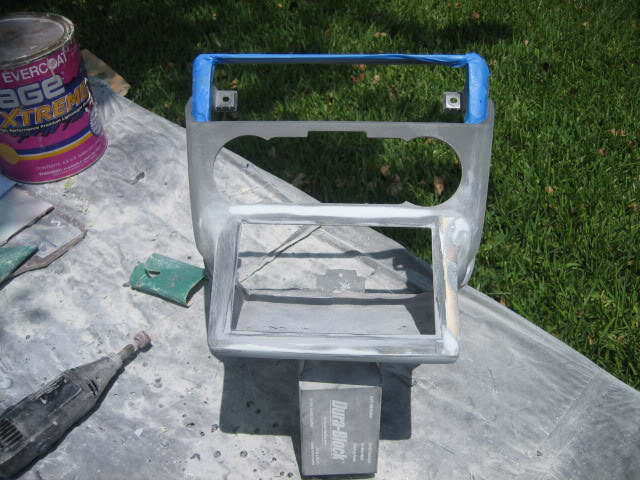
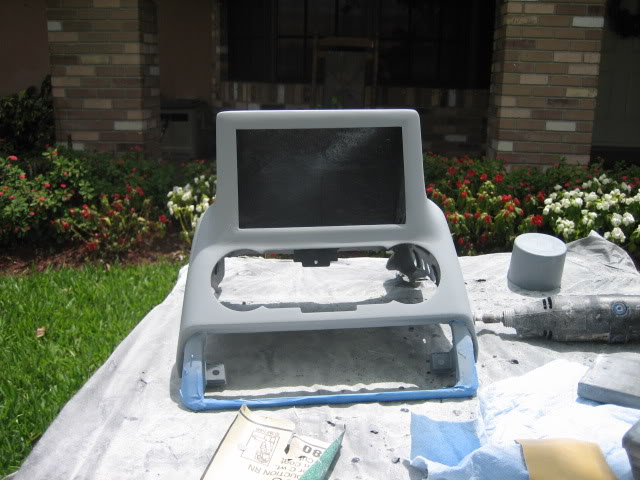
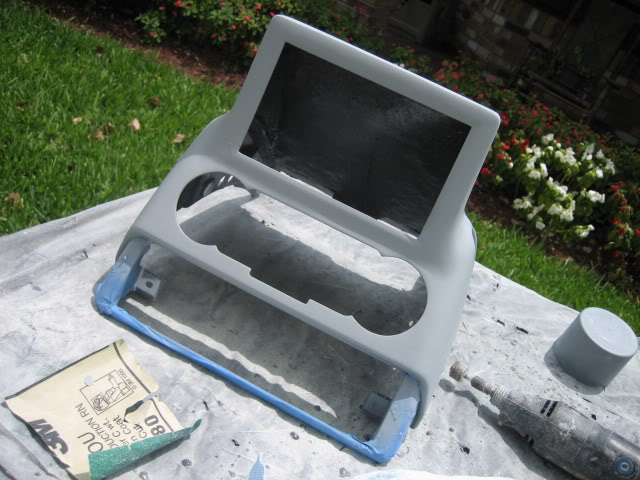
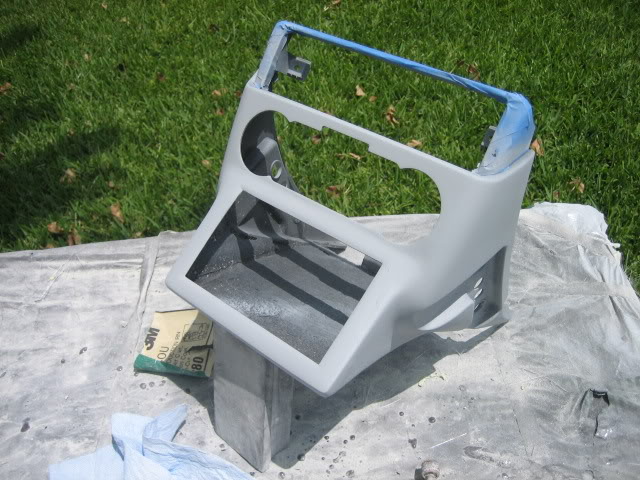
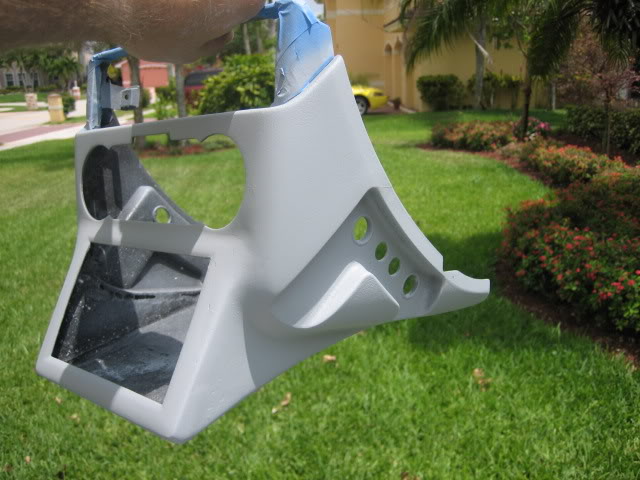
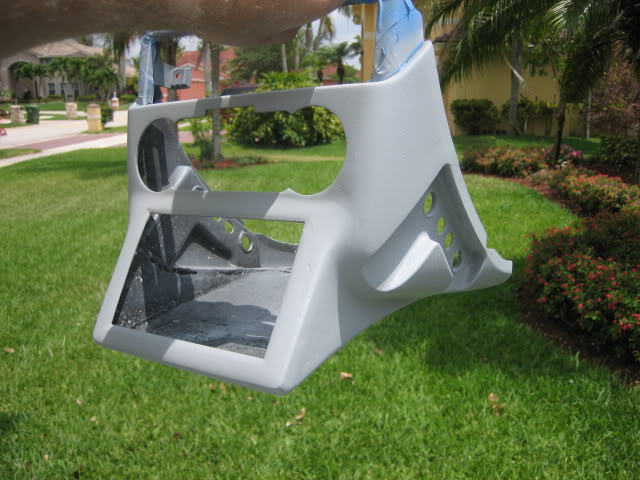
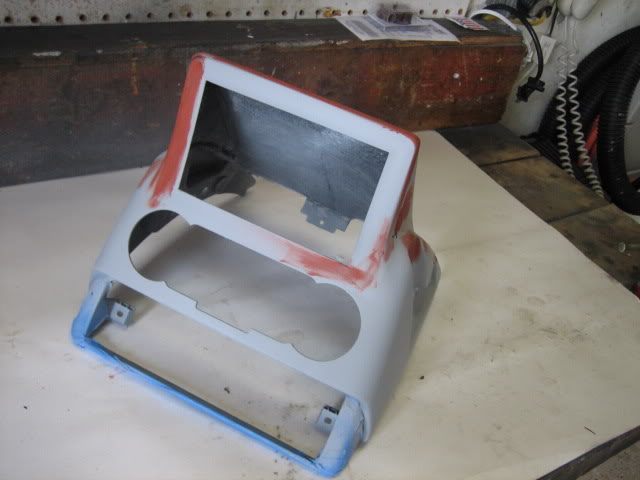
Hey Guys![/align][/align]This is my first post on the forum. I am custom fabricator who specializes in OEM interior modified recreation. I have been recently working on this project for a member on mp3car.com. His name is Brandon and I am not sure if he is a member here. Anyhow I wanted to register here and just show you guys & gals (if any) what type of work can be done if you want to attempt it yourself or whatever it maybe. I am not sure what work has been donebefore for this area in the consolebut I really haven't seen anything like what I am doing while browsing the forum or cardomain.The setup is actually for a carputer for the customer so the monitor is al Lilliput screen, which had the touch panel for the computer and all that good stuff. I have taken in concern the metal bars that run on the side of the console. Brandon actual traced out the brackets and made a template for them for me. I used them to make sure there would not be any clearence issues, allow the black rubber pads will most likely need to be removed.[/align][/align]Anyhow, I took the bezel and chopped off the buttons since the customer did not want them. I just have to relocate the IR for power. Once I molded in the bezel, I had to rebuild the right side which was a little rough in the first few steps. From here I was able to stretch my fleece and make my shape, and yes those are pencils. I used the pencils in place of round dowels. They allowed me to get the shape I wanted while I resin-ed the fleece. After the fleece had hardened I just took them out. I added 2 layers of 1.5 OZ US composites Fiberglass Mat to the outside and one on the inside. it was more then sturdy from here.[/align][/align]I know most projects start out rough (at least mine) but this is because a lot of things need to be hacked and chopped up to fit. Then I can get to sanding and shaping. What I like to is I get the fiberglass shaped perfectly ( as much as fiberglass is going to be perfect before filler) so that I only have to use minimal Duraglass, followed by Xtreme to fill just the pinholes. [/align][/align]Anyhow enough of me talking, I have posted tons of pictures to help others out and to show my work. I am about 80% done and will post pics during the rest of the process.[/align][/align]Enjoy![/align][/align]Below is a picture of what the panel looks like when installed in the car. [/align][/align]This is a stock picture.
 [/align]


 [/align]
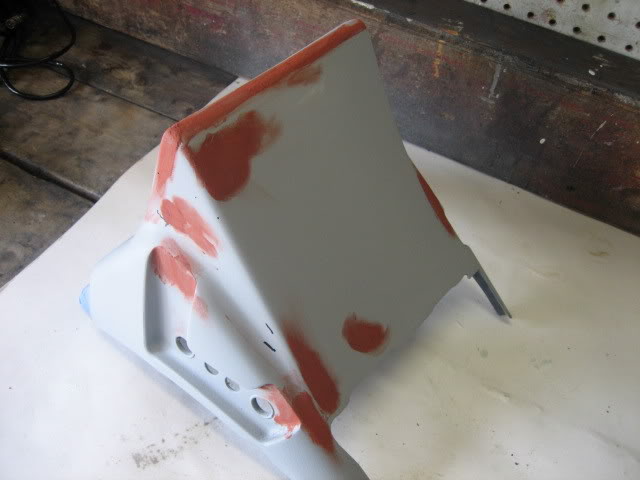
[/align]


Thread Starter
|
1st Gear
Joined: May 2008
Posts: 7
haha, thanks! MY shop = my house, I mean my parents house heh.
I usually do most of the work in the garage, but once it comes to sanding and resin, I move outside
I usually do most of the work in the garage, but once it comes to sanding and resin, I move outside
5th Gear
Joined: Sep 2005
Posts: 6,678
From: Colchester, VT
Nice work. I've seen the Lilliput display used before, and considered one myself, but I've got other things to blow money on, so that idea kinda died out.
In another 2 weeks or so, I'll hopefully be the owner of a Asus Eee 900 PC, which is a solid state micro-laptop, PERFECT for a carputer. Don't think I'll make it a permanent fixture though, as I still run diagnostics on other peoples cars.
In another 2 weeks or so, I'll hopefully be the owner of a Asus Eee 900 PC, which is a solid state micro-laptop, PERFECT for a carputer. Don't think I'll make it a permanent fixture though, as I still run diagnostics on other peoples cars.
Thread Starter
|
1st Gear
Joined: May 2008
Posts: 7
^ Right, and I have seen a couple of people put the lilliput in that area.
One removed the ashtray and just stuck it up there, Kinda like what I am doing except the whole fiberglass part, and the other just slapped the monitor right flat onstop of the braces and everything lol.
One removed the ashtray and just stuck it up there, Kinda like what I am doing except the whole fiberglass part, and the other just slapped the monitor right flat onstop of the braces and everything lol.
5th Gear
Joined: Sep 2005
Posts: 6,678
From: Colchester, VT
I'd like to make a slide drawer and mount in the glovebox. Open the box, slide the PC out, and go to town. I'd like to have it pivot too, so that I could see the display from the drivers seat. If you get a project like that, post it up, I wanna see how it'd turn out.


1st Gear
Joined: Mar 2008
Posts: 108
From:
How do I go about buying one of these, what are the costs? If you are selling them, can you write up a HOWTO to install it thats noob friendly? Where are you located.. Feel free to PM me..
EDIT: Please alos throw up the link the the thread on MP3 car...
Thanks
EDIT: Please alos throw up the link the the thread on MP3 car...
Thanks