
My Double Din conversion MK1 TT


Thread Starter
|
1st Gear
Joined: May 2008
Posts: 159
From: Vista, Ca
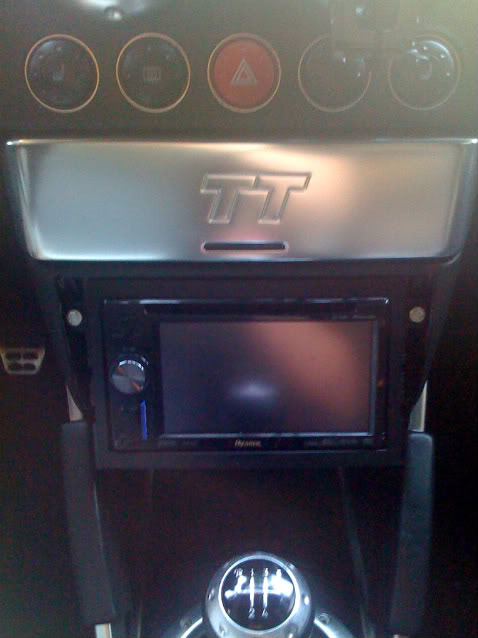
Here is my take on the double din conversion for an MK1 TT. I wanted to keep the functional "TT" door and do something different than the other double dins that I have seen.
I started by taking apart the dash and getting out the center console cover and frame. I modified the frame first to accomodate the A/C controls moving up and the radio moving down. I had to cut out most of the center section to get them to work, then had to fabricate a base for the A/C controls and radio housing to mount to.
I then modified the center cover, moving the plastic trim from around the A/C control up to the old radio location. I opened the dash up and made a trim piece covered with black leather to house around the radio (should have checked the fit at this point). I got the components lined up and trimmed out the way I wanted.
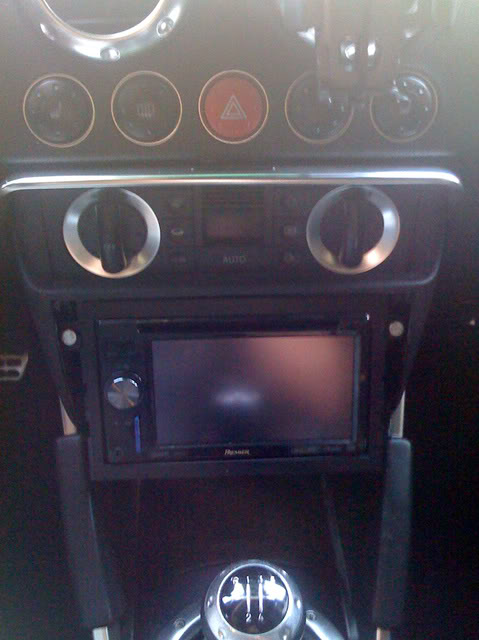
Then I tried to install the whole assembly in the car. This is where the real fun began. There is a vent, directly behind where the radio was going and this prevented the radio from sitting all the way back. My nice leather trim piece and mounting was not going to work. I modified the radio mounting, but still have to design a new trim piece.
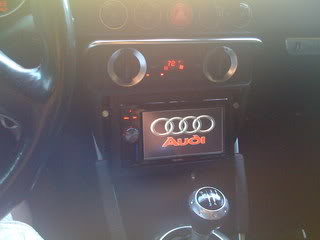
Sorry, I did not take many pictures during the process. Here are some of the current condition. I still need to make a new trim piece to cover the gap between the radio and console, so don't harp on me too much.
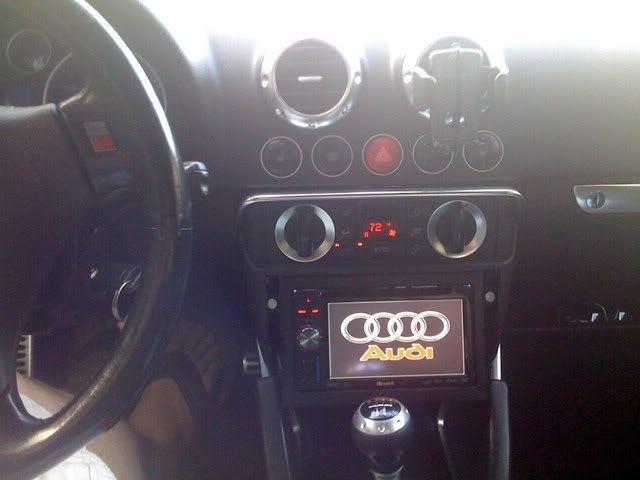
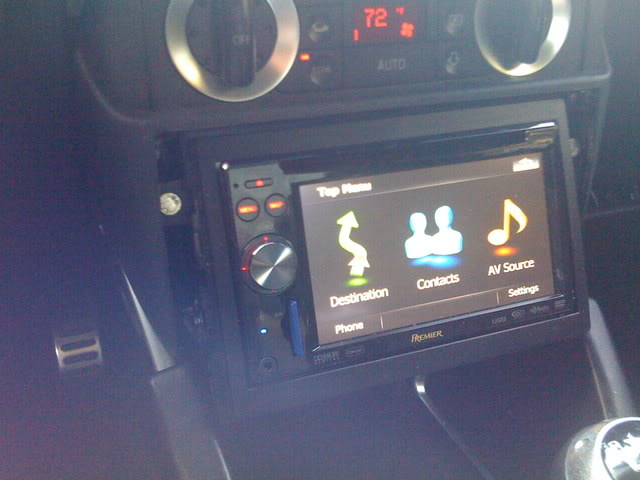
So far the radio has been fine. I ran a new antenna and made the top, shark fin functional although it still sucks. I was also able to add the Audi splash screen. I mounted the GPS antenna in the center defrost vent. The passenger side has a perfect spot for it. The bluetooth microphone was mounted in the internal alarm sensor (grate behind the dome light).
Enjoy.
I started by taking apart the dash and getting out the center console cover and frame. I modified the frame first to accomodate the A/C controls moving up and the radio moving down. I had to cut out most of the center section to get them to work, then had to fabricate a base for the A/C controls and radio housing to mount to.
I then modified the center cover, moving the plastic trim from around the A/C control up to the old radio location. I opened the dash up and made a trim piece covered with black leather to house around the radio (should have checked the fit at this point). I got the components lined up and trimmed out the way I wanted.
Then I tried to install the whole assembly in the car. This is where the real fun began. There is a vent, directly behind where the radio was going and this prevented the radio from sitting all the way back. My nice leather trim piece and mounting was not going to work. I modified the radio mounting, but still have to design a new trim piece.
Sorry, I did not take many pictures during the process. Here are some of the current condition. I still need to make a new trim piece to cover the gap between the radio and console, so don't harp on me too much.
So far the radio has been fine. I ran a new antenna and made the top, shark fin functional although it still sucks. I was also able to add the Audi splash screen. I mounted the GPS antenna in the center defrost vent. The passenger side has a perfect spot for it. The bluetooth microphone was mounted in the internal alarm sensor (grate behind the dome light).
Enjoy.

Thread Starter
|
1st Gear
Joined: May 2008
Posts: 159
From: Vista, Ca
It is not finished, I still need to remake the trim piece. After that, it will look factory. The a/c controls look like they came from the factory. The radio will have black leather around it that matches the leather on the doors. Just need to remake the trim piece.
1st Gear
Joined: Dec 2008
Posts: 97
From: Central NY
wow... i had this same idea... with the exact same head unit... freaky.
good work man, might be askin for your help way down the road when i get some other mods outta the way (performance and visual outweigh audio)
good work man, might be askin for your help way down the road when i get some other mods outta the way (performance and visual outweigh audio)

Thread
Thread Starter
Forum
Replies
Last Post