
Two piece to one piece headlight disaster with pictures.


Thread Starter
|
1st Gear
Joined: Jan 2007
Posts: 206
From: Seattle, WA
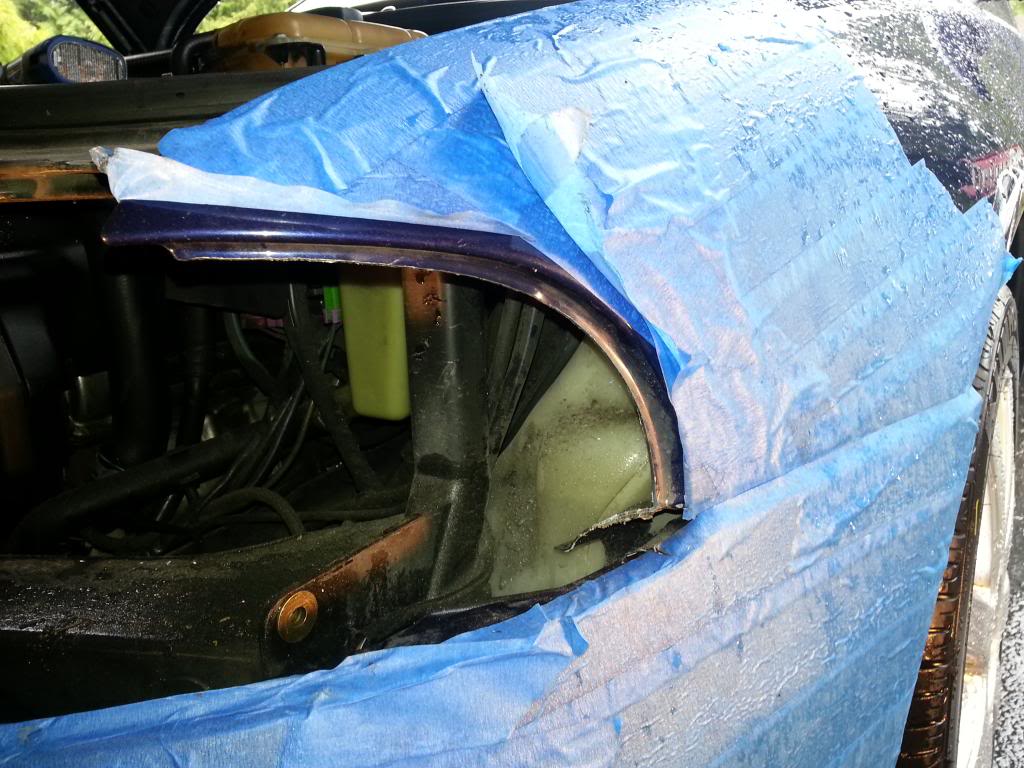
Hey guys, so after spending the better part of two days doing my two piece to one piece headlight conversion, they still don't fit right and it's driving me absolutely crazy. Got the wiring done just fine, though the back covers on the DEPO's suck *** and don't like to clip on, seems like the gaskets are WAY too big.
Here's some pictures, did I not cut enough of the fender away? Seems I'm just retarded because everybody raves about how easy and simple this mod is, I surely didn't find it too simple to fit the lights in.
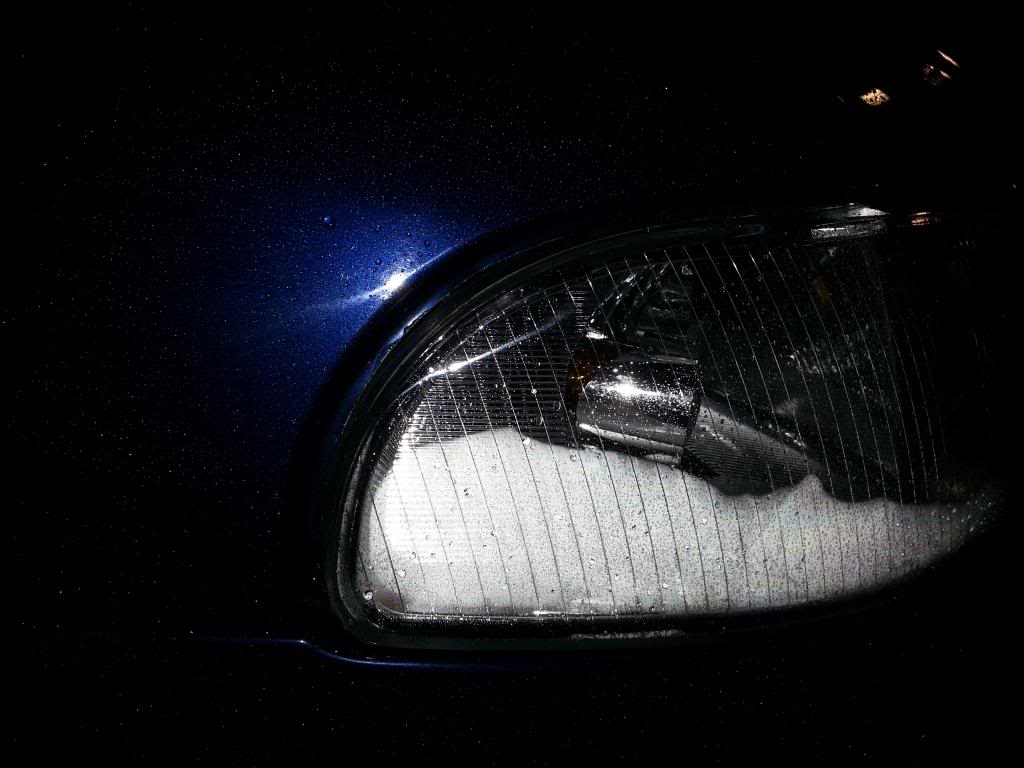
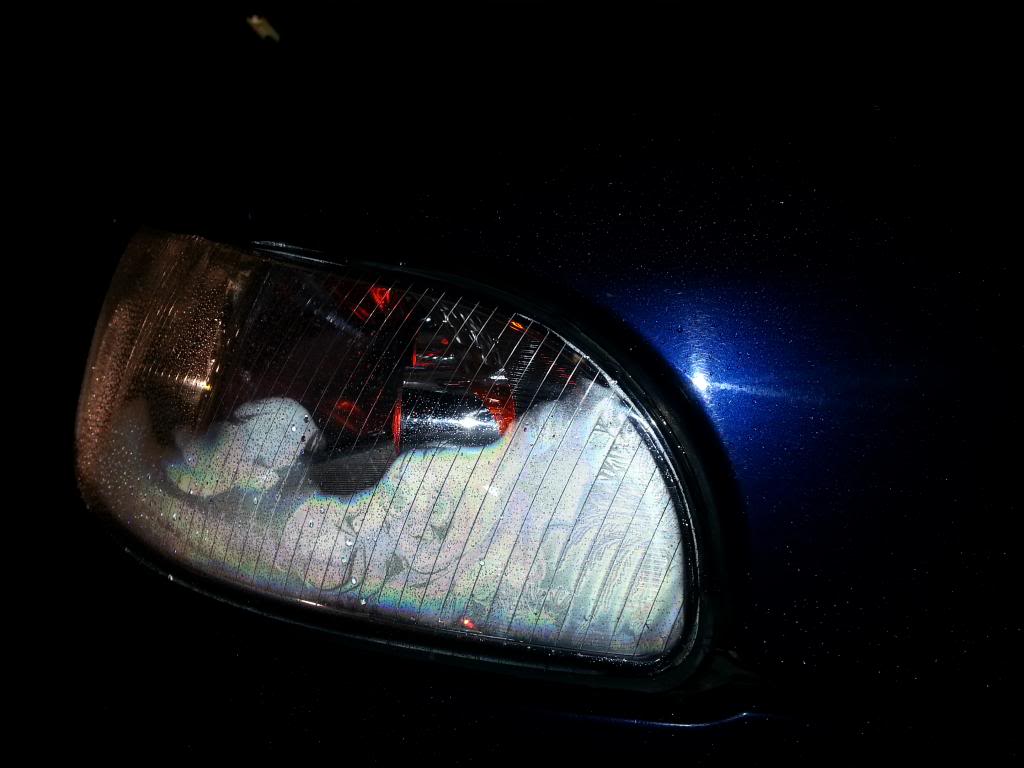
There's a bit of resistance when trying to fit the lights in, how easily are they suppose to slide in and out? I'm just really pissed off about this at the moment because I am not the type of guy who can drive around with **** not flush, especially headlights, it looks really tacky and cheap. And I'm not really sure what that condensation is in the photos, I'm really hoping it's not on the inside of the light already considering I just put them in today, LOL.
If anyone can help me out that would be fantastic, also, if someone has pictures of all different angles of their one piece conversion install that would also be great, so I know where the lights are suppose to sit when installed right.
Thanks all!
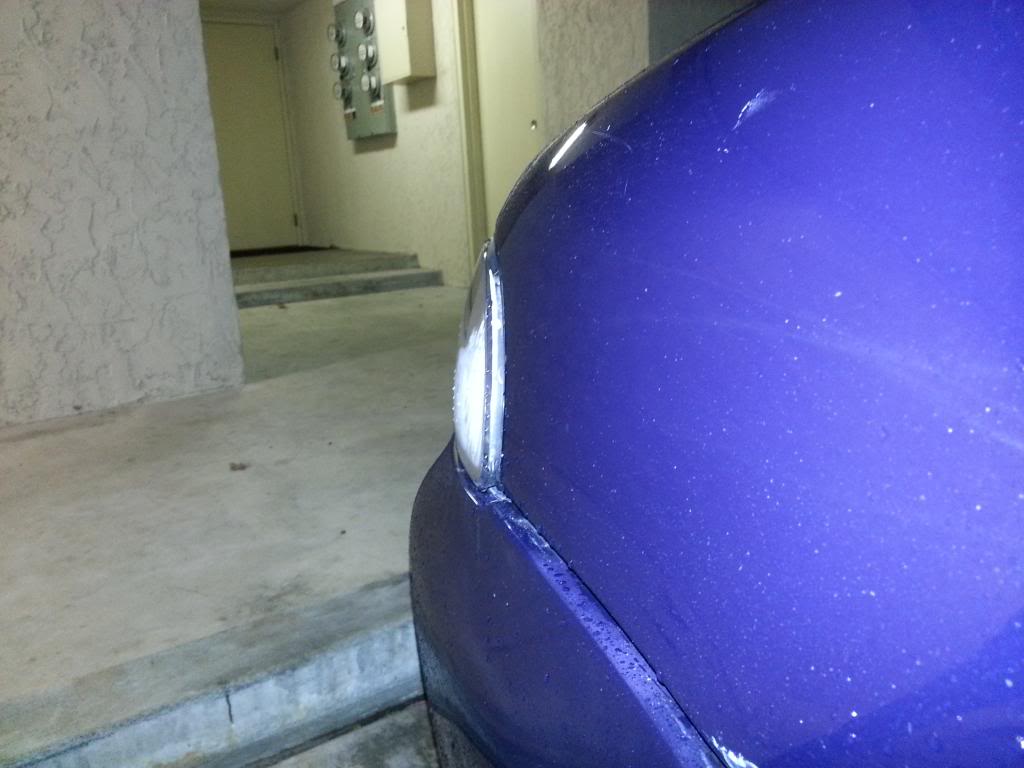
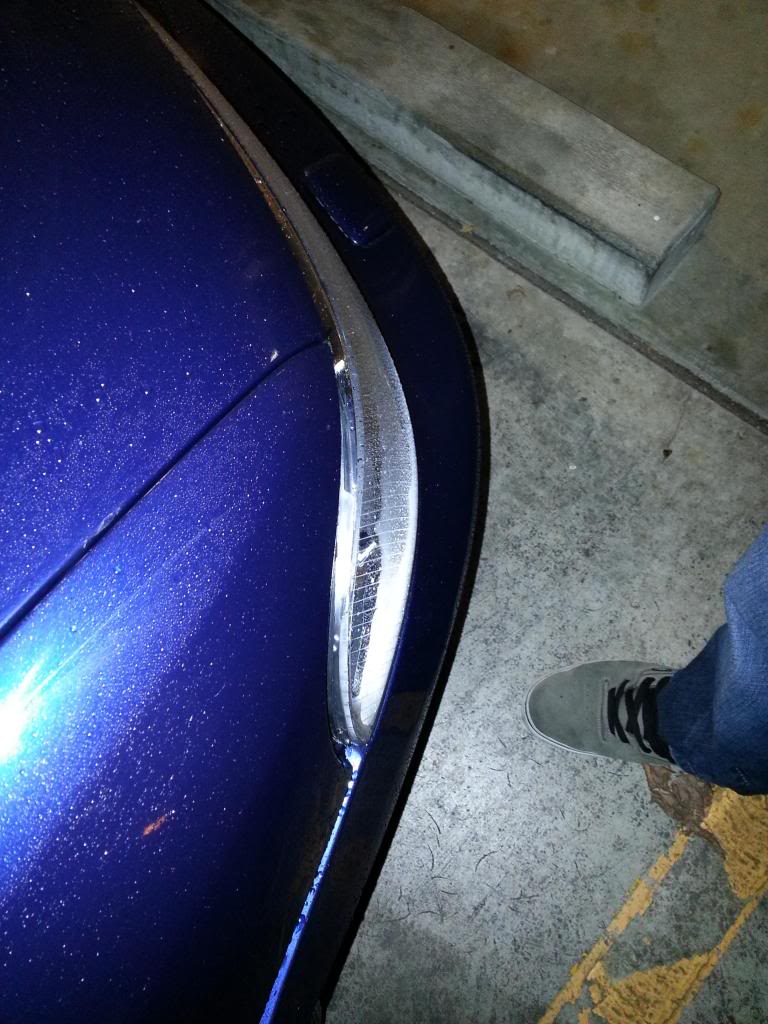
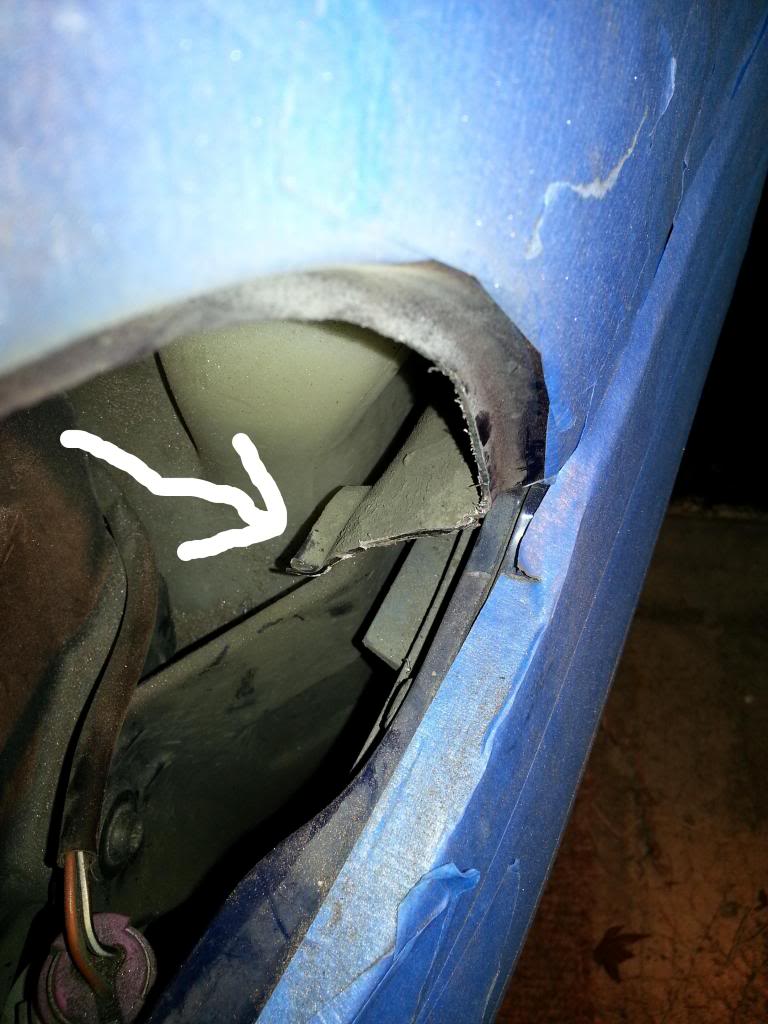
On this picture, the arrow is pointing to a part of the inner fender that seemed to be blocking part of the light going in, so I cut it a little bit, seems like no one else cut this though?
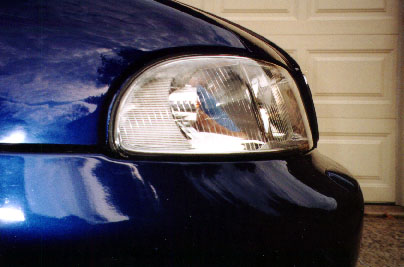
I just want mine to fit like this!
Here's some pictures, did I not cut enough of the fender away? Seems I'm just retarded because everybody raves about how easy and simple this mod is, I surely didn't find it too simple to fit the lights in.
There's a bit of resistance when trying to fit the lights in, how easily are they suppose to slide in and out? I'm just really pissed off about this at the moment because I am not the type of guy who can drive around with **** not flush, especially headlights, it looks really tacky and cheap. And I'm not really sure what that condensation is in the photos, I'm really hoping it's not on the inside of the light already considering I just put them in today, LOL.
If anyone can help me out that would be fantastic, also, if someone has pictures of all different angles of their one piece conversion install that would also be great, so I know where the lights are suppose to sit when installed right.
Thanks all!
On this picture, the arrow is pointing to a part of the inner fender that seemed to be blocking part of the light going in, so I cut it a little bit, seems like no one else cut this though?
I just want mine to fit like this!

1st Gear
Joined: Dec 2011
Posts: 155
ya you have to cut more off than that and most of that little tab has to go. just take off a little at a time and test fit as you go. it takes longer but you will be much more satisfied with the job. and make sure you seal the edge somehow when you are done to prevent any rust from forming.
Definitely drop the bumper. You just need to remove more material from the fender. Did this on my old A4, DIY here:
2-Piece to 1-Piece Headlight Conversion - AudiFreaks
EDIT: It also helps if you push the housings against the fender with one hand whilst tightening the mounting bolts with the other.
2-Piece to 1-Piece Headlight Conversion - AudiFreaks
EDIT: It also helps if you push the housings against the fender with one hand whilst tightening the mounting bolts with the other.
Last edited by CCA4; Apr 10, 2013 at 01:26 PM.
Administrator
Joined: Jul 2006
Posts: 11,670
From: Binghamton, NY
All of this^^^. I did get your texts - I was traveling home from vacation when I was talking with you and it was tough to text lol. Just like these guys said, trim and test, repeat until its right.

Thread
Thread Starter
Forum
Replies
Last Post
ImTheDevil
DIY - Do It Yourself
0
Sep 6, 2012 06:00 AM