
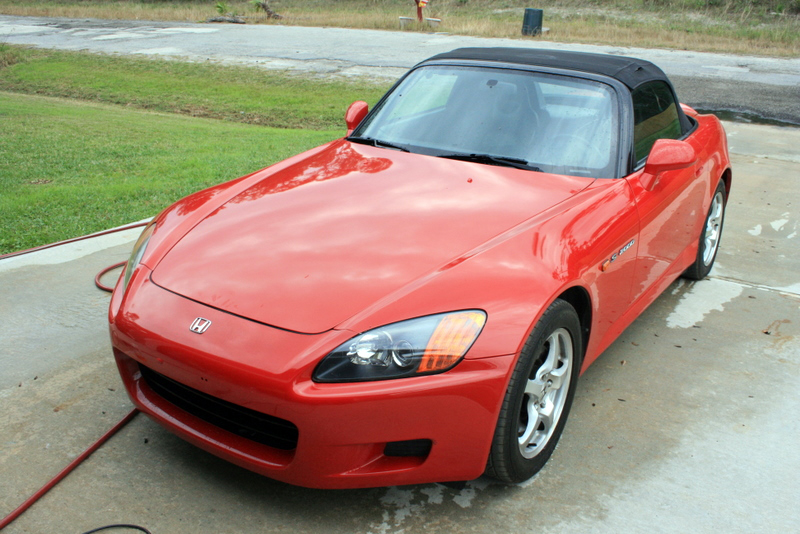
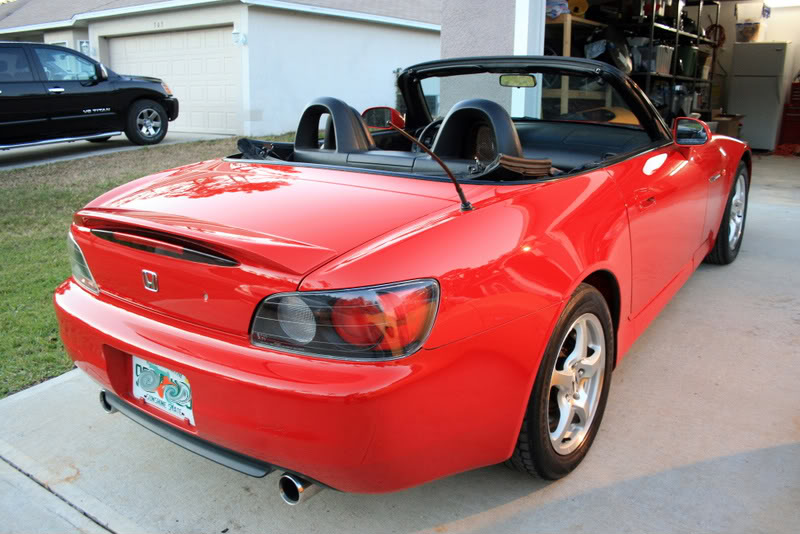
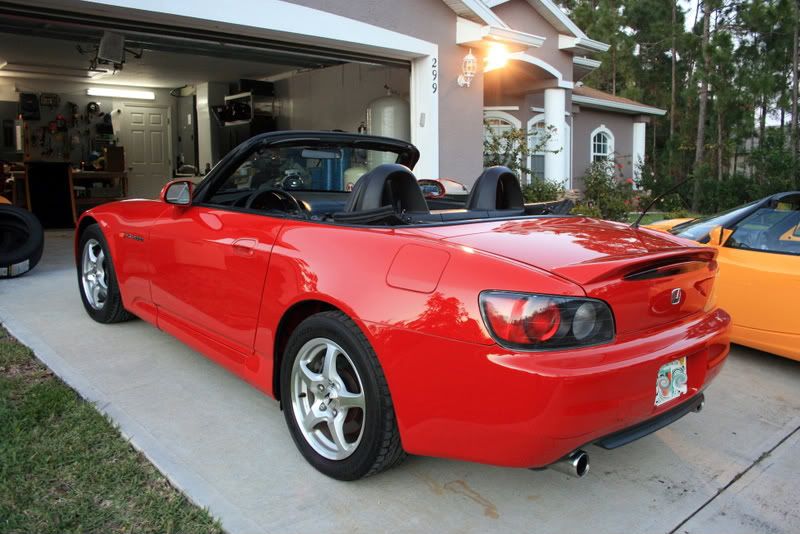
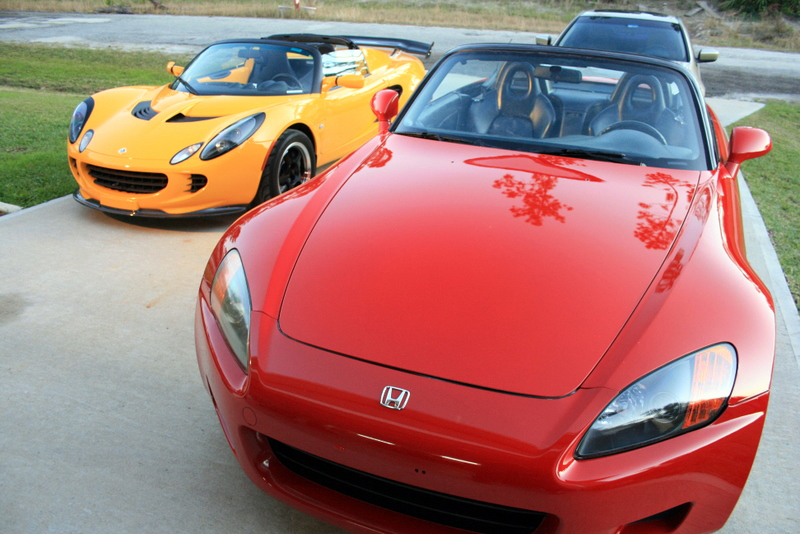
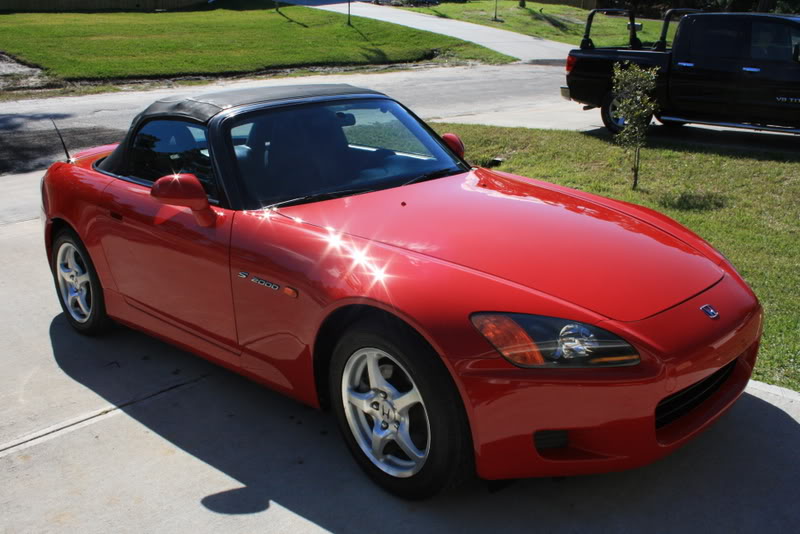
This car was part of a multi-car job I went across the state for. The car was bought as a toy and sits outside most of the time in the harsh florida elements. Well the Florida sun has taken its toll on this poor S2k. The owner is looking to sell the car for pretty cheap and wanted me to clean it up to make it sell a little faster, and as far as I am concerned it should sell A LOT FASTER! :lol: Beware, there are a TON of pictures in this thread! Enjoy! 
Products:
Exterior:
Dawn Soap Pre-Wash
ONR diluted to clay lube
COBRA UMF Wash Mitt
COBRA Deluxe "Jr" MF's
Dual Buckets with Grit Guards
3m "green" Masking Tape
Adams Professional Clay Bar
Meguairs APC+
Meguairs Hyperdressing
Meguairs M105/Burgandy Wool
Menzerna 106fa/White
UK 3M Ultrafina/ UK 3M Finishing Pad
91% Isopropyl Alcohol
Tons of (retired) Cobra Towels(AP)
Swissvax Pneu
LSP:
Optimum Opti-Seal applied with Uber Foam Applicator
Two coats of Dodo Juice Supernatural Paste Wax applied with Uber Foam Applicator
Tools:
Dual Work Lamps
Makita Hi Speed Rotary
World's Greatest Boar's Hair Wheel Brush
Foam Pad Cleaning Brush
DD Detail Sponge
The Wheel Well/Fender Brush
The Spoke Brush
Canon Rebel XTi
Craftsmen 295MPH Vac/Blow
E-Z Detail Wheel Brush
Swissvax Wheel Brush
BEFORE:

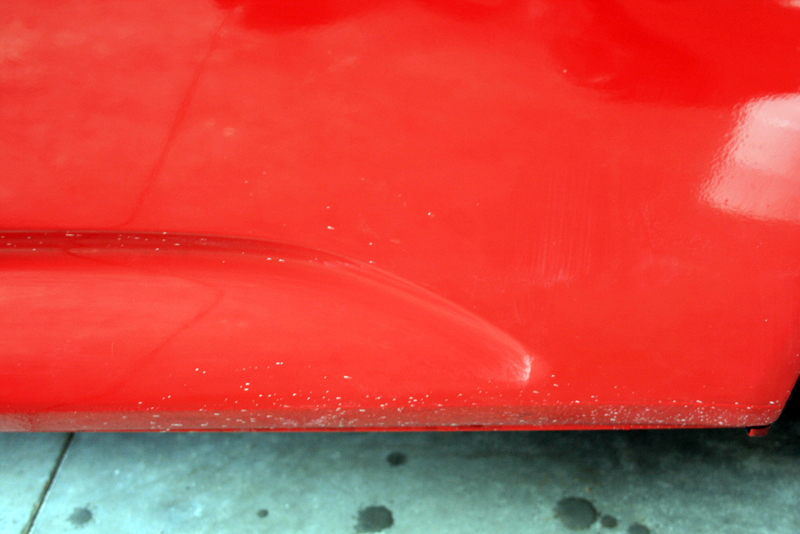
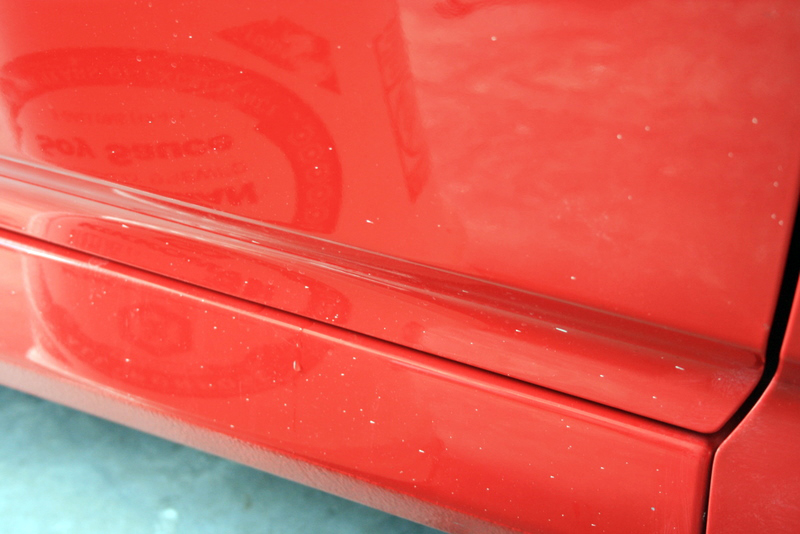
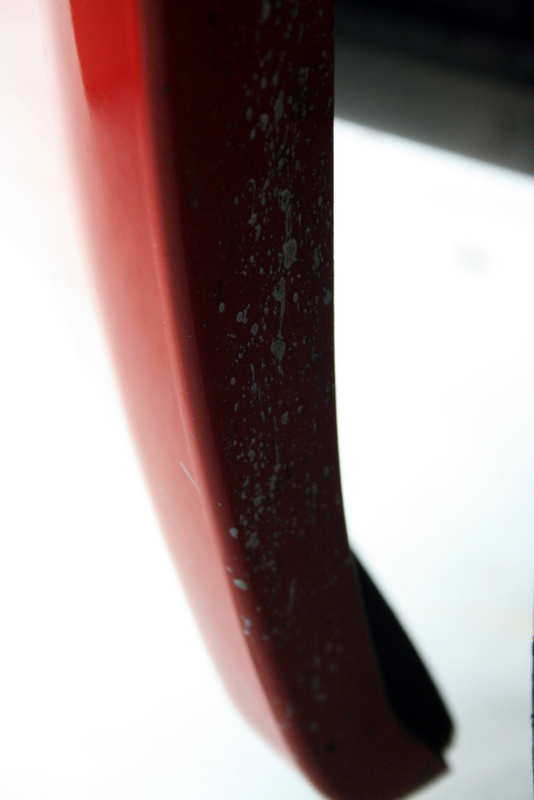
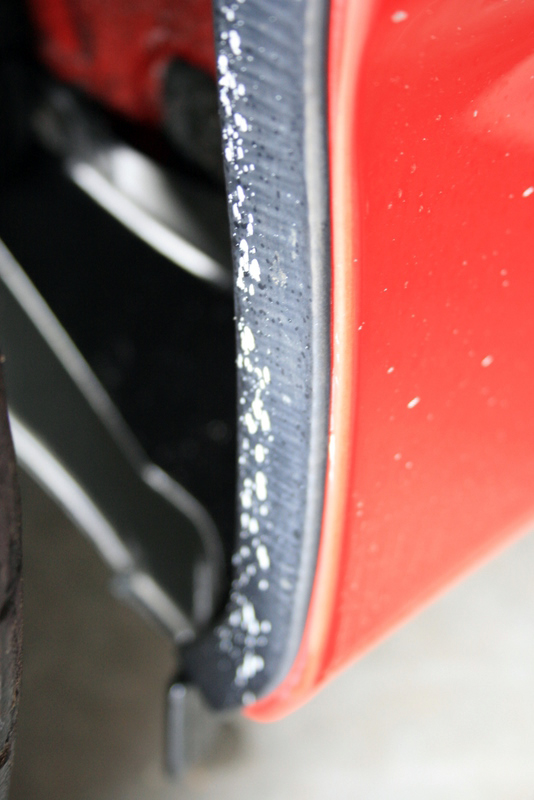
There was some white paint splattered across the entire right side of the car from bumper to bumper, which was removed..
Products:
Exterior:
Dawn Soap Pre-Wash
ONR diluted to clay lube
COBRA UMF Wash Mitt
COBRA Deluxe "Jr" MF's
Dual Buckets with Grit Guards
3m "green" Masking Tape
Adams Professional Clay Bar
Meguairs APC+
Meguairs Hyperdressing
Meguairs M105/Burgandy Wool
Menzerna 106fa/White
UK 3M Ultrafina/ UK 3M Finishing Pad
91% Isopropyl Alcohol
Tons of (retired) Cobra Towels(AP)
Swissvax Pneu
LSP:
Optimum Opti-Seal applied with Uber Foam Applicator
Two coats of Dodo Juice Supernatural Paste Wax applied with Uber Foam Applicator
Tools:
Dual Work Lamps
Makita Hi Speed Rotary
World's Greatest Boar's Hair Wheel Brush
Foam Pad Cleaning Brush
DD Detail Sponge
The Wheel Well/Fender Brush
The Spoke Brush
Canon Rebel XTi
Craftsmen 295MPH Vac/Blow
E-Z Detail Wheel Brush
Swissvax Wheel Brush
BEFORE:
There was some white paint splattered across the entire right side of the car from bumper to bumper, which was removed..
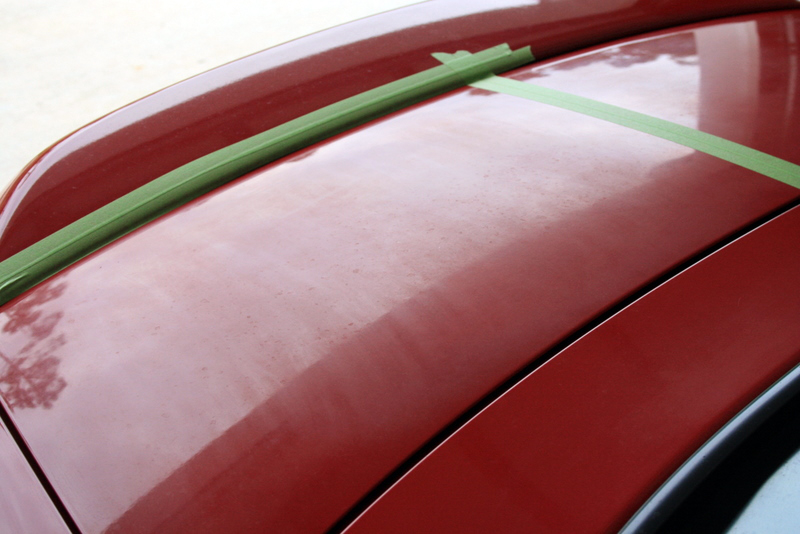
After washing and claying the entire car..getting taped off for polishing.
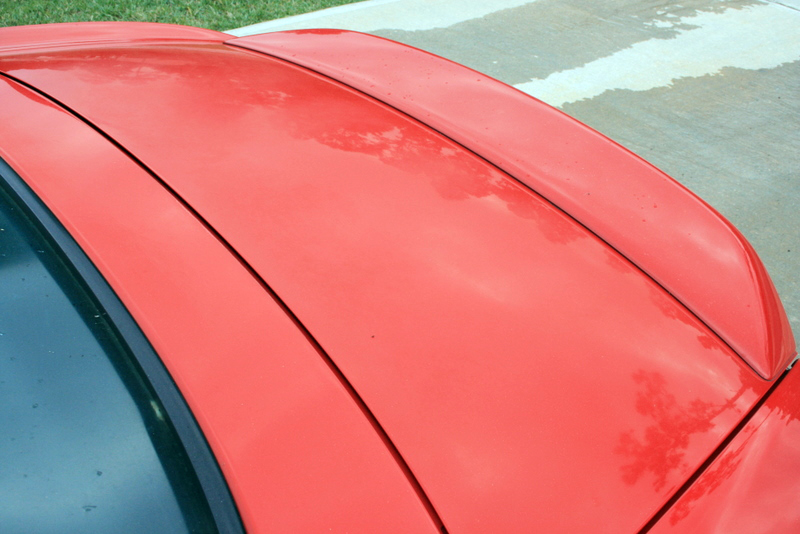
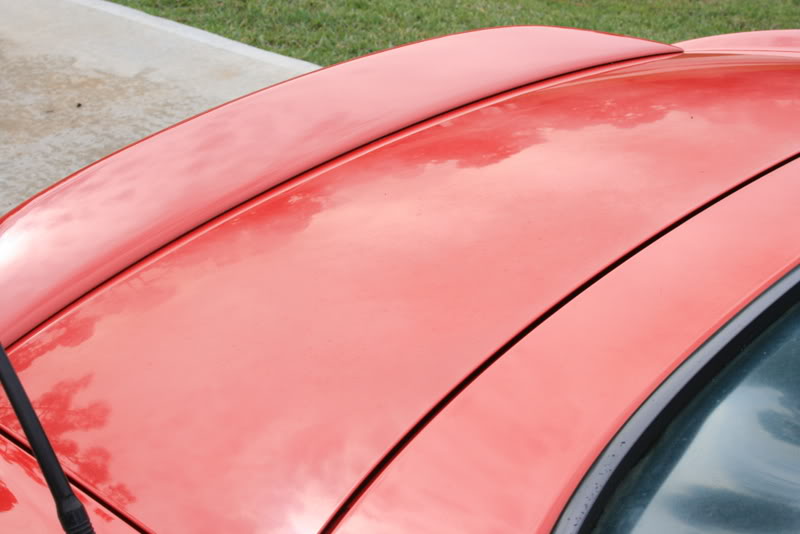
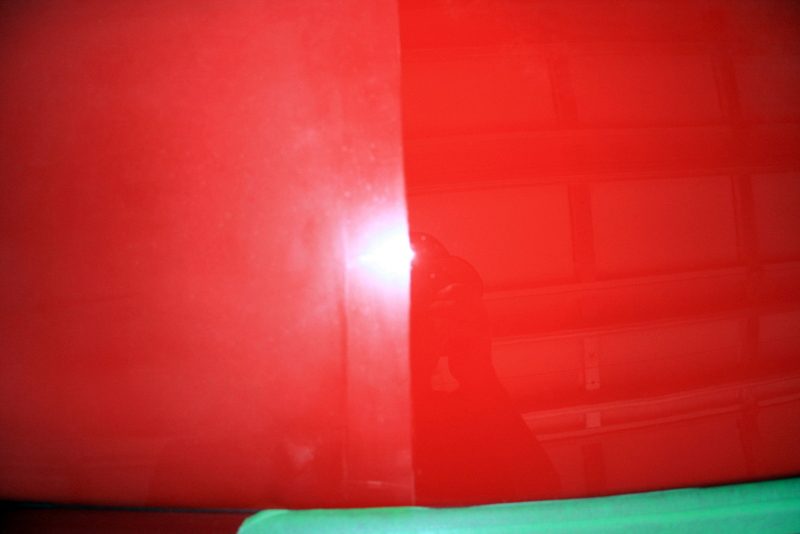
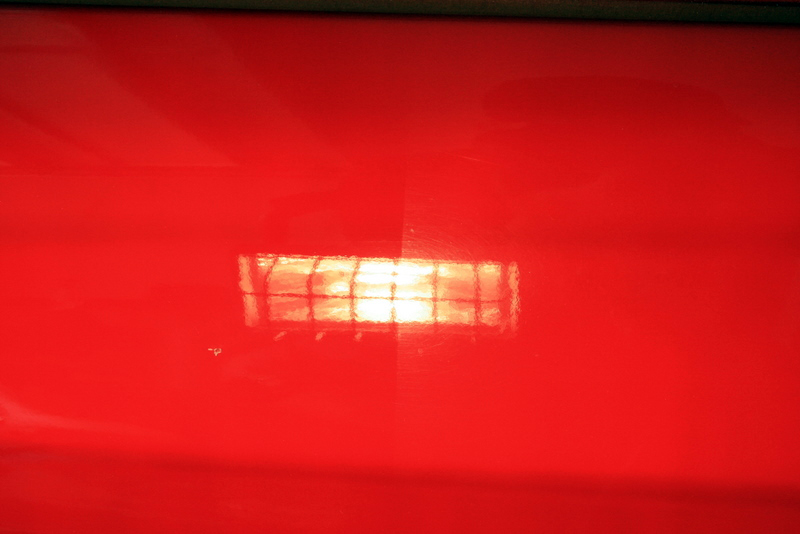
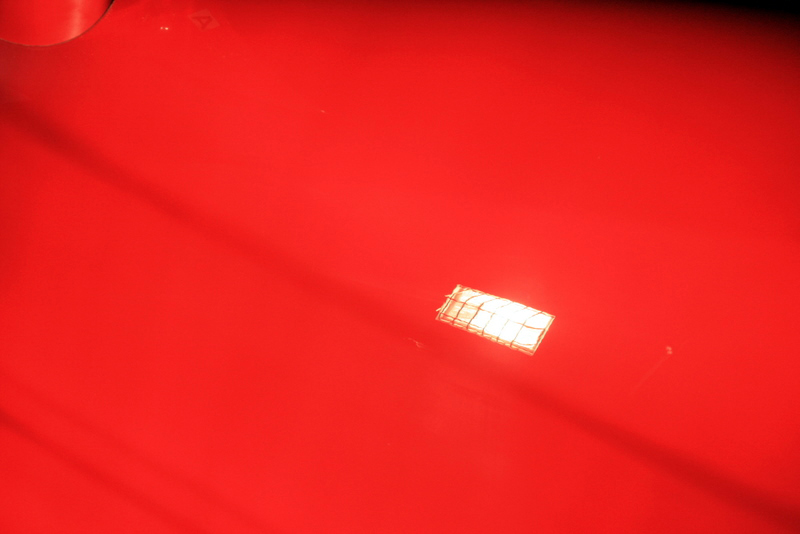
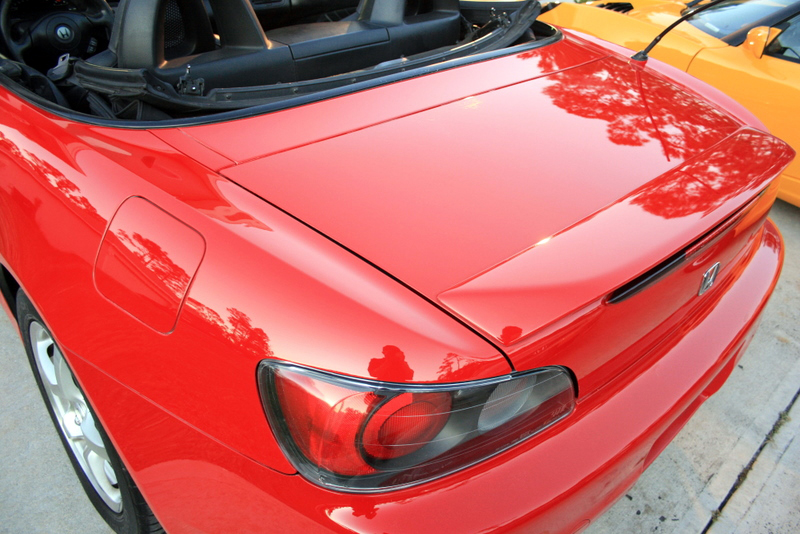
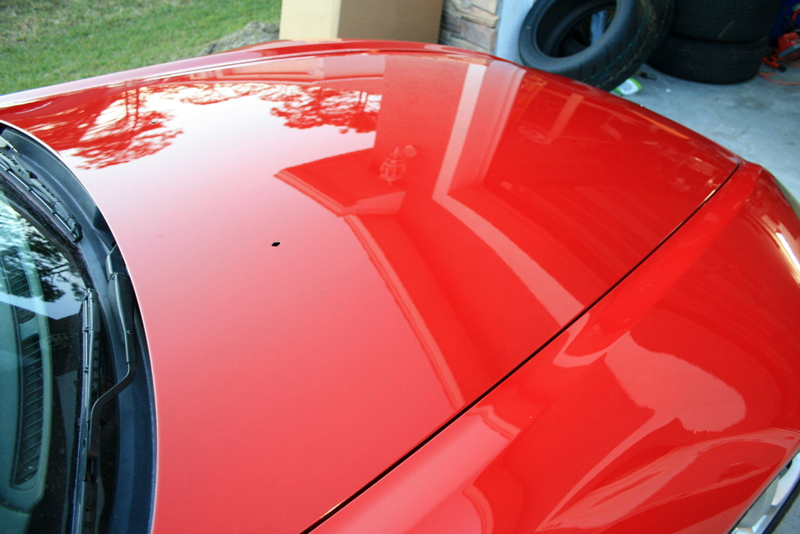
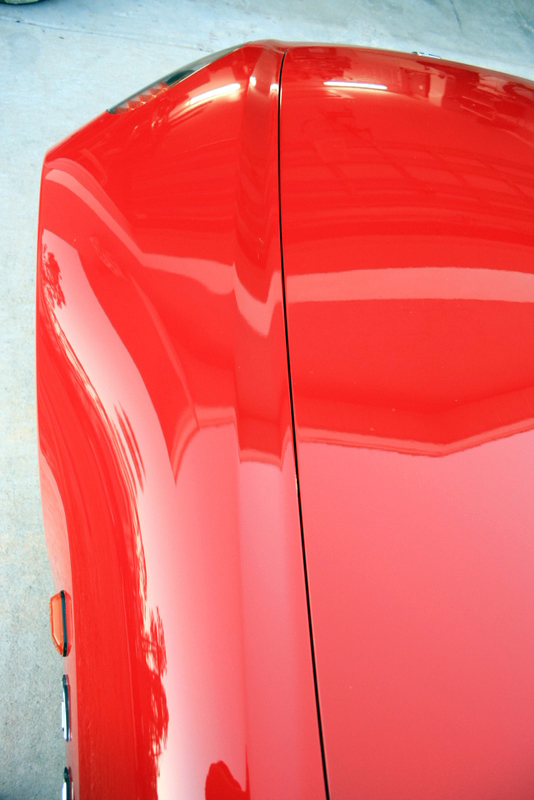
The trunk..BAD!
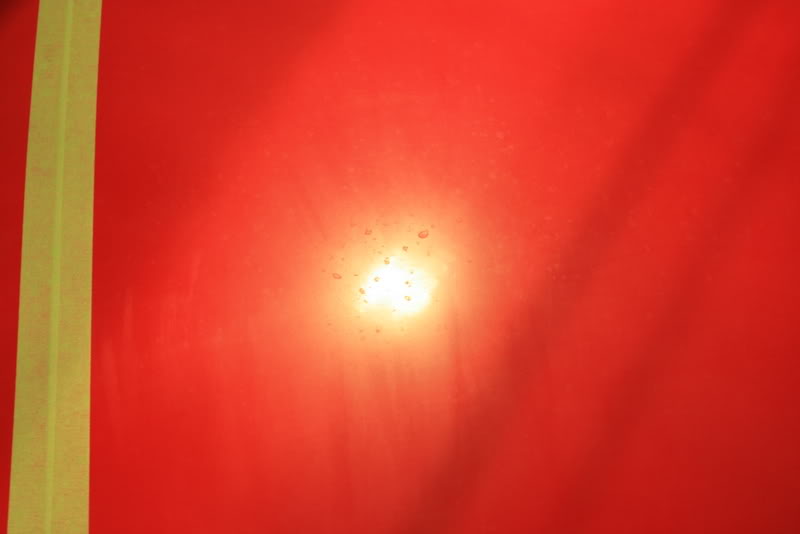
this is the rear spoiler..
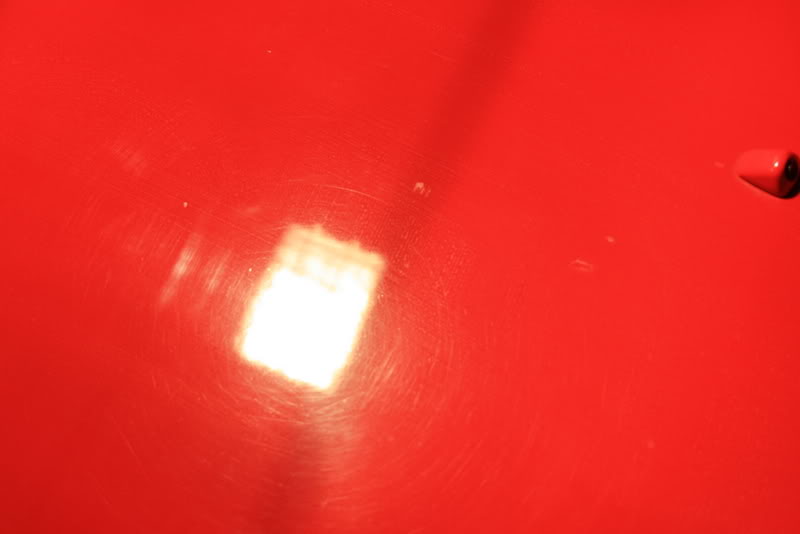

The trunk..BAD!
this is the rear spoiler..
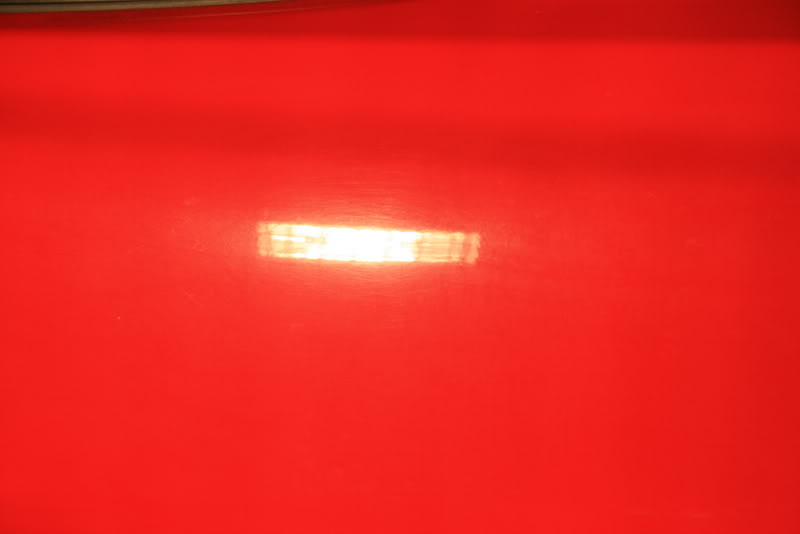
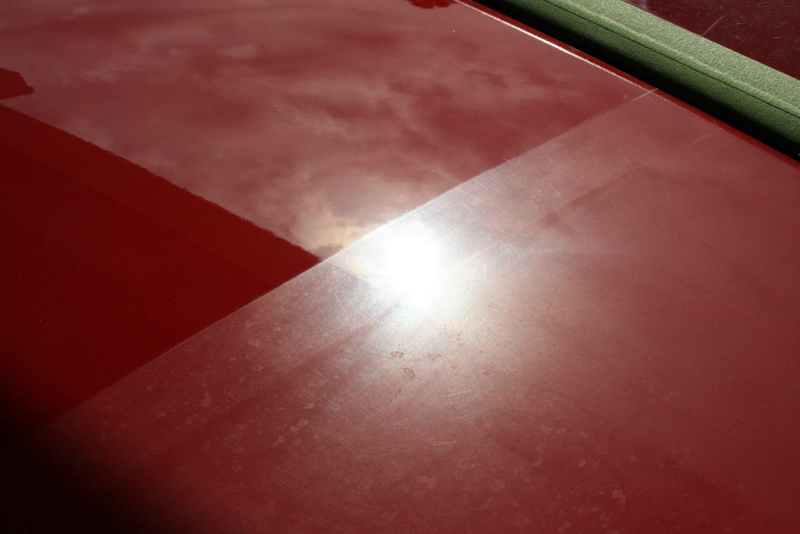
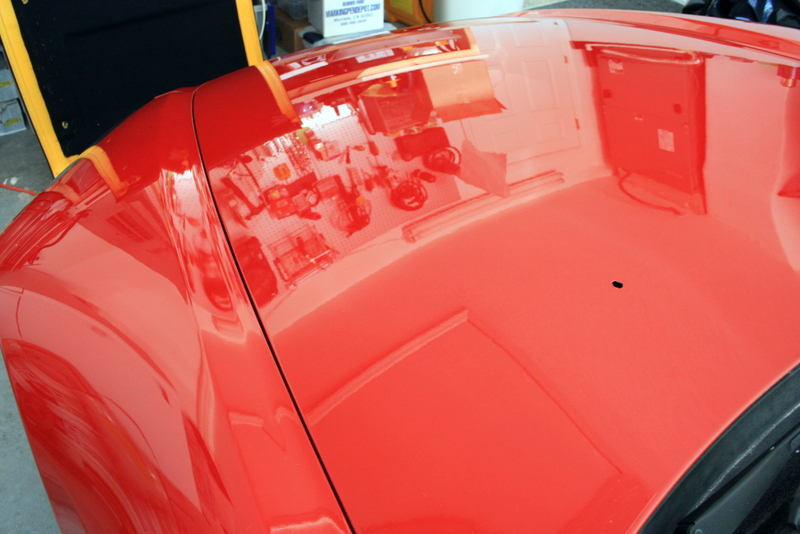
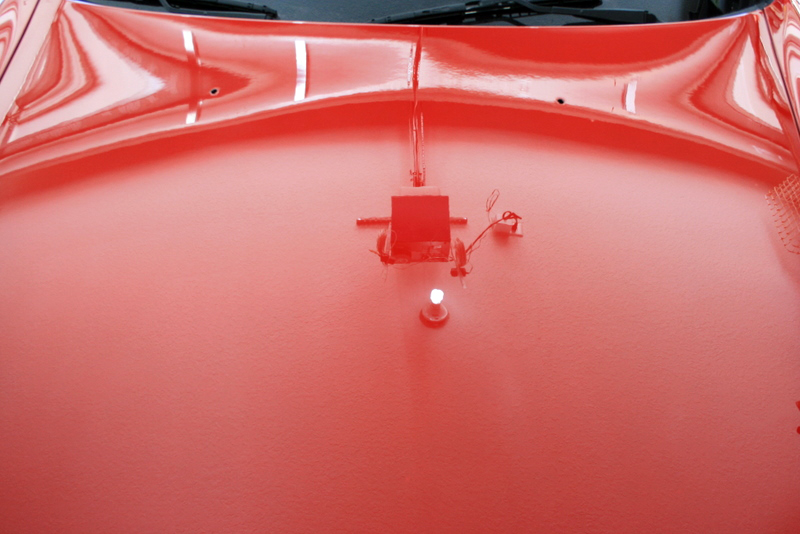
The trunk got the most attention, it was the worst panel on the entire car. I did get a VERY good correction from where it started, but it was already past complete repair. Towards the top of the trunk, the oxidation had gone all the way through the clear and the paint was beginning to crack. While it was there, its still very hard to see unless your in the right lighting. It was still however, a night and day difference and I was happy with the results!
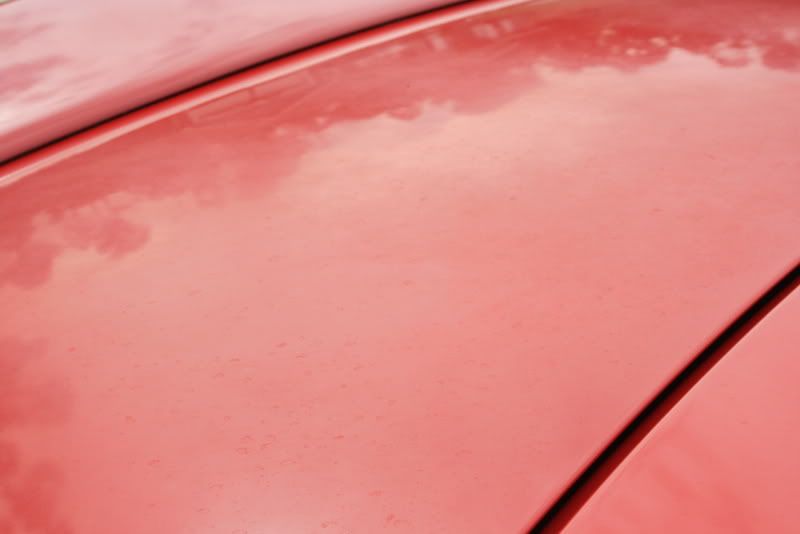
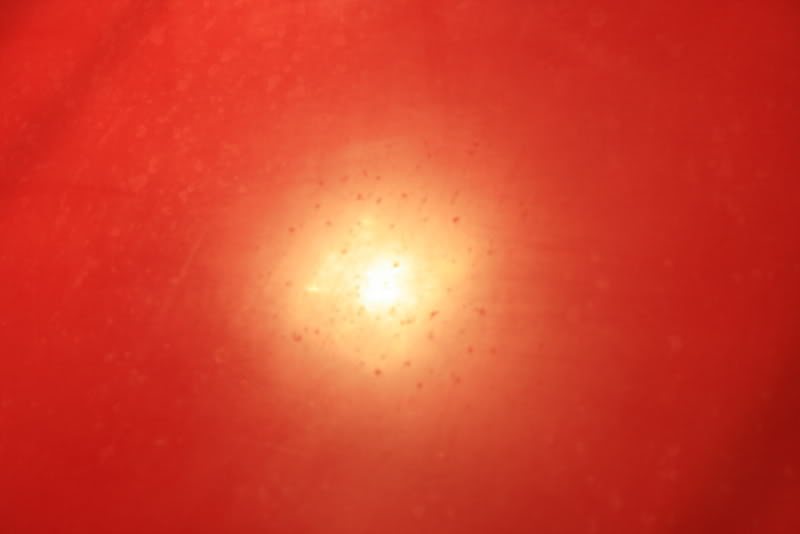
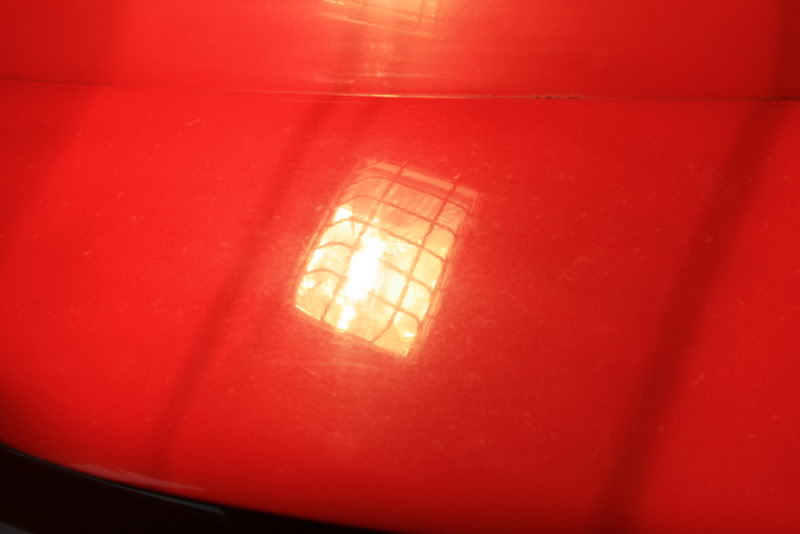
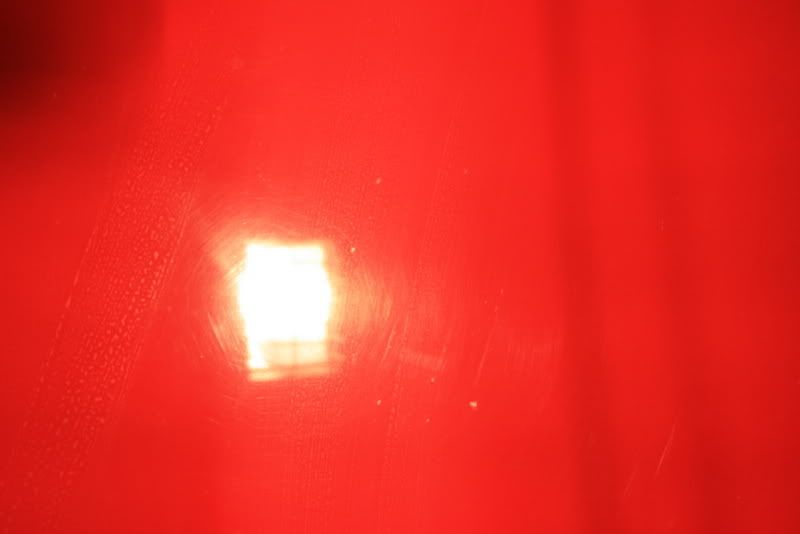
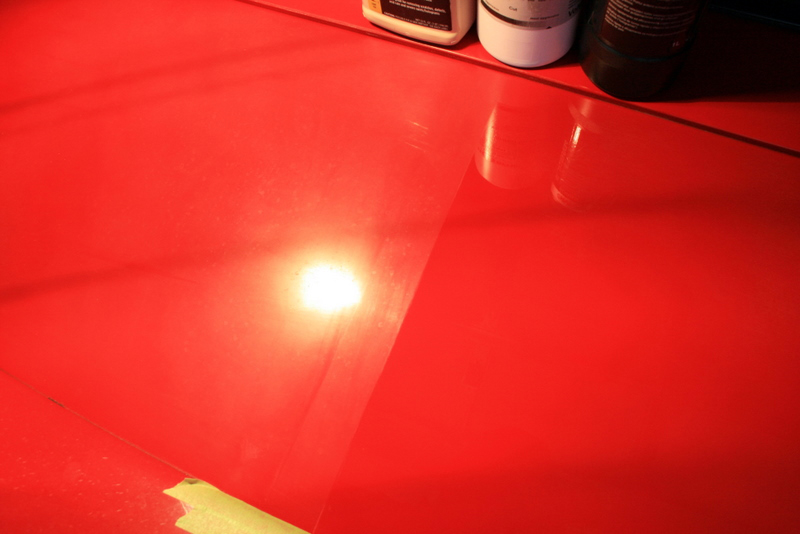
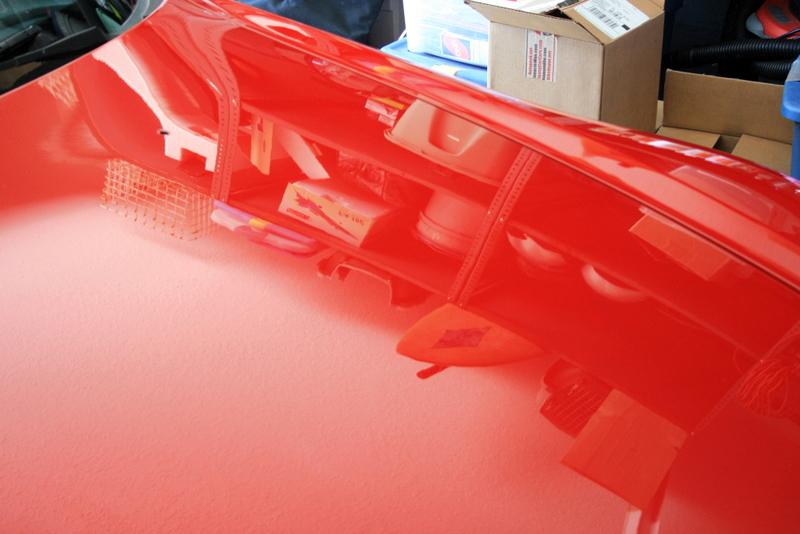
The trunk before, after claying..
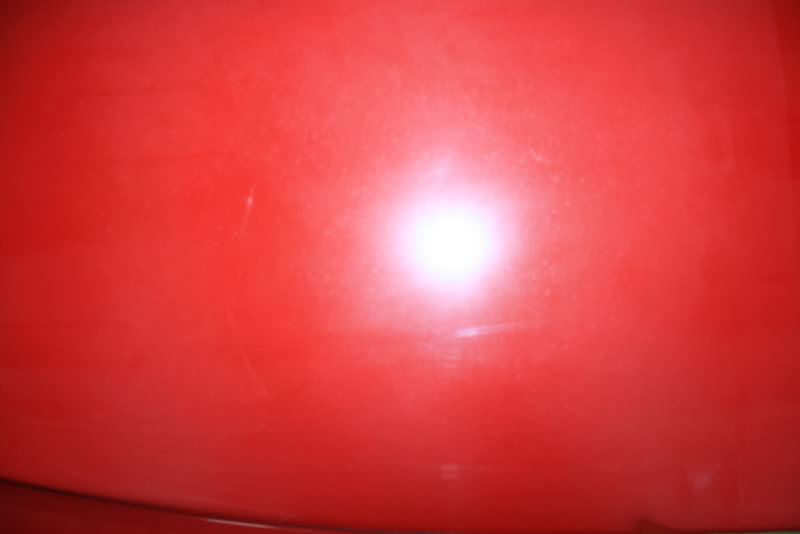
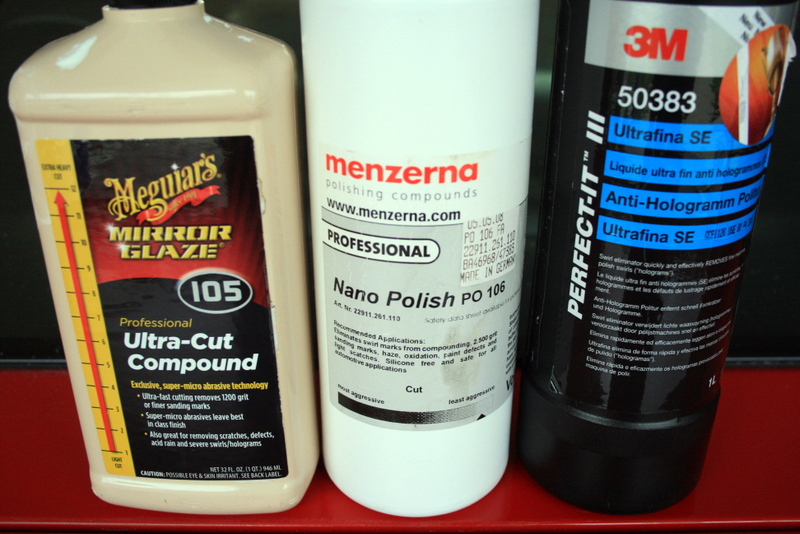
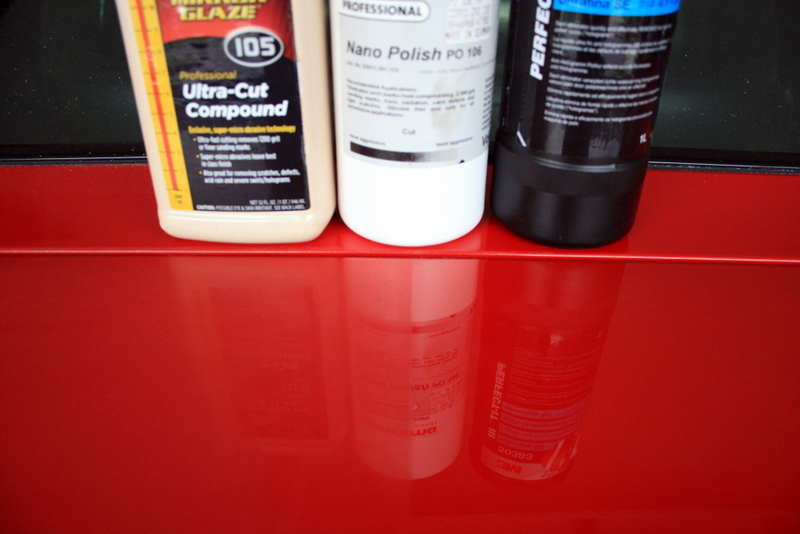
I used Meguairs M105 with a Meguairs Burgandy Wool pad for a good cut to get through the oxidation followed by Menzerna 106FA and 3m Ultrafina to finish down.
The products who get the credit!
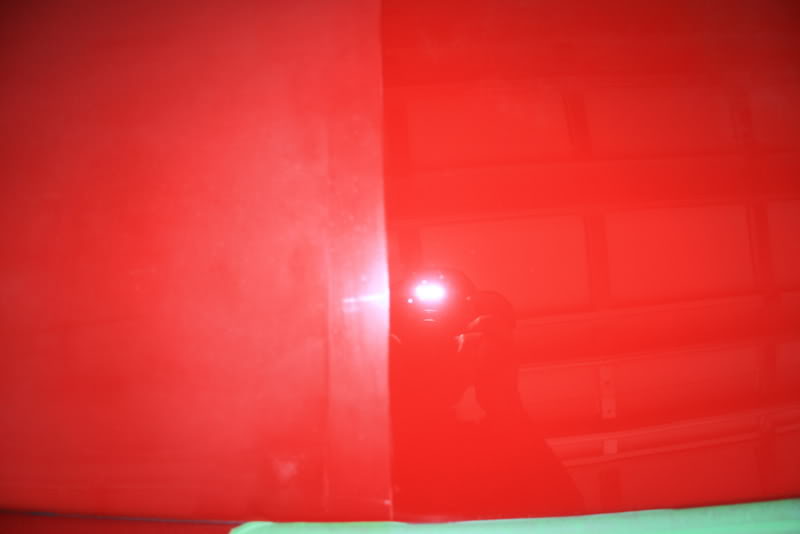
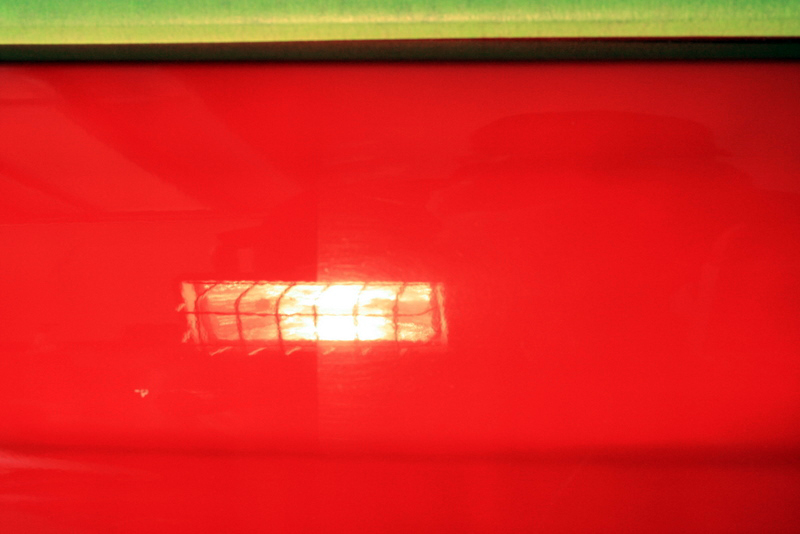
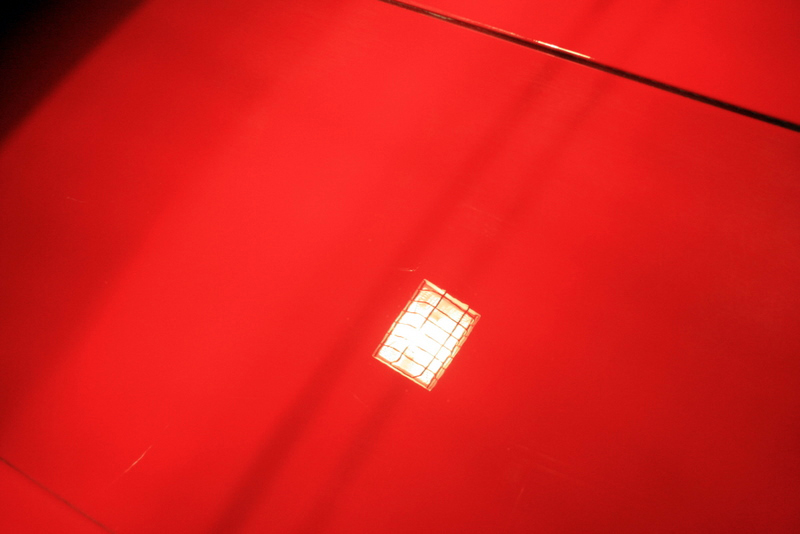
In this picture, you can see what is left of the damage towards the top.
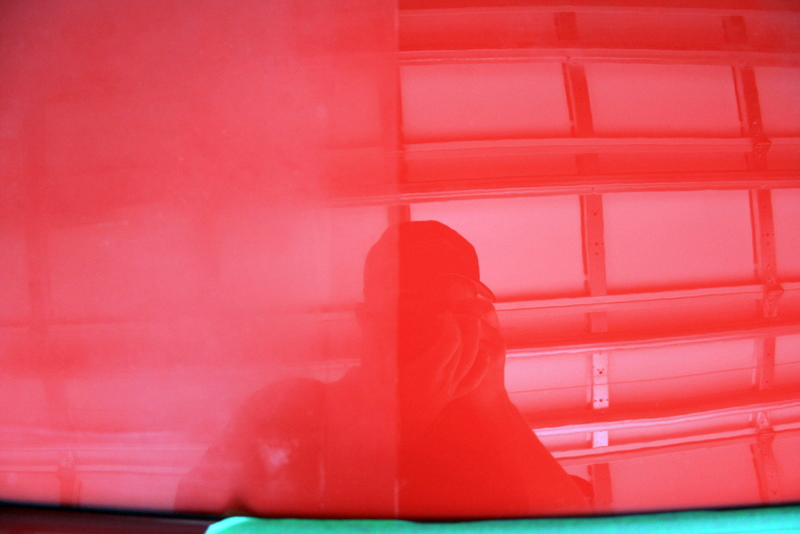
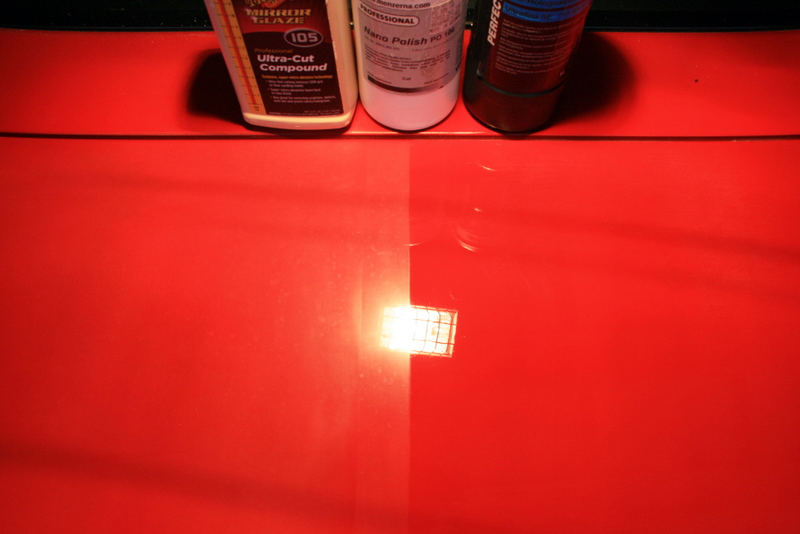

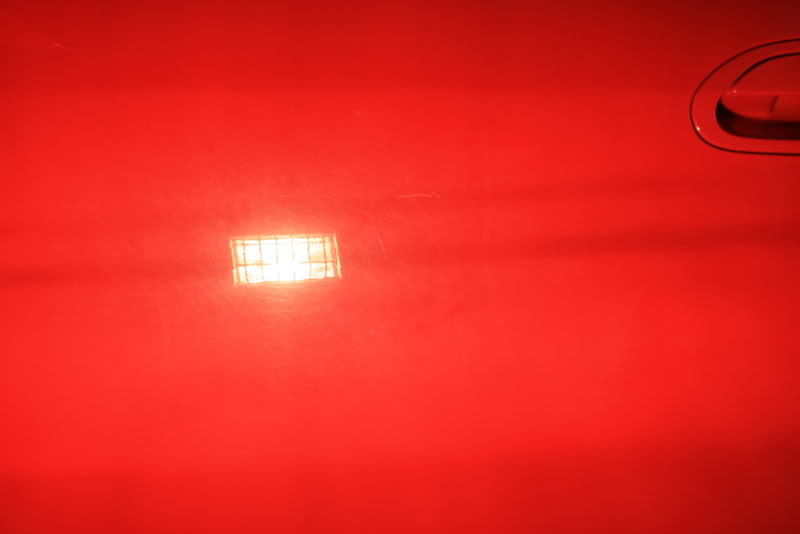
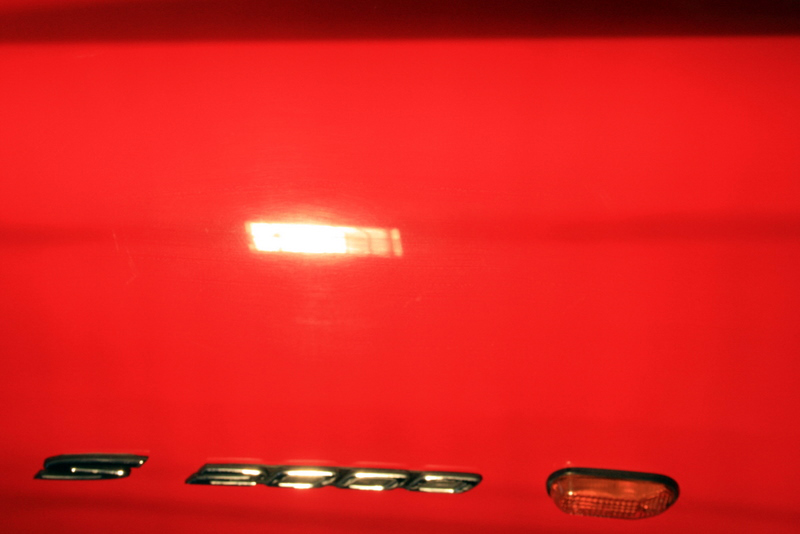
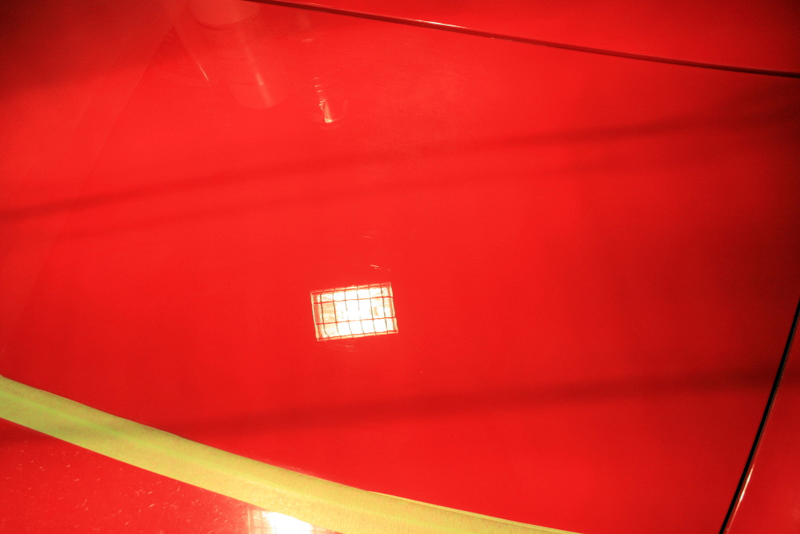
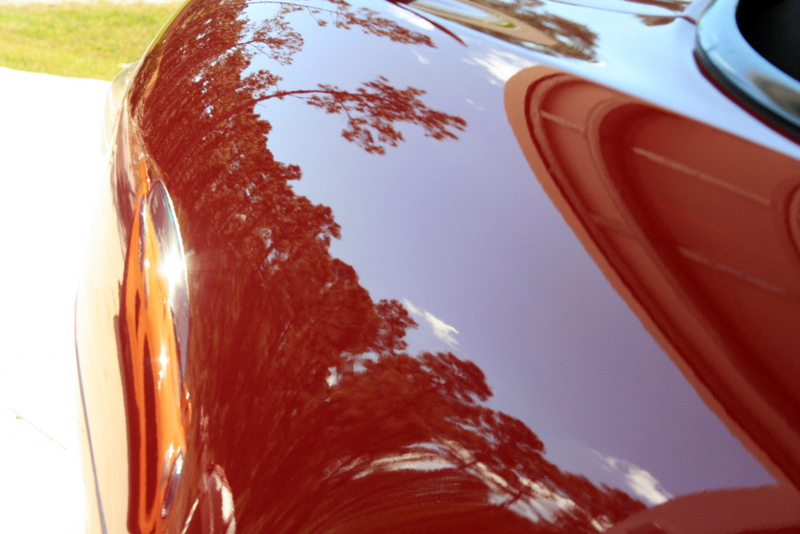
After..
The trunk before, after claying..
I used Meguairs M105 with a Meguairs Burgandy Wool pad for a good cut to get through the oxidation followed by Menzerna 106FA and 3m Ultrafina to finish down.
The products who get the credit!
In this picture, you can see what is left of the damage towards the top.
After..
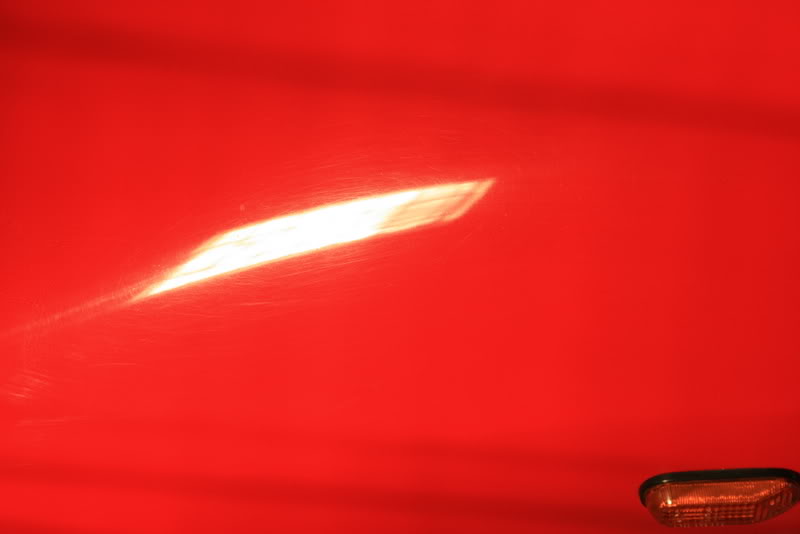
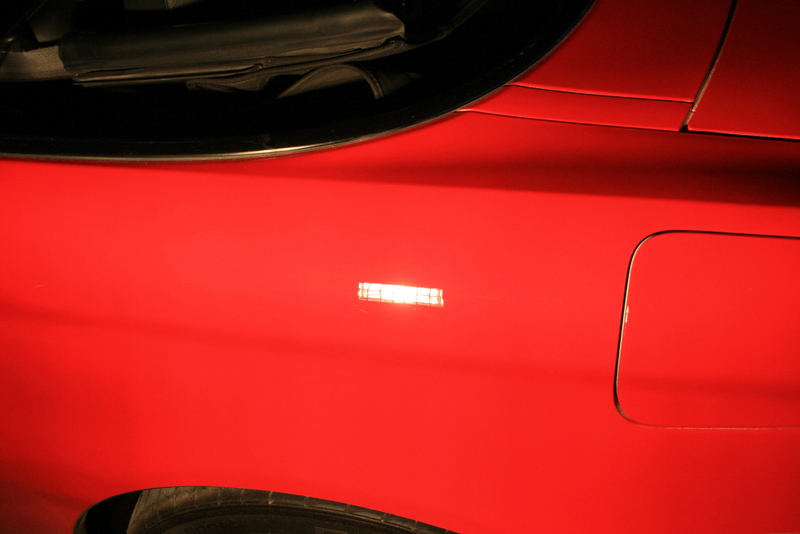
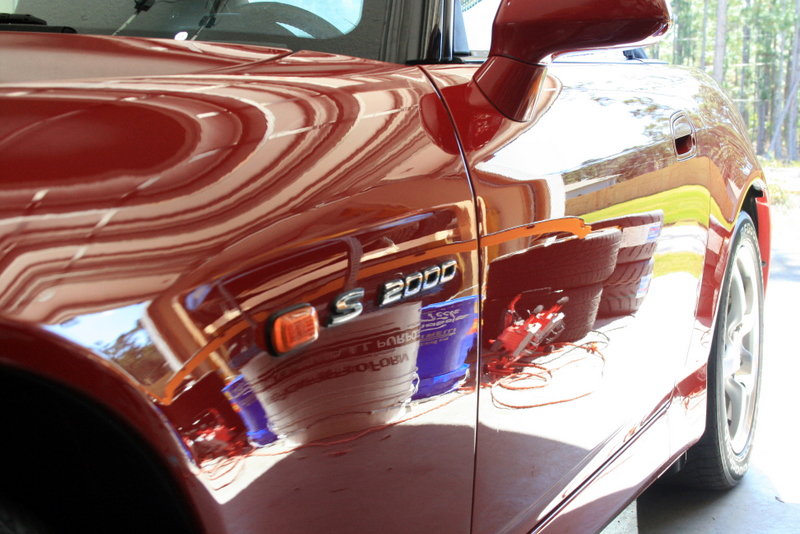
The rest of the car was almost as equally faded, just not quite as bad as the trunk..these are some 50/50s of a few panels.
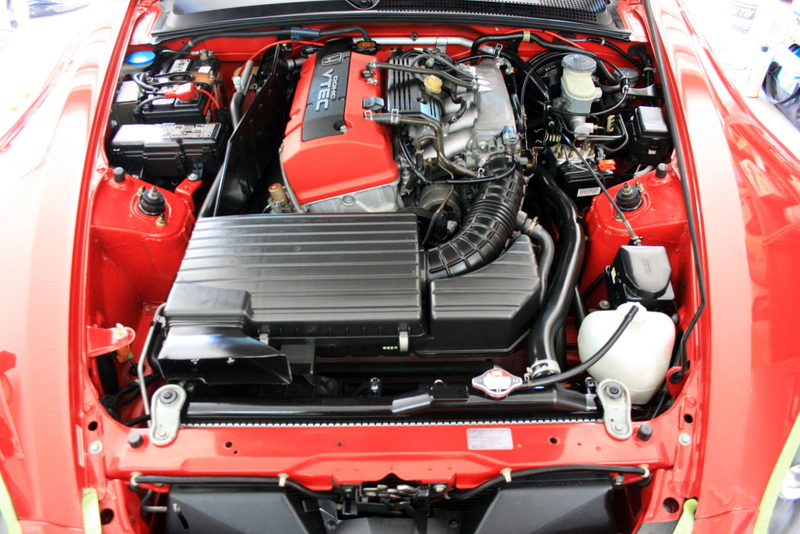
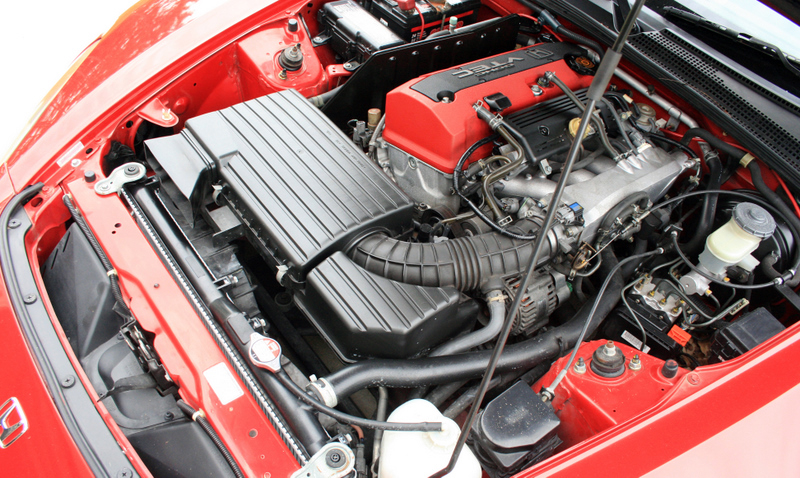
We also took care of the engine on this one too..
Before.
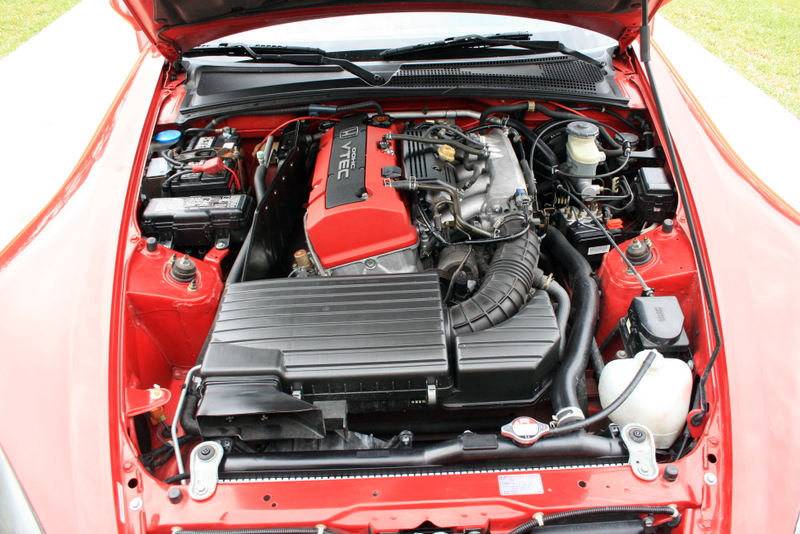
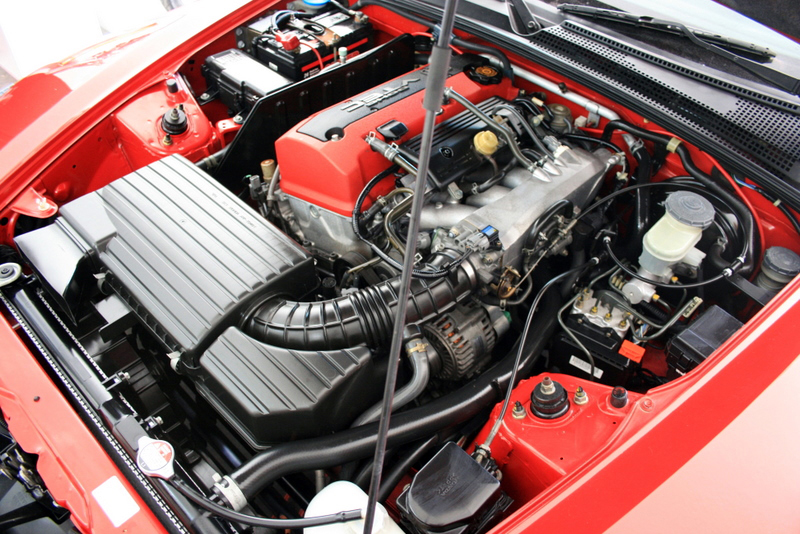
After.
Before.
After.
Before.
After.
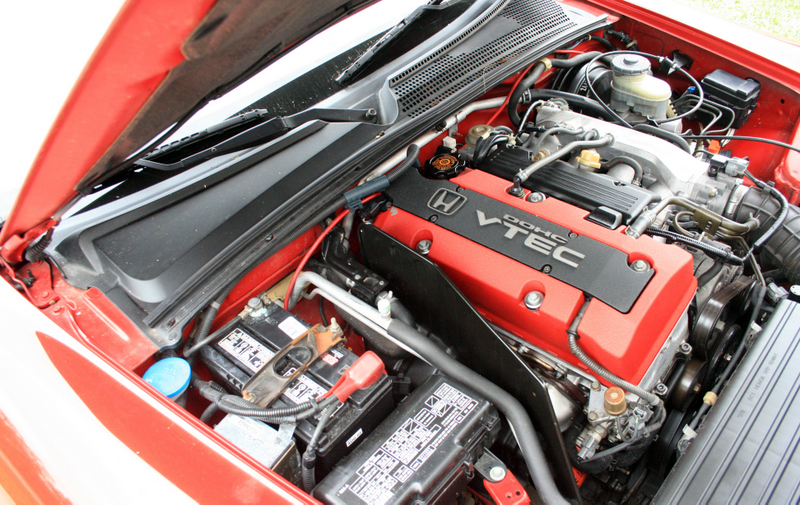
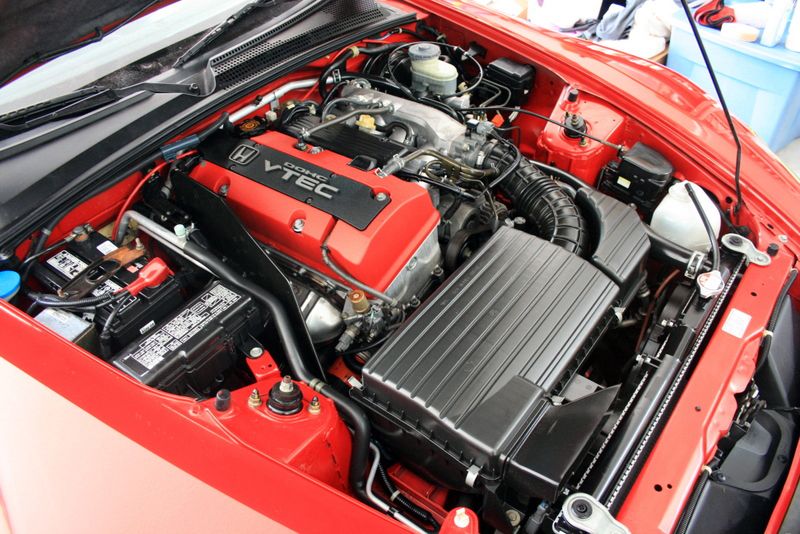
We also took care of the engine on this one too..
Before.
After.
Before.
After.
Before.
After.
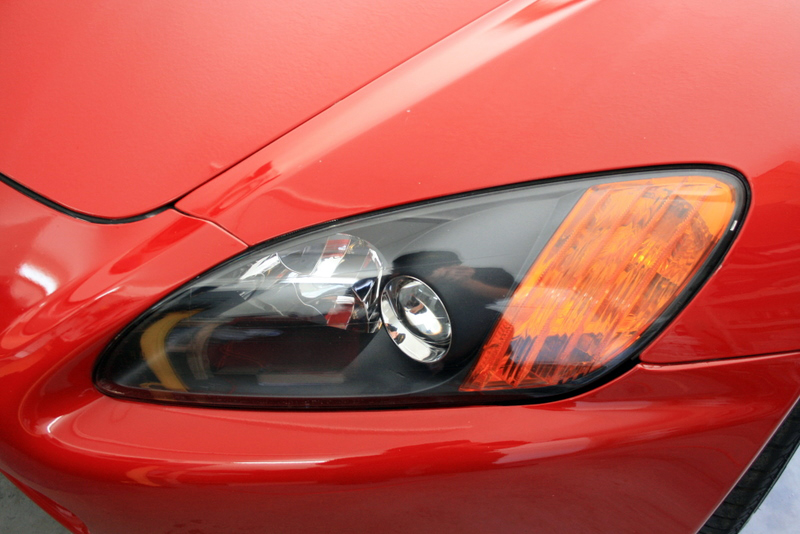
The headlights were also touched up to remove some fading..although I forgot to take befores. The driver light is brand new while the passenger needed some work, I was able to get them decently close in clarity.
NEW headlight..
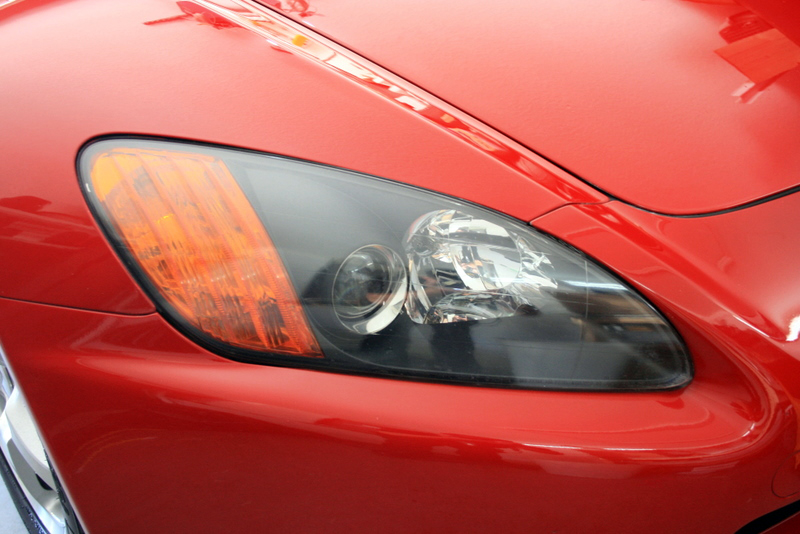
8 year old headlight..
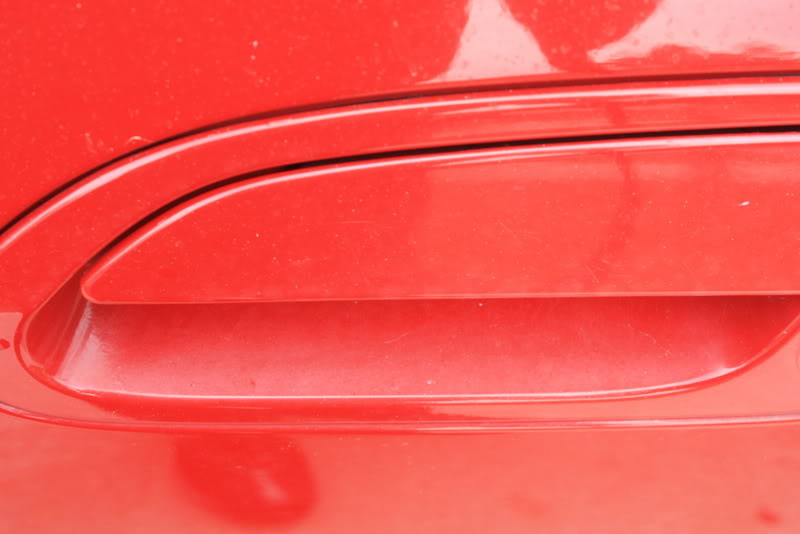
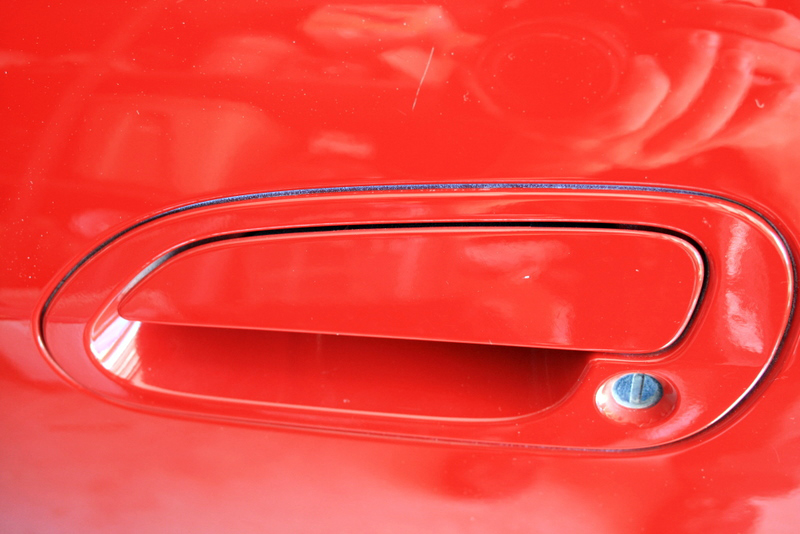
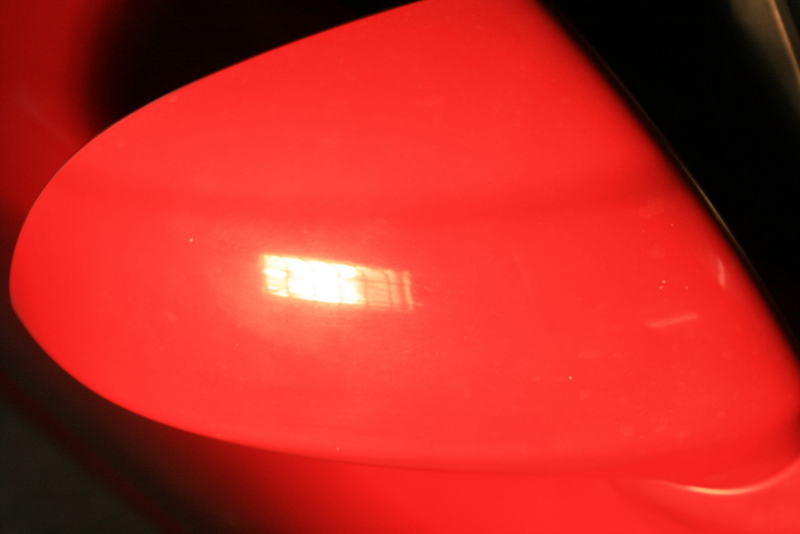
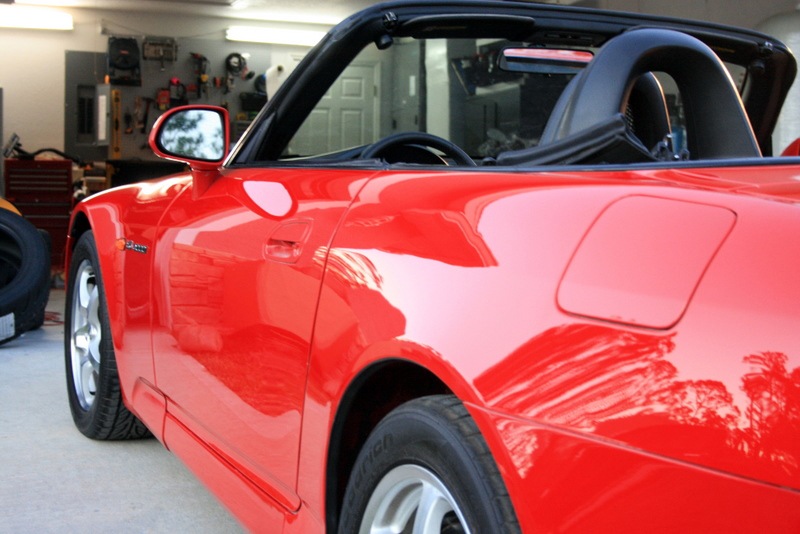
As well as the mirrors and doorhandles that were just as bad as the trunk..
Before..

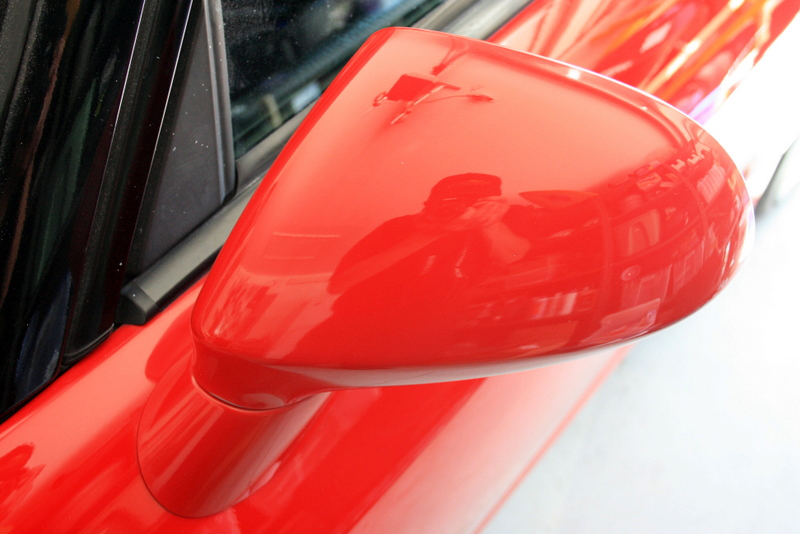
After..
Before..
After..
Now some halogens after polishing..


NEW headlight..
8 year old headlight..
As well as the mirrors and doorhandles that were just as bad as the trunk..
Before..
After..
Before..
After..
Now some halogens after polishing..
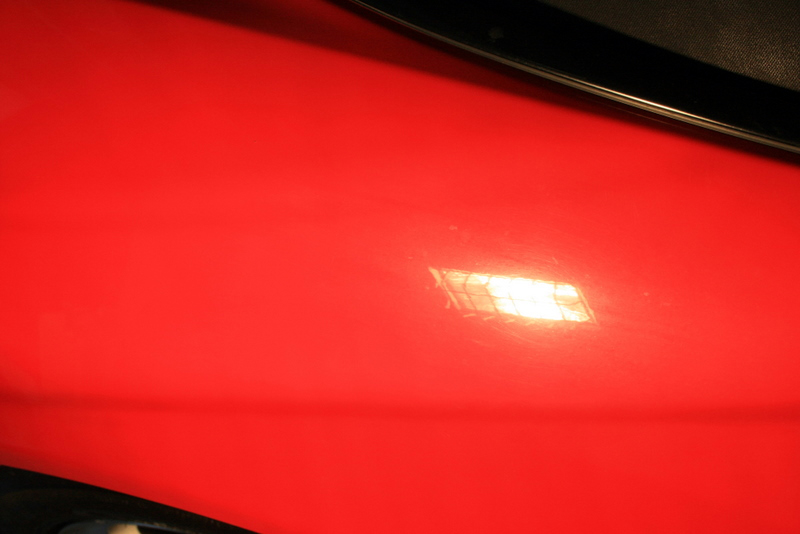
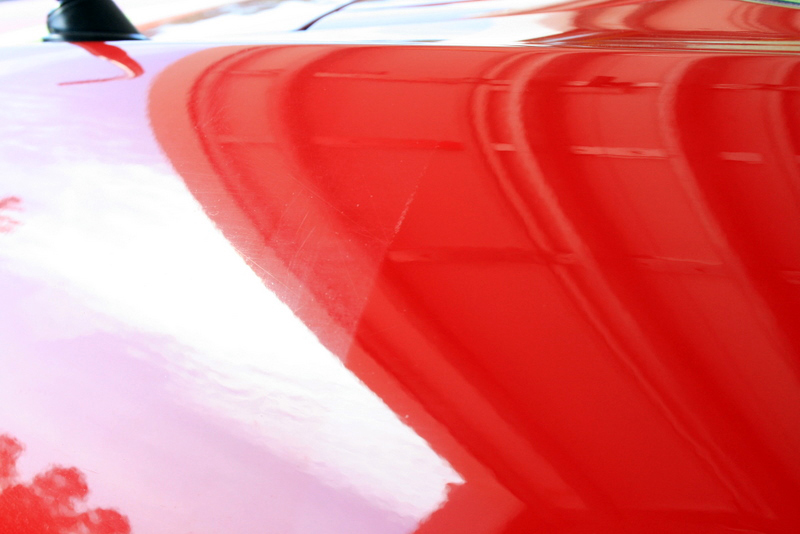
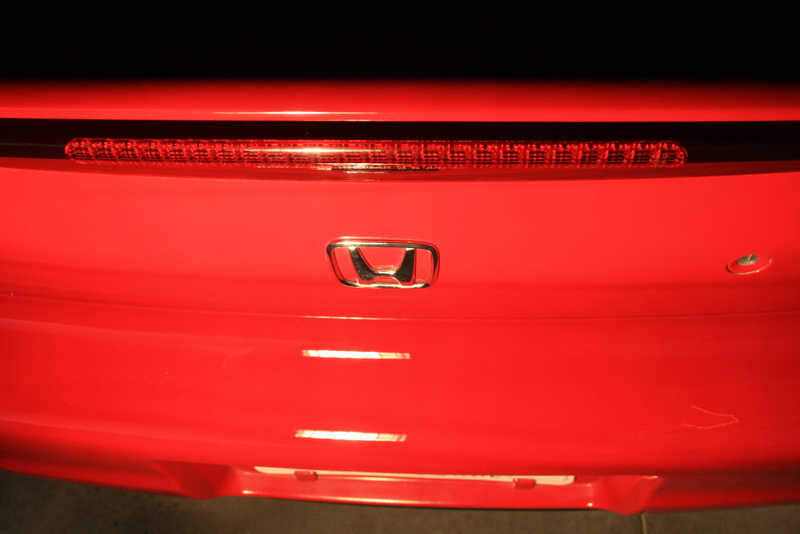
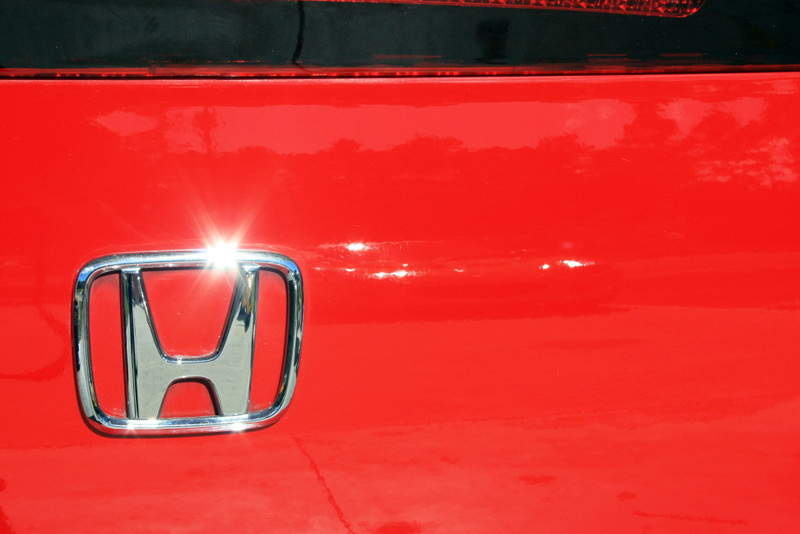
Finally finished outside..
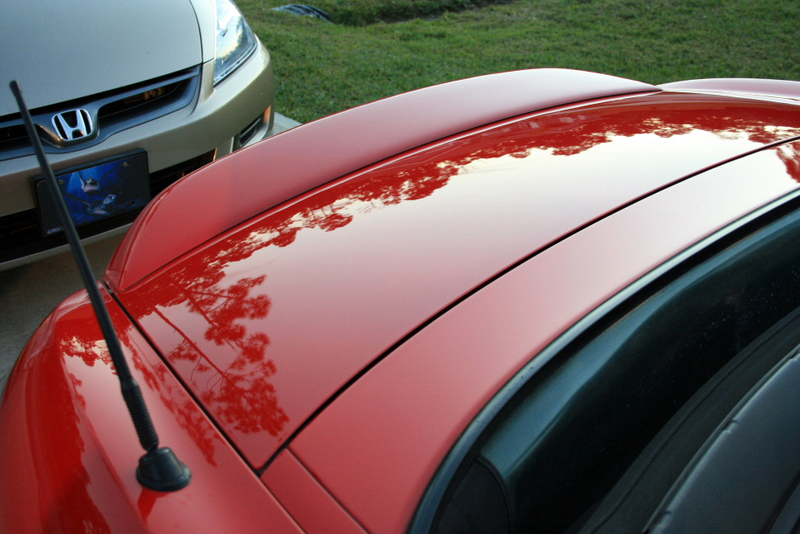
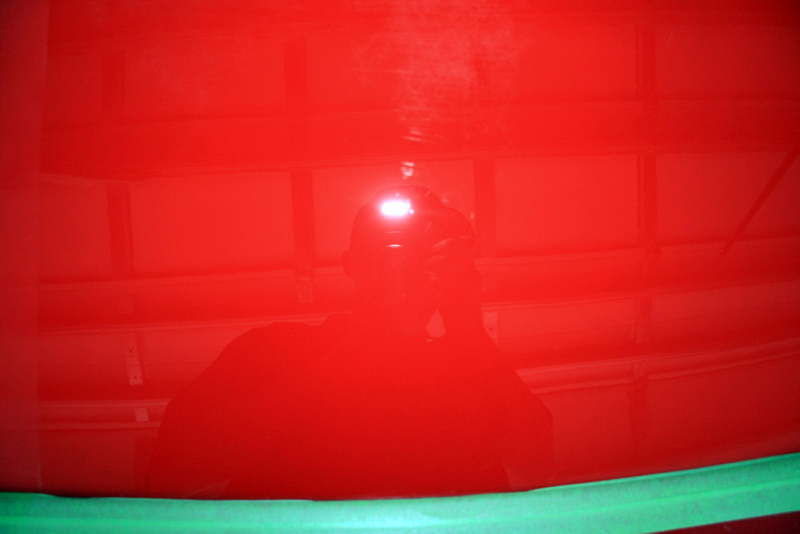
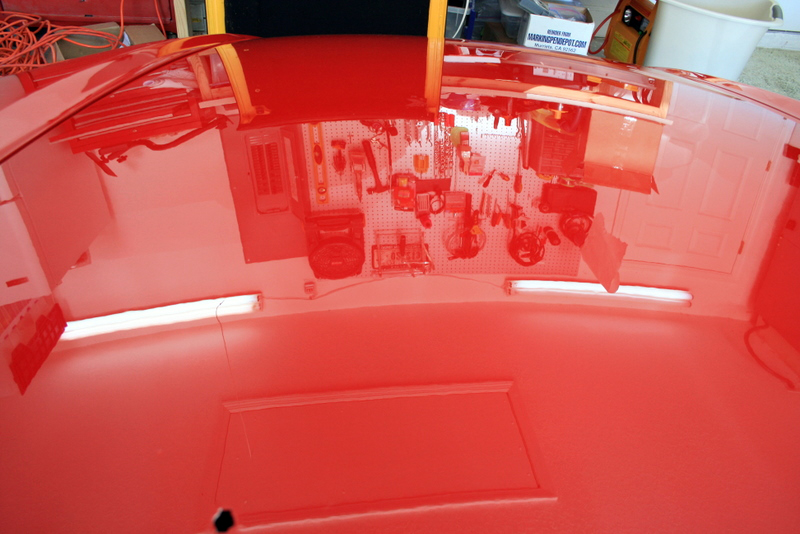
Yes, this is the trunk that before you couldnt even make out a shadow!
Yes, this is the trunk that before you couldnt even make out a shadow!
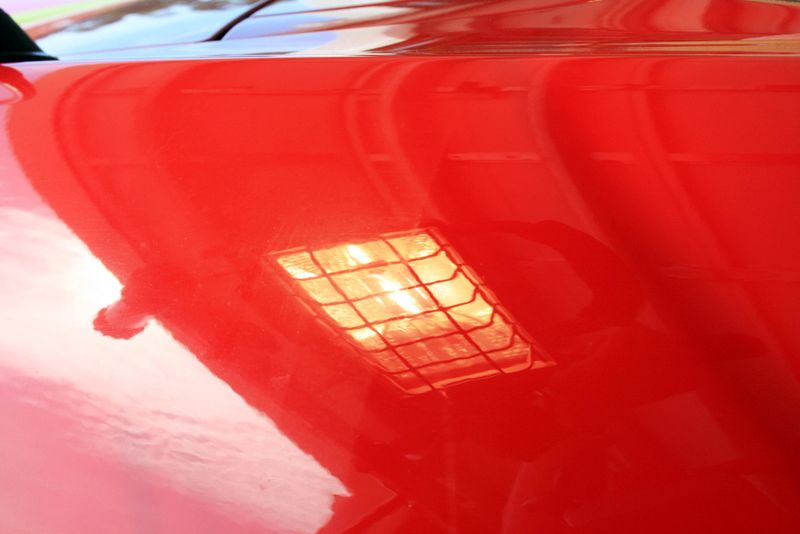
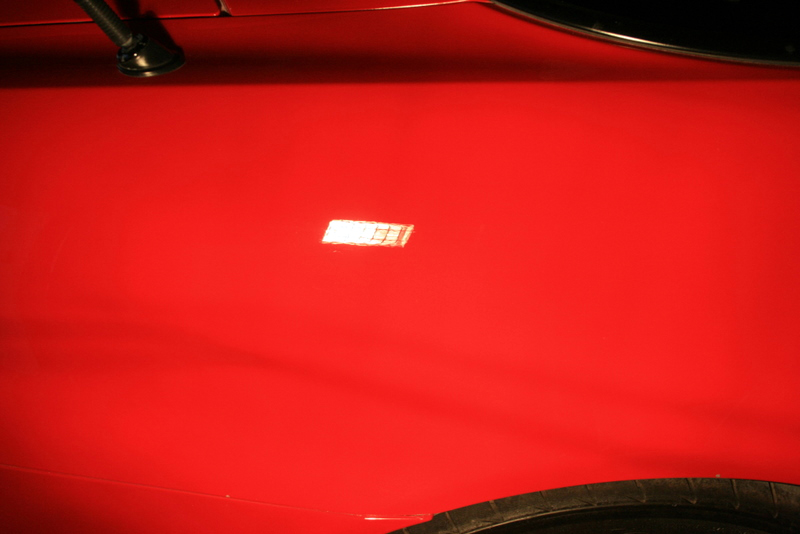
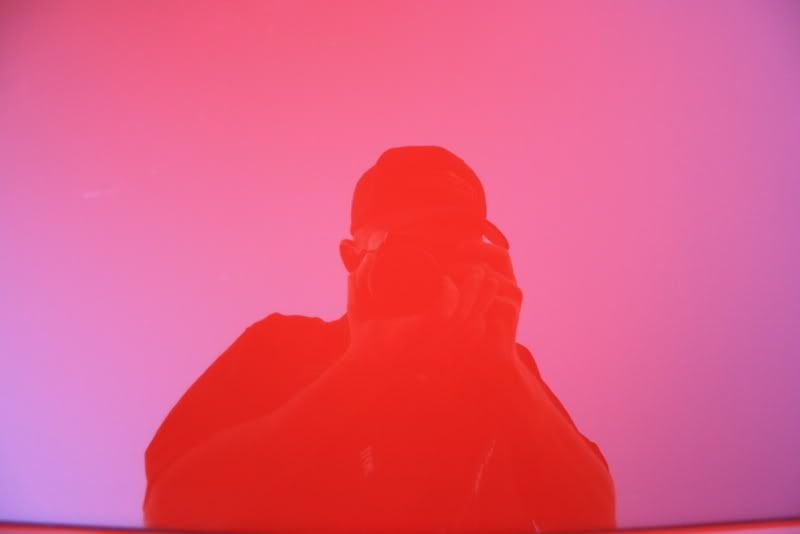
Some reflections for you guys! 
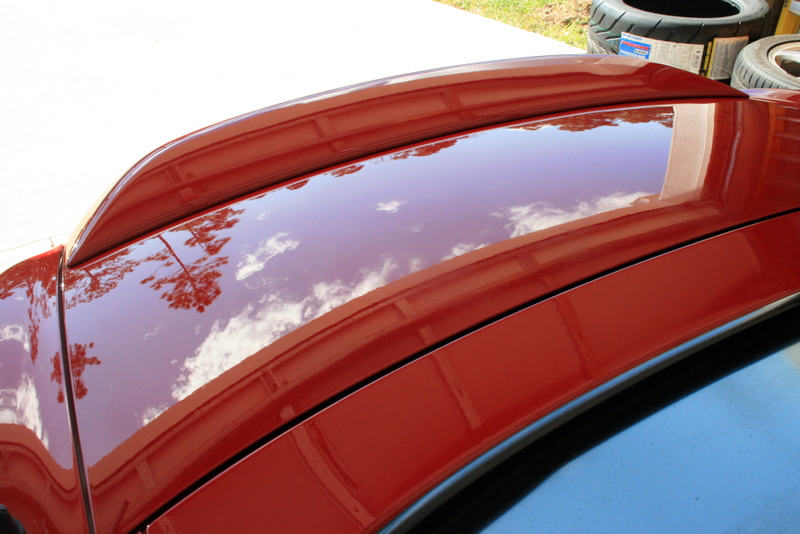
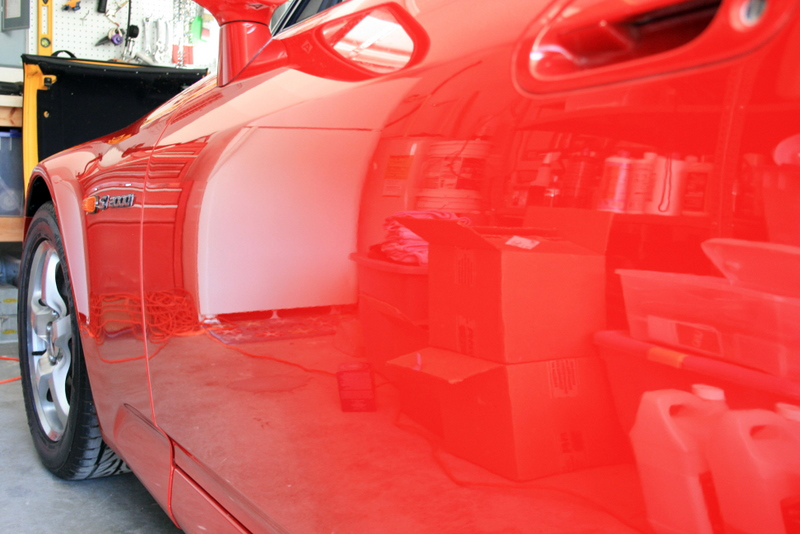


And a full sun shot..
And a full sun shot..
Quote:
You can expect to pay between 5-800 for a job like this depending on the detailer.Originally Posted by scskim
nice work. cost?
