Detailing How do you keep your ride looking like new? Discuss it in here.

Presidential Detailed: 2001 Audi S8 - 25 hours invested.

Thread Tools
 
Search this Thread
 
  #1  
Old 02-13-2009, 01:54 PM
Presidential_Detail's Avatar
1st Gear
Thread Starter
Join Date: Sep 2008
Location: Tampa, FL
Posts: 357
Default Presidential Detailed: 2001 Audi S8 - 25 hours invested.

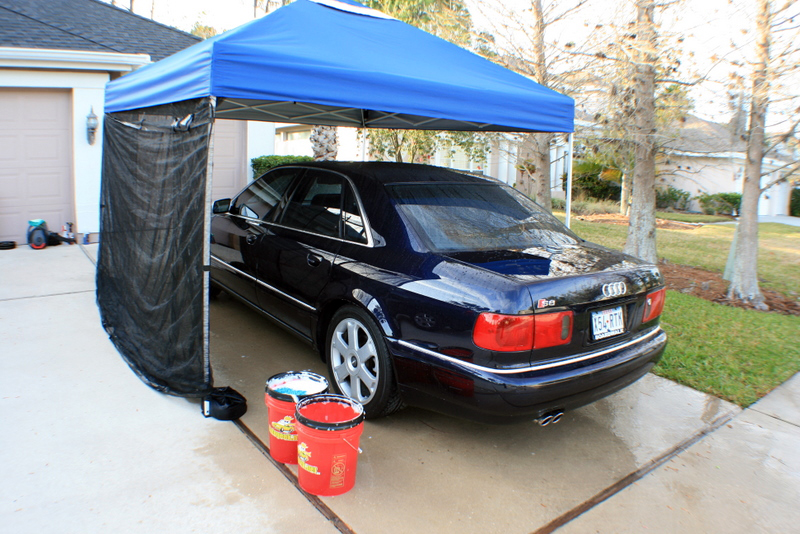
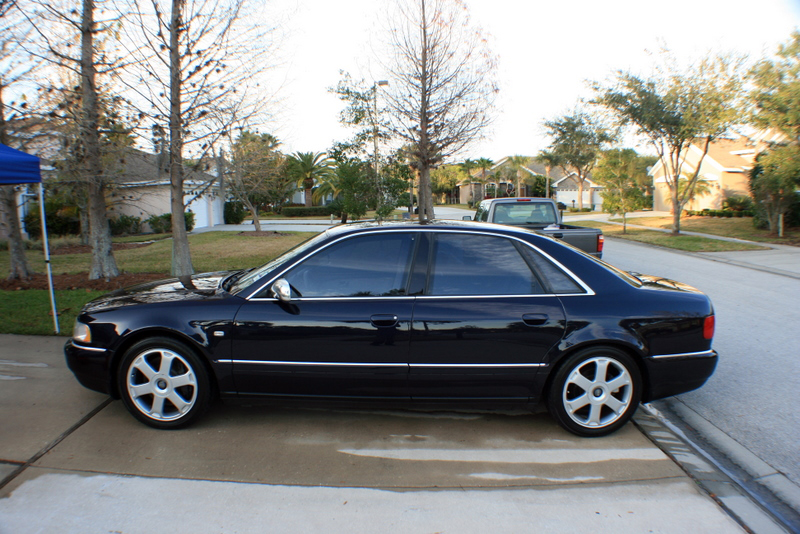
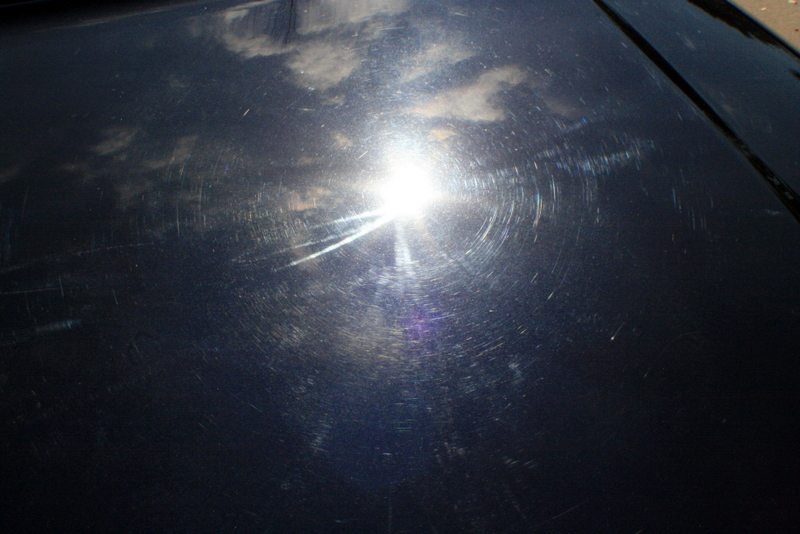
I spent 3 FULL days straight getting this car back into shape. The owner of this car also owns the AC COBRA I detailed, and we went for the full "Presidential" Package on this one! The car wasnt in that bad of condition, it just needed to be polished and touched up in a few areas. There were some pretty significant buffer burns across the hood, rear c-pillars and across the car overall from a previous attempt. I was very happy with the way this one came out, and I have a ton of pictures to show it! haha! Sit back, relax, and ENJOY! :d

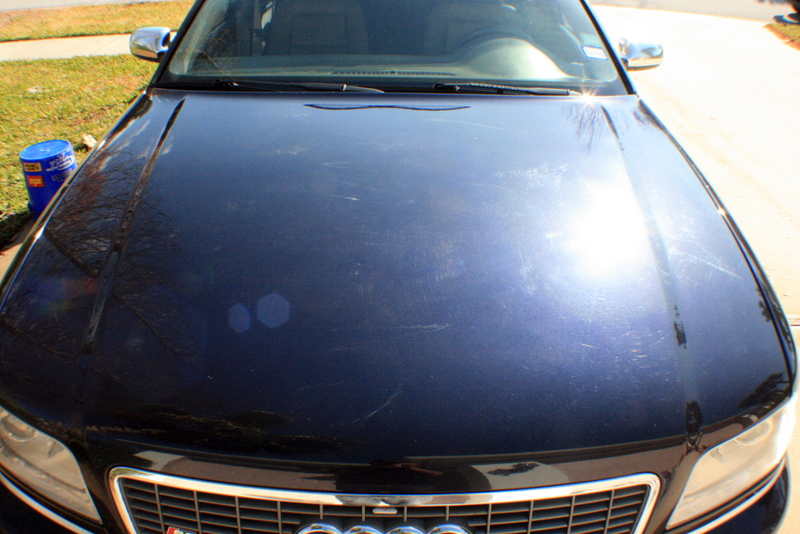
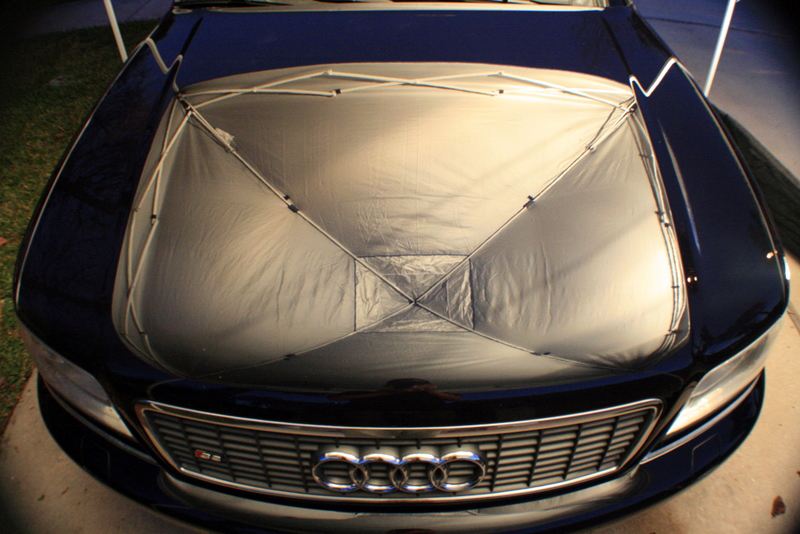
It was 7AM when I started the first day, so there was some dew left on the car..
Name:  IMG_7558.jpg
Views: 50
Size:  417.5 KB

Name:  IMG_7559.jpg
Views: 103
Size:  441.5 KB

Name:  IMG_7560.jpg
Views: 59
Size:  372.7 KB

Name:  IMG_7561.jpg
Views: 90
Size:  252.6 KB

Name:  IMG_7562.jpg
Views: 91
Size:  376.4 KB

Name:  IMG_7563.jpg
Views: 96
Size:  330.8 KB

Name:  IMG_7565.jpg
Views: 101
Size:  367.2 KB
 
  #2  
Old 02-13-2009, 01:55 PM
Presidential_Detail's Avatar
1st Gear
Thread Starter
Join Date: Sep 2008
Location: Tampa, FL
Posts: 357
Default

I started by washing the wheels, undercarriage, and engine compartment.
Name:  IMG_7574.jpg
Views: 101
Size:  392.6 KB

Name:  IMG_7575.jpg
Views: 53
Size:  386.5 KB

Name:  IMG_7576.jpg
Views: 91
Size:  389.4 KB

Name:  IMG_7577.jpg
Views: 49
Size:  391.4 KB

The engine compartment was in dire need of cleaning.
Name:  IMG_7544.jpg
Views: 95
Size:  429.7 KB

Name:  IMG_7545.jpg
Views: 89
Size:  328.8 KB

Name:  IMG_7546.jpg
Views: 52
Size:  321.3 KB

Name:  IMG_7547.jpg
Views: 86
Size:  423.7 KB

There were even leaves in the TOP hinges!
Name:  IMG_7548.jpg
Views: 88
Size:  332.2 KB

Name:  IMG_7549.jpg
Views: 92
Size:  328.9 KB
 
  #3  
Old 02-13-2009, 01:56 PM
Presidential_Detail's Avatar
1st Gear
Thread Starter
Join Date: Sep 2008
Location: Tampa, FL
Posts: 357
Default

Name:  IMG_7551.jpg
Views: 93
Size:  359.5 KB

Name:  IMG_7552.jpg
Views: 85
Size:  391.5 KB

Name:  IMG_7553.jpg
Views: 60
Size:  394.9 KB

Pre-soak with Meguairs APC+
Name:  IMG_7571.jpg
Views: 50
Size:  491.7 KB

Now finished and dressed with Meguairs Hyperdressing.
Name:  IMG_7595.jpg
Views: 96
Size:  473.2 KB

Name:  IMG_7596.jpg
Views: 58
Size:  482.1 KB


Name:  IMG_7599.jpg
Views: 94
Size:  370.8 KB

Name:  IMG_7600.jpg
Views: 51
Size:  452.5 KB

Name:  IMG_7602.jpg
Views: 90
Size:  454.1 KB
 
  #4  
Old 02-13-2009, 01:56 PM
Presidential_Detail's Avatar
1st Gear
Thread Starter
Join Date: Sep 2008
Location: Tampa, FL
Posts: 357
Default

After the initial wash and clay bar you can see this car needed some work.
Name:  IMG_7594.jpg
Views: 55
Size:  379.4 KB

Name:  IMG_7579.jpg
Views: 63
Size:  319.1 KB

Name:  IMG_7580.jpg
Views: 52
Size:  293.1 KB

Roof.
Name:  IMG_7581.jpg
Views: 76
Size:  355.6 KB

Name:  IMG_7582.jpg
Views: 87
Size:  388.3 KB

If you look closely there are some bad buffer burns in this area.
Name:  IMG_7584.jpg
Views: 84
Size:  413.7 KB

Name:  IMG_7586.jpg
Views: 63
Size:  421.4 KB

Name:  IMG_7587.jpg
Views: 59
Size:  434.6 KB

Name:  IMG_7588.jpg
Views: 83
Size:  364.9 KB

Name:  IMG_7589.jpg
Views: 63
Size:  363.6 KB
 
  #5  
Old 02-13-2009, 01:57 PM
Presidential_Detail's Avatar
1st Gear
Thread Starter
Join Date: Sep 2008
Location: Tampa, FL
Posts: 357
Default

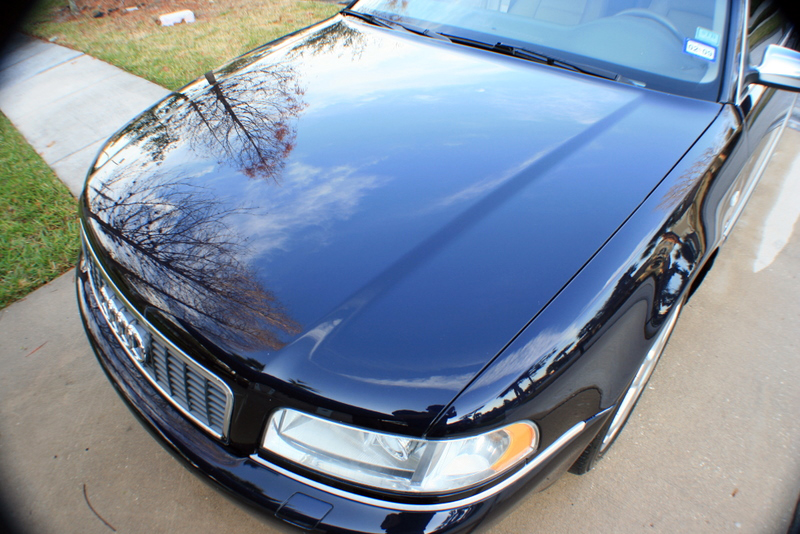
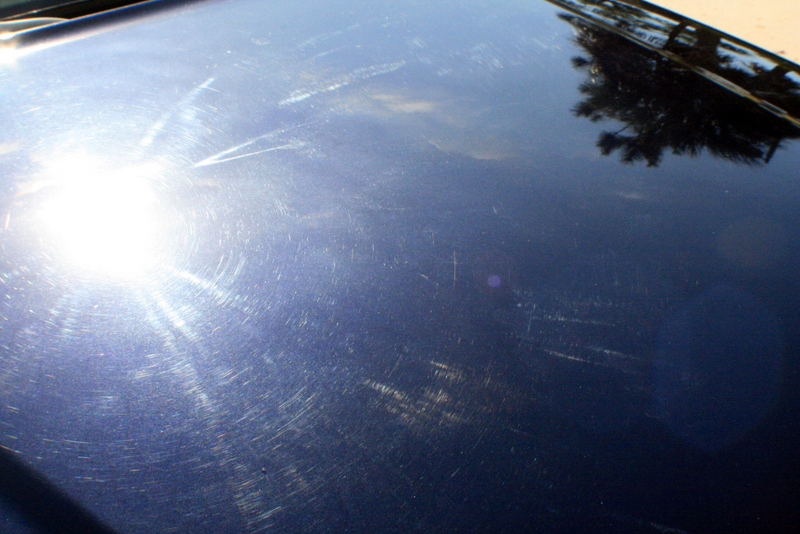
So I did a little testing and once again M105 pulls it off! I used M105/yellow wool for one pass to remove the harsher defects, then follow with a couple more passes using M105 on a PFW pad. This came out fantastic, I would say a 99% correction, there were only a few RIDs left throughout the whole car.

Name:  IMG_7603.jpg
Views: 62
Size:  359.8 KB

Name:  IMG_7605.jpg
Views: 91
Size:  327.9 KB

Name:  IMG_7606.jpg
Views: 58
Size:  349.6 KB

Name:  IMG_7614.jpg
Views: 53
Size:  386.5 KB

Name:  IMG_7607.jpg
Views: 77
Size:  379.5 KB

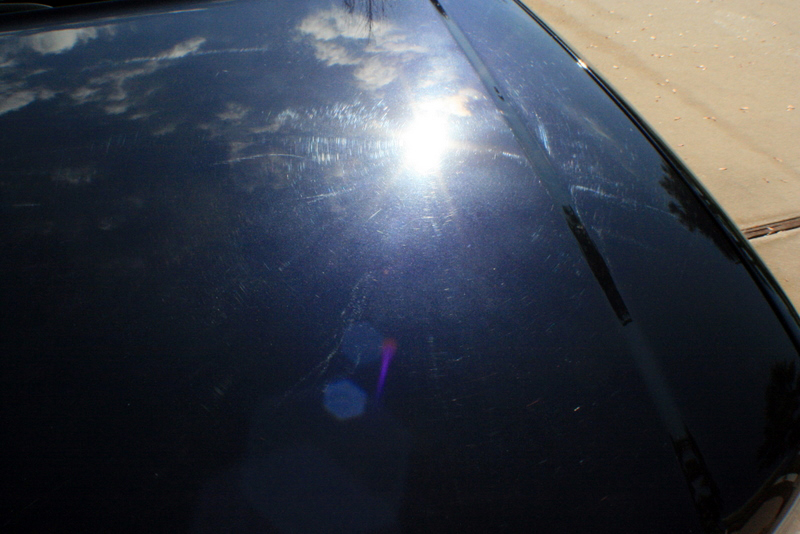
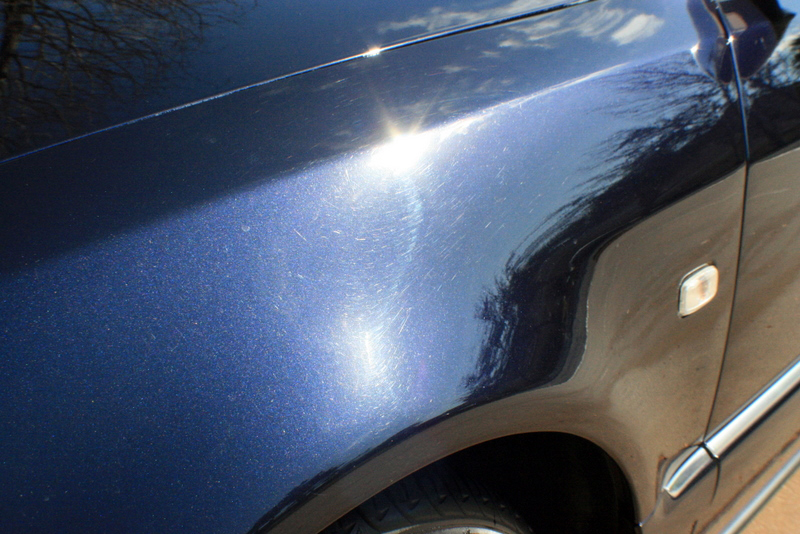
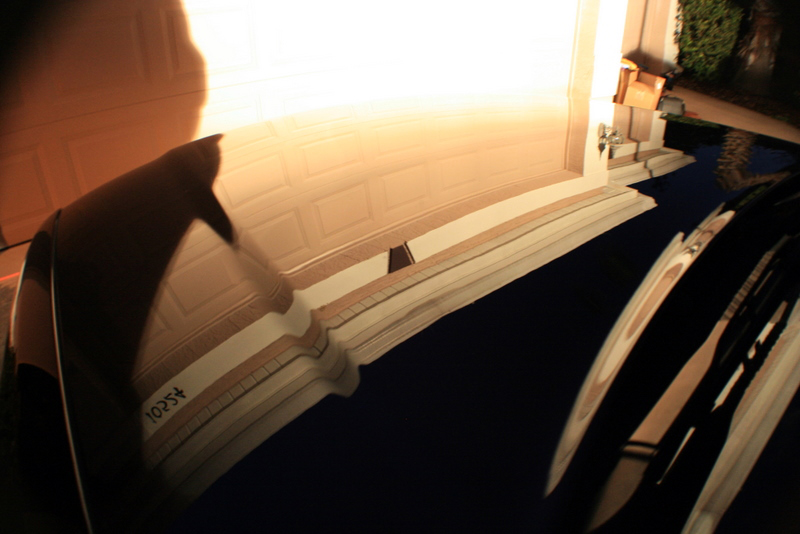
The hood completed after M105/SIP/3M UF
Name:  IMG_7626.jpg
Views: 93
Size:  298.6 KB

Fenders completed.
Name:  IMG_7639.jpg
Views: 88
Size:  371.5 KB


Name:  IMG_7645.jpg
Views: 61
Size:  333.6 KB
 
  #6  
Old 02-13-2009, 01:58 PM
Presidential_Detail's Avatar
1st Gear
Thread Starter
Join Date: Sep 2008
Location: Tampa, FL
Posts: 357
Default

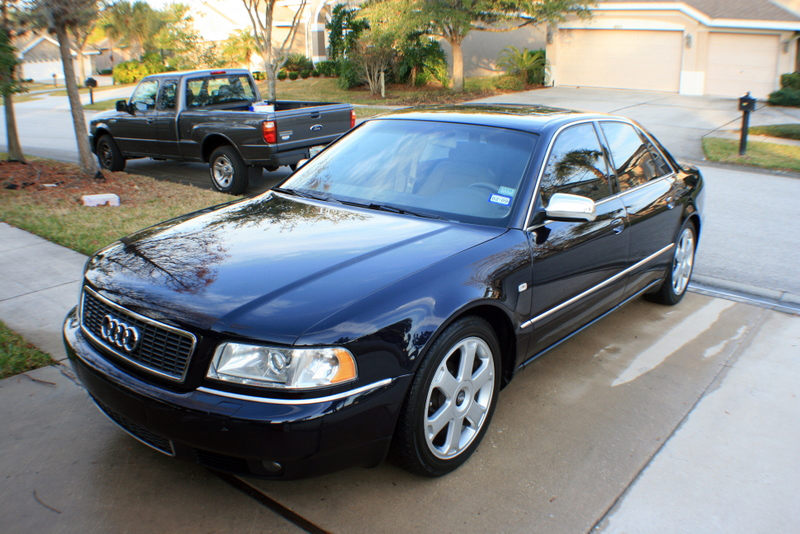
Due to having to work outside I changed up my routine for this one, I did the entire front half of the car (polish/seal/wax) and then moved to the roof, then each side(doors), then I work on the rear section. This was to prevent me from having to repolish before applying LSP since the car was left outside each night, and I would only have to re-wash the car once finished.

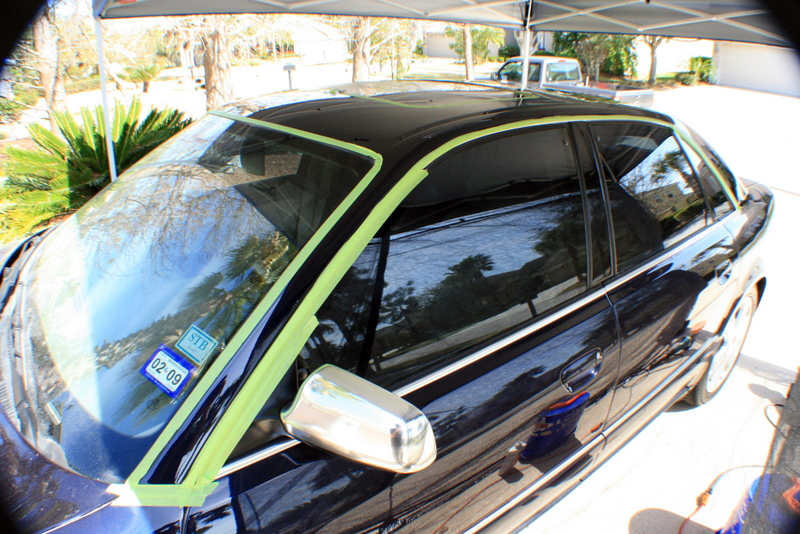
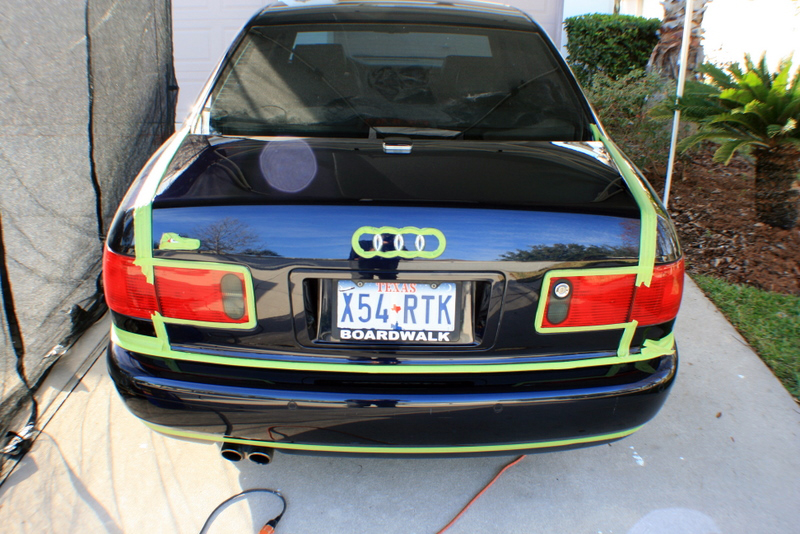
Here is the car taped off to completely polish each trim peice as well as the front bumper.
Name:  IMG_7653.jpg
Views: 180
Size:  369.9 KB

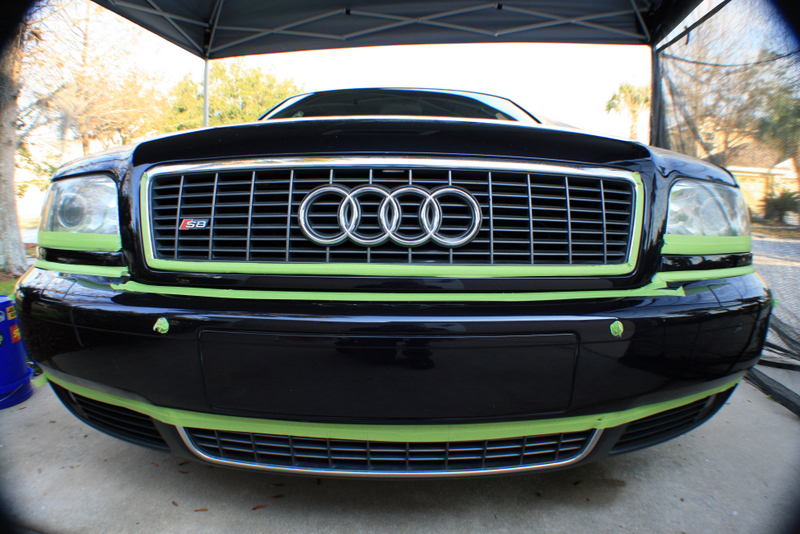
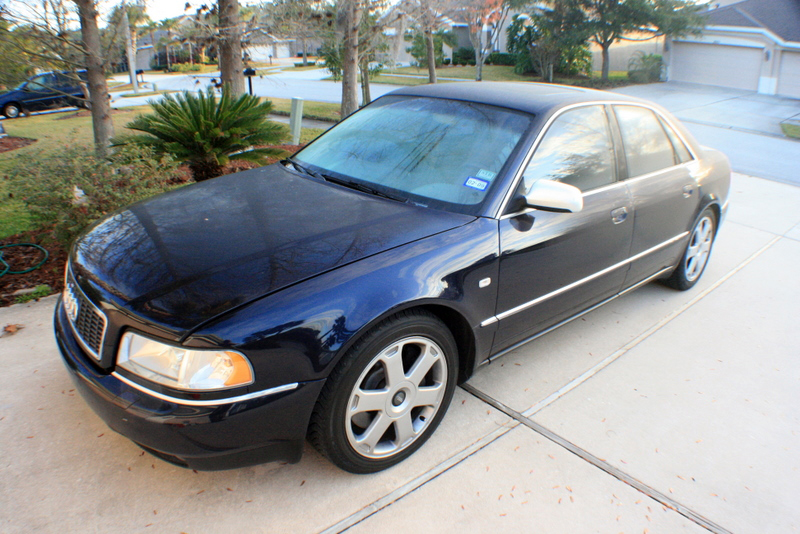
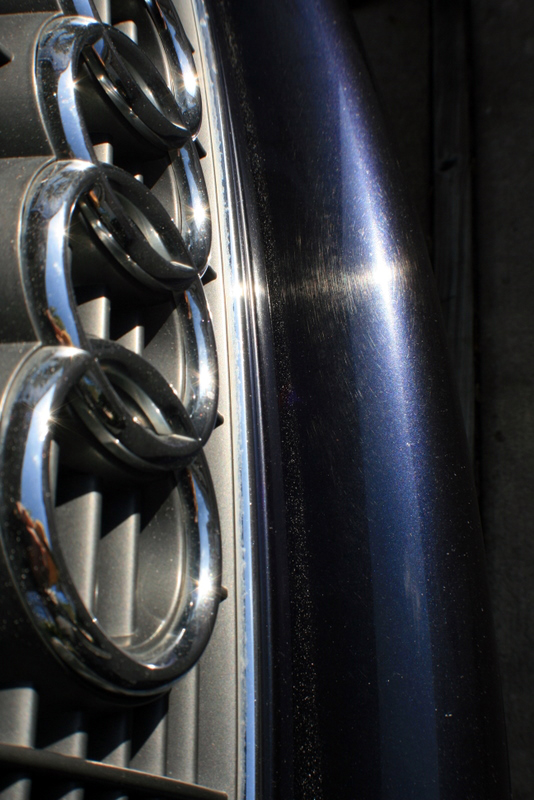
This was the condition of the front bumper before I started.
Name:  IMG_7646.jpg
Views: 47
Size:  293.2 KB

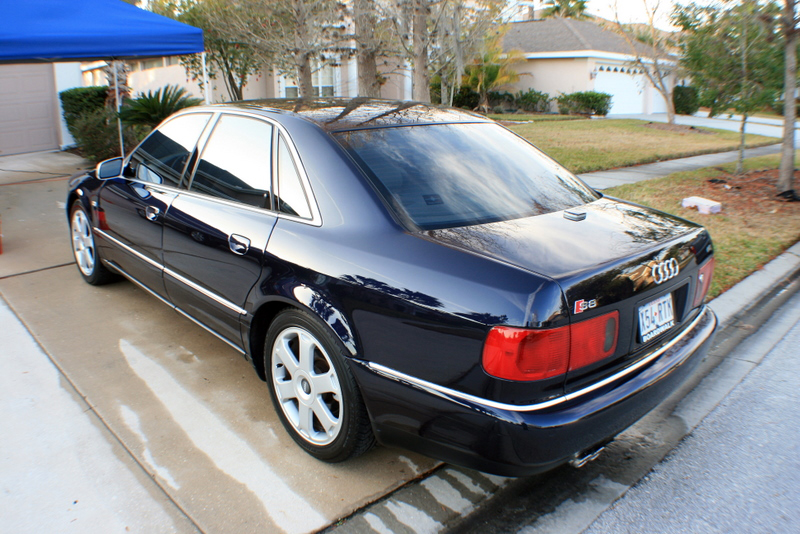
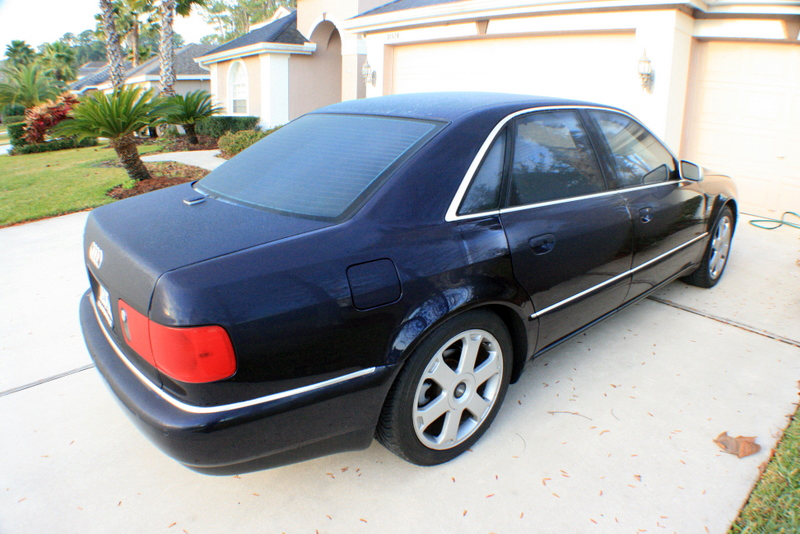
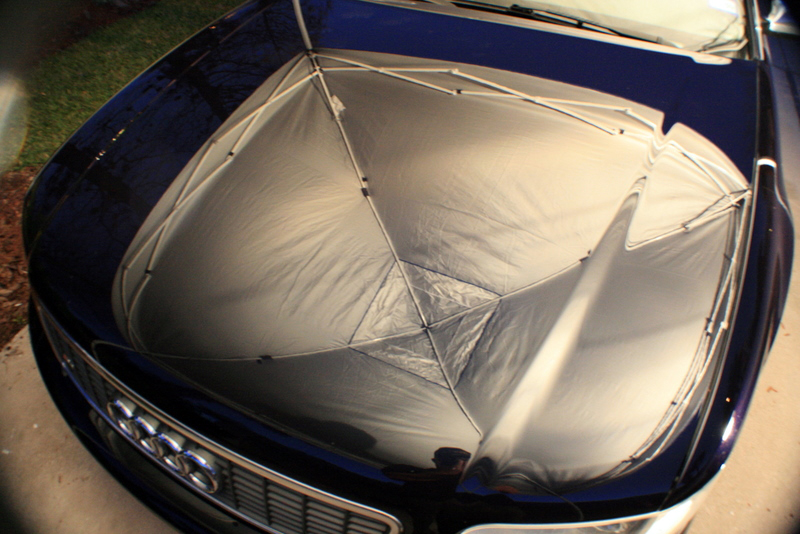
After all said and done on the front half.
Name:  IMG_7617.jpg
Views: 83
Size:  397.0 KB

Name:  IMG_7634.jpg
Views: 53
Size:  404.8 KB

Name:  IMG_7660.jpg
Views: 73
Size:  340.1 KB

Name:  IMG_7661.jpg
Views: 57
Size:  307.4 KB

Name:  IMG_7665.jpg
Views: 55
Size:  271.8 KB

Name:  IMG_7681.jpg
Views: 79
Size:  329.7 KB

Name:  IMG_7682.jpg
Views: 55
Size:  337.9 KB

Name:  IMG_7690.jpg
Views: 45
Size:  296.4 KB

Name:  IMG_7696.jpg
Views: 77
Size:  219.2 KB
 
  #7  
Old 02-13-2009, 01:59 PM
Presidential_Detail's Avatar
1st Gear
Thread Starter
Join Date: Sep 2008
Location: Tampa, FL
Posts: 357
Default

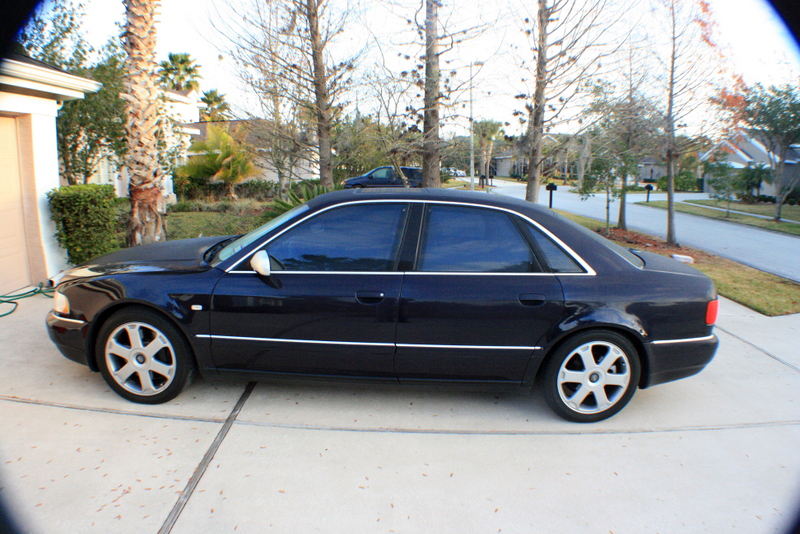
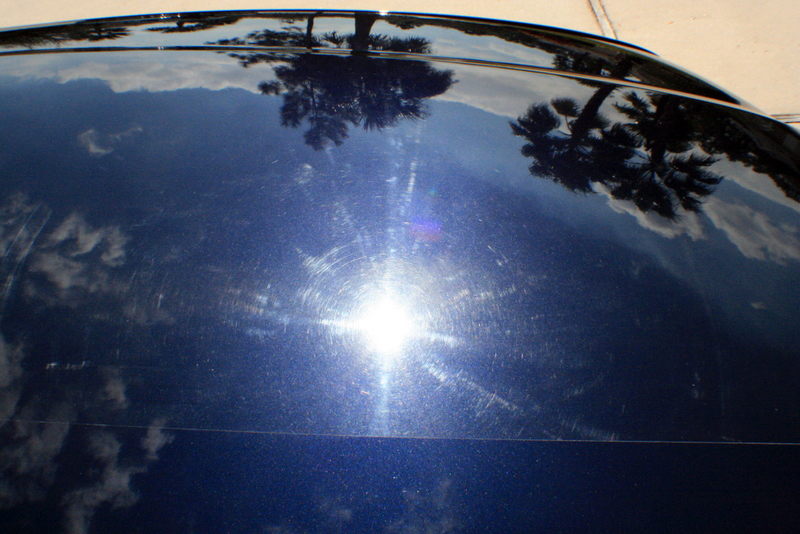
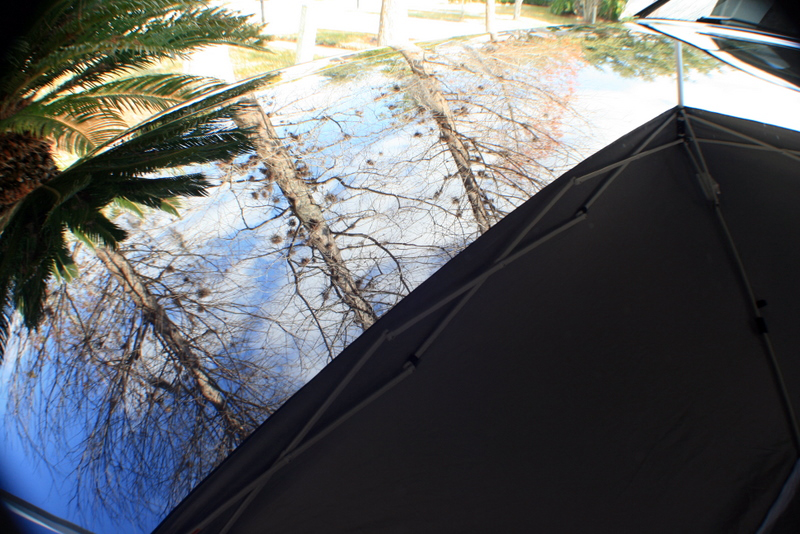
To start day two I chose to work on the roof and ended up completing both the roof and the entire driver side.

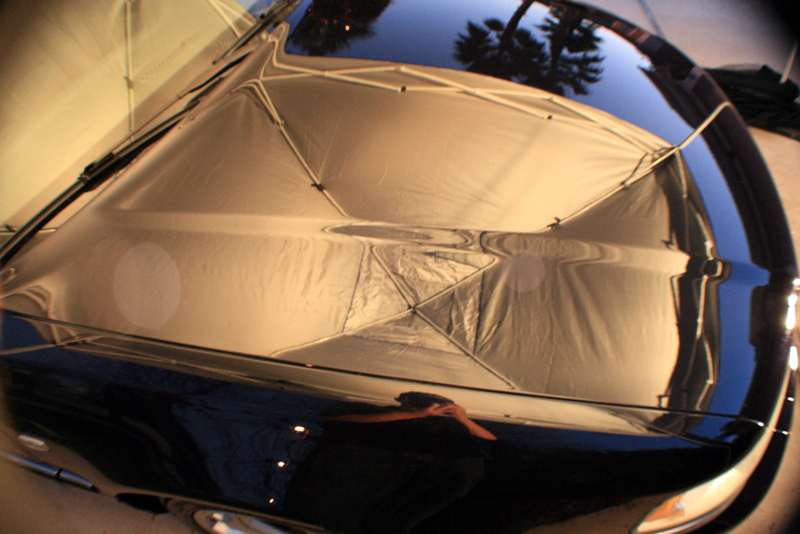
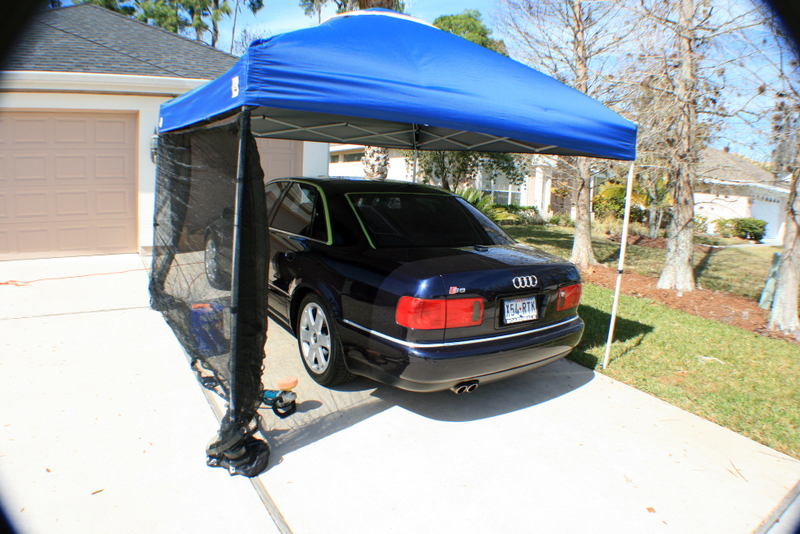
My work environment, this thing made what would have been hell a much nicer place to work in the Florida Heat!
Name:  IMG_7703.jpg
Views: 57
Size:  400.8 KB

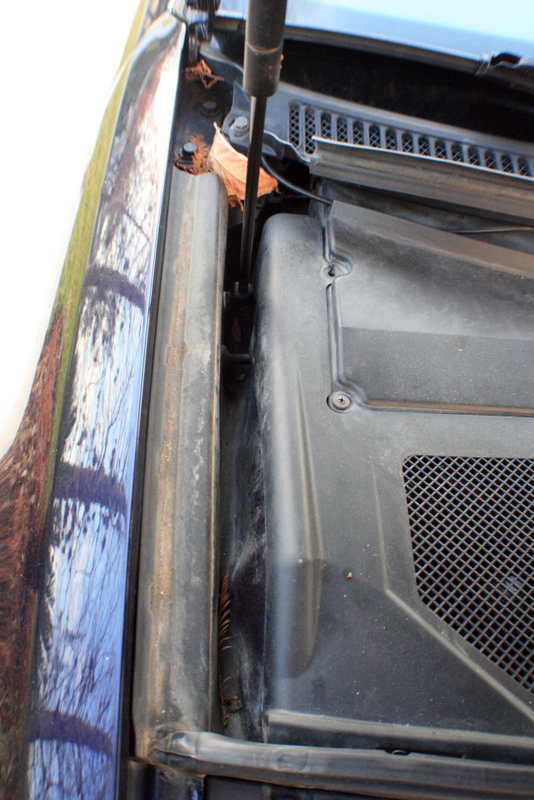
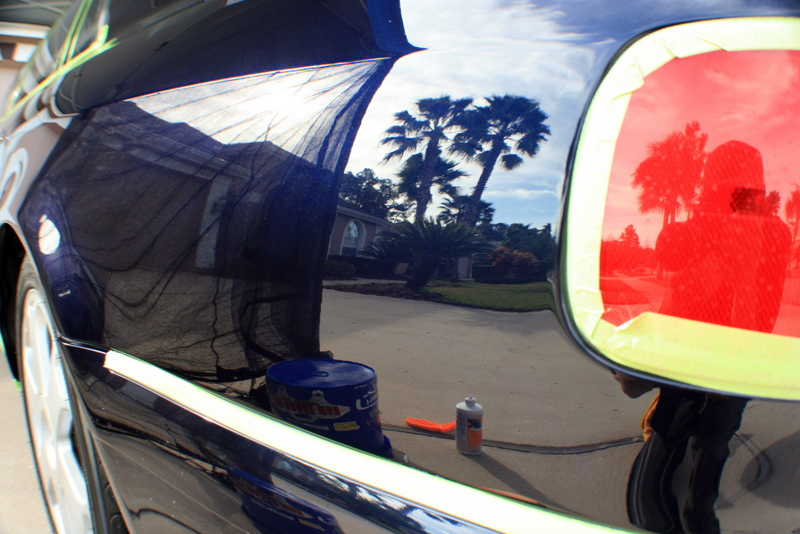
I made sure to tape off anything that I didnt want the buffer to touch..
Name:  IMG_7697.jpg
Views: 59
Size:  472.7 KB

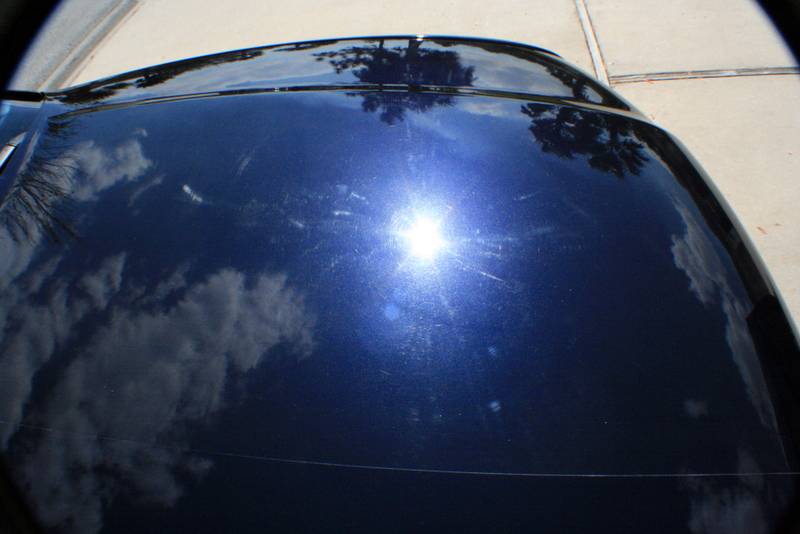
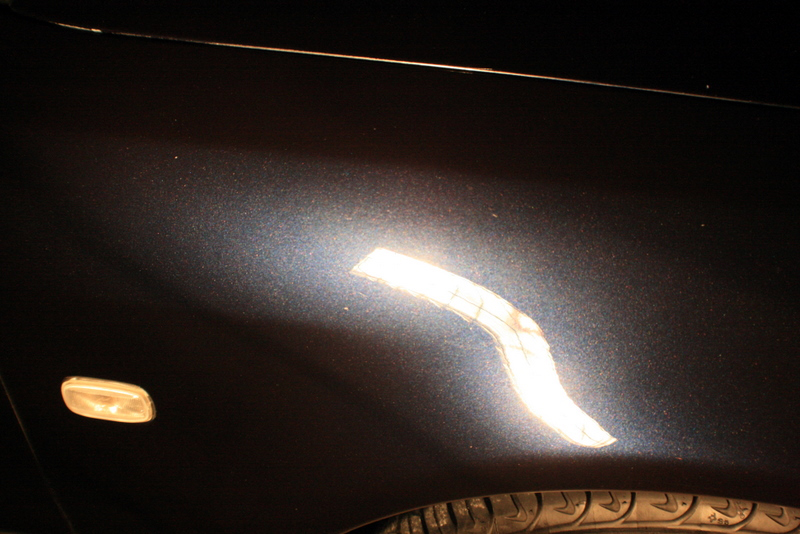
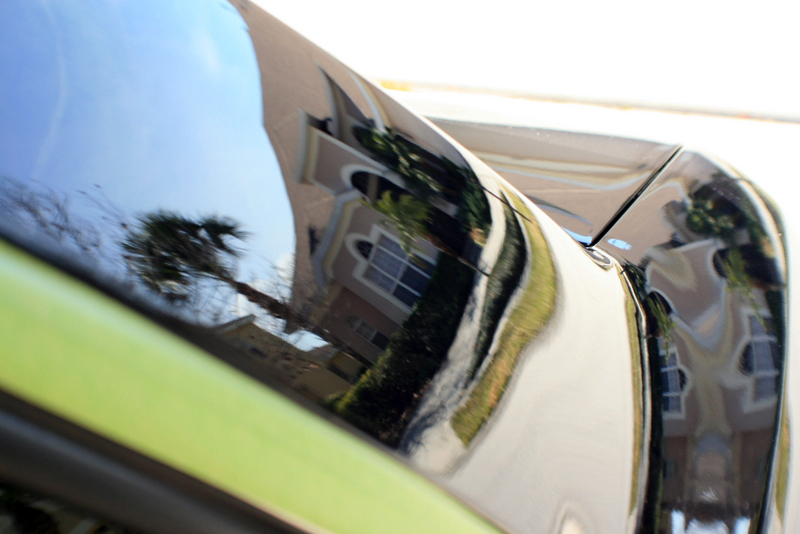
This is after compounding and SIP/Orange
Name:  IMG_7698.jpg
Views: 40
Size:  310.4 KB

Name:  IMG_7699.jpg
Views: 83
Size:  218.8 KB

Name:  IMG_7706.jpg
Views: 64
Size:  432.1 KB


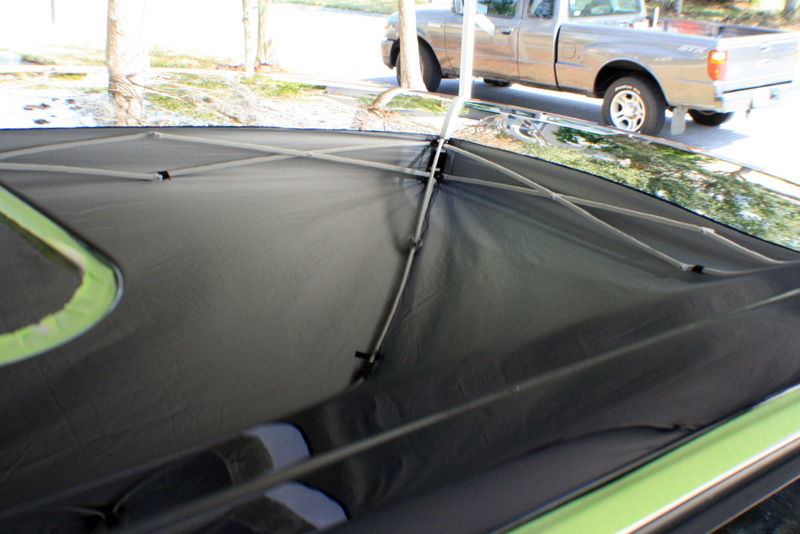
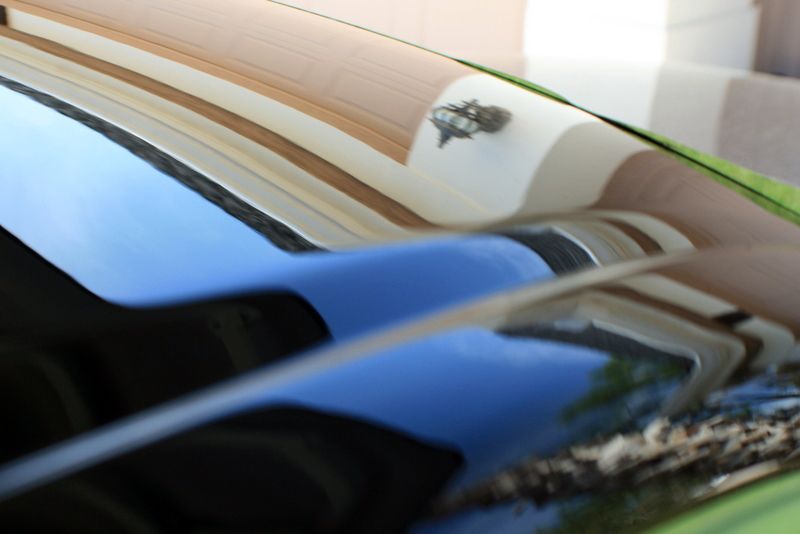
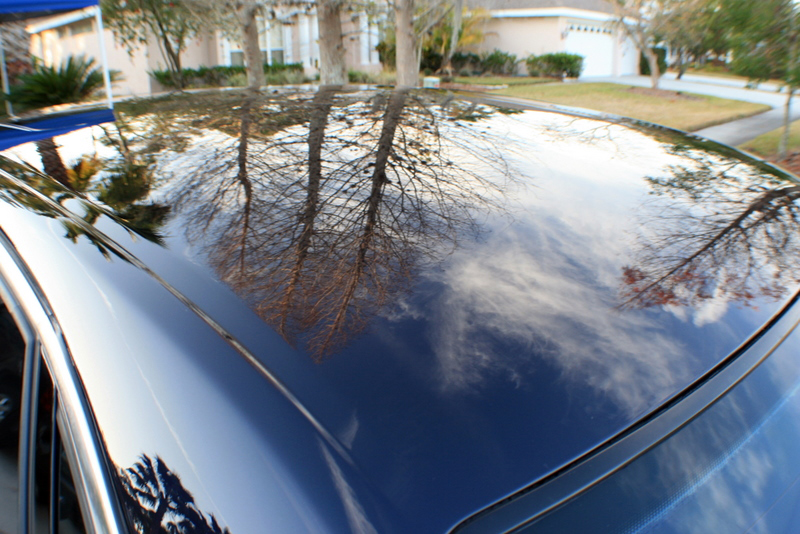
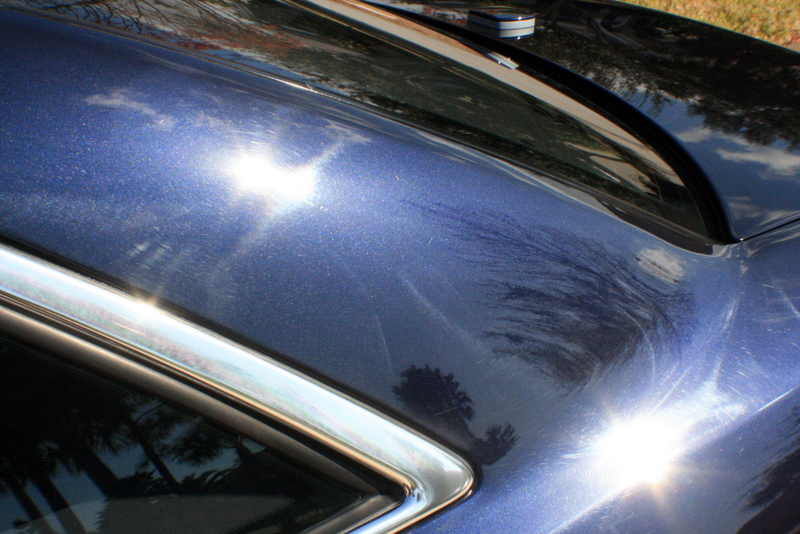
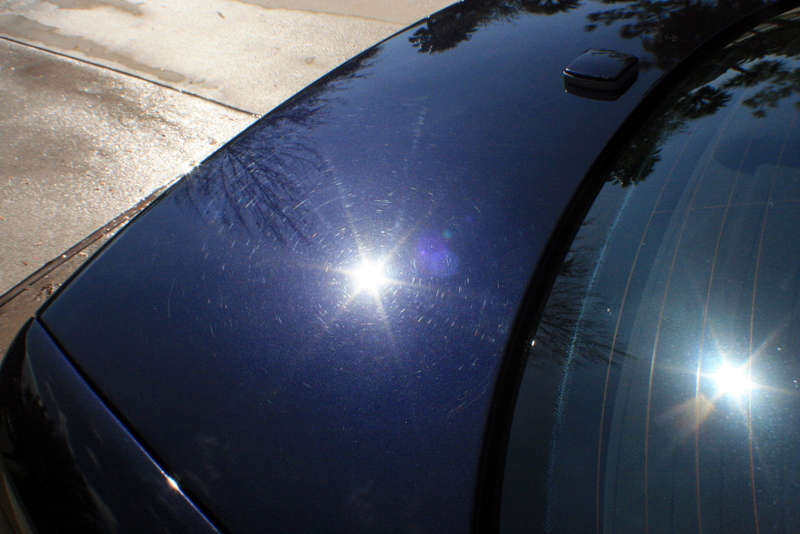
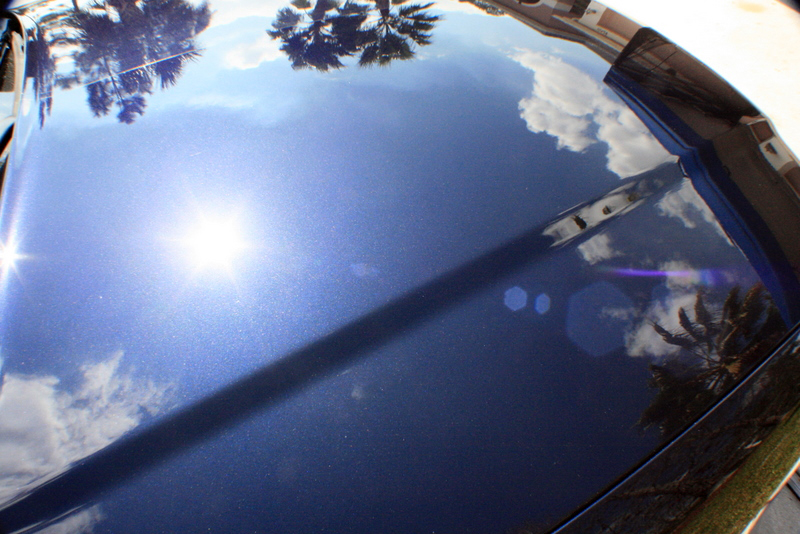
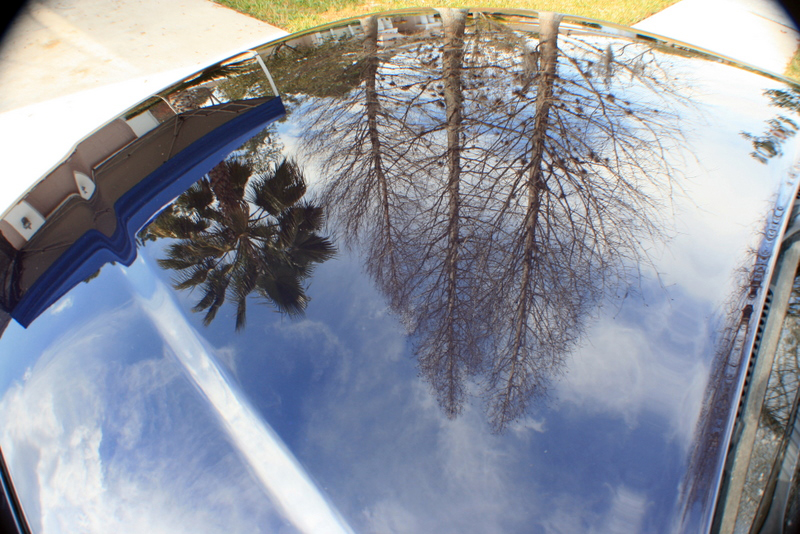
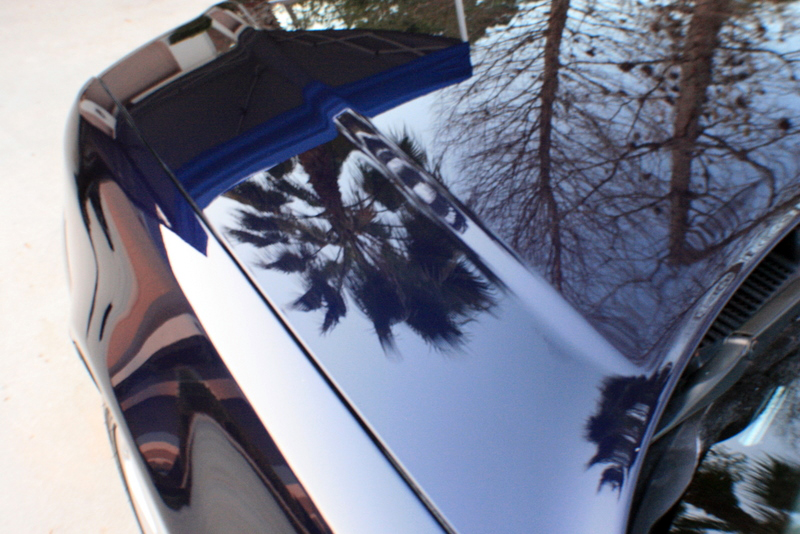
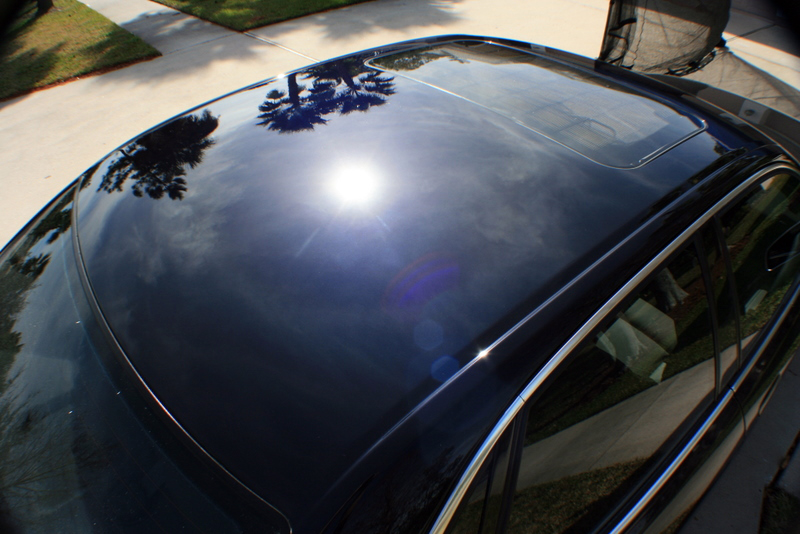
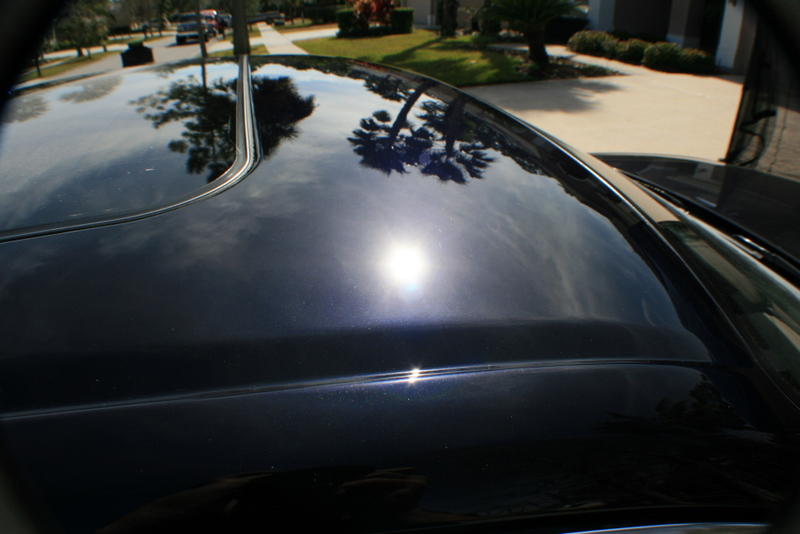
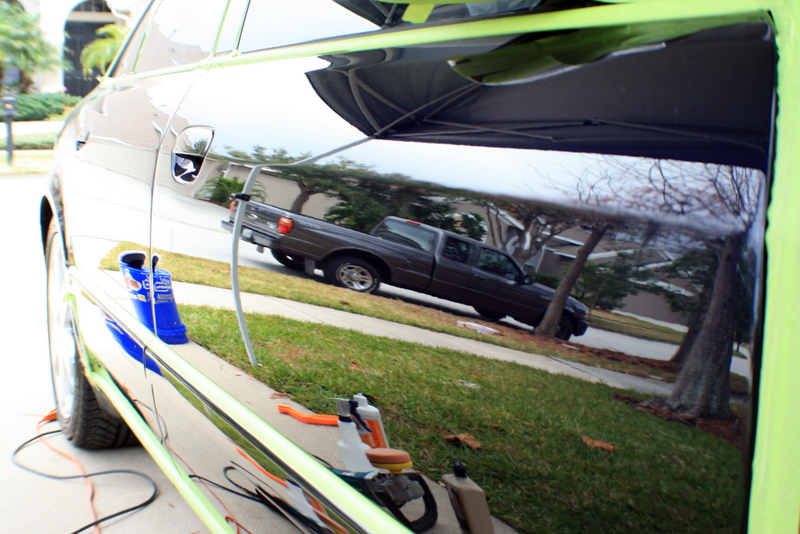
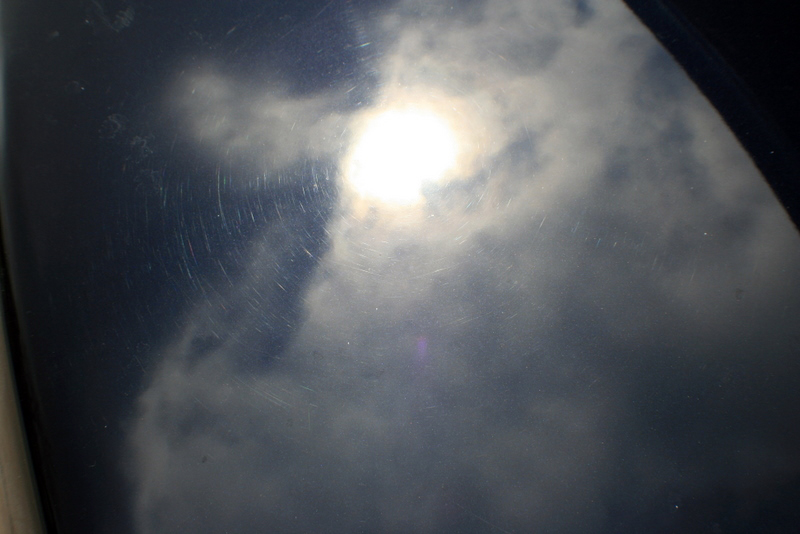
The roof completed and in the FL sun! BTW, the white lines that look like a hologram are actually plane tracers.
Name:  IMG_7712.jpg
Views: 62
Size:  294.1 KB

Name:  IMG_7713.jpg
Views: 92
Size:  241.1 KB

The drivers rear quarter panel 50/50.
Name:  IMG_7715.jpg
Views: 84
Size:  309.8 KB

And completed.
Name:  IMG_7716.jpg
Views: 64
Size:  334.1 KB
 
  #8  
Old 02-13-2009, 02:00 PM
Presidential_Detail's Avatar
1st Gear
Thread Starter
Join Date: Sep 2008
Location: Tampa, FL
Posts: 357
Default

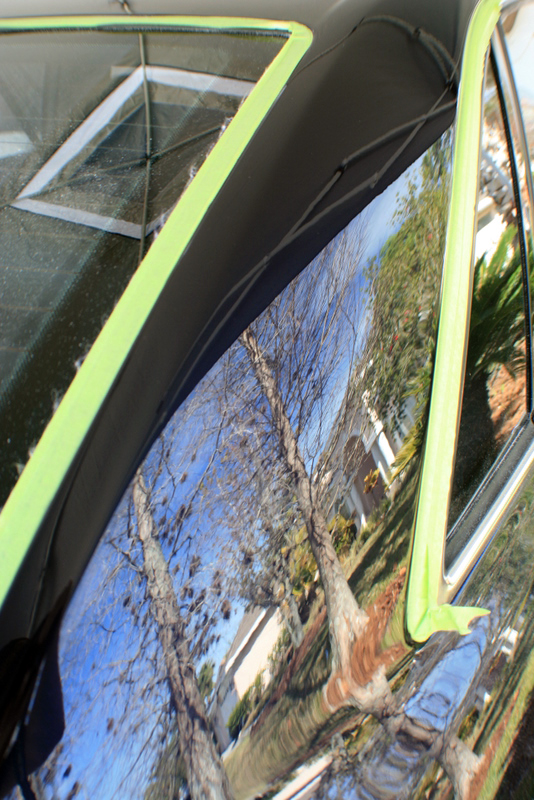
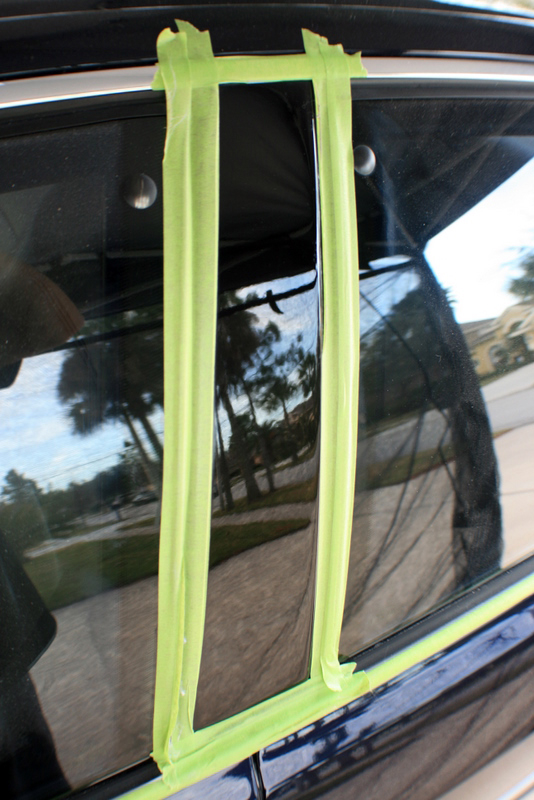
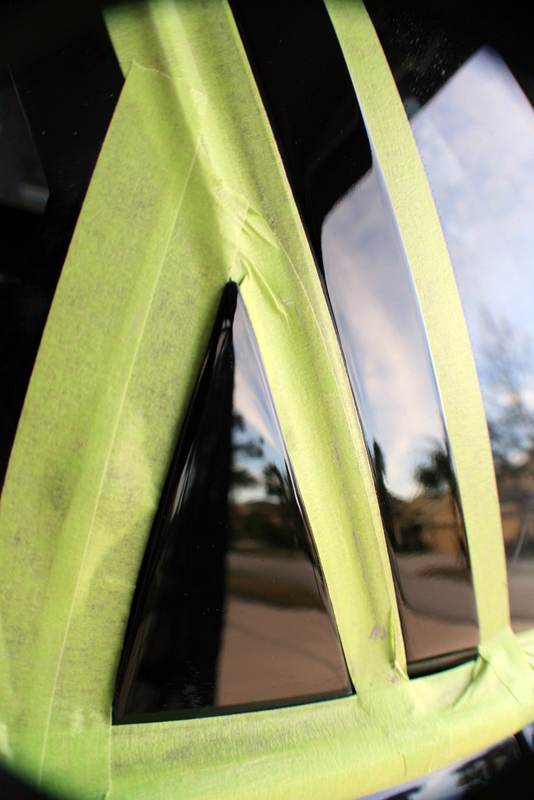
I then proceeded to tape off the pillars as they were painted black and needed some work also. This was completed for both sides although I only picture one.

Name:  IMG_7593.jpg
Views: 46
Size:  386.2 KB

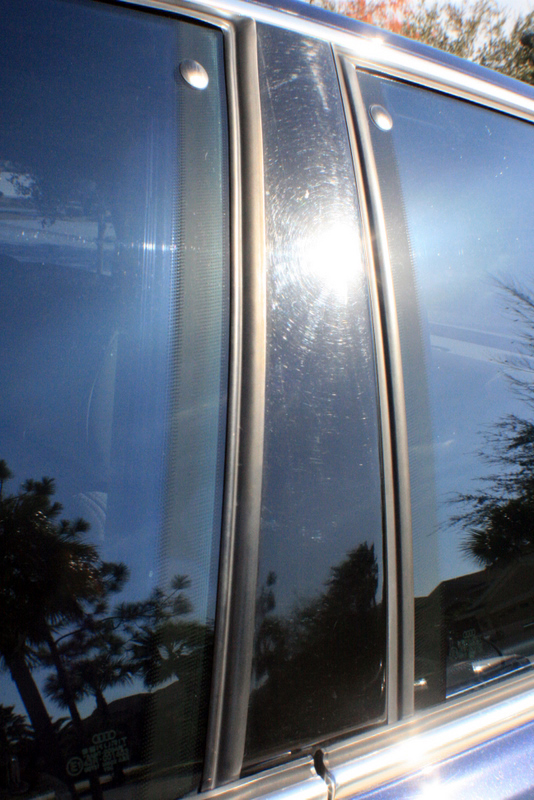
Here you can even see some hard water and how dull the finish looks.
Name:  IMG_7718.jpg
Views: 46
Size:  193.1 KB

Name:  IMG_7720.jpg
Views: 137
Size:  260.5 KB

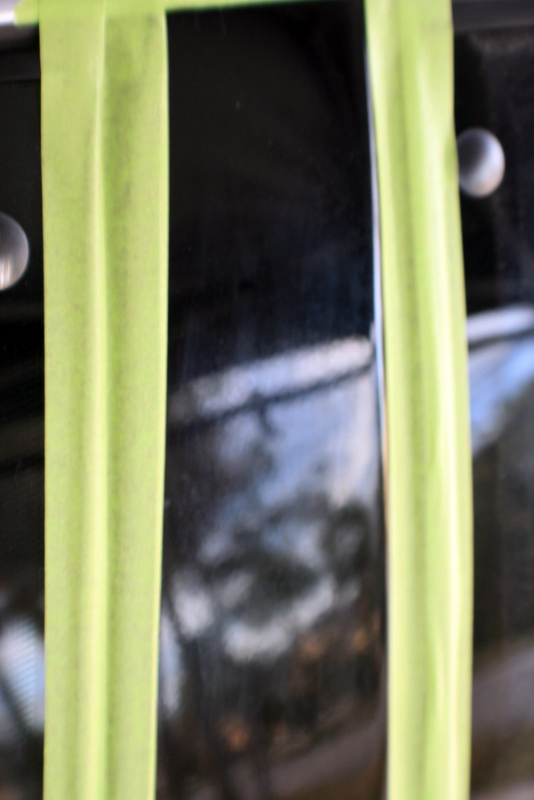
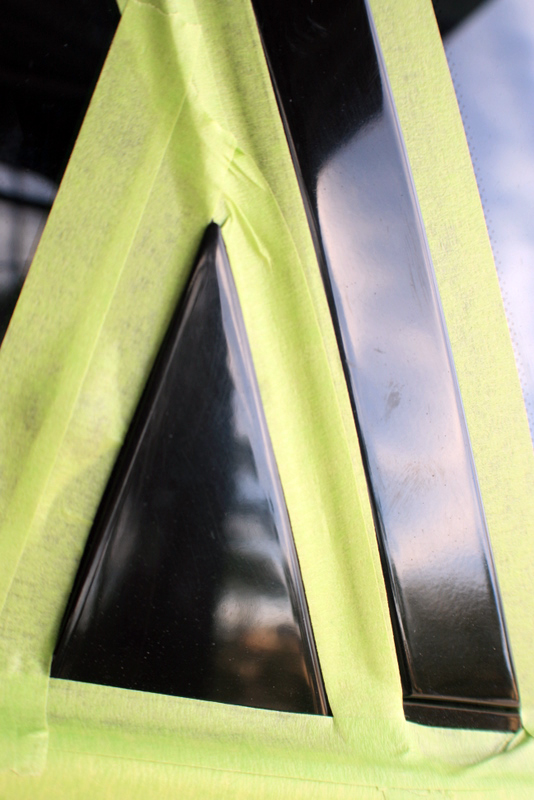
After M105/PFW and SIP/Orange
Name:  IMG_7721.jpg
Views: 57
Size:  294.6 KB

Name:  IMG_7724.jpg
Views: 48
Size:  265.0 KB

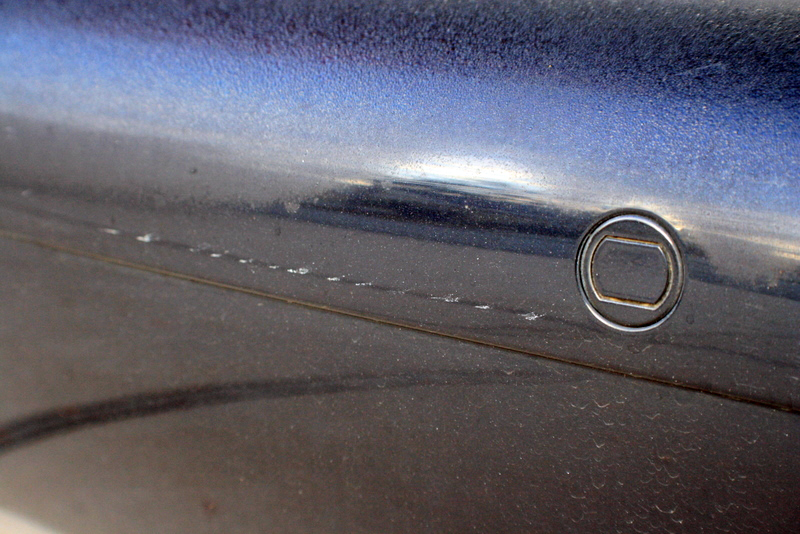
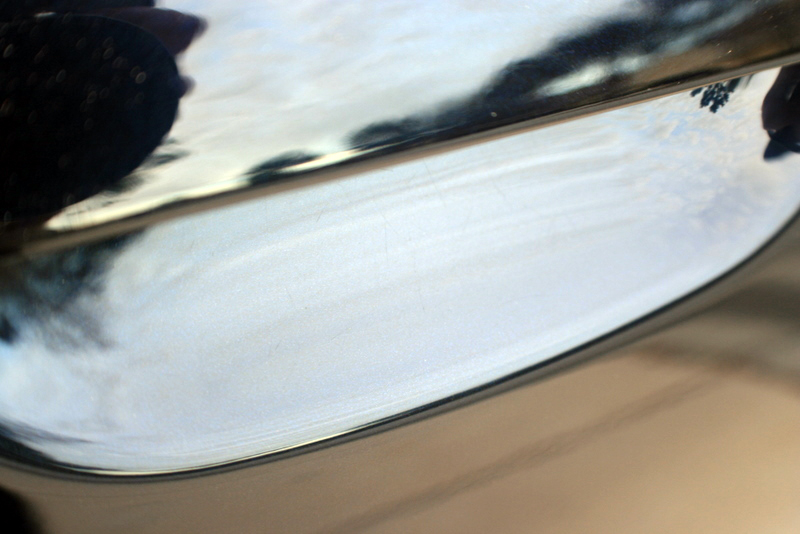
I also gave under the door handles a bit of attention since they had been lightly scratched from finger nails, etc.

Before.
Name:  IMG_7738.jpg
Views: 59
Size:  224.4 KB

After M105 on a green foam finger pad.
Name:  IMG_7740.jpg
Views: 76
Size:  232.4 KB
 
  #9  
Old 02-13-2009, 02:01 PM
Presidential_Detail's Avatar
1st Gear
Thread Starter
Join Date: Sep 2008
Location: Tampa, FL
Posts: 357
Default

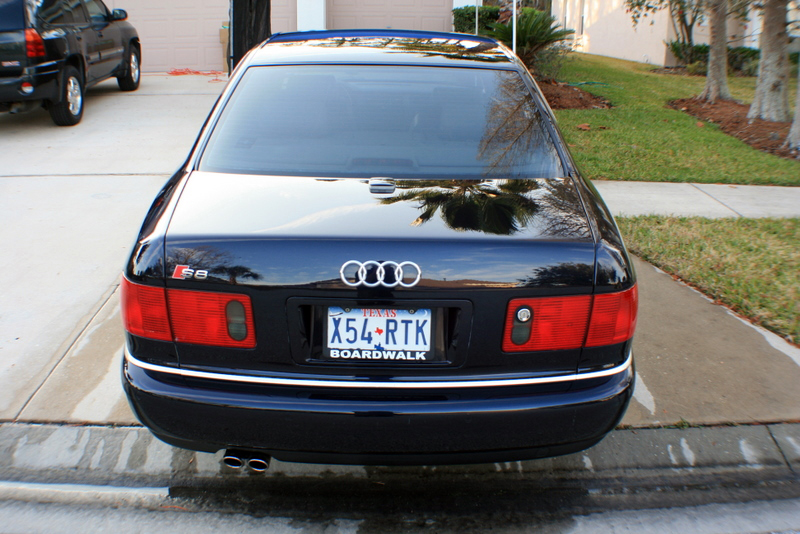
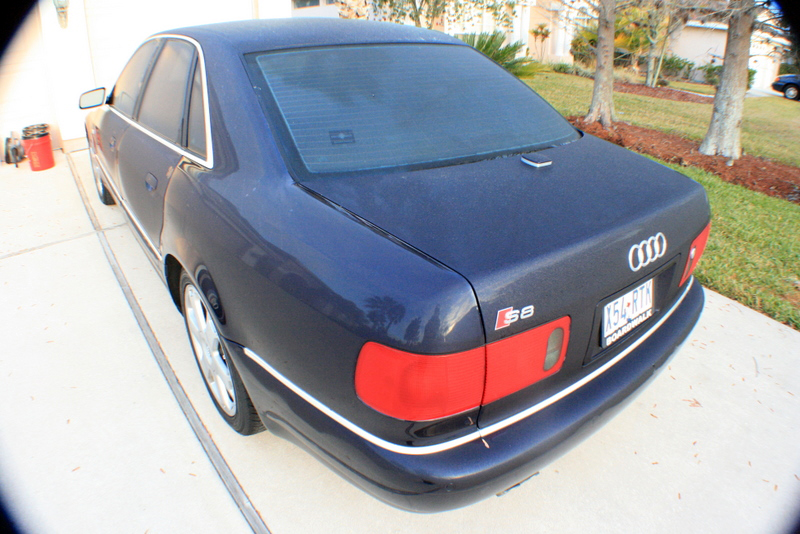
On the third day, the passenger side of the car and the rear portion of the car were completed.
Name:  IMG_7769.jpg
Views: 49
Size:  350.9 KB

Name:  IMG_7786.jpg
Views: 55
Size:  401.1 KB

Name:  IMG_7588.jpg
Views: 47
Size:  364.9 KB

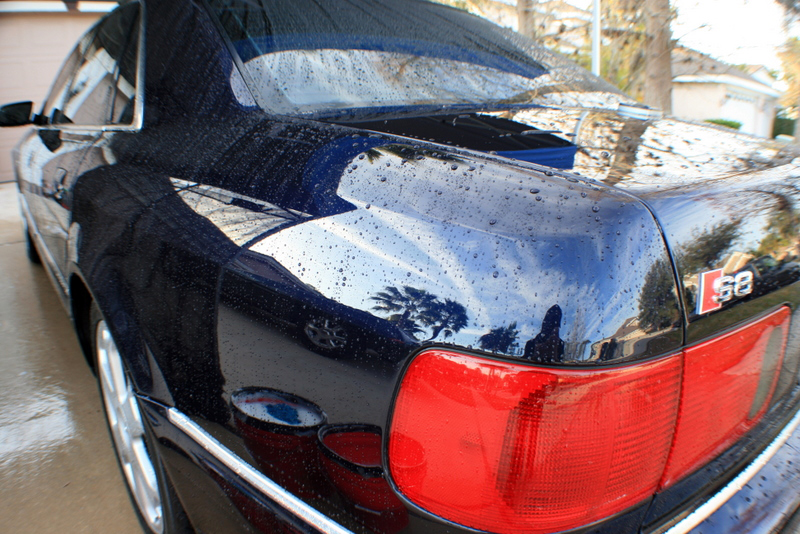
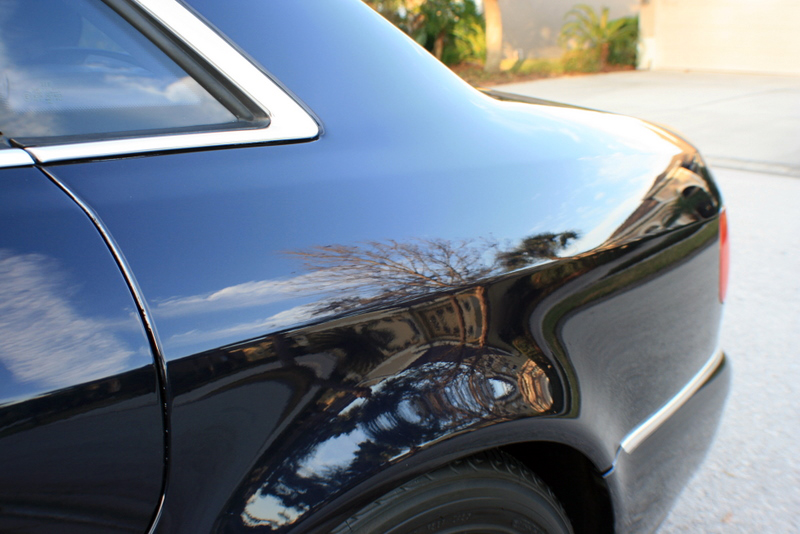
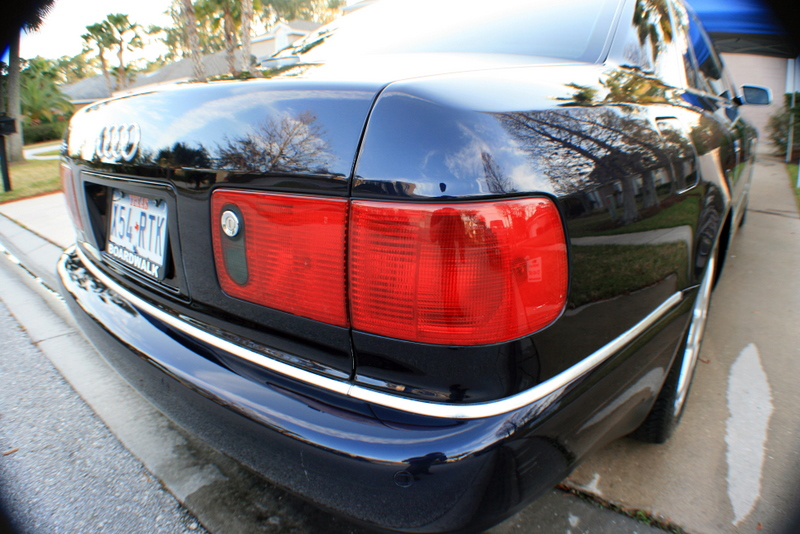
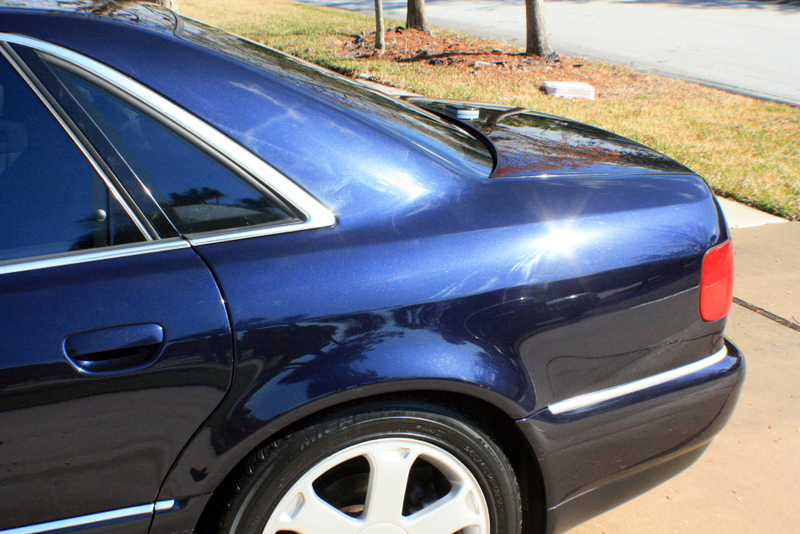
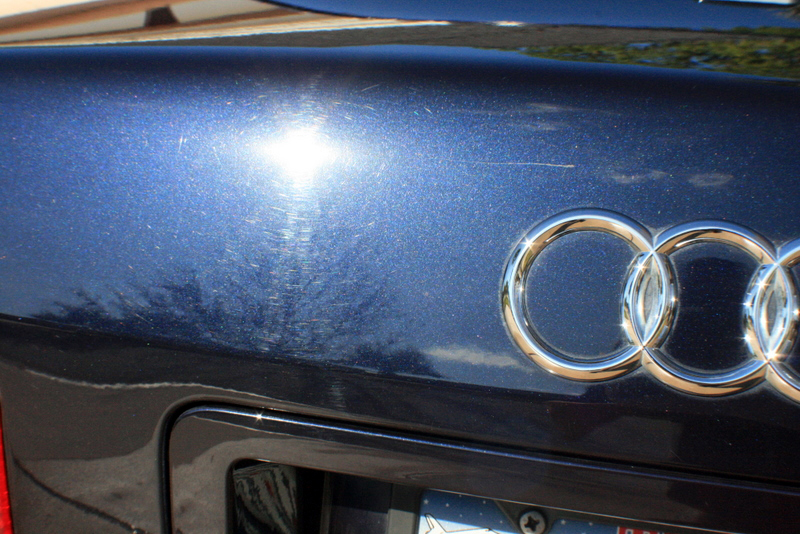
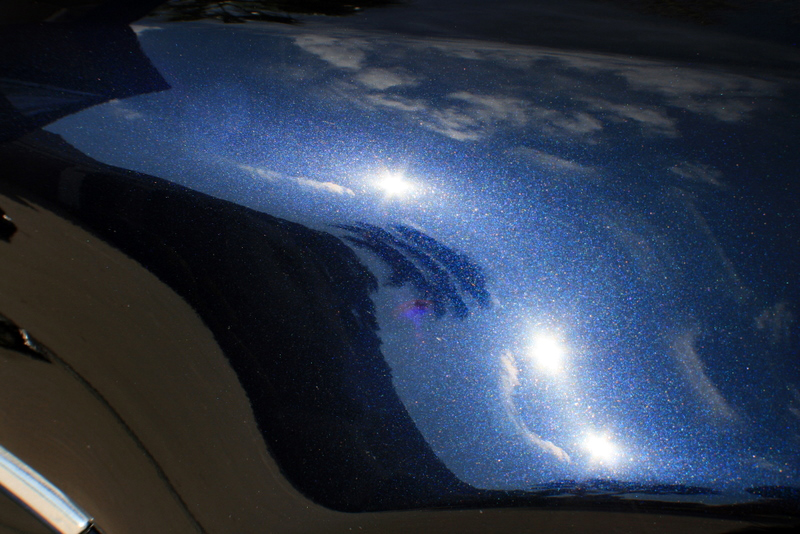
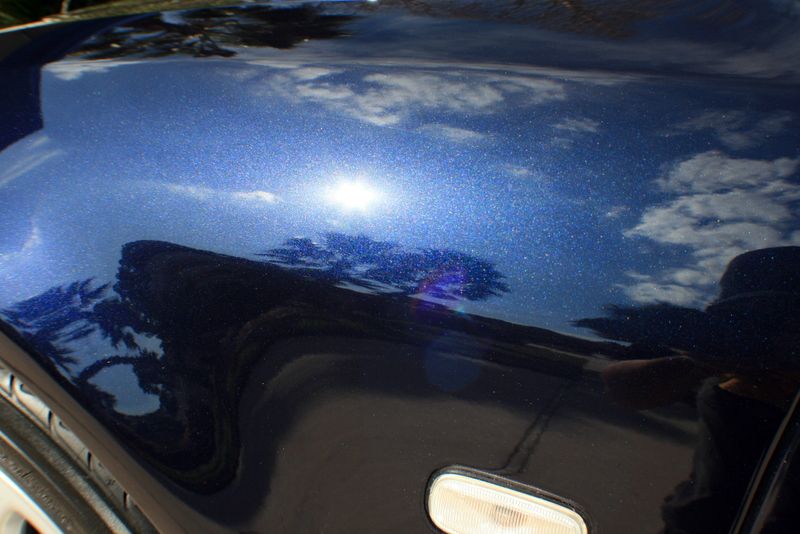
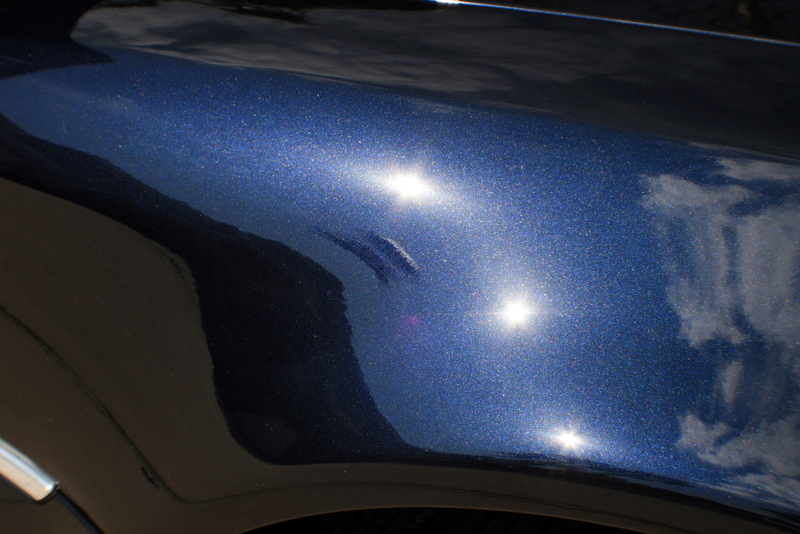
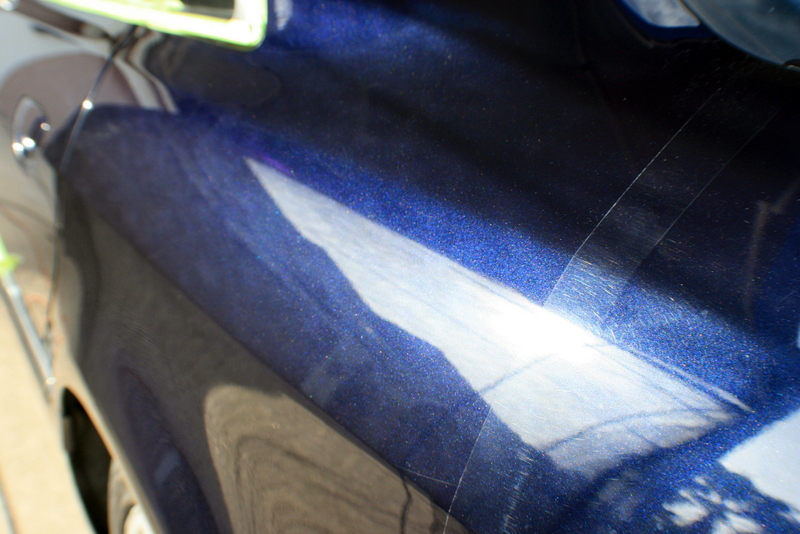
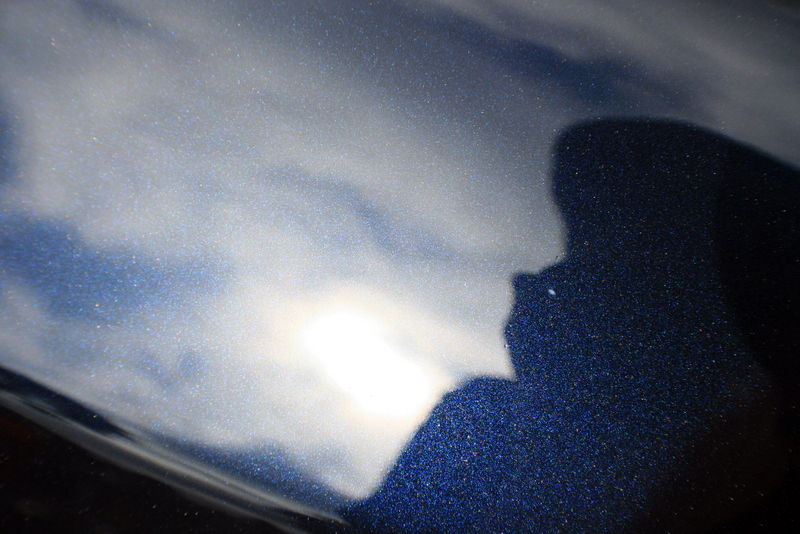
The trunk was the worst section of the car requiring a bit more work.
Name:  IMG_7775.jpg
Views: 90
Size:  215.7 KB

Name:  IMG_7778.jpg
Views: 83
Size:  277.2 KB

After. You can see how well the flake comes out at you here..
Name:  IMG_7776.jpg
Views: 56
Size:  379.9 KB

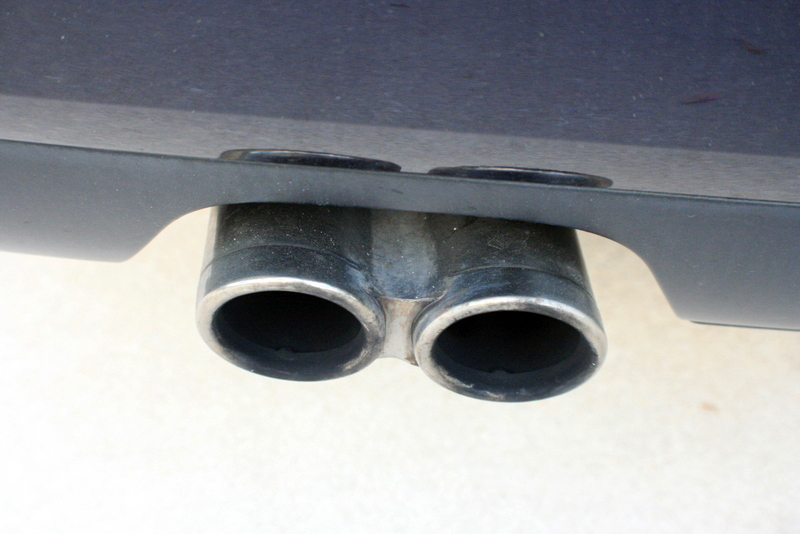
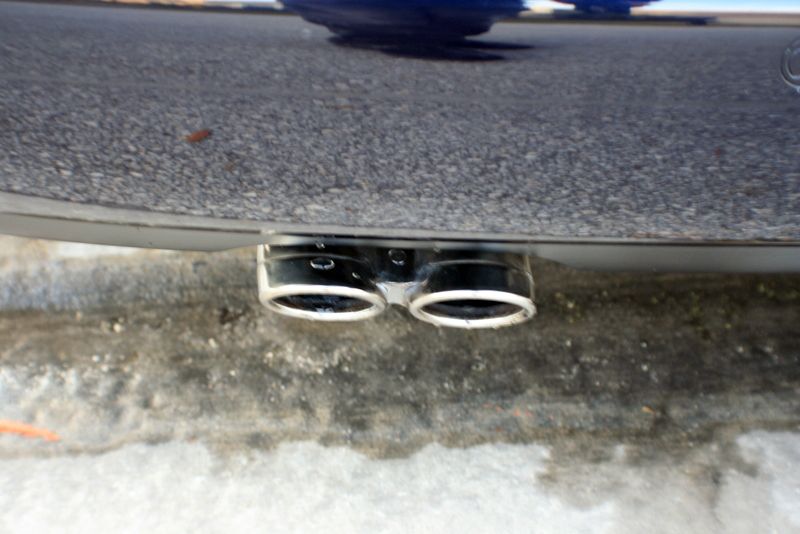
The exhaust was also treated to some Adams Metal Polish. I did the best I could without being able to take it off the car.
Before.
Name:  IMG_7561.jpg
Views: 48
Size:  252.6 KB

After.
 
  #10  
Old 02-13-2009, 02:02 PM
Presidential_Detail's Avatar
1st Gear
Thread Starter
Join Date: Sep 2008
Location: Tampa, FL
Posts: 357
Default

Now finally finished and sealed with a coat of Optimum Opti-Seal as well as two coats of Dodo Juice Supernatural.

The final wash.
Name:  IMG_7791.jpg
Views: 47
Size:  411.4 KB

Name:  IMG_7792.jpg
Views: 81
Size:  433.6 KB

Name:  IMG_7793.jpg
Views: 69
Size:  397.8 KB

Name:  IMG_7794.jpg
Views: 43
Size:  386.2 KB

Name:  IMG_7796.jpg
Views: 91
Size:  417.2 KB

Name:  IMG_7797.jpg
Views: 60
Size:  265.2 KB

Name:  IMG_7798.jpg
Views: 83
Size:  374.1 KB

Name:  IMG_7799.jpg
Views: 43
Size:  411.3 KB

Name:  IMG_7801.jpg
Views: 43
Size:  364.8 KB

Name:  IMG_7802.jpg
Views: 58
Size:  386.1 KB

Name:  IMG_7803.jpg
Views: 65
Size:  365.5 KB


Quick Reply: Presidential Detailed: 2001 Audi S8 - 25 hours invested.


All times are GMT -4. The time now is 02:25 AM.