
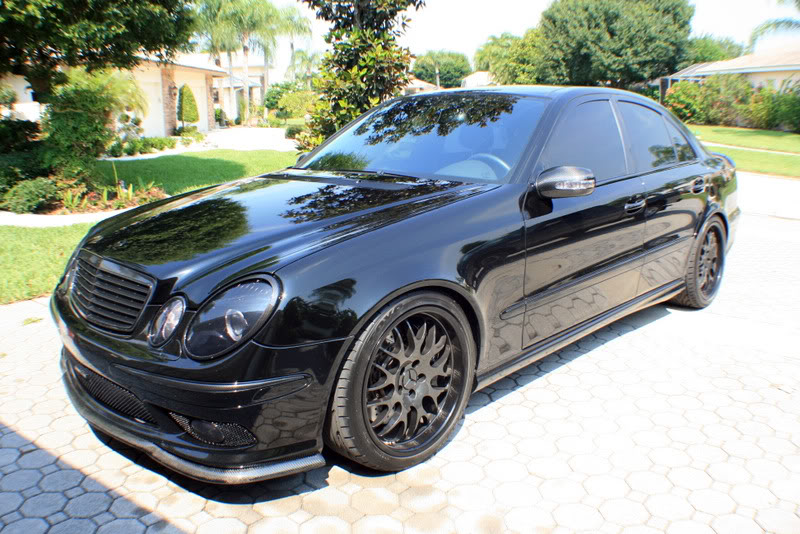
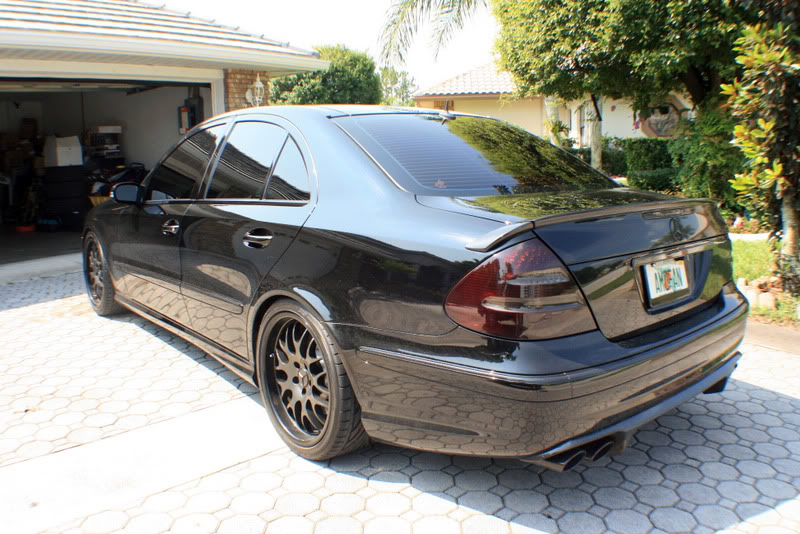
Presidential Detailed: 2004 Mercedes E55 AMG

Thread Starter
|
1st Gear
Joined: Sep 2008
Posts: 357
From: Tampa, FL
You may remember the detail article on this Benz that I recently completed.
http://www.tamparacing.com/forums/pr...-sl65-amg.html
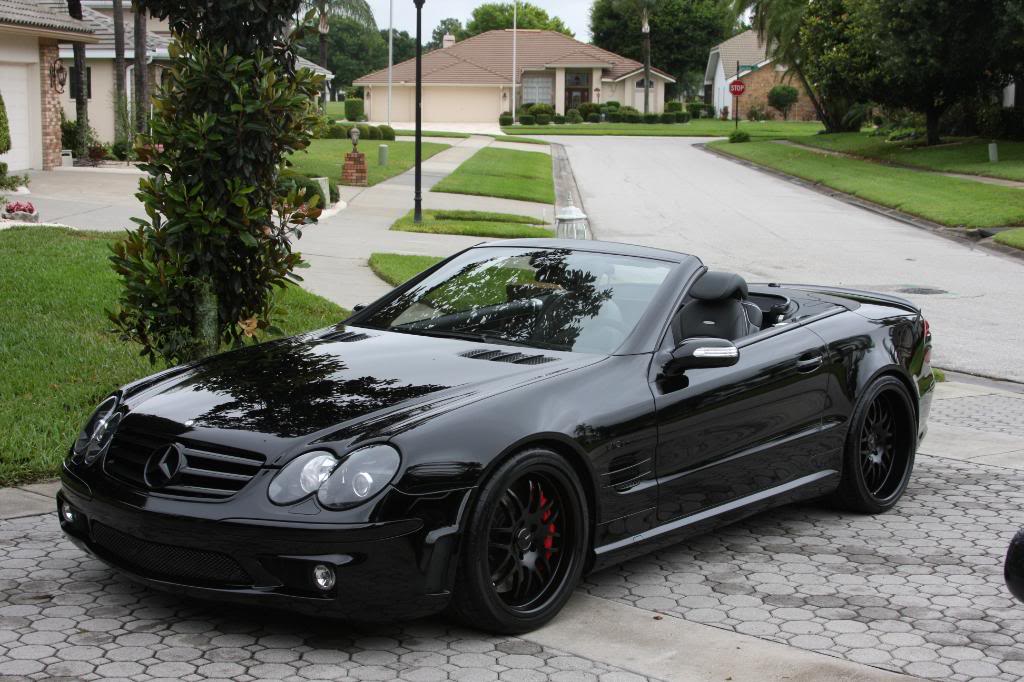
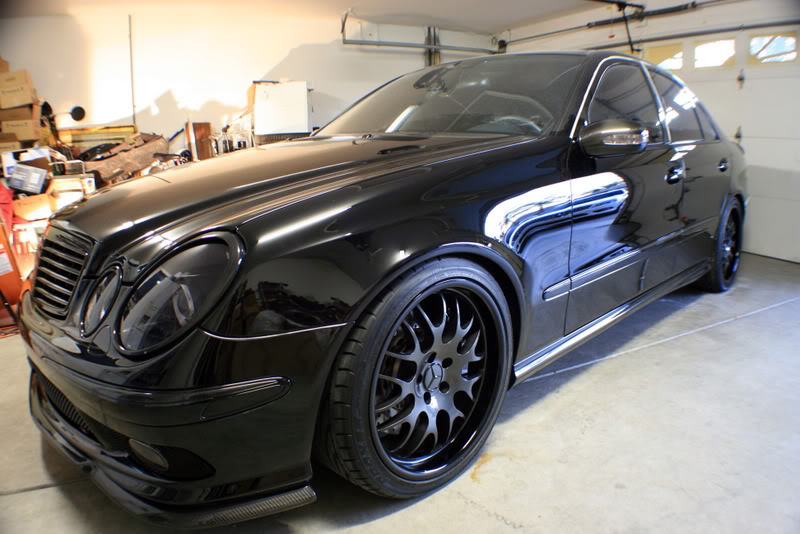
Well, I was lucky enough to also detail its awesome twin! This car has every modification you can think of while staying tasteful! I was lucky enough to drive this one home from a local car show where I had it on display and all I can say is WOW WHAT A MACHINE! :nerd:
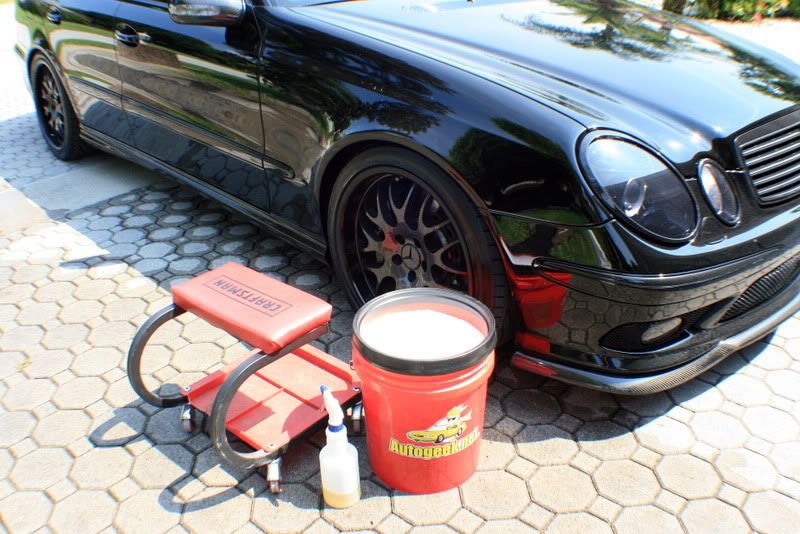
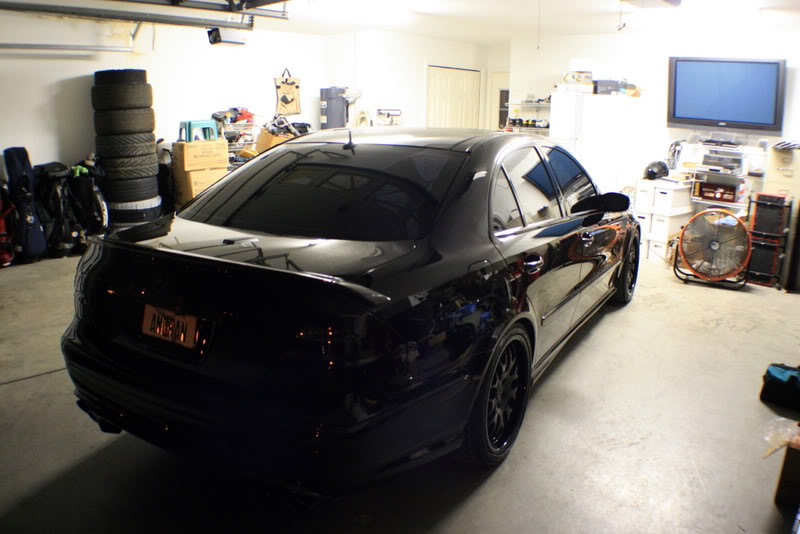
This is how the car looked when I arrived. It was falry dirty due to the non-stop rain we have been getting here in FL lately.
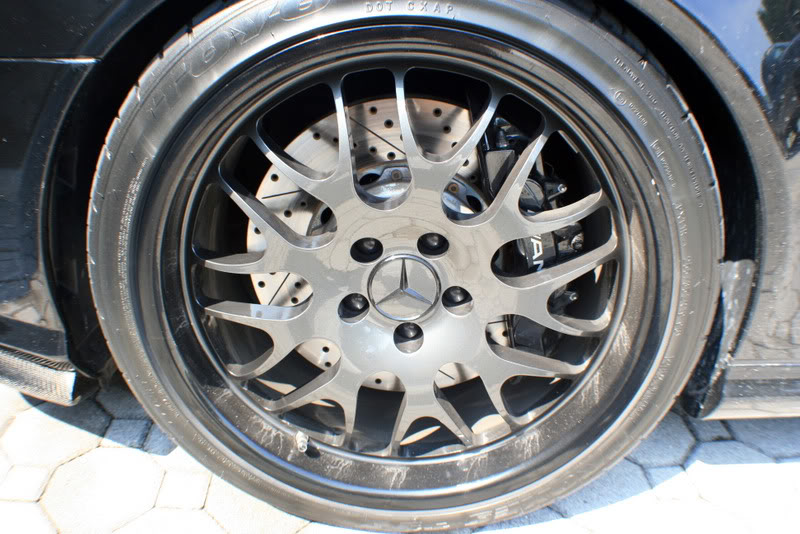
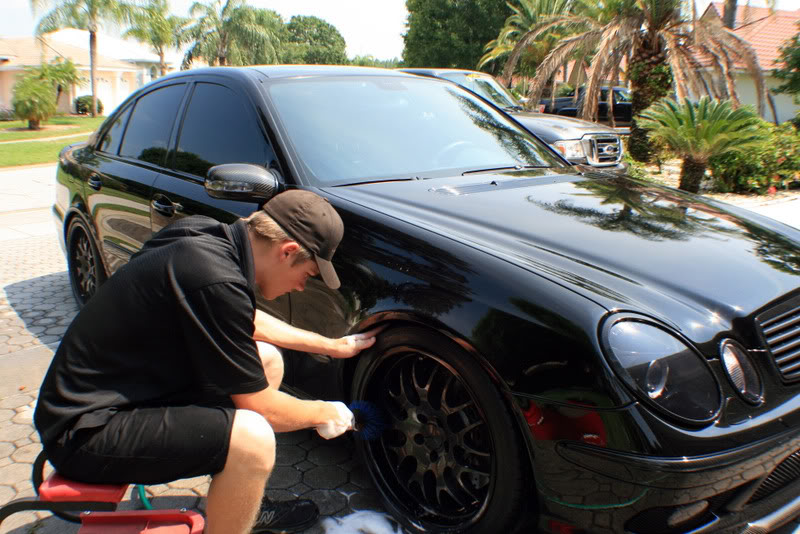
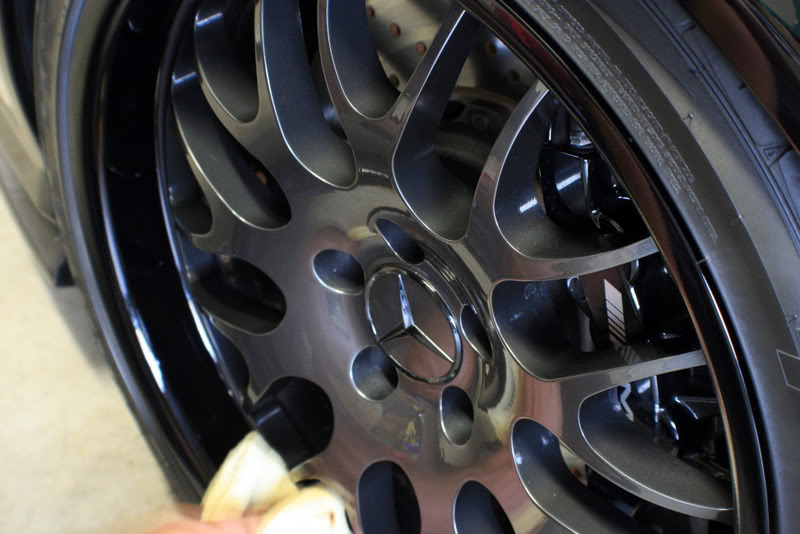
I turned my attention to the wheels first, as they were pretty dirty.
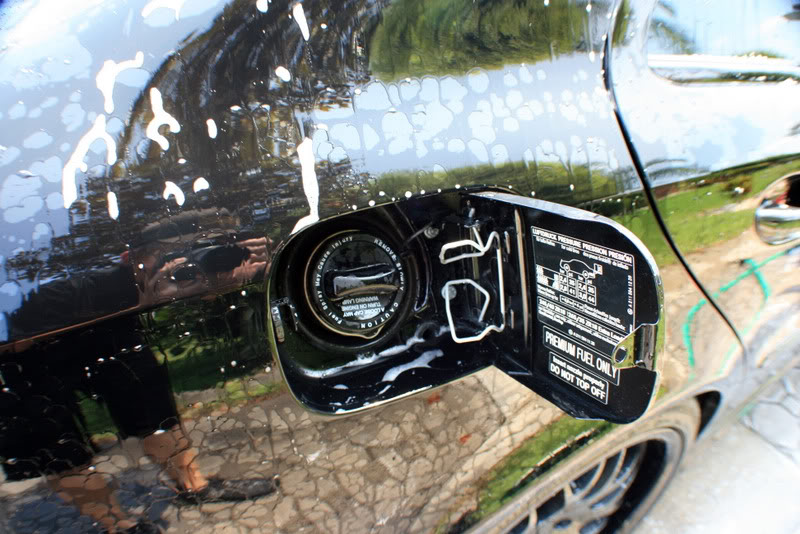
I then turned my attention to prepping the rest of the car for polishing. I used a sample of TropiCare's Citrus Wash to help break down any oils or contaminants that may have been bonded to the surface. I must say, this stuff works quite well!
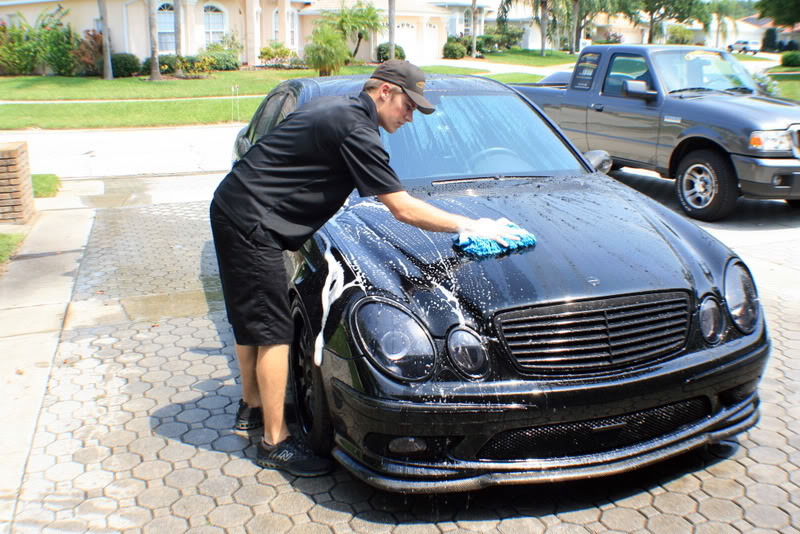
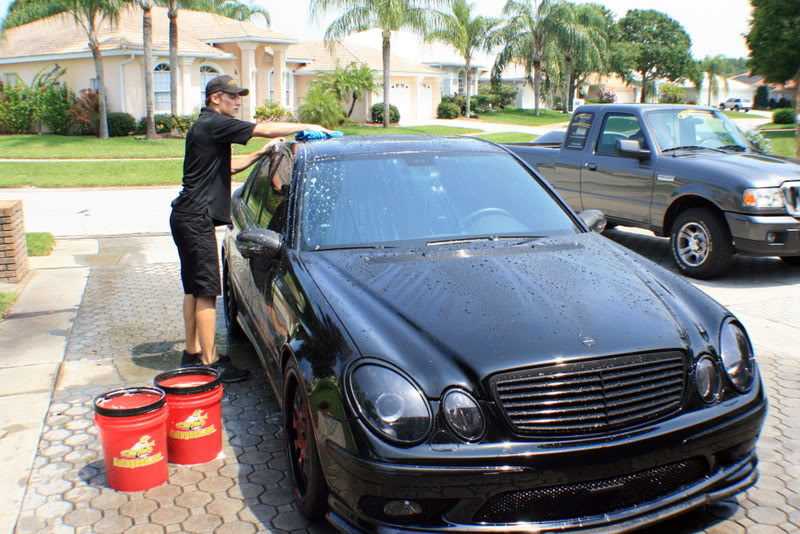
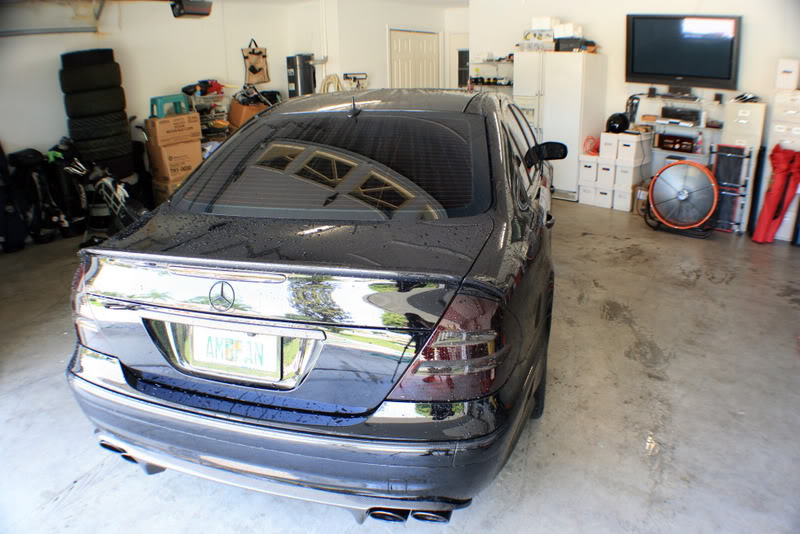
I then pulled it into the garage out of the sun to be dried and began taping the car off.
http://www.tamparacing.com/forums/pr...-sl65-amg.html
Well, I was lucky enough to also detail its awesome twin! This car has every modification you can think of while staying tasteful! I was lucky enough to drive this one home from a local car show where I had it on display and all I can say is WOW WHAT A MACHINE! :nerd:
This is how the car looked when I arrived. It was falry dirty due to the non-stop rain we have been getting here in FL lately.
I turned my attention to the wheels first, as they were pretty dirty.
I then turned my attention to prepping the rest of the car for polishing. I used a sample of TropiCare's Citrus Wash to help break down any oils or contaminants that may have been bonded to the surface. I must say, this stuff works quite well!
I then pulled it into the garage out of the sun to be dried and began taping the car off.
Thread Starter
|
1st Gear
Joined: Sep 2008
Posts: 357
From: Tampa, FL
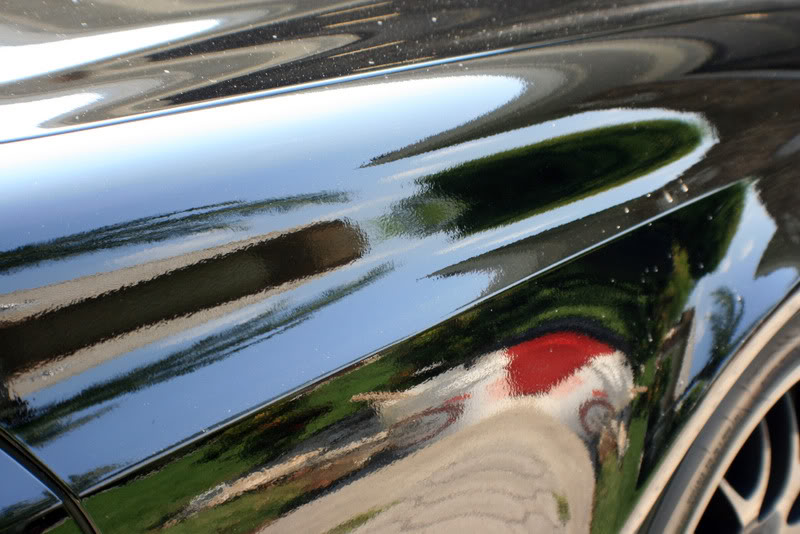
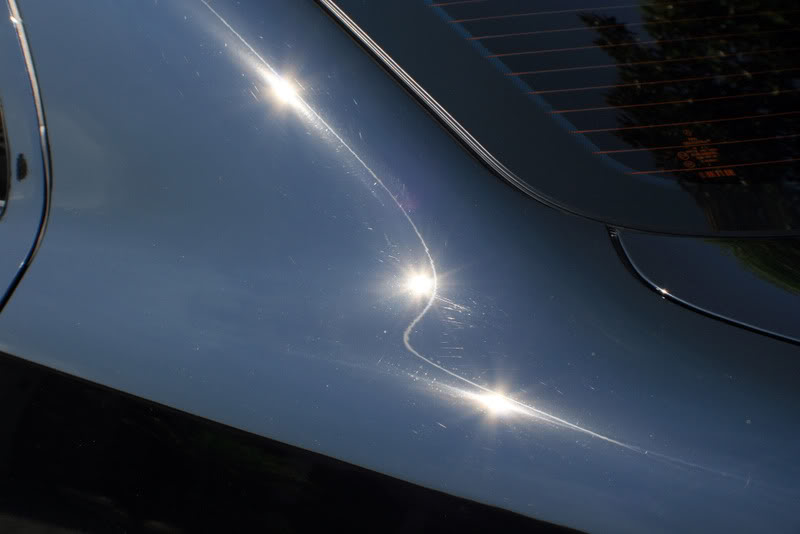
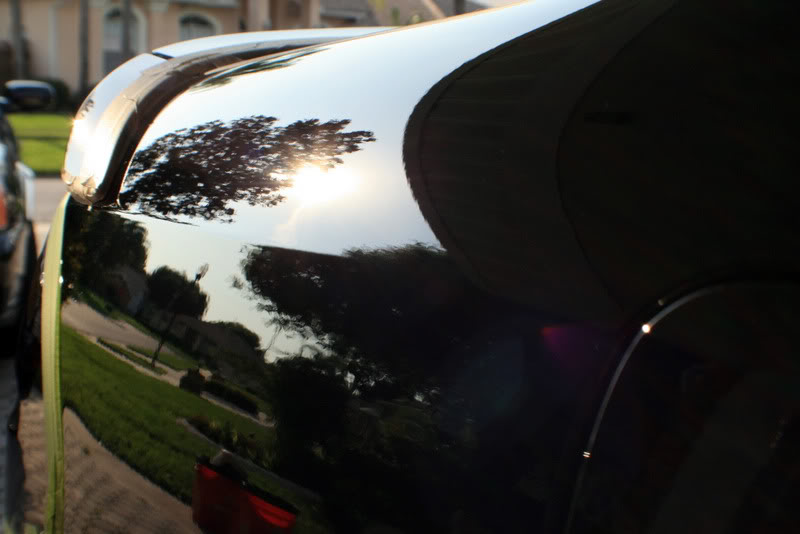
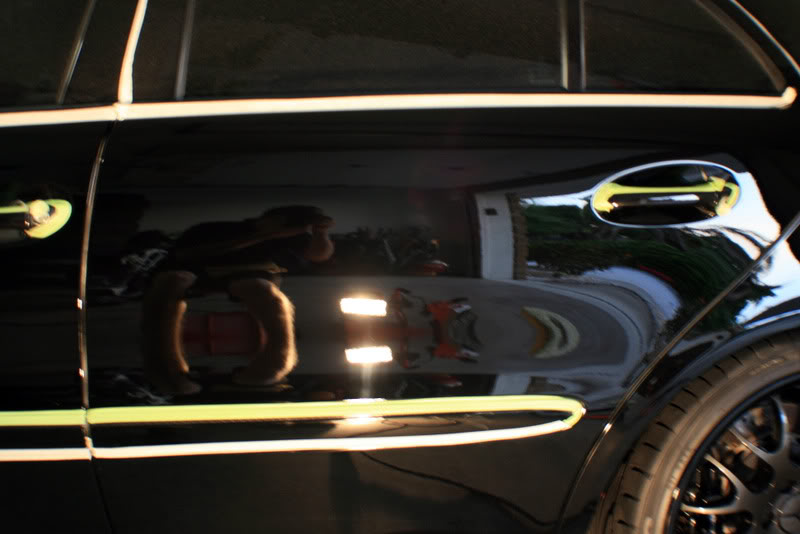
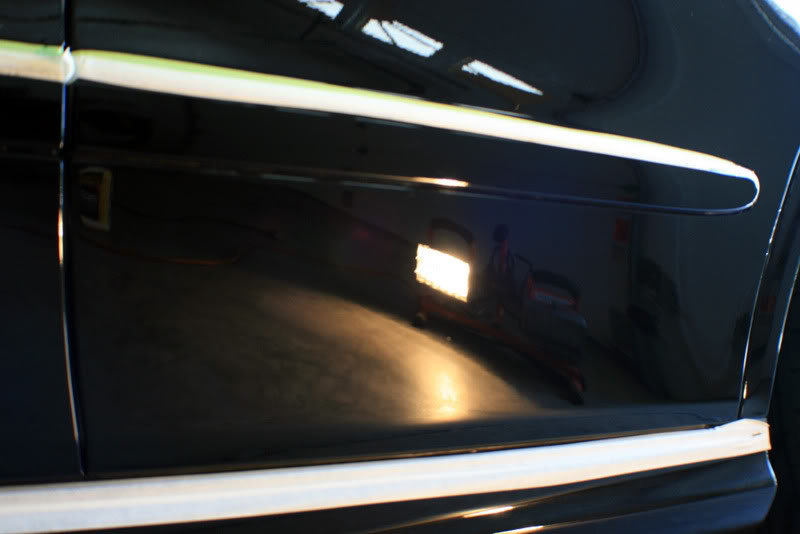
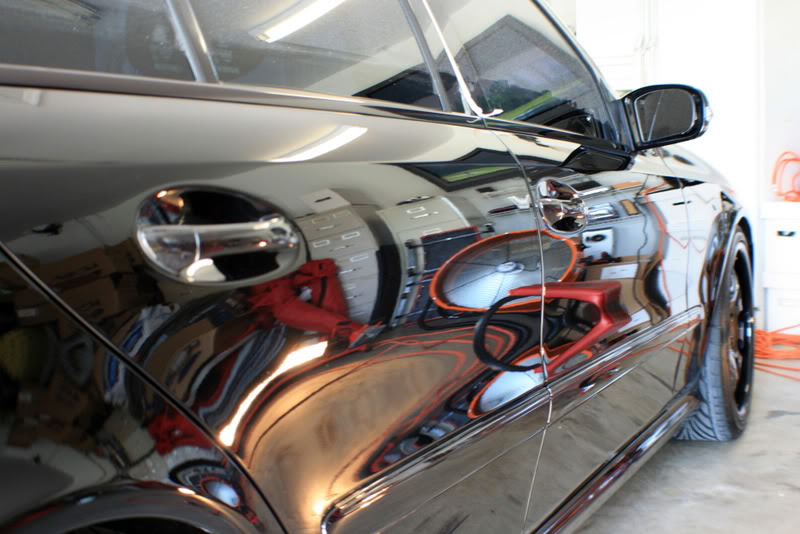
Even with my powerful halogens this E55 was showing very little swirls/scratches. Under full sun there was a different story however, I knew then that I would need to pull the car out into the sun to check my work for the most true results.
Some suns shots after being washed.
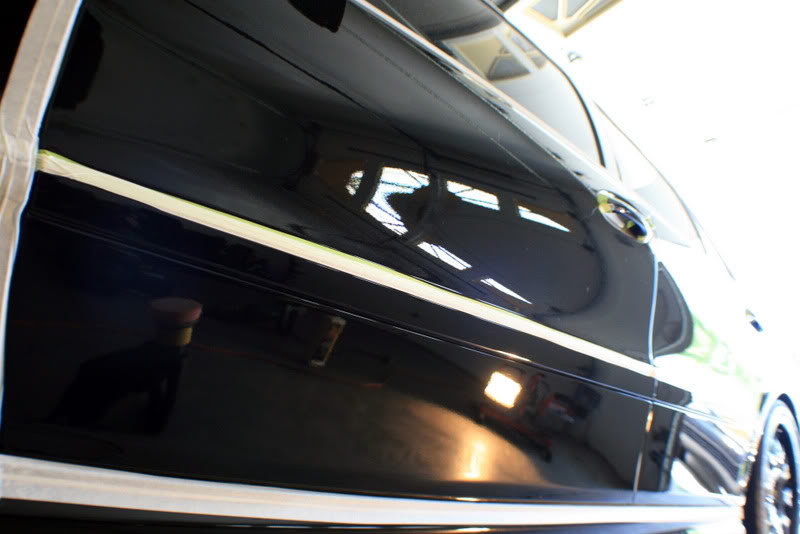
I began by taping off half of the trunk for my test panel.
After SIP/PFW via rotary followed by M205/Orange via DA.
Before.
After.
The true results now present themselves.
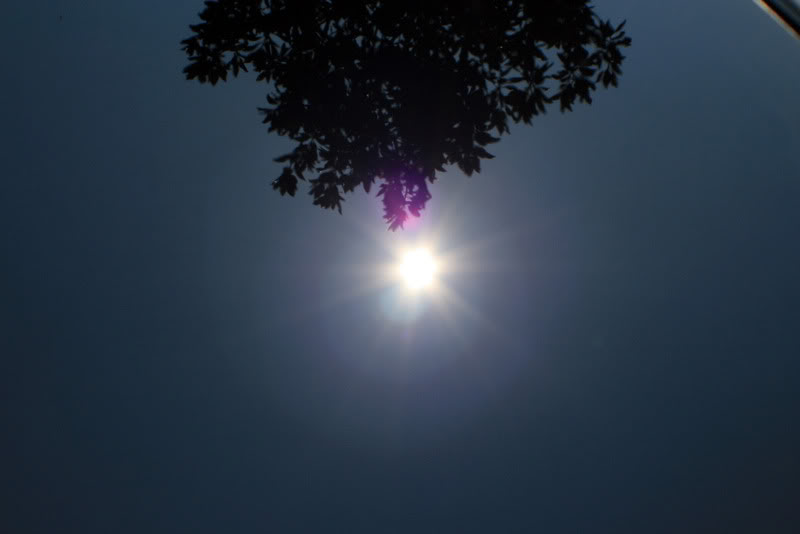
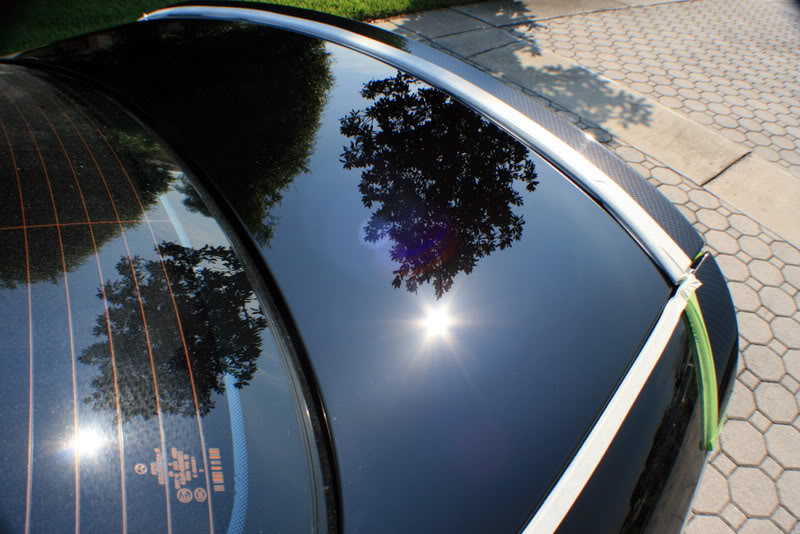
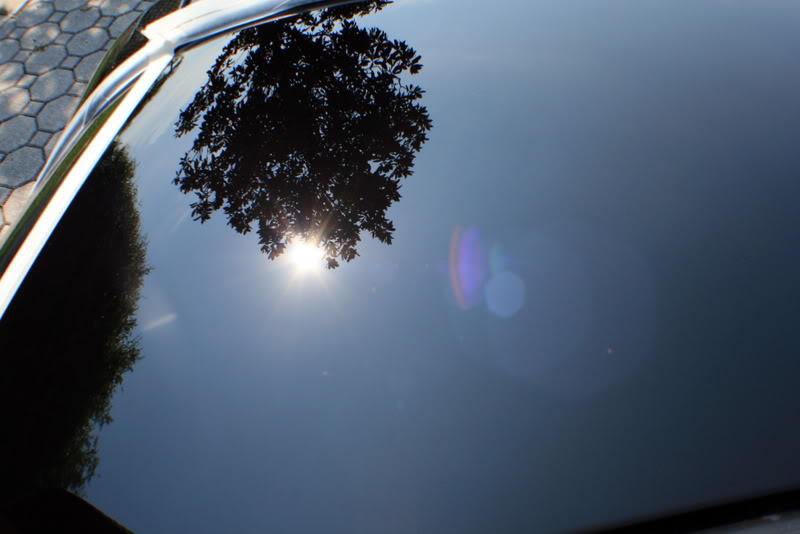
Some suns shots after being washed.
I began by taping off half of the trunk for my test panel.
After SIP/PFW via rotary followed by M205/Orange via DA.
Before.
After.
The true results now present themselves.
Thread Starter
|
1st Gear
Joined: Sep 2008
Posts: 357
From: Tampa, FL
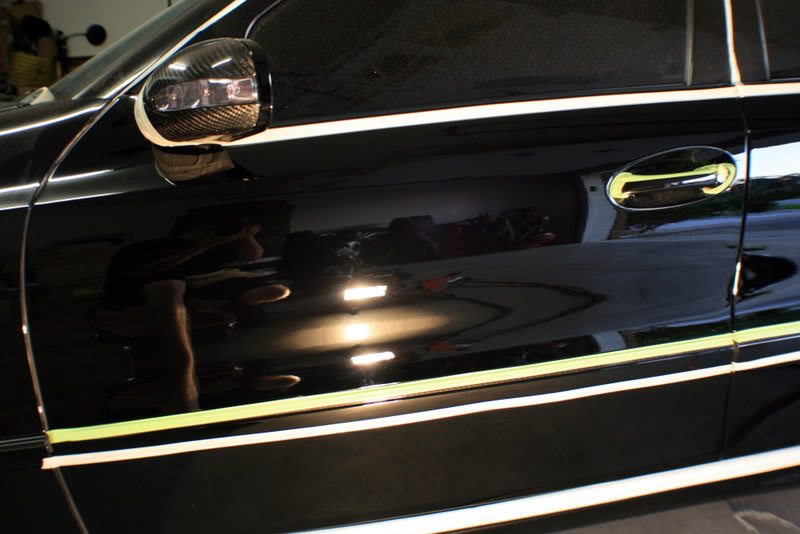
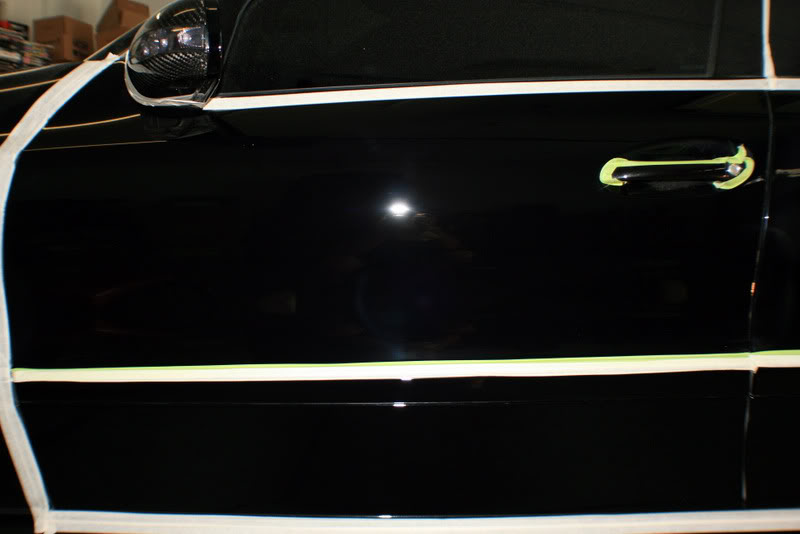
The entire front hood/fenders had been clear bra'd so I turned my attention to the passeneger side doors.
After SIP/PFW..
Followed by M205/Orange via DA.
I then moved onto the rear door..
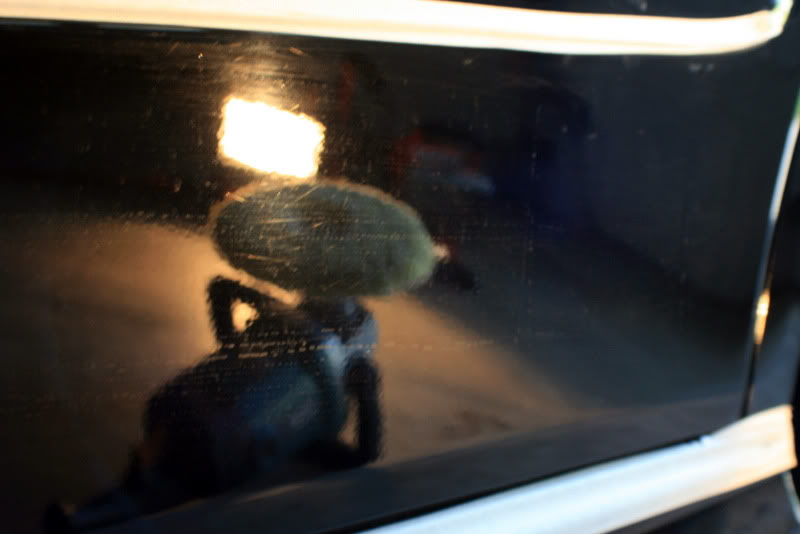
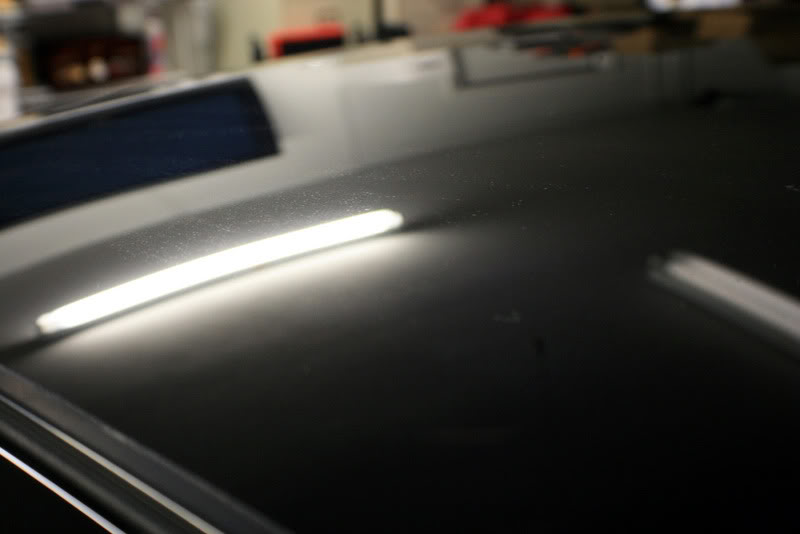
A closer look to see the deeper swirls in the paint..this was how the entire car was, sometimes being hard to capture on camera.

After SIP/PFW..
Followed by M205/Orange via DA..
I then moved onto the rear 1/4 panel..
After, with a glimpse of the sun..
After SIP/PFW..
Followed by M205/Orange via DA.
I then moved onto the rear door..
A closer look to see the deeper swirls in the paint..this was how the entire car was, sometimes being hard to capture on camera.
After SIP/PFW..
Followed by M205/Orange via DA..
I then moved onto the rear 1/4 panel..
After, with a glimpse of the sun..
Thread Starter
|
1st Gear
Joined: Sep 2008
Posts: 357
From: Tampa, FL
I was running out of time, so I forgot to get the before/during pictures of the driver side, but here are some afters..
With Flash..
I then turned my attention to the lower half of the doors, which seemed to be worse than the rest of the vehicle..
Before.
I stepped up to a Megs Yellow Wool with M105 for these sections.
After M205/Orange..
With Flash..
I then turned my attention to the lower half of the doors, which seemed to be worse than the rest of the vehicle..
Before.
I stepped up to a Megs Yellow Wool with M105 for these sections.
After M205/Orange..
Thread Starter
|
1st Gear
Joined: Sep 2008
Posts: 357
From: Tampa, FL
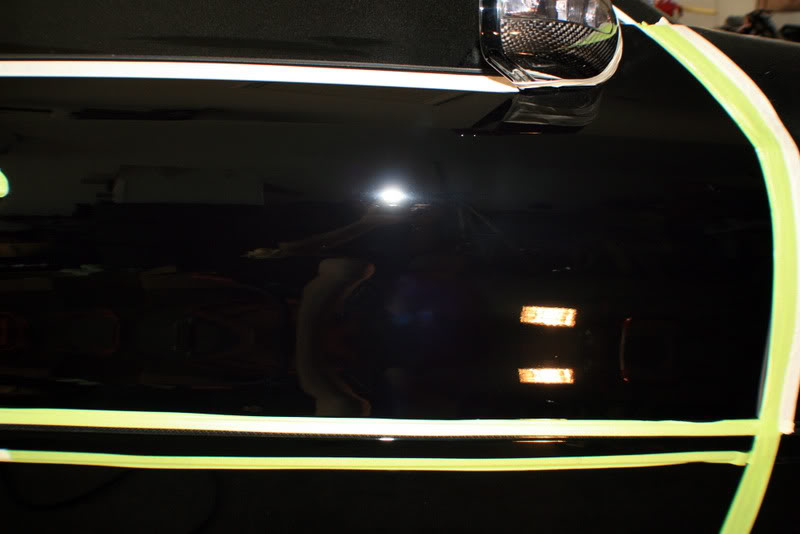
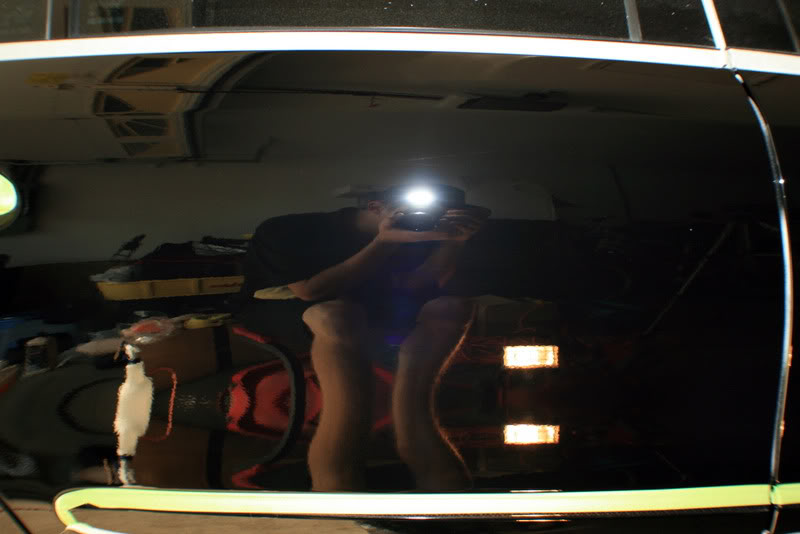
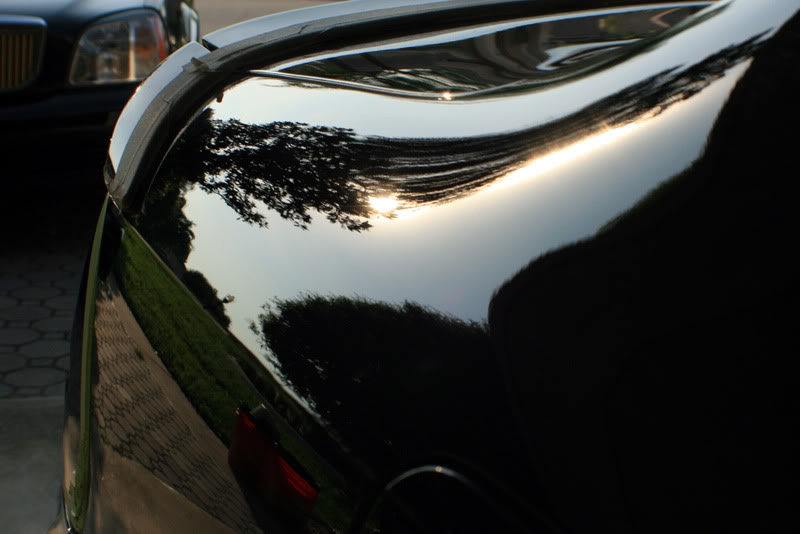
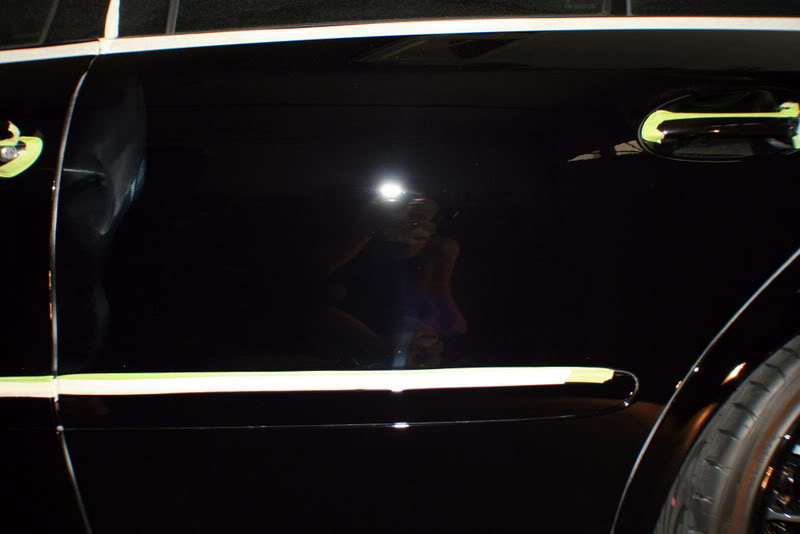
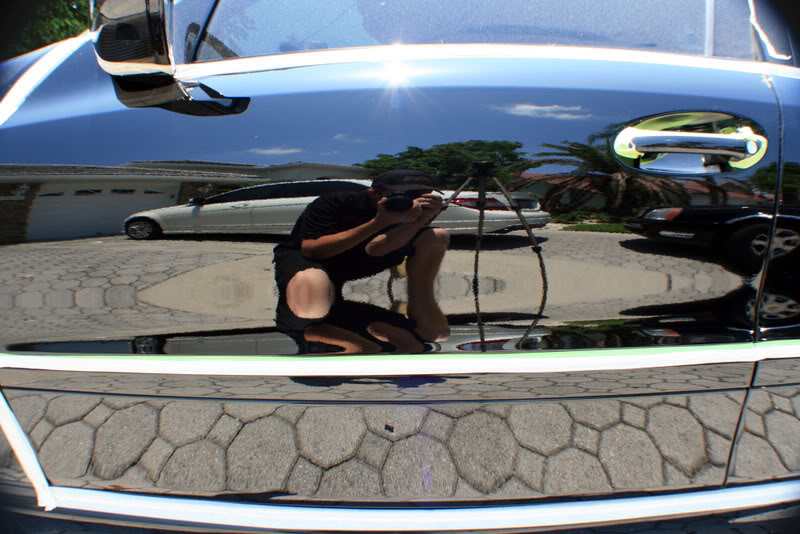
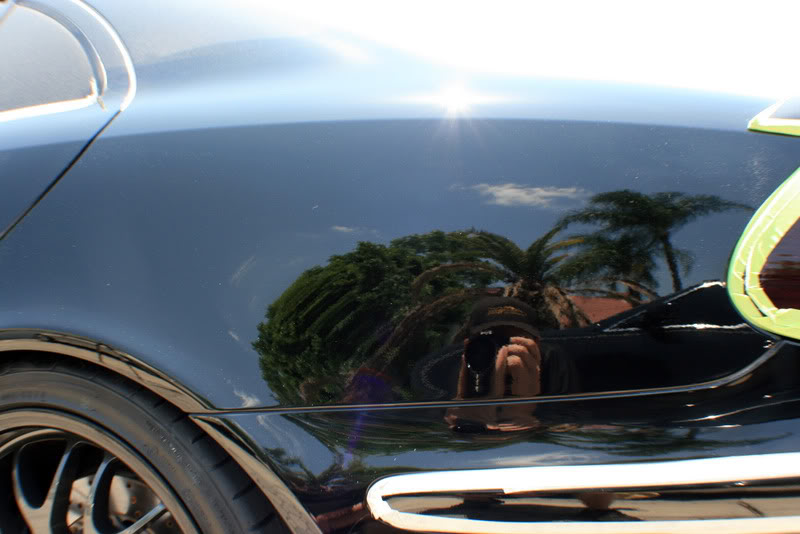
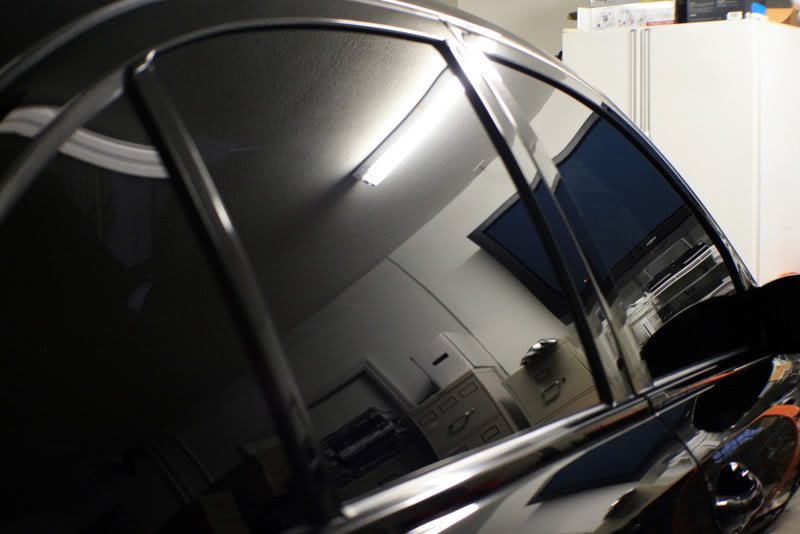
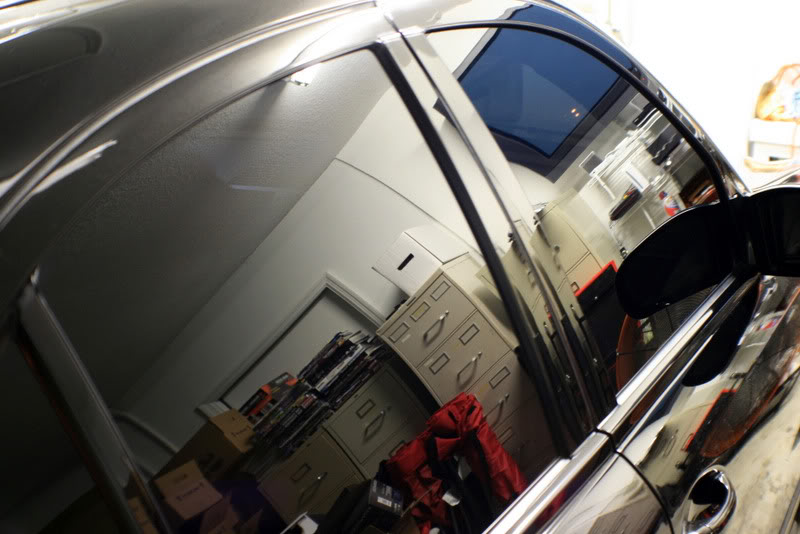
The next day, before starting on the rear bumper/lower trunk/roof I decided to check my work in the full sun before it went behind the clouds.
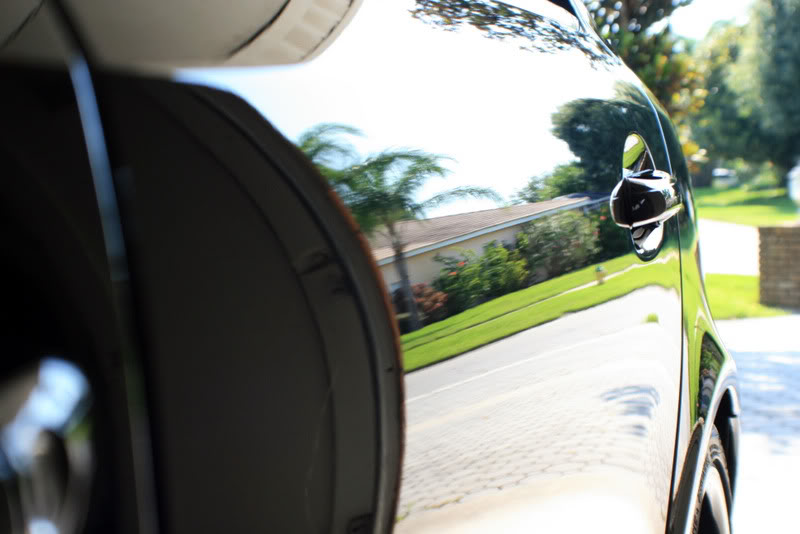
Just how I like em, a mirror.
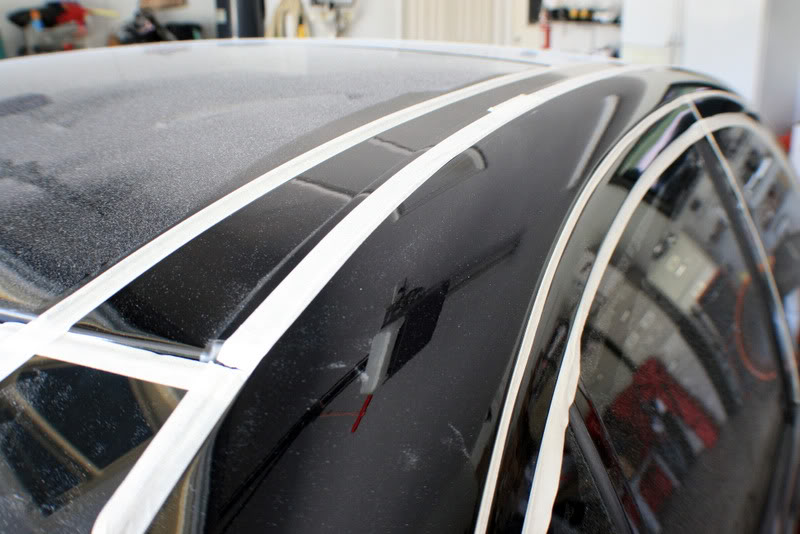
I taped off each section to ensure no edges were burnt(I was lucky, this car has the full glass roof feature! )
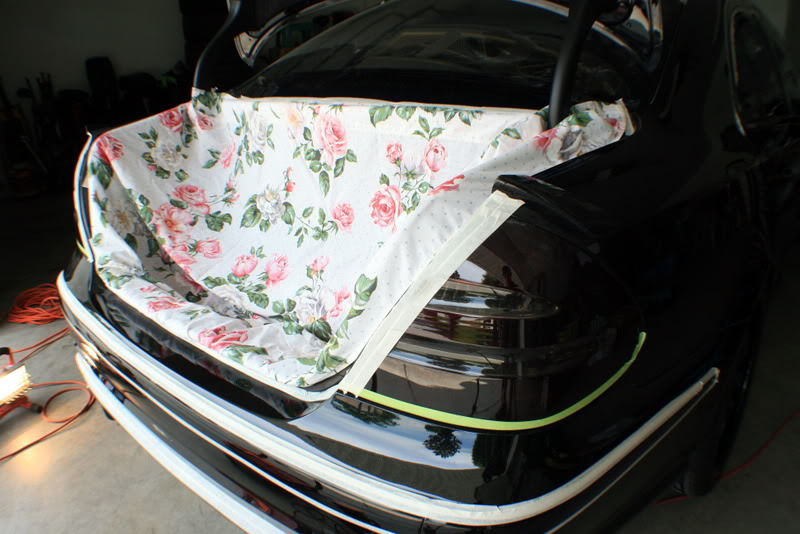
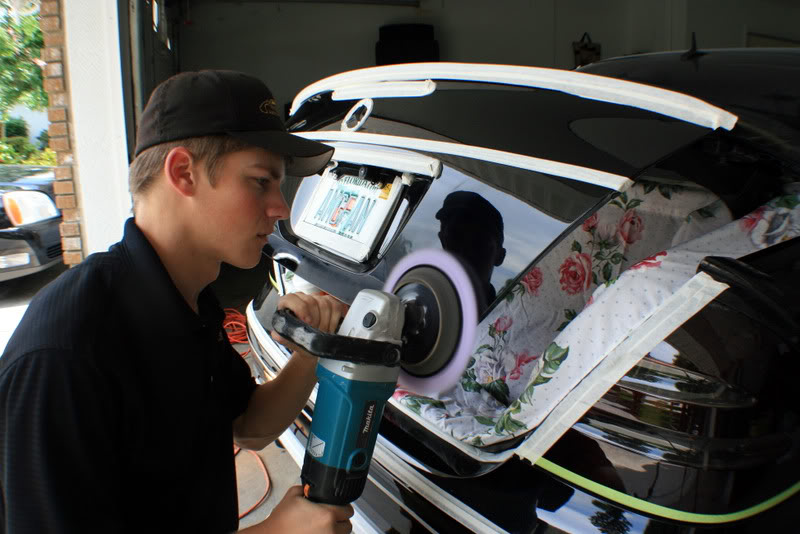
I had to lift open the trunk to properly polish, but there is some serious audio work back there. I decided it was better to tape/cover the entire trunk before creating more work for myself.
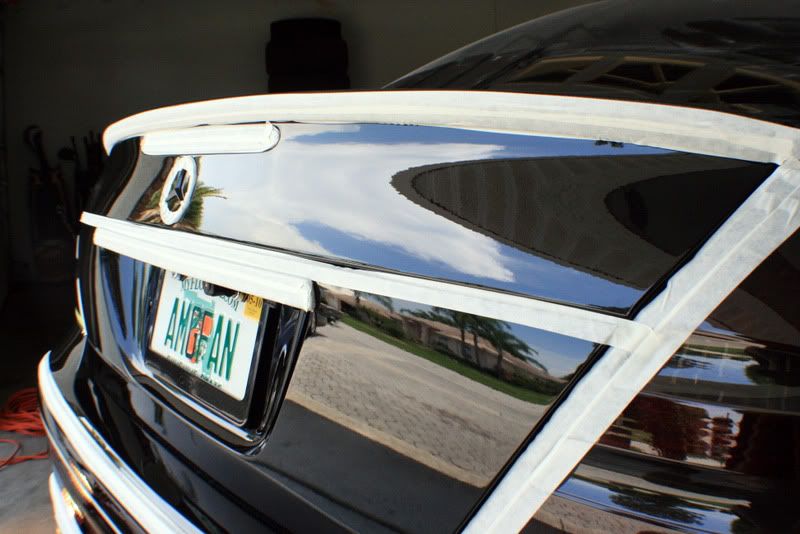
I used the full size pad for the larger areas, then bumped down to a spot buff 3" PFW for the smaller areas.
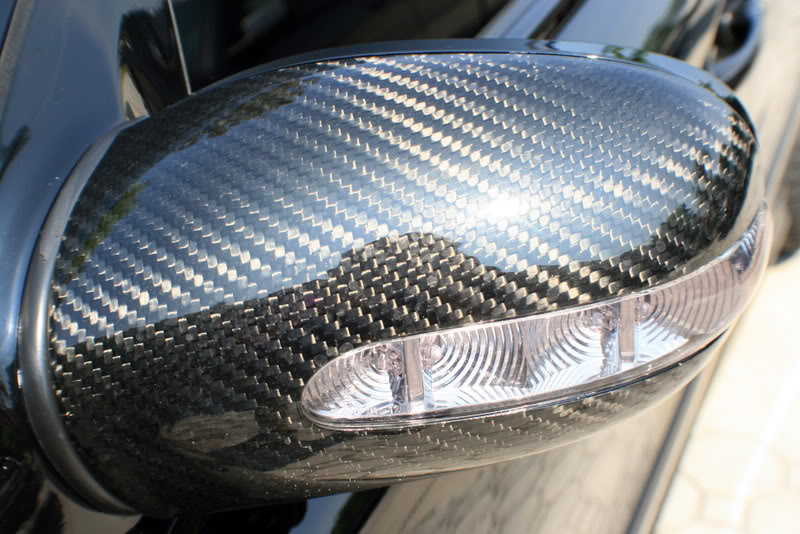
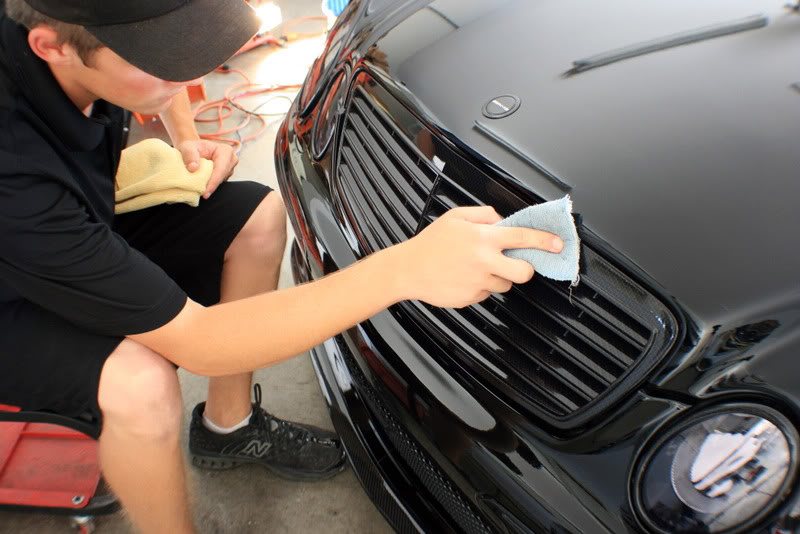
All of the CF trim was then polished by hand with Zaino AIO.
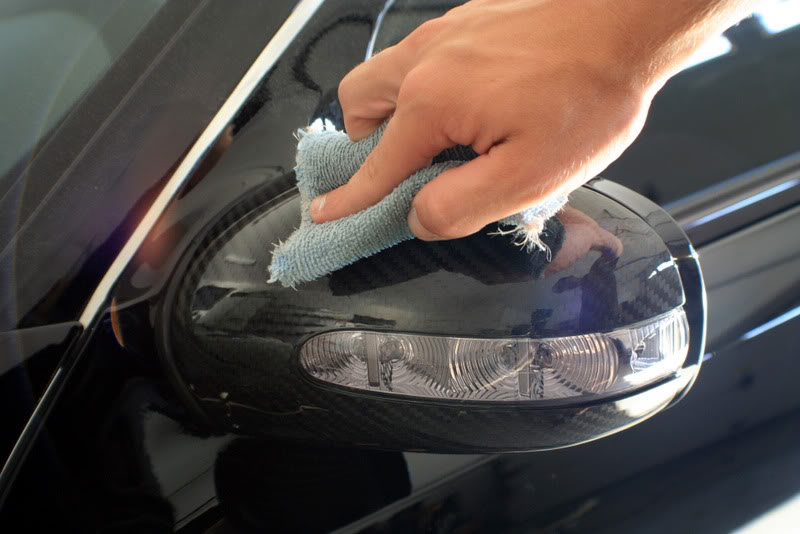
As well as the wheels, since they were also painted.
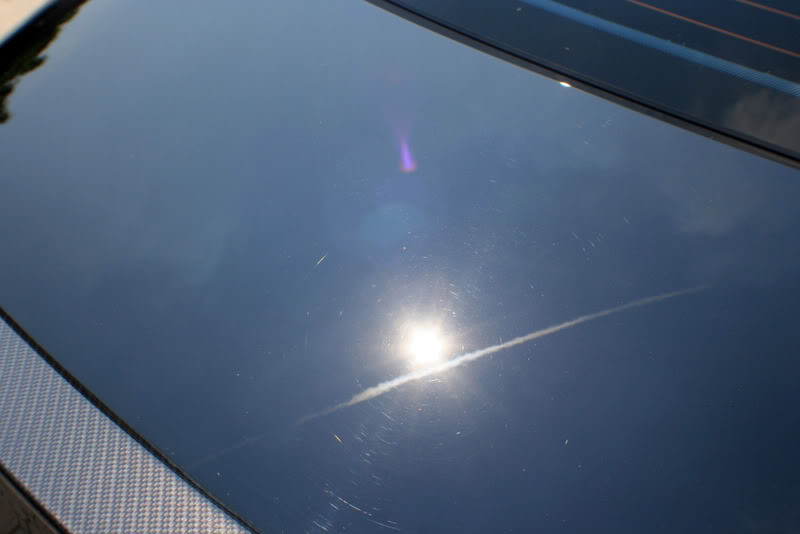
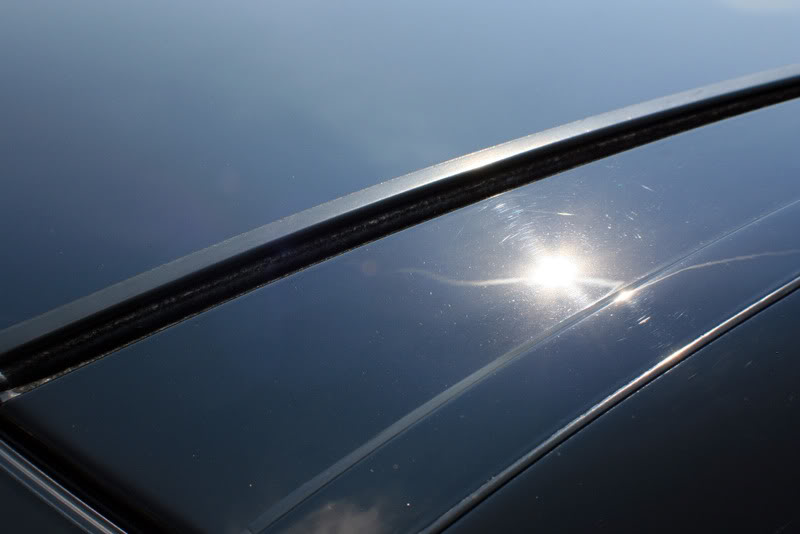
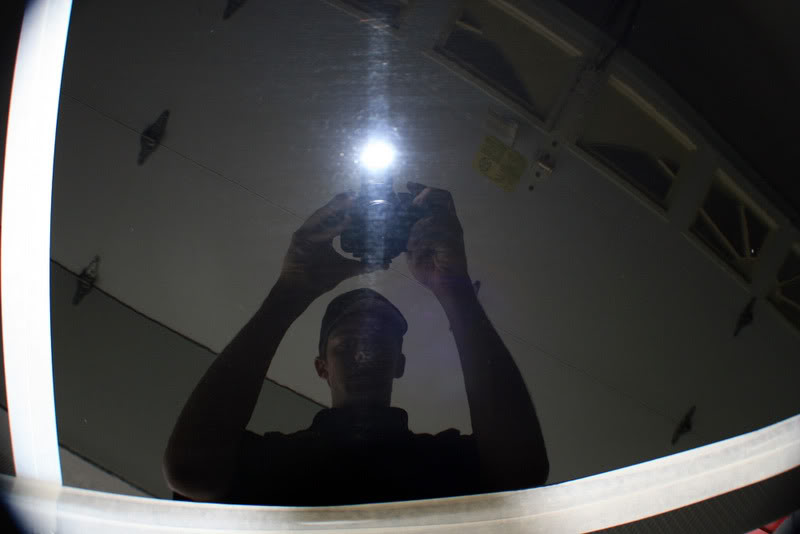
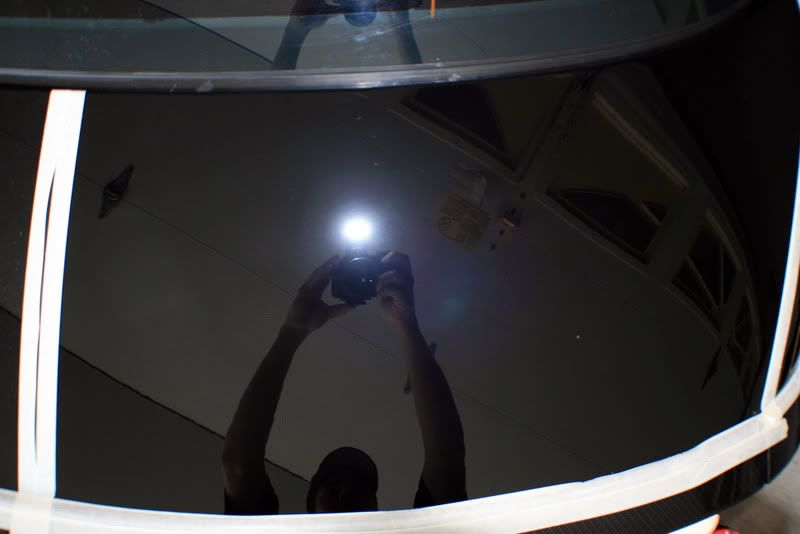
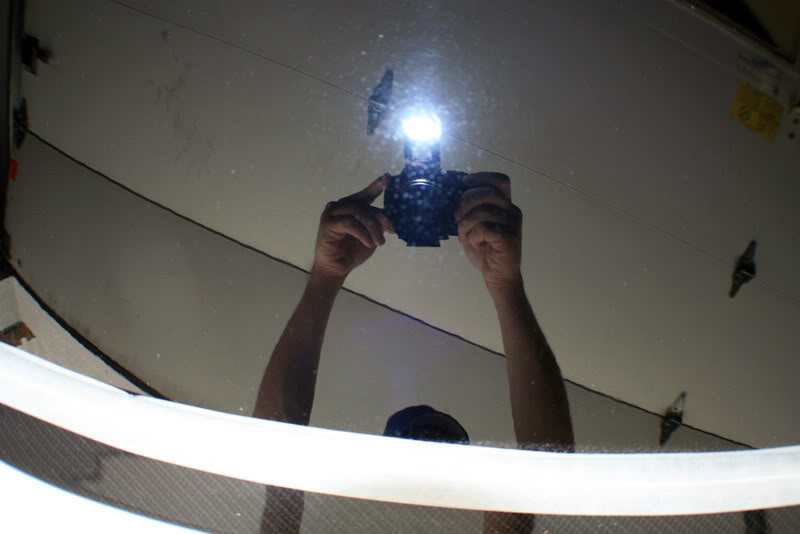
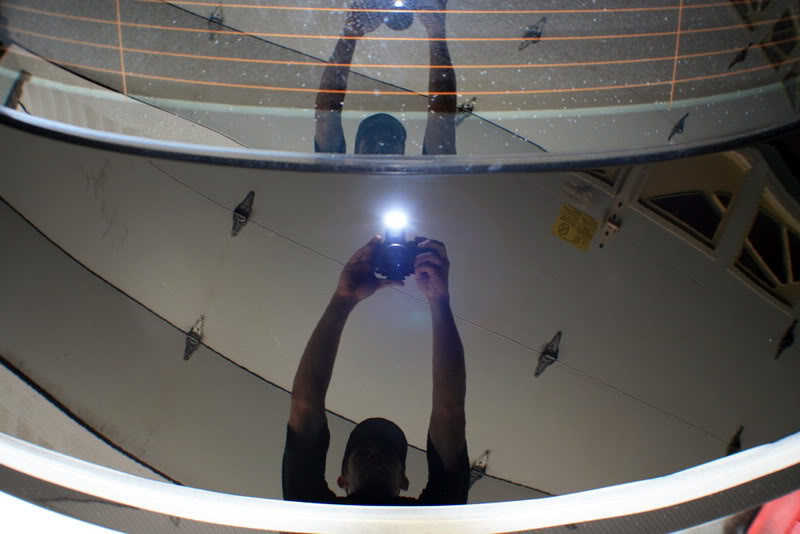
The glass roof had some hard water spots that were difficult to remove, so I opted to polish all of the glass with 106ff via the DA on a white pad. Worked quite well actually!
Before..hard to tell but it was not something to tackle with simple glass cleaner.
After.
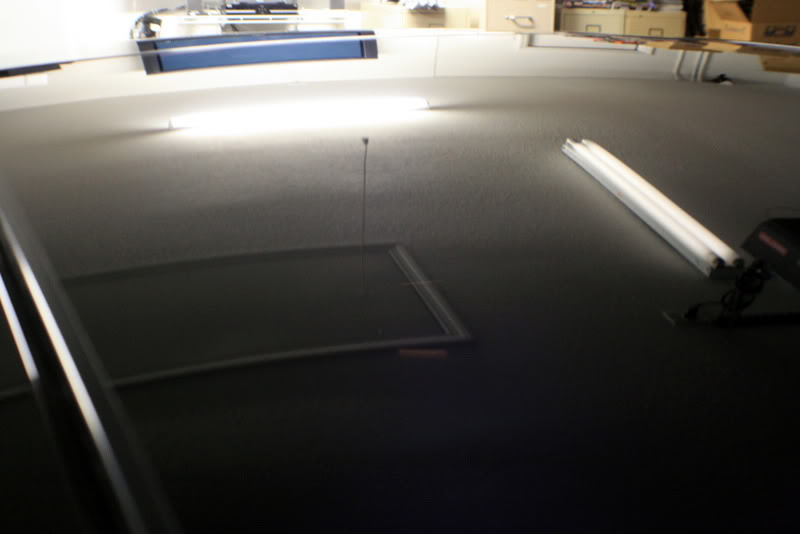
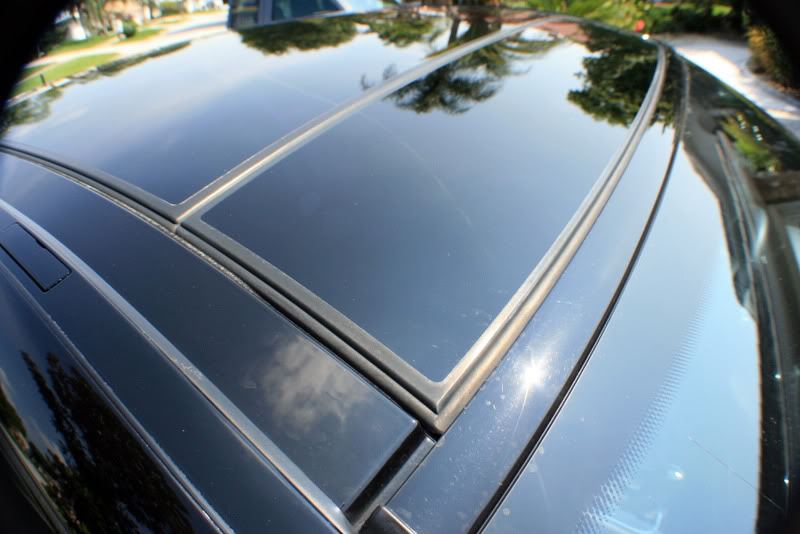
ALL of the glass was polished, as well as the B-pillars.
Just how I like em, a mirror.
I taped off each section to ensure no edges were burnt(I was lucky, this car has the full glass roof feature!
)I had to lift open the trunk to properly polish, but there is some serious audio work back there. I decided it was better to tape/cover the entire trunk before creating more work for myself.
I used the full size pad for the larger areas, then bumped down to a spot buff 3" PFW for the smaller areas.
All of the CF trim was then polished by hand with Zaino AIO.
As well as the wheels, since they were also painted.
The glass roof had some hard water spots that were difficult to remove, so I opted to polish all of the glass with 106ff via the DA on a white pad. Worked quite well actually!
Before..hard to tell but it was not something to tackle with simple glass cleaner.
After.
ALL of the glass was polished, as well as the B-pillars.
Thread Starter
|
1st Gear
Joined: Sep 2008
Posts: 357
From: Tampa, FL
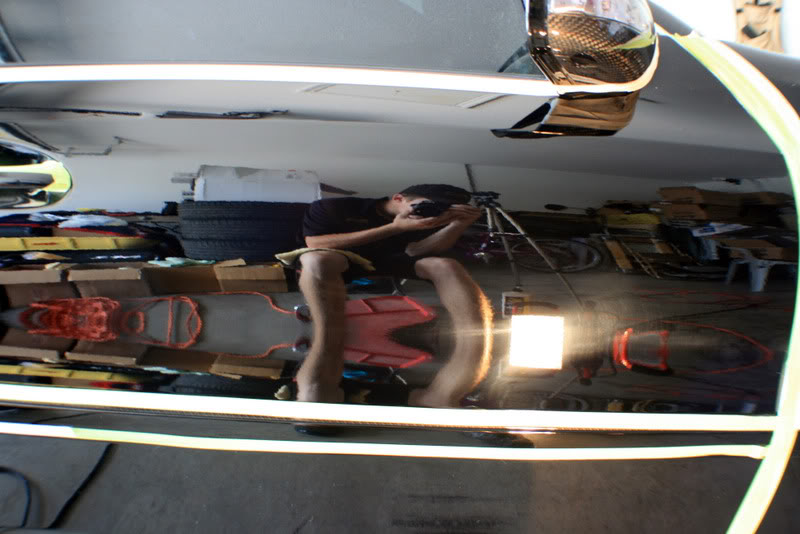
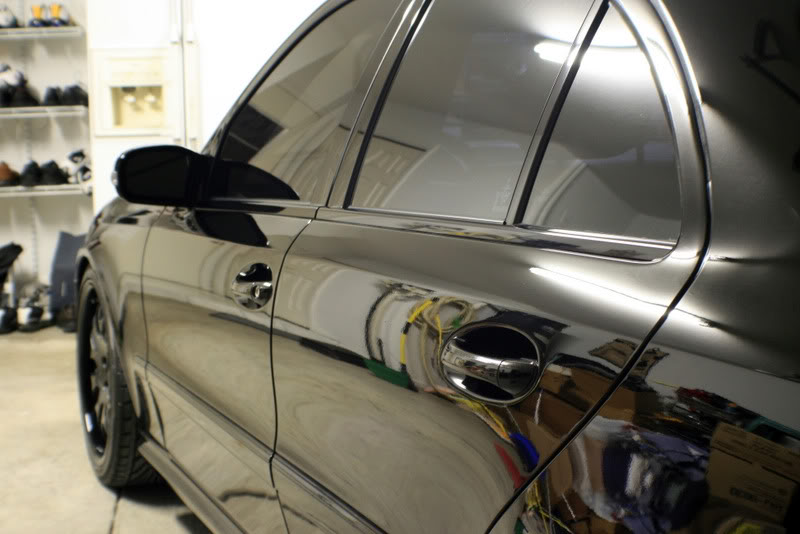
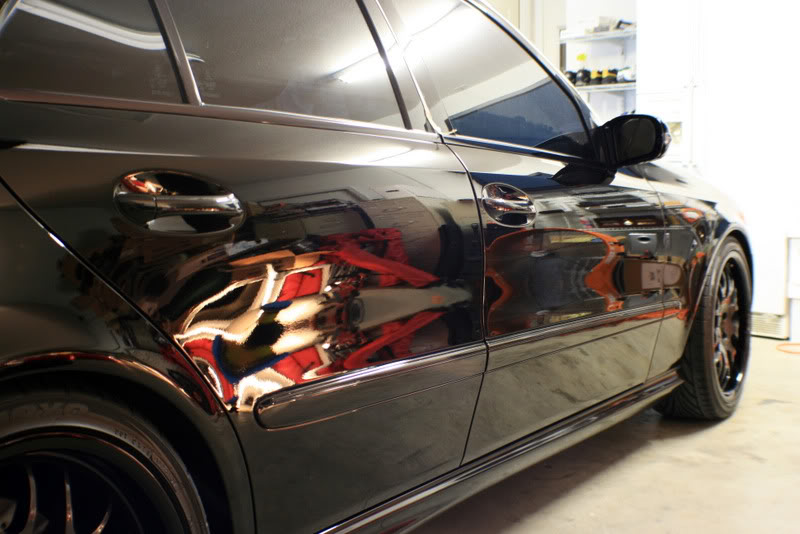
Some more final pics! Unfortunately I wasnt able to get complete day shots, Ill try to get some soon.
The entire car(even the clearbra) was coated with TWO coats of Blackfire Paint Sealant. This left the car with an incredibly slick surface and water literally will not stick to the car!

The entire car(even the clearbra) was coated with TWO coats of Blackfire Paint Sealant. This left the car with an incredibly slick surface and water literally will not stick to the car!


Thread
Thread Starter
Forum
Replies
Last Post
Presidential_Detail
Detailing
3
May 14, 2009 09:54 AM
Presidential_Detail
Detailing
15
Mar 19, 2009 12:34 AM