MetalMan's 1.8T FrankenTurbo (F4H-L, F21) Build Thread
#121
 04-05-2013, 12:46 PM


Finally, after lots of pure text over the last 3 months, I have pics!
First: just a random pic I snapped after work one day when my road bike was on the roof of my car:
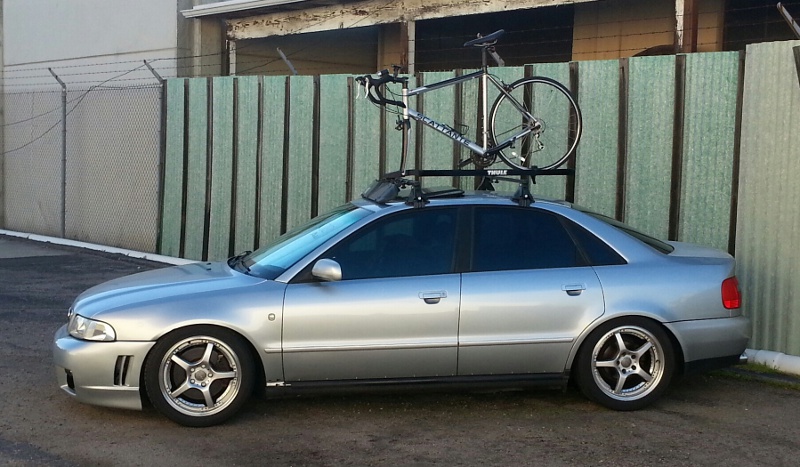
I took off my lower door mouldings a couple months before that pic was taken... that pic was taken almost 4 months ago... still need to shave the lower door moulding pins.
Now for the good stuff:

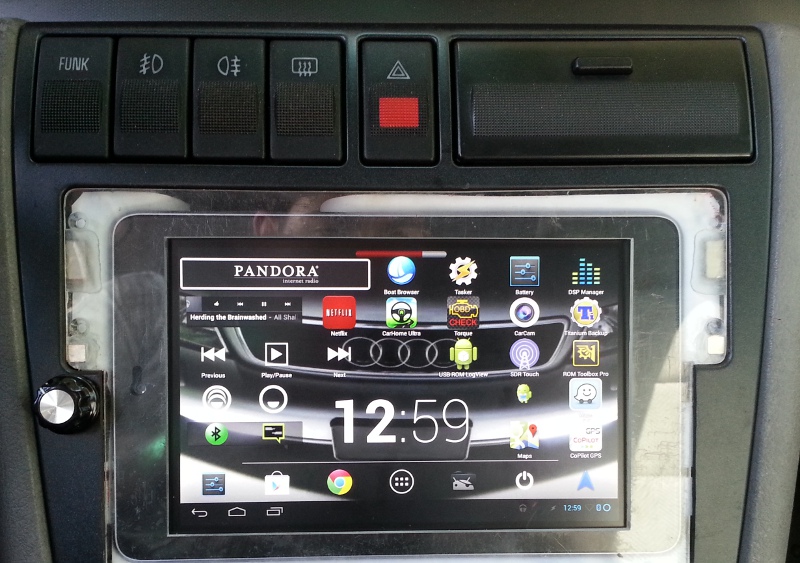
Please pardon the filth! All of the time I spend on my car, is spent working on my car, and even then I don't have enough.
The USB port on there currently is to plug in a phone charger (Android phones will enjoy fast charging with this port ). I've thought of implementing a toggle switch and redoing some wiring to allow this USB port to connect to the USB hub attached to the tablet. This would allow things like plugging in a USB flash drive loaded with music/movies!
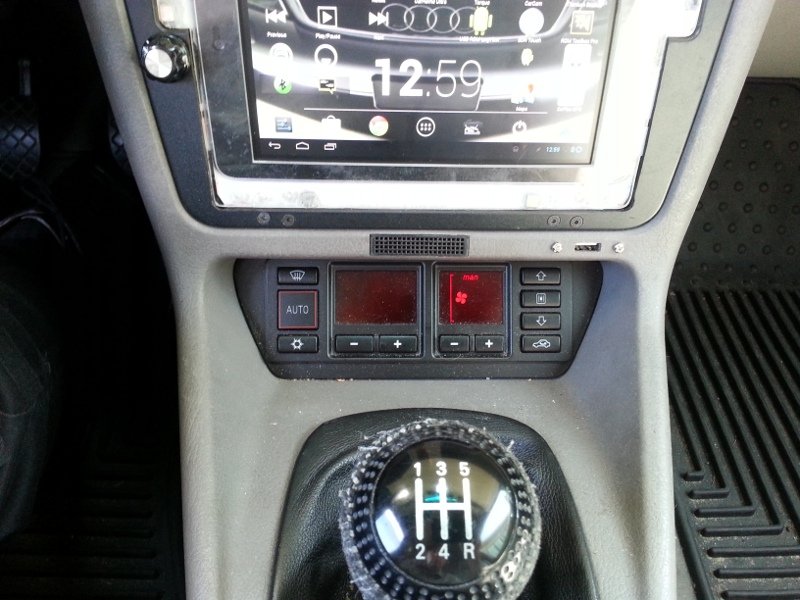
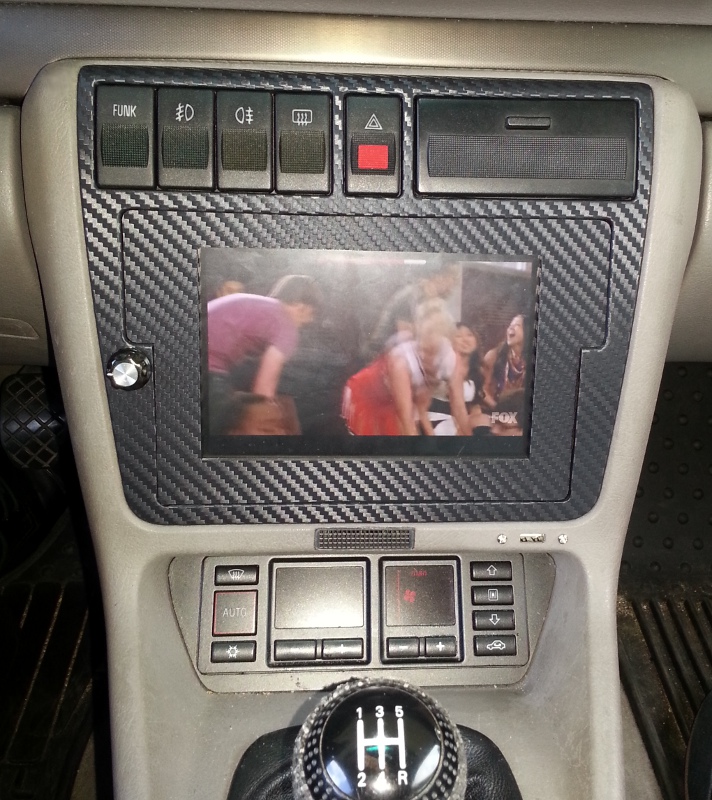
Still need to add more magnets to the faceplate and either paint it or do a vinyl wrap on the whole black center console piece. This design is pretty sweet, as I can remove the tablet in less than 5 seconds and yet it will look like the tablet is a part of the dash (after paint/vinyl).
Another minor project underway is mounting the EGT gauge. It's a rectangular shape about 2" wide x .75" tall x 2.5" deep, with a digital readout. For the life of me I couldn't figure out where to install it that wouldn't leave a hole when it is removed! Then I saw my old steering column gauge pod sitting on the workbench and got to thinking... the only reason my AFR gauge isn't mounted in the steering column pod is because it blocked the instrument cluster's DIS display.
So I decided to hack off the top ~1.5" of the steering column pod, and use the pod as a base to build a mount for the EGT gauge. This way it won't block my view of the DIS display (well, it will block the bottom 1/4" which doesn't display any information anyways), and if/when I remove the EGT gauge from the car everything will still look normal. To finish this up I need to wire the gauge and add a lid, and strengthen the lid and other mods to the column pod with some epoxy and fiberglass. Then paint.
First: just a random pic I snapped after work one day when my road bike was on the roof of my car:
I took off my lower door mouldings a couple months before that pic was taken... that pic was taken almost 4 months ago... still need to shave the lower door moulding pins.
Now for the good stuff:
Please pardon the filth! All of the time I spend on my car, is spent working on my car, and even then I don't have enough.
The USB port on there currently is to plug in a phone charger (Android phones will enjoy fast charging with this port
). I've thought of implementing a toggle switch and redoing some wiring to allow this USB port to connect to the USB hub attached to the tablet. This would allow things like plugging in a USB flash drive loaded with music/movies!Still need to add more magnets to the faceplate and either paint it or do a vinyl wrap on the whole black center console piece. This design is pretty sweet, as I can remove the tablet in less than 5 seconds and yet it will look like the tablet is a part of the dash (after paint/vinyl).
Another minor project underway is mounting the EGT gauge. It's a rectangular shape about 2" wide x .75" tall x 2.5" deep, with a digital readout. For the life of me I couldn't figure out where to install it that wouldn't leave a hole when it is removed! Then I saw my old steering column gauge pod sitting on the workbench and got to thinking... the only reason my AFR gauge isn't mounted in the steering column pod is because it blocked the instrument cluster's DIS display.
So I decided to hack off the top ~1.5" of the steering column pod, and use the pod as a base to build a mount for the EGT gauge. This way it won't block my view of the DIS display (well, it will block the bottom 1/4" which doesn't display any information anyways), and if/when I remove the EGT gauge from the car everything will still look normal. To finish this up I need to wire the gauge and add a lid, and strengthen the lid and other mods to the column pod with some epoxy and fiberglass. Then paint.
Last edited by MetalMan; 04-05-2013 at 12:55 PM.
#122
05-03-2013, 11:19 AM
Been pretty busy with my A4 lately. Finished up the EGT gauge mounting in the modified column pod, and it came out pretty well I think it's power comes from the fuel pump relay.
While cruising on the highway @65-70mph with engine at full operating temp, EGT is about 1400 deg. F at the collector of the exhaust manifold. During idle it is about 1000 deg. F. The other day on the freeway, going ~65mph I floored it in 5th, and EGT was about 1700+ deg. F by the time I hit 100mph.
These temps are probably causing my wideband O2 sensors to last less than 50 miles. I'm thinking of buying a cheap test pipe, and running the wideband sensor in the post-cat location just to see if the sensor will last longer.
A week ago I replaced the MAF sensor (in 3in MAF housing) and pre-cat O2 sensor.
This week I added the valve cover breather port into my catch can loop. I used this guy:
Audi B5 A4 FWD 1.8T > Engine > Emissions > ES#279952 Breather Hose Connector - 06B103221P
One end attaches to the 034 Motorsport block breather, another end goes to the valve cover breather, and the 3rd end goes to my catch can inlet. Catch can outlet goes to the PRV (aka pancake valve) in the TIP.
it's power comes from the fuel pump relay.While cruising on the highway @65-70mph with engine at full operating temp, EGT is about 1400 deg. F at the collector of the exhaust manifold. During idle it is about 1000 deg. F. The other day on the freeway, going ~65mph I floored it in 5th, and EGT was about 1700+ deg. F by the time I hit 100mph.
These temps are probably causing my wideband O2 sensors to last less than 50 miles. I'm thinking of buying a cheap test pipe, and running the wideband sensor in the post-cat location just to see if the sensor will last longer.
A week ago I replaced the MAF sensor (in 3in MAF housing) and pre-cat O2 sensor.
This week I added the valve cover breather port into my catch can loop. I used this guy:
Audi B5 A4 FWD 1.8T > Engine > Emissions > ES#279952 Breather Hose Connector - 06B103221P
One end attaches to the 034 Motorsport block breather, another end goes to the valve cover breather, and the 3rd end goes to my catch can inlet. Catch can outlet goes to the PRV (aka pancake valve) in the TIP.
Last edited by MetalMan; 06-06-2013 at 12:40 PM.
#124
05-20-2013, 11:37 AM
Had a rather eventful weekend not really driving my car. Went on a partial road trip to San Jose, CA with my fiancee. When I left my car on Thursday night at her house, the odometer was sitting at 149,998 miles. Now look!
#125
06-06-2013, 12:53 PM
This poor car gets neglected too much, other than the daily driving it receives.
Plans for the near future include:
-Wrap the spare door car armrests with the same fabric as I did the rest of my interior with (I installed the other fabric in my car ~2.5 years ago...)
-wrap the interior belt trim in the same 3M CF vinyl as I did the center console parts
-shave the lower door molding pins and prime where sanding occurs. (I removed the lower door molding 6+ months ago...)
-paint and install the RS4-style side skirts I got almost 2 years ago
-install home-made O2 simulator in places of post-cat O2 sensor, and see if it will keep the CEL away and allow readiness to pass
-swap out HFC for test pipe, and see if EGTs drop
-disconnect downpipe-back exhaust and see if EGTs drop
-install wideband into test pipe, in post-cat sensor location (hopefully this will allow wideband sensors to last more than 50 miles)
Lately it feels like PlastiDip has been begging me to paint it on my car. But gallons cannot be shipped to California... so I'm waiting on DipYourCar's California Kits to surface. Then I intend to Dip-my-car! Haven't settled on a color I want, but that new Anthracite with Glossifier on top would look pretty damn good...
Last edited by MetalMan; 06-07-2013 at 11:00 AM.

#129
06-08-2013, 01:22 PM
It's definitely possible, and something I wouldn't hesitate to perform if my engine was ATW. A simple Google brought this:
https://www.google.com/search?q=atw+...hrome&ie=UTF-8
https://www.google.com/search?q=atw+...hrome&ie=UTF-8