
AEM CAI Install with Pics!

Thread Starter
|
Senior Member
Joined: Mar 2006
Posts: 3,713
From: Cibolo, TX
AEM CAI Install
And contrary to popular belief, there is no need to remove the bumper!
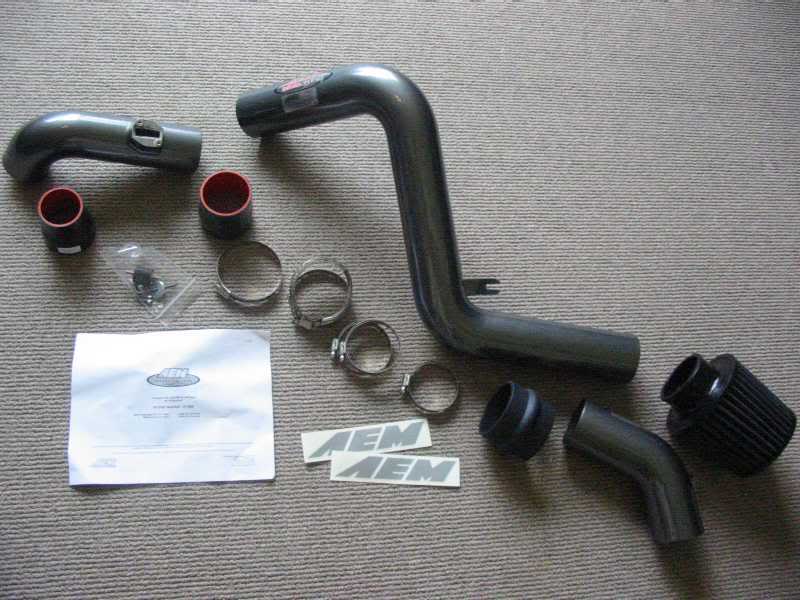
Well, I finally had the opportunity to get and install the AEM CAI. I must say, it is definitely made out of very nice materials, and best of all, the powdercoating matches the color of my car. It comes with everything you need for the install, including a very good set of instructions with thumb nail images on each critical step. The OEM MAF is removed and reused, but all other parts are new.
Current set-up:
I had the prototype for K&N, which is their Typhoon series intake. The K&N is primarily a short ram intake that originally came with a housing that helped to block off the engine bay and help divert and separate the cool air from the factory intake area. Unfortunately, the intake shroud wasn’t the highest quality, and it interfered with the junction from the brake boost line. I ended up removing it after a while, but by that time it was already falling apart some. I also found that there wasn’t much difference with or without it on.
The first step for me was removing the K&N intake, which was very easy. You can see that I also removed the battery and battery box platform to gain access to the screw under the left headlight housing.
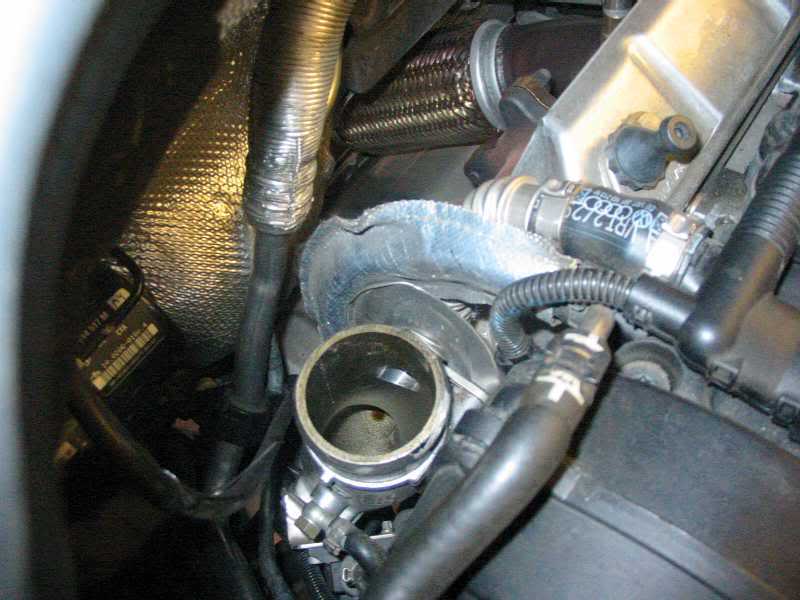
Turbo inlet:
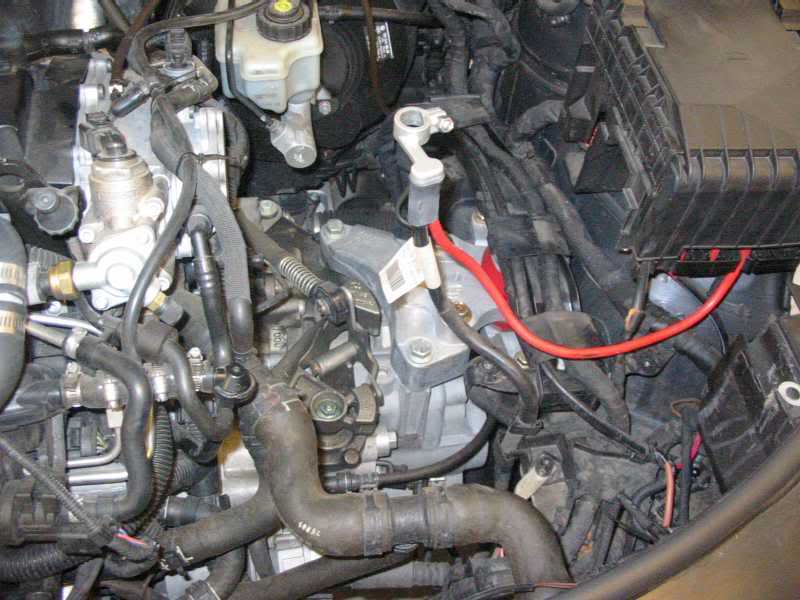
Engine bay w/o battery & battery box platform:
I also had to jack up the car and remove the underbelly pan to gain access under the vehicle where the new filter will be positioned. I ended up also removing the fender liner on the left side to better gain access to a very stubborn bolt. You can see the bolt under the left headlight housing.
The bolt is a T-30 under the headlight housing located right in the middle of the picture:
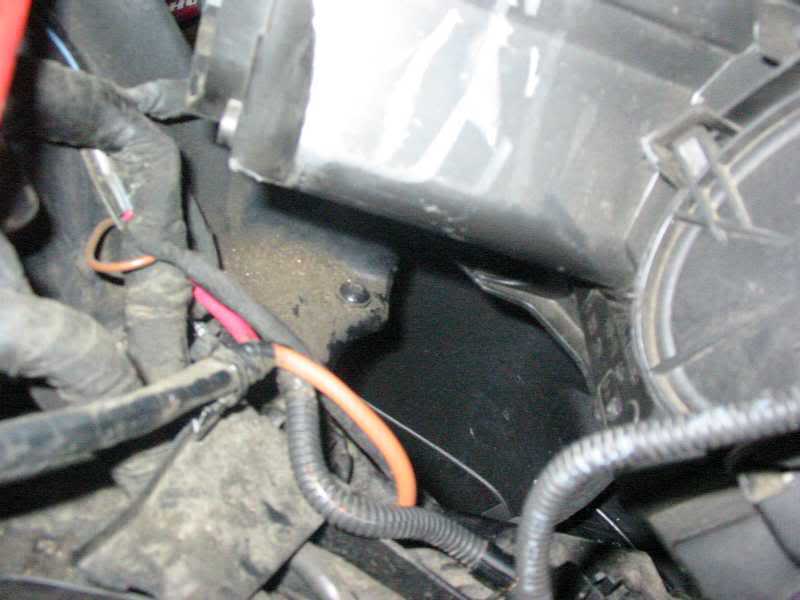
On the A3, it is a T-30 head, and on the GTI, it is a 10mm bolt. It is a true PITA to remove that bolt. It is screwed into the two body pieces prior to any painting, so it is nearly impossible to budge after the paint and such has it sealed into place. Also, there isn’t any room to get your hand on the bolt head, so I almost had it stripped prior to losing my sanity. I sprayed it down with anti-seize many times, and ended up drilling out the bolt from the bottom. Eventually I was able to get it to twist out. There was a 10mm bolt provided to replace the OEM and secure the lower pipe. It was also a huge challenge getting that bolt tightened all the way to secure the lower pipe, since there was no room to work and the pipe needed to be not touching any of the engine components.
The PITA bolt, and you can see where I drilled out the bottom:
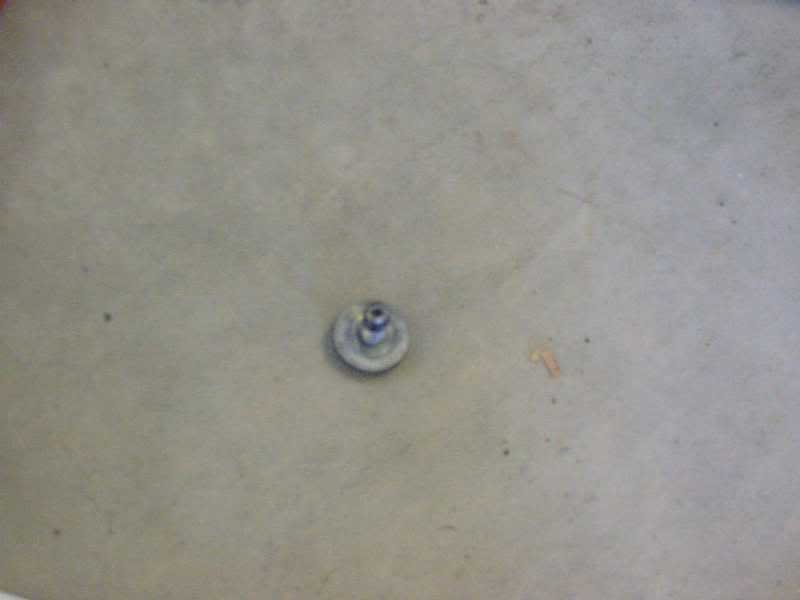
Lower pipe secured in place:
After securing the lower pipe, everything else was truly a breeze. Provided is a rubber bushing mount for the center piece so the CAI has the ability to flex under motion.
Mount on top of the rubber bushing:
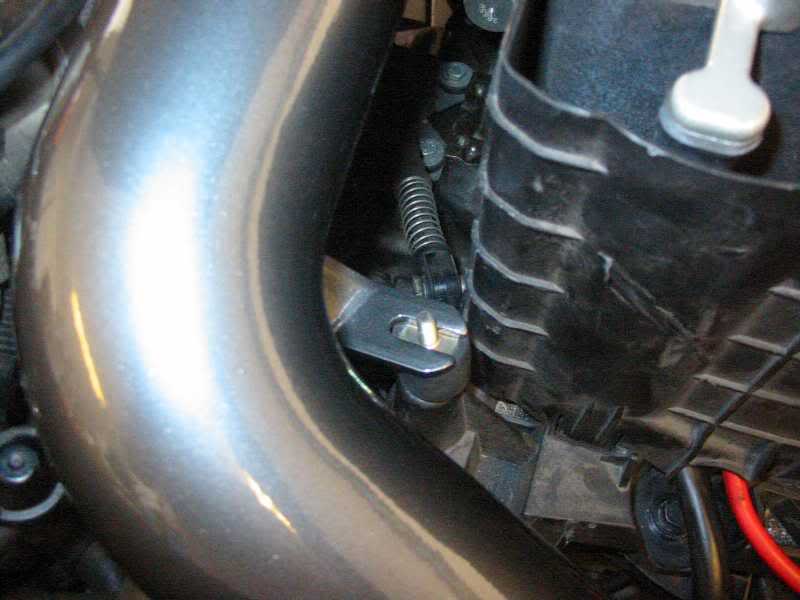
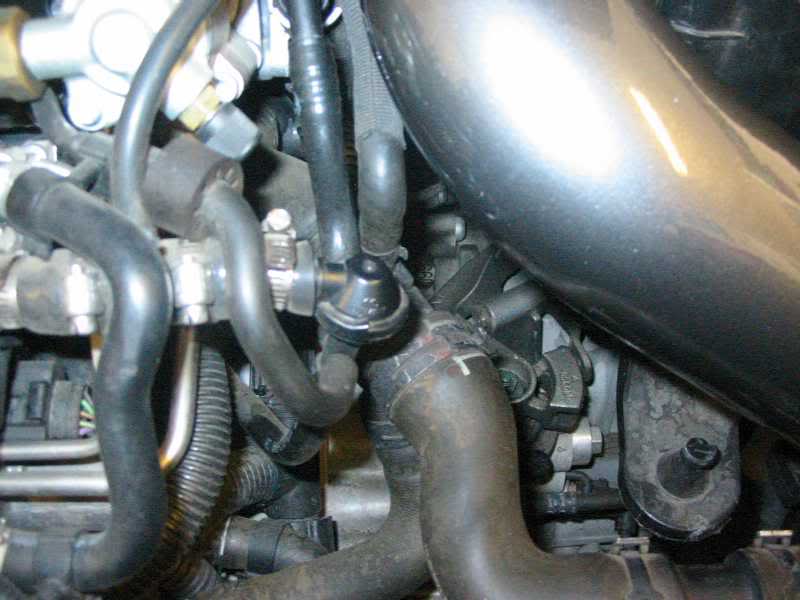
I also like that the pipe goes up and out of the way of the hot engine components, and there is a couple inches of clearance for the elbow on the brake boost line, where the splice is usually made for the boost gauge, or manual DV.
Clearance from vacuum line to brake boost:
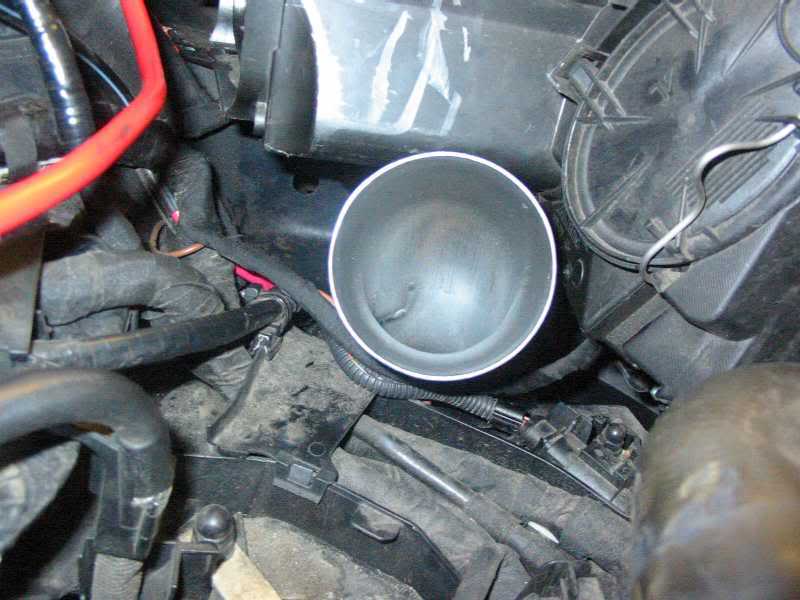
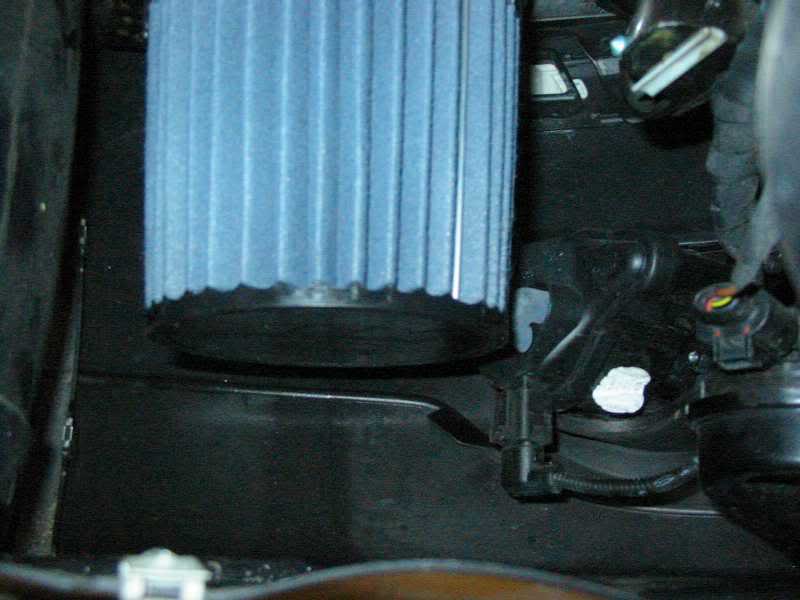
I always liked the idea of having the filter lower in the engine bay so that it sucks the cold air, but I didn’t want to have to remove the front bumper to install and clean the filter every time. Also, I was fearful of water getting sucked into the engine having the filter placed so low. Fortunately, the filter is placed in a great spot where water will be deflected, even in the worst storm, and the filter has several inches of clearance from the bottom of the skid plate. The skid plate needs removed every time for an oil change, which gives perfect access to the air filter. One metal band holds the air filter in place so it will be very easy to remove and clean during normal maintenance. AEM suggests cleaning the filter every 20k miles.
Air filter as it looks from under the car:
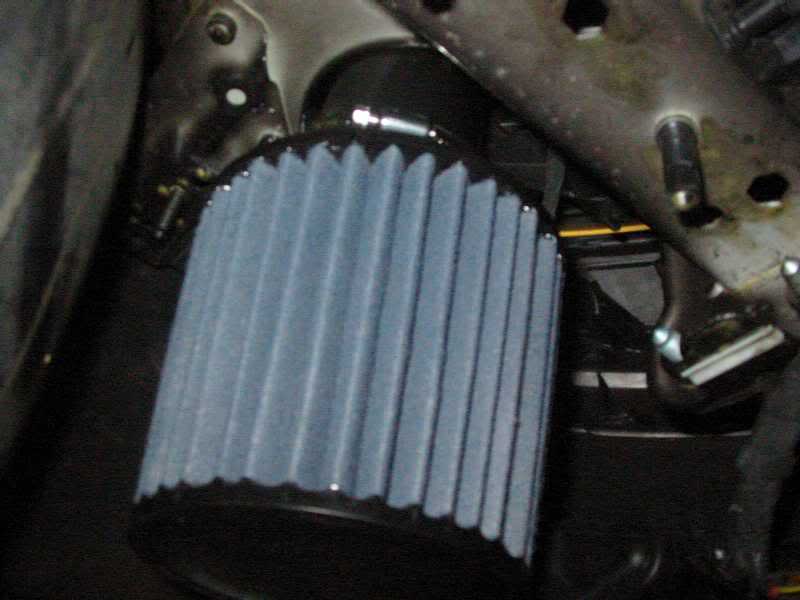
Air filter clearance from the bottom of the skid plate:
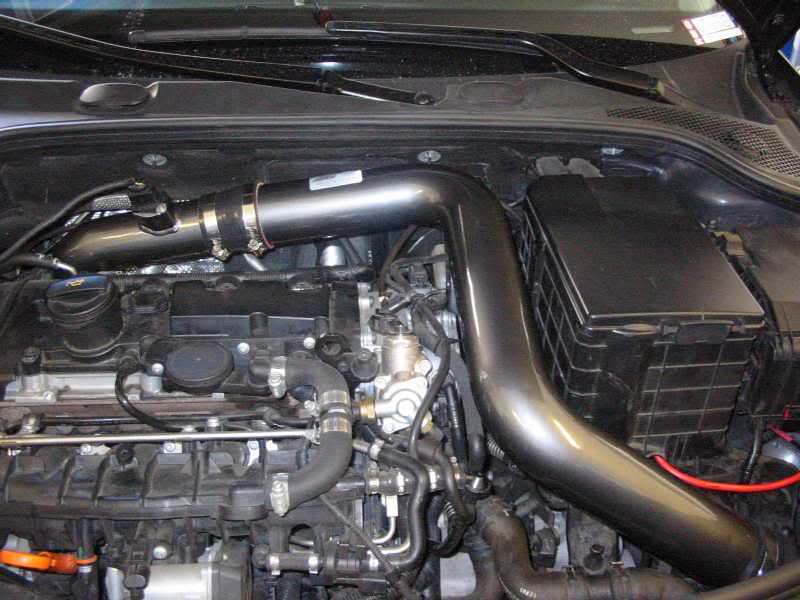
I don’t have equipment to measure the temperature of the air in the intake for a proper comparison, but I do have some subjective impressions. After driving for a while, the pipe on the K&N used to get very hot. The outside of the AEM pipe seems to stay relatively cool, which is a testament to the quality of the metal and finish. The DV and intake noise from the AEM seems to be much louder than the K&N, which might be due to the cleanliness of the filters, but I don’t think so. Finally, the performance feel on the road seems to be every bit as good as the K&N, if not a bit better. My thought is that most of the improvement will be evident in the warmer temperatures of summer. I’ll keep everyone posted on my driving experiences over the next while.
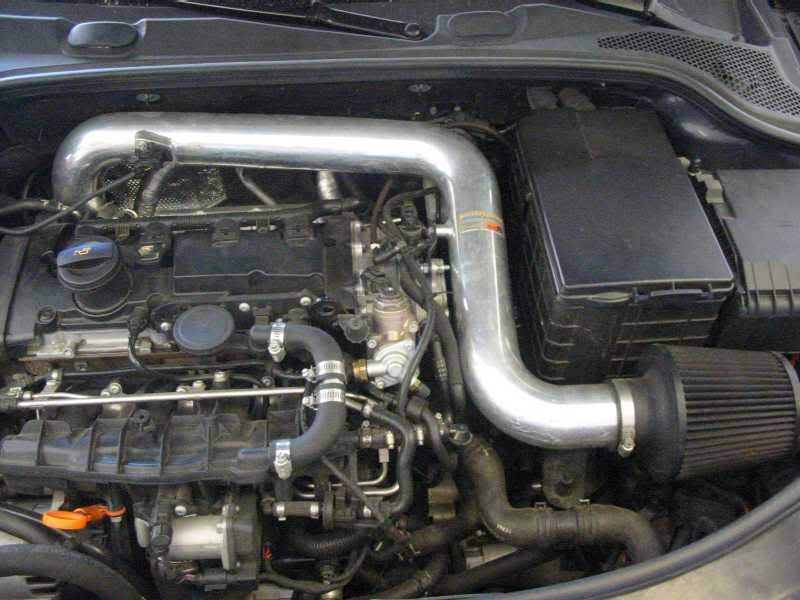
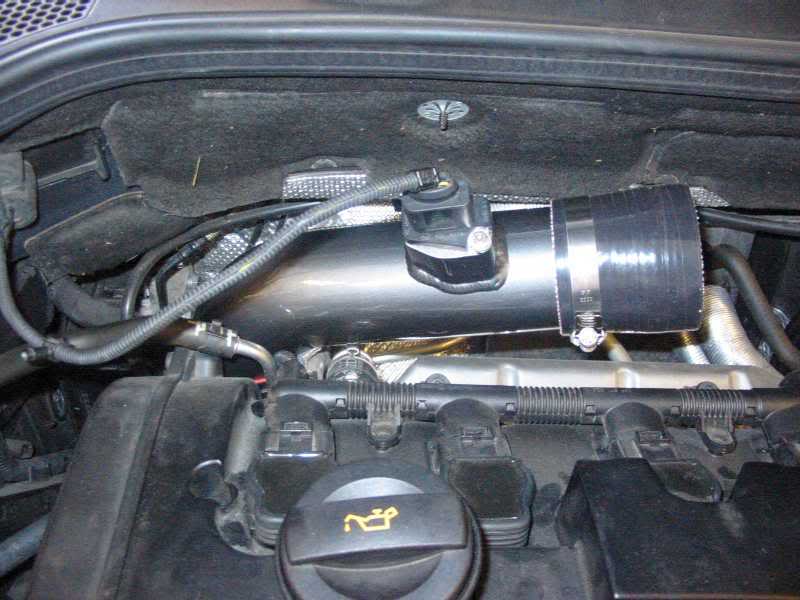
Final install picture:
Problem is that I’ve gotten a flat and the shop was unable to repair it today. I was getting close to replacing the tires, but now I guess it’s a must? It sucks spending the money, but I love having new tires.
Hope this helps!
Other general pictures:
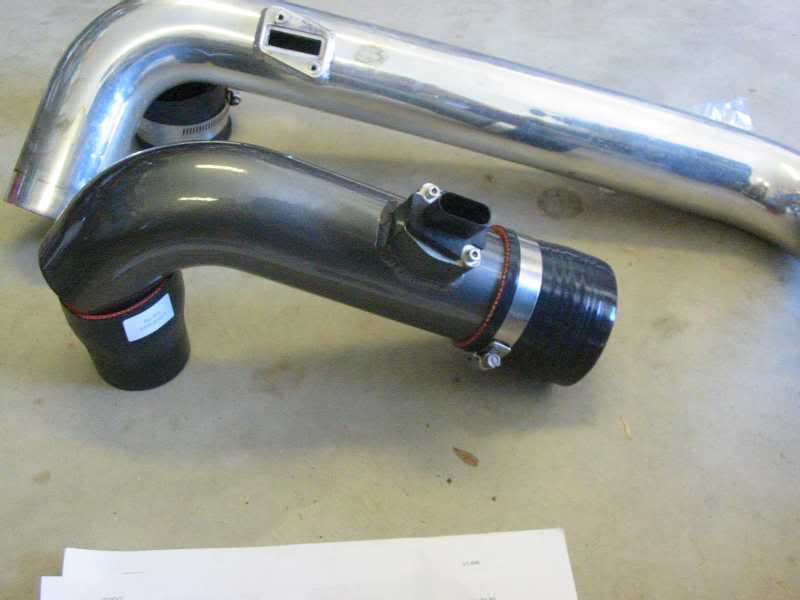
MAF part of the different intakes:
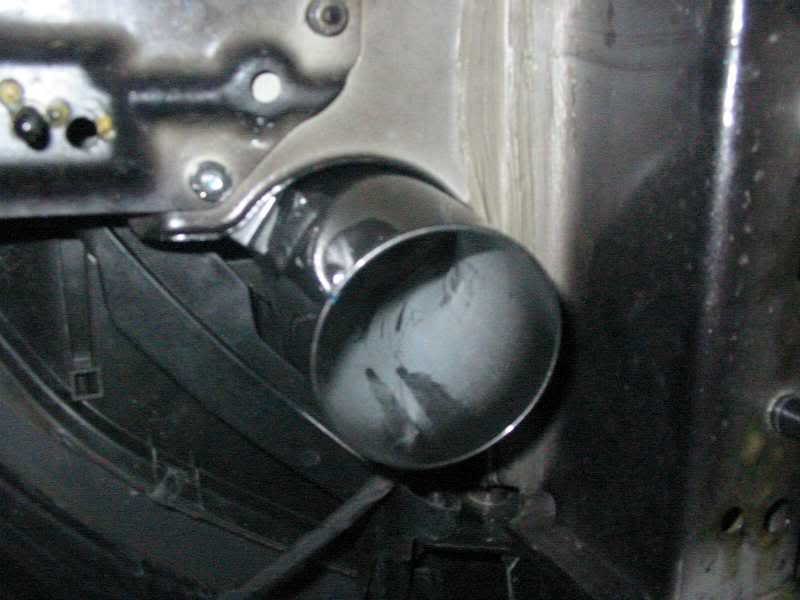
Lower pipe where the air filter attaches:
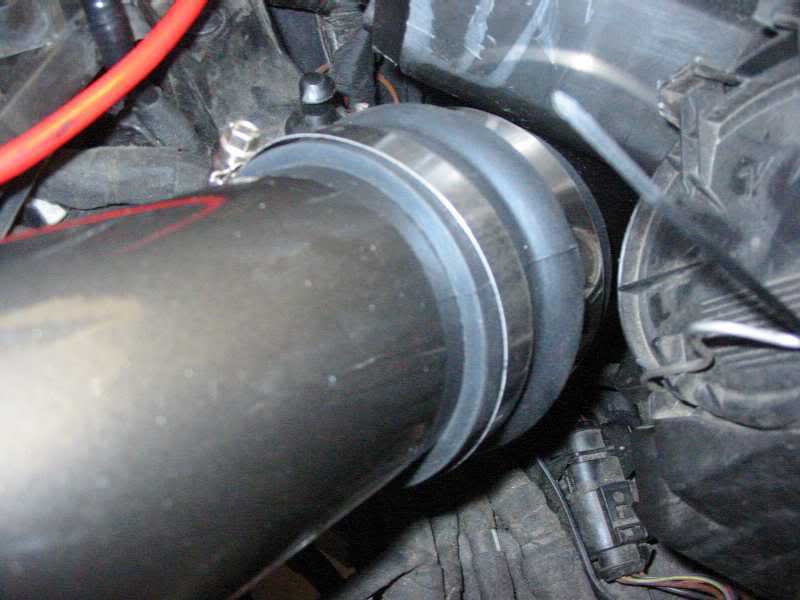
Connection of mid to lower pipe:
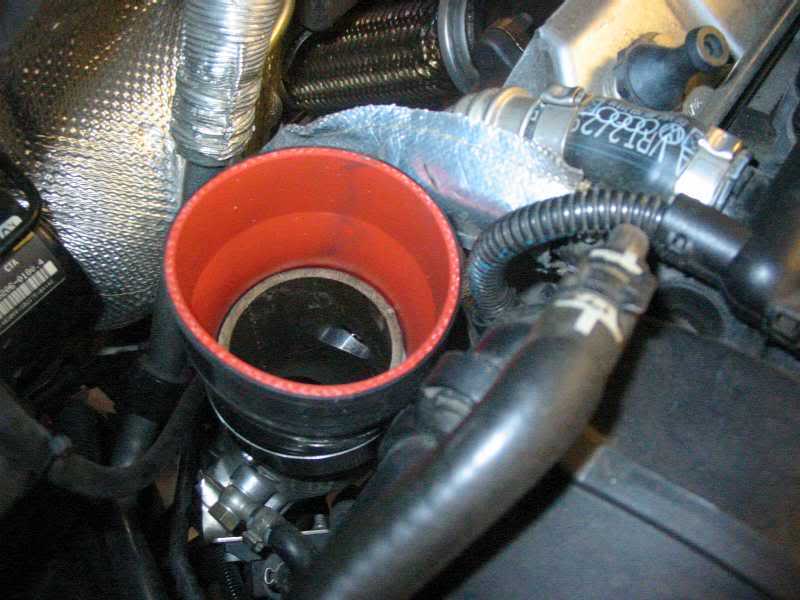
AEM sleeve on the turbo inlet:
AEM MAF pipe section:
Cheers!
And contrary to popular belief, there is no need to remove the bumper!
Well, I finally had the opportunity to get and install the AEM CAI. I must say, it is definitely made out of very nice materials, and best of all, the powdercoating matches the color of my car. It comes with everything you need for the install, including a very good set of instructions with thumb nail images on each critical step. The OEM MAF is removed and reused, but all other parts are new.
Current set-up:
I had the prototype for K&N, which is their Typhoon series intake. The K&N is primarily a short ram intake that originally came with a housing that helped to block off the engine bay and help divert and separate the cool air from the factory intake area. Unfortunately, the intake shroud wasn’t the highest quality, and it interfered with the junction from the brake boost line. I ended up removing it after a while, but by that time it was already falling apart some. I also found that there wasn’t much difference with or without it on.
The first step for me was removing the K&N intake, which was very easy. You can see that I also removed the battery and battery box platform to gain access to the screw under the left headlight housing.
Turbo inlet:
Engine bay w/o battery & battery box platform:
I also had to jack up the car and remove the underbelly pan to gain access under the vehicle where the new filter will be positioned. I ended up also removing the fender liner on the left side to better gain access to a very stubborn bolt. You can see the bolt under the left headlight housing.
The bolt is a T-30 under the headlight housing located right in the middle of the picture:
On the A3, it is a T-30 head, and on the GTI, it is a 10mm bolt. It is a true PITA to remove that bolt. It is screwed into the two body pieces prior to any painting, so it is nearly impossible to budge after the paint and such has it sealed into place. Also, there isn’t any room to get your hand on the bolt head, so I almost had it stripped prior to losing my sanity. I sprayed it down with anti-seize many times, and ended up drilling out the bolt from the bottom. Eventually I was able to get it to twist out. There was a 10mm bolt provided to replace the OEM and secure the lower pipe. It was also a huge challenge getting that bolt tightened all the way to secure the lower pipe, since there was no room to work and the pipe needed to be not touching any of the engine components.
The PITA bolt, and you can see where I drilled out the bottom:
Lower pipe secured in place:
After securing the lower pipe, everything else was truly a breeze. Provided is a rubber bushing mount for the center piece so the CAI has the ability to flex under motion.
Mount on top of the rubber bushing:
I also like that the pipe goes up and out of the way of the hot engine components, and there is a couple inches of clearance for the elbow on the brake boost line, where the splice is usually made for the boost gauge, or manual DV.
Clearance from vacuum line to brake boost:
I always liked the idea of having the filter lower in the engine bay so that it sucks the cold air, but I didn’t want to have to remove the front bumper to install and clean the filter every time. Also, I was fearful of water getting sucked into the engine having the filter placed so low. Fortunately, the filter is placed in a great spot where water will be deflected, even in the worst storm, and the filter has several inches of clearance from the bottom of the skid plate. The skid plate needs removed every time for an oil change, which gives perfect access to the air filter. One metal band holds the air filter in place so it will be very easy to remove and clean during normal maintenance. AEM suggests cleaning the filter every 20k miles.
Air filter as it looks from under the car:
Air filter clearance from the bottom of the skid plate:
I don’t have equipment to measure the temperature of the air in the intake for a proper comparison, but I do have some subjective impressions. After driving for a while, the pipe on the K&N used to get very hot. The outside of the AEM pipe seems to stay relatively cool, which is a testament to the quality of the metal and finish. The DV and intake noise from the AEM seems to be much louder than the K&N, which might be due to the cleanliness of the filters, but I don’t think so. Finally, the performance feel on the road seems to be every bit as good as the K&N, if not a bit better. My thought is that most of the improvement will be evident in the warmer temperatures of summer. I’ll keep everyone posted on my driving experiences over the next while.
Final install picture:
Problem is that I’ve gotten a flat and the shop was unable to repair it today. I was getting close to replacing the tires, but now I guess it’s a must? It sucks spending the money, but I love having new tires.
Hope this helps!
Other general pictures:
MAF part of the different intakes:
Lower pipe where the air filter attaches:
Connection of mid to lower pipe:
AEM sleeve on the turbo inlet:
AEM MAF pipe section:
Cheers!
Thread Starter
|
Senior Member
Joined: Mar 2006
Posts: 3,713
From: Cibolo, TX
Well, since I had a flat tire, my first test drive wasn't all that exhilirating. After the tire fix today, I noticed that my boost wasn't working correctly. I reset the air, fuel and boost and OMG this car rocks again! I'm definitely loving the new intake.
BTW, the K&N is for sale...
Cheers!
BTW, the K&N is for sale...
Cheers!

Thread Starter
|
Senior Member
Joined: Mar 2006
Posts: 3,713
From: Cibolo, TX
Any short ram intake will be an advantage over the stock, IMO. However, the AEM placement of the filter is optimal for a CAI. I notice that the intake pipe running over the top of the engine is much cooler than the K&N as well. The cool air on the coast this morning just made my car a beast. I love it!
I have the SPS device for the REVO software, so it is very easy to reset the ECU.
Oh, andPM for the K&N system if you're interested.
Cheers!
I have the SPS device for the REVO software, so it is very easy to reset the ECU.
Oh, andPM for the K&N system if you're interested.
Cheers!
Thread Starter
|
Senior Member
Joined: Mar 2006
Posts: 3,713
From: Cibolo, TX
More SOP testing and I'm truly seeing an advantage to have the filter lower. Anybody have an extended bar of another manufacturer in place, that places the filter lower in the car? I'm just wondering how many true CAI are on the market and available for our cars?
Cheers!
Cheers!

2nd Gear
Joined: Aug 2006
Posts: 577
From:
Damn chef that engine bay is dirty as hell, you take up rally racing or something like that?
If you had a nice engine cover you'd be more inclined to keep her clean.
Just bustin your chops.
If you had a nice engine cover you'd be more inclined to keep her clean.
Just bustin your chops.
Thread Starter
|
Senior Member
Joined: Mar 2006
Posts: 3,713
From: Cibolo, TX
Yeah, I noticed that I really need to get the engine detailed. I've had the interior and exterior fully detailed within the last couple weeks, andnow theengine just looks terrible.
Too bad your still not pimping the A3 or this is a worthwhile mod.
Cheers!
Too bad your still not pimping the A3 or this is a worthwhile mod.
Cheers!

Thread
Thread Starter
Forum
Replies
Last Post