
Carbon Fiber Interior Trim

Thread Starter
|
1st Gear
Joined: Jul 2007
Posts: 9
Well it all started a while back when I saw a car online with carbon fiber interior trim. Then I started researching where I can buy it. It turns out that when my car was manufactured it was not an option. So I decided to make my own. I guess I could have gone with some of that stick on stuff, but I wanted the look and feel of the real thing. I have some experience with fiberglass and carbon fiber is basically the same thing except with carbon you are showcasing the material instead of hiding it.
The trim pieces that I covered have a rolled edge on both top and bottom. Also the front doors and the dash trim pieces are curved. Carbon fiber is typically used as a reinforcement layer in structural parts. So when you wet the carbon fiber it tends to stick up due to the structural properties of it. I wanted a fairly heavy ounce material so the fibers would show though. After talking to some people about the project it was recommended that I vacuum bag the pieces of trim in order to roll the carbon around the rolled edge of the parts.
Let me say that this project requires a lot of time and patience. With that being said I needed to remove all of the trim from the door cards and from the dash. Okay this should be easy right? Guess again�the doors yes�it was cake but the dash is another story. Four or five hours later the trim is finally out but I needed to put it all back together because it�s my daily.
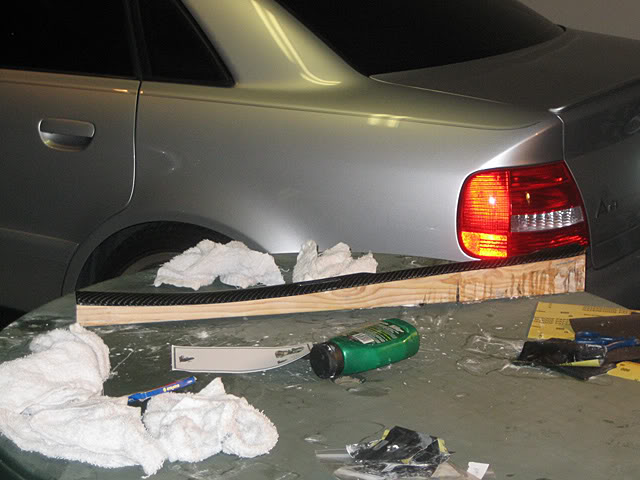
Now with the trim removed I made wood bases for the parts to sit on so I could vacuum bag them down. I took 2x4�s and traced the shape of the part on then, took it to a band saw and cut them out.
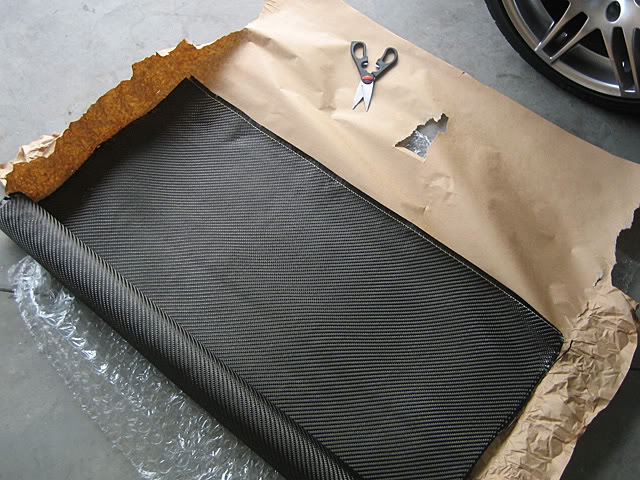
After that all of that the materials could be cut. The carbon fiber, peel ply, blotter and the bag itself. The real trick is getting the weave lined up straight without any kinks, bends, or other imperfections. I left about a 1/2� hang over the part on all sides and then trimmed it later once it was dry.
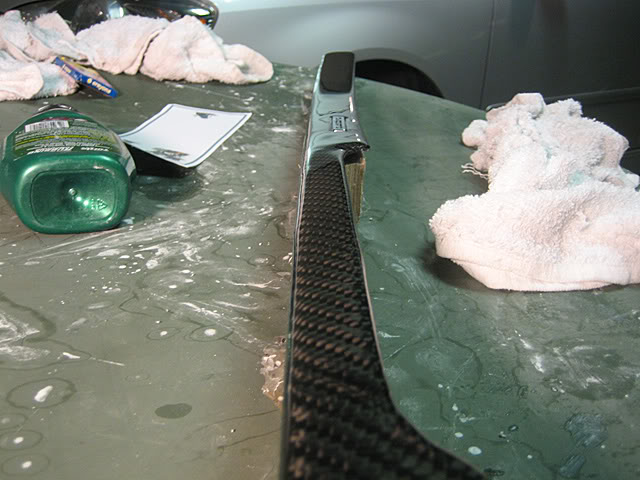
After the vacuum bagging process is done I built up about 3 or 4 layers of resin and wet sanded in between each. Then once I was satisfied with the finish I applied 3 coats of clear coat and wet sanded with 1500. I finished up with buffing compound to get a clear glossy look.
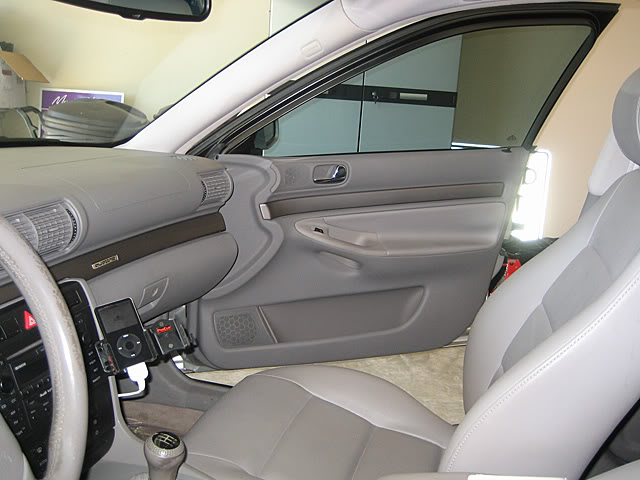
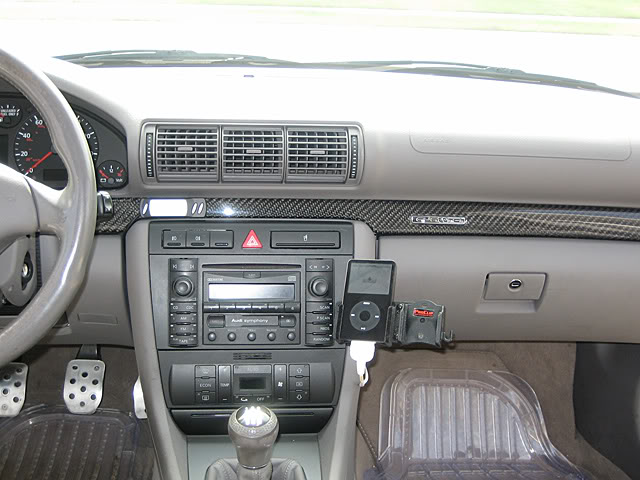
The before:

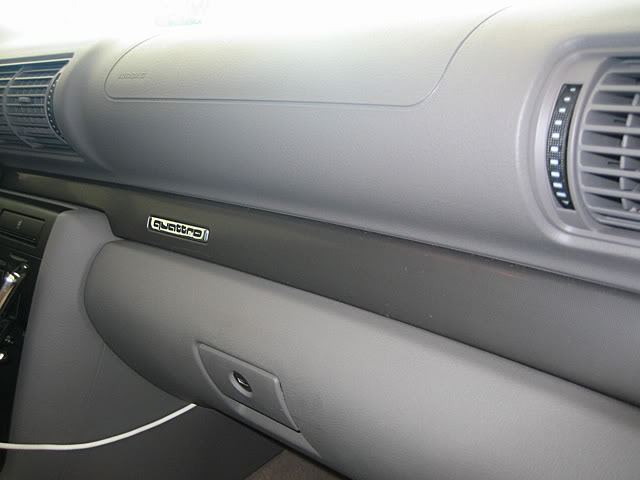
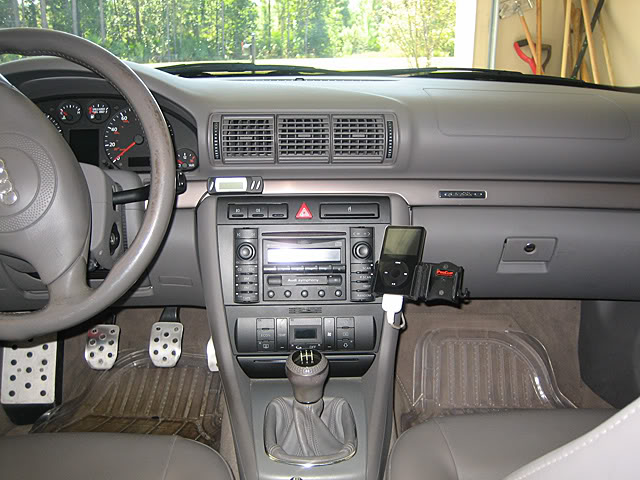
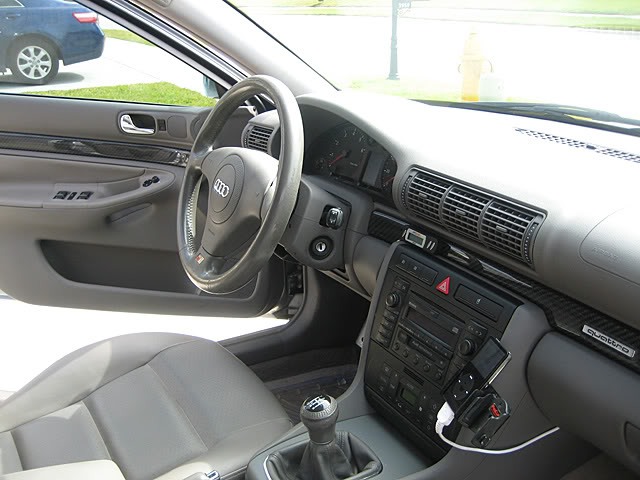
The after:

If anyone wants to to do this to their car let me know.
The trim pieces that I covered have a rolled edge on both top and bottom. Also the front doors and the dash trim pieces are curved. Carbon fiber is typically used as a reinforcement layer in structural parts. So when you wet the carbon fiber it tends to stick up due to the structural properties of it. I wanted a fairly heavy ounce material so the fibers would show though. After talking to some people about the project it was recommended that I vacuum bag the pieces of trim in order to roll the carbon around the rolled edge of the parts.
Let me say that this project requires a lot of time and patience. With that being said I needed to remove all of the trim from the door cards and from the dash. Okay this should be easy right? Guess again�the doors yes�it was cake but the dash is another story. Four or five hours later the trim is finally out but I needed to put it all back together because it�s my daily.
Now with the trim removed I made wood bases for the parts to sit on so I could vacuum bag them down. I took 2x4�s and traced the shape of the part on then, took it to a band saw and cut them out.
After that all of that the materials could be cut. The carbon fiber, peel ply, blotter and the bag itself. The real trick is getting the weave lined up straight without any kinks, bends, or other imperfections. I left about a 1/2� hang over the part on all sides and then trimmed it later once it was dry.
After the vacuum bagging process is done I built up about 3 or 4 layers of resin and wet sanded in between each. Then once I was satisfied with the finish I applied 3 coats of clear coat and wet sanded with 1500. I finished up with buffing compound to get a clear glossy look.
The before:
The after:
If anyone wants to to do this to their car let me know.
Last edited by greg7223; Jan 4, 2009 at 03:25 PM.

Administrator
Joined: Jul 2006
Posts: 11,670
From: Binghamton, NY
Not difficult, but time-consuming to an extent. There's a writeup on audiworld.com on how to do it, and a picture in my album here on the forum showing my interior once I had it all disassembled to do mine. It's not as bad as it looks - you can get all the pieces out pretty easily.
Thread Starter
|
1st Gear
Joined: Jul 2007
Posts: 9
The one on the passengers front dash is the worst. Make sure you allow a few hours for this. And yes as mentioned there is a write up on how to do it.
Thread Starter
|
1st Gear
Joined: Jul 2007
Posts: 9
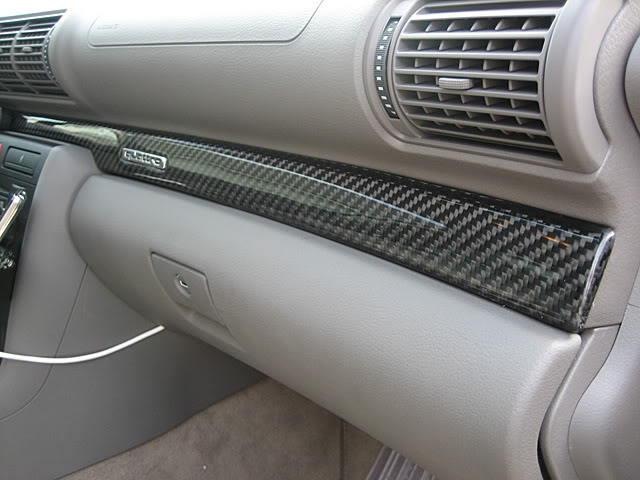
Yeah, they are underneath. I took the quattro label off then vacuum bagged it and when you do that, the carbon conforms to the shape underneath. Then I just put it back on when I was finished with some resin.
Administrator
Joined: Jul 2006
Posts: 11,670
From: Binghamton, NY
Yeah, no kidding. If you picked up a spare set of interior trims, did this treatment to them, and sold them on a core-exchange basis, you'd probably make a nice dime if you kept the price realistic.