
Heater core replacement, I'm doing it.

2nd Gear
Joined: May 2012
Posts: 1,272
From: Minnesota
Details, details.
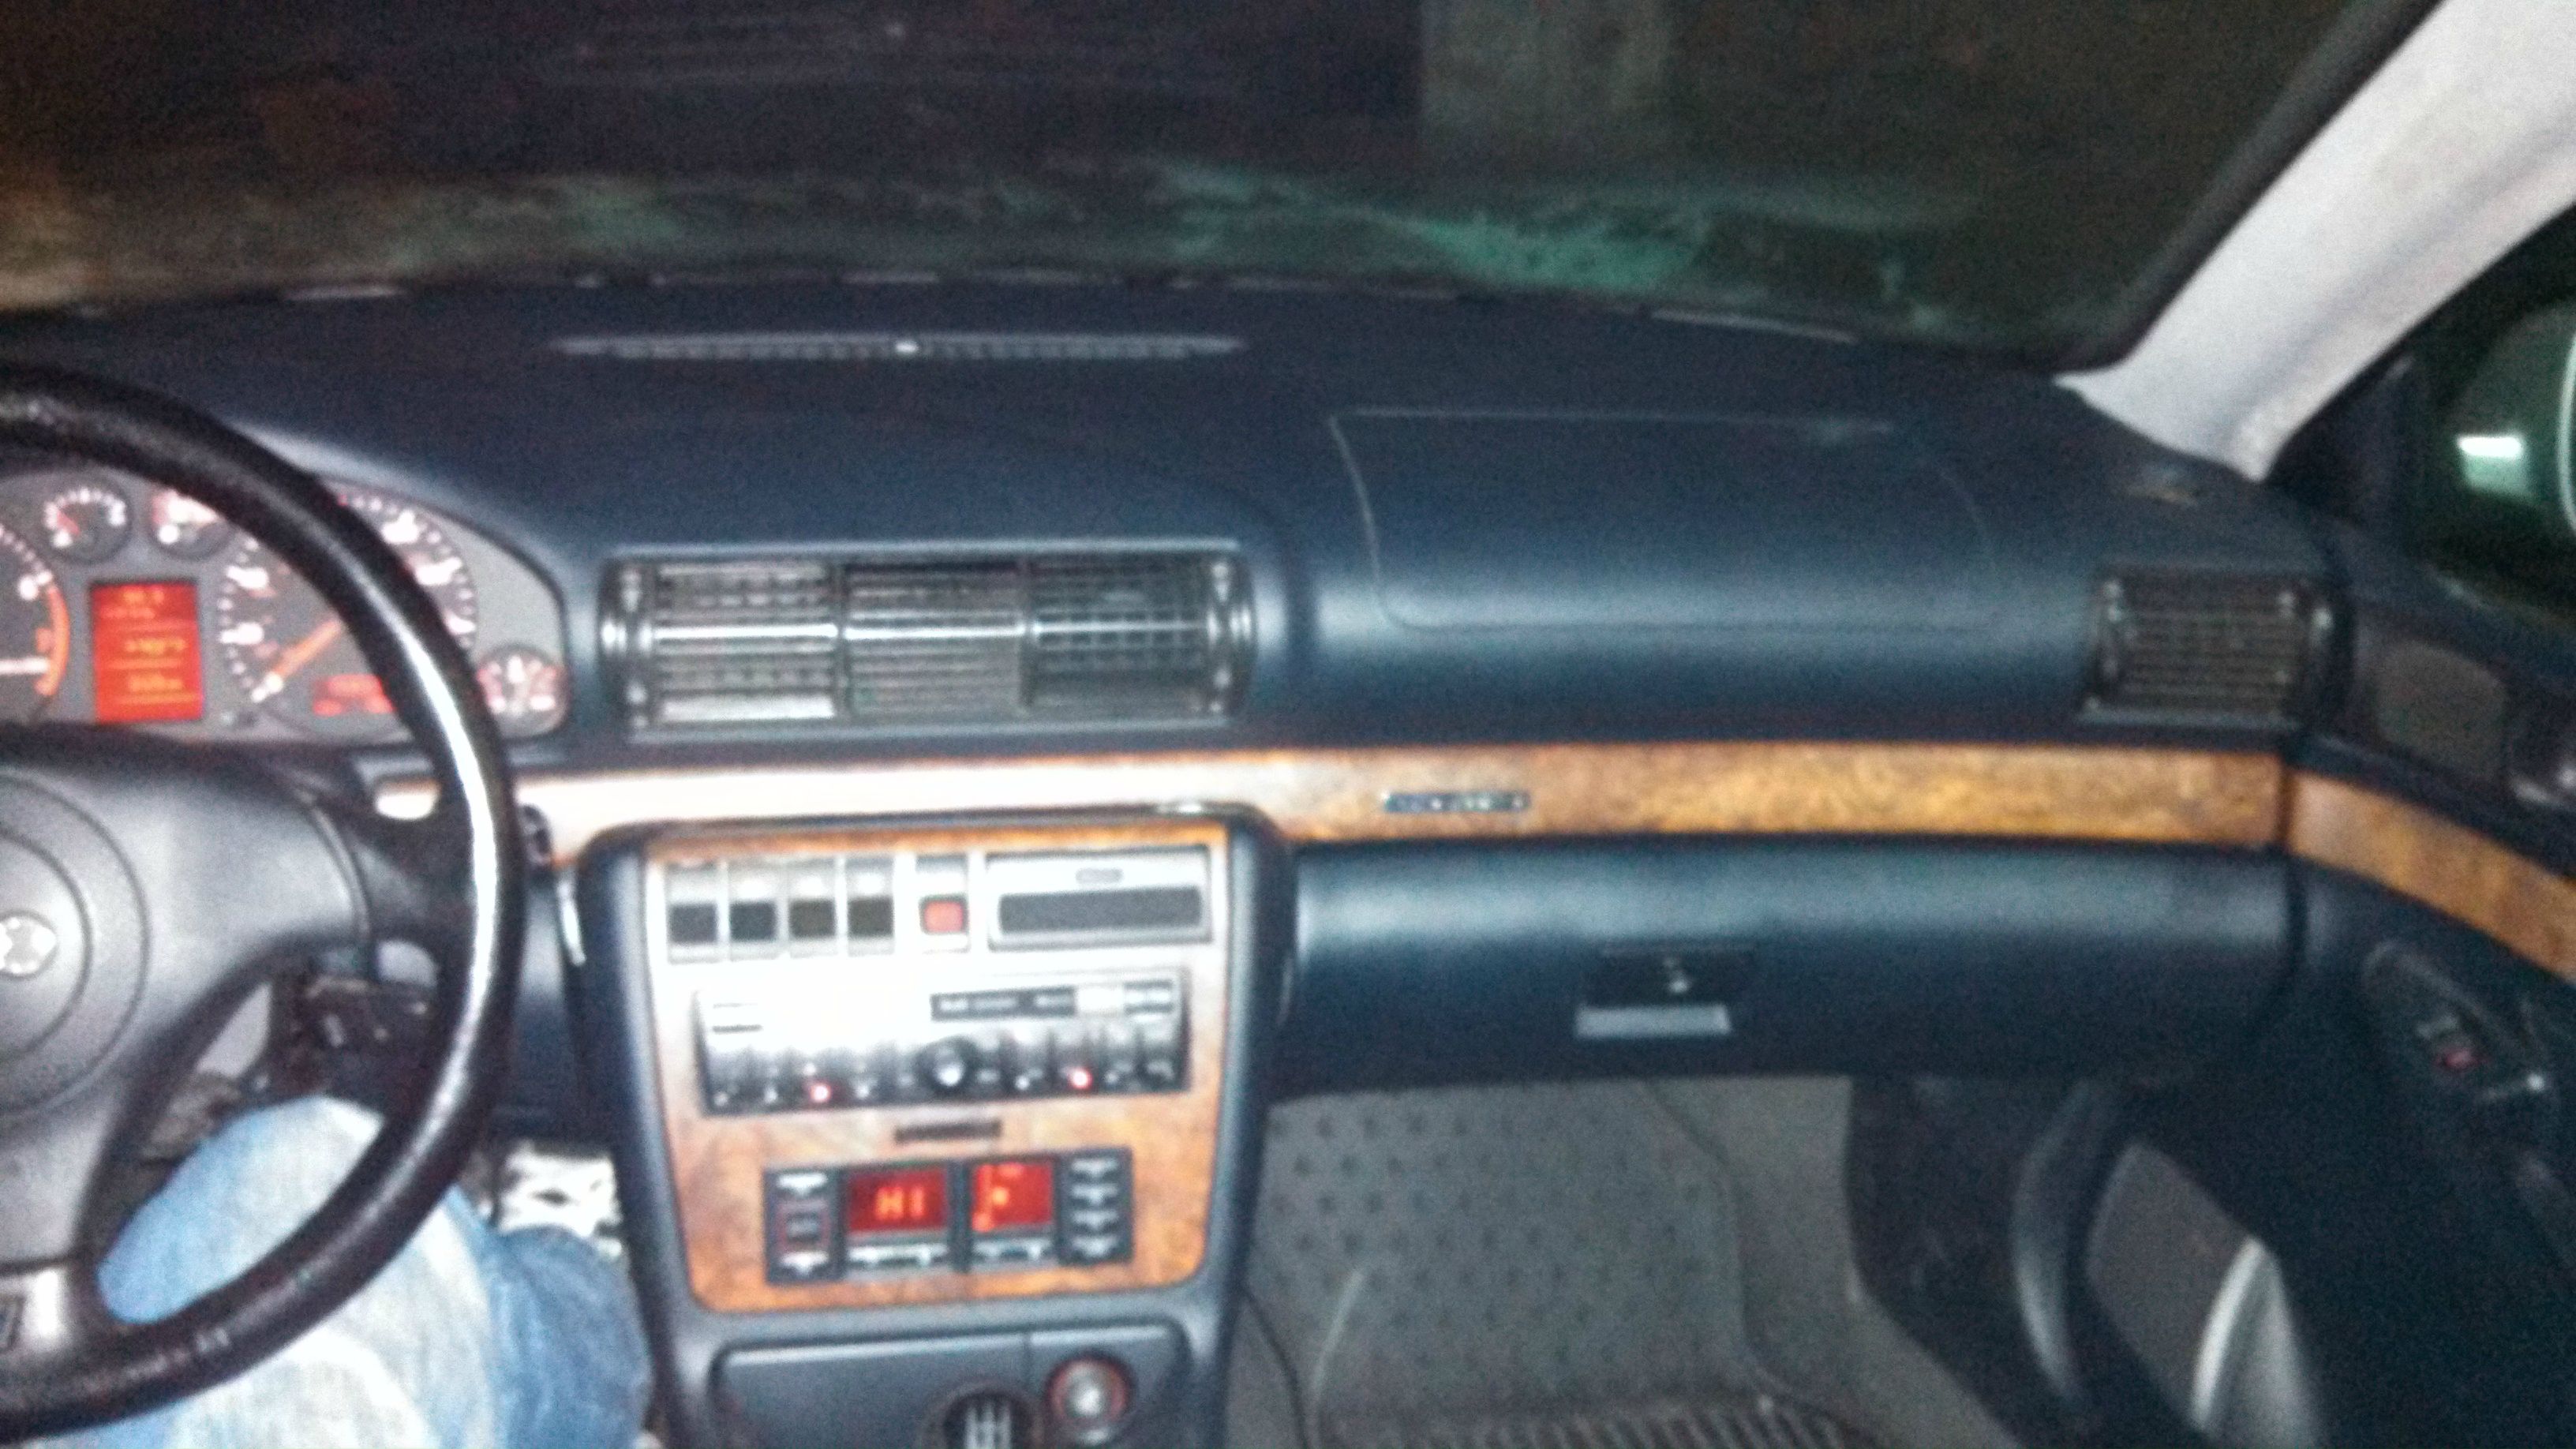
It's a good feeling. Nice job eldurino! I took this pic after I was done doing that on my dear departed 96 A4. You get done with that job, you feel like you've done something not everybody could do....especially if it all works right.
It's a good feeling. Nice job eldurino! I took this pic after I was done doing that on my dear departed 96 A4. You get done with that job, you feel like you've done something not everybody could do....especially if it all works right.
I just wanted to commend you man...Nice work and great of you to take the time to put your experience here for us all to use. My A/C Evap. is shot but thankfully my heat is still functional. I've been toying with the idea of replacing both the evaporator and heater core if I ever dare.
Maybe next spring")
Enjoy your heat!!!
Maybe next spring
Enjoy your heat!!!

Thread Starter
|
2nd Gear
Joined: Oct 2013
Posts: 550
From: Seattle, WA
Ok I mentioned I would do a quick write-up on how it all went for me in hopes that it will help someone else who undertakes this in the future so here goes (mind you this isn't a how-to as I didn't really document each step, hopefully it will help nonetheless):
My process on the project was fairly simple: research research research. Initially I was leaking coolant and I thought it was a hole in the hose coming off the pipe. While I ordered and replaced that hose, I watched countless videos on how to replace the core hoping I wouldn't have to do it. Ultimately of course, that was not the case, but the point is, I had a good general idea of what I was getting into.
At this point I collected what I needed, the replacement core (amazon: about $30), some specialty tools* (amazon: about $20).
*As far as tools needed:
Once I had everything, I basically jumped in.
A few things I didn't do that I should have:
GET THE AC LINES DRAINED!
I was under the impression that you only had to drain them if you were going to pull the whole HVAC box out. While I was only planning to quickly yank the heater core and put the new one in, I didn't think one had to drain the AC freon for that. A $300 mistake. Since the interior of the car was now in pieces, it had to be towed and drained and towed home. Don't follow in my footsteps.
Work in light! (This should be fairly obvious)
I live in an apartment, as such I don't have a garage and only a driveway. I also live in the Northern US and it was late October when I did this. What does all this mean? About 1 hour of sunlight each day after work. From about 7pm until 10pm when I would finally stop working, I had to work entirely with a flashlight. Unsurprisingly I noticed and huge decrease in my performance when I could only see what the flashlight was shining at, and from when I used one hand to hold the light.
Get space on both sides of your driver doors
There's a few bolts you'll need to get to that need to have the doors all, or most of the way, open. Make sure they can do so.
A place to organize your pieces
This one may seem obvious as well, but do try to find a garage or a space to put the pieces of your car as you pull them out. I used my back seat and trunk, and while those worked, I wish I had more room, it would have made life much easier.
Get help
Another obvious one but should be stated still. I did nearly the entire project by myself, but thankfully I had the help of another for an hour during the hardest part (finding the last few bolts and removing the HVAC box). It was a serious increase in performance (and sanity) to have 2 brains, 4 hands, an extra set of muscles to use the ratchet, etc.
A few things I didn't do and MAY have helped
Manuals
I never bought one. Everything I did was either from researching online or going in blind. I managed to get everything apart and back together (albeit with some issues, I'll get to this later) without a manual. Would it have been easier with something to refer to? Likely yes, but it's possible without.
Document WELL
My process was to take each bolt out and put them into a sandwich bag and write on each bag where it came from. Label each bag 1, 2, 3, etc so when I was done I could work numerically backward until I got back to '1'. While this was a good start, if I did it again, I would get a pad of paper and better document each bag with bolt(s) in it. Each numbered step I put on the bag would have a corresponding step on the pad of paper better explaining the location.
*I should make a special note here that while I did this bolt-in-bag process, I got careless as I went on. Up until just after the dash came off, I was meticulous about labeling each bolt and piece. I noticed it seemed a little ridiculous to be so **** so I was less worried about it after the dash came off. Little did I know that this is when you must be the most diligent about labeling each item. When the dash is off is when it gets complicated, prior to that it should be a least decently straight-forward as to what bolt/piece goes where, assuming you know WHAT to take off next.
Take pictures!
Lots of pictures! Especially of things that may go in different ways or that may be tough to decipher how they came out. I took pictures of the back of every electrical socket and am glad I did, when I was putting things back together I could quickly reference my picture of how each one went in and where. I did NOT take pictures of things like the passenger airbag. I had all the bolts and pieces but it took a bit to fit everything back in because I didn't know which way it all went (and I couldn't find anything online). 1 or 2 pictures from the underside of the dash up into the passenger airbag area would have saved me a good half-hour.
Ask questions
If you've read this thread you'll know I have had a few questions through the process. All were answered thanks to the people here and I would have very likely had serious issues had I not had their help.
A few misc items specific to the process
Near the end of the HVAC removal, there's two bolts that are hard to find. Both are on the drivers side and connect the plastic HVAC box to the left-side black metal frame that sits behind the radio and climate controls. They are way up near the firewall, one is on the bottom near your right foot (if you were driving), and one is up near the under-side of the dash. If you've done everything to get the HVAC box out and haven't found two there, look there.
If you've manage to get the two bolts out mentioned above and don't have the top vent out that one is also a PITA.
There's a black plastic duct/vent that comes out the top of the HVAC and blows toward the windshield. Two 8mm bolts hold it in and are screwed into the BACK of the metal cross-frame. An absolute PAIN to get out. Those two bolts + the two that are at the front side of the black metal frame listed above are the hardest 4 bolts of this entire process by FAR.
The cross bar that's under the dash doesn't need to come out. If everything is unscrewed/unbolted from the HVAC, it can slide under the silver metal cross member and wiring harness.
Here's the main page I looked at:
AudiWorld Tech Articles
Everything is great up until they start mentioning unbolting the frame and removing the fuse panels (also not necessary).
Here's some videos I watched:
Audi A4 Heater Core Replace - YouTube This is one of that generally describes the process. It's a good place to start as it prepares you for the undertaking (in my opinion, if you go into this project thinking you can get this done quickly you'll get flustered. If you go in with enough time and patience, you'll be okay).
Heater Core - YouTube Okay this one is REALLY basic but like the last one, it helped me just to watch someone and the steps they took.
After all this I must add, take my advice with a grain of salt. Why you ask? I'll leave you with this one last picture:
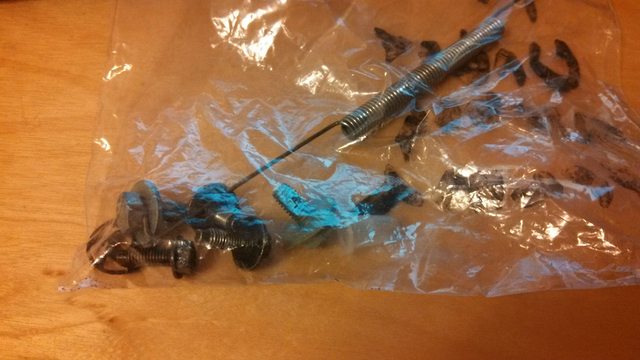
(two I can account for, but it's the two 10mm's that I cannot and worry me most...)
My process on the project was fairly simple: research research research. Initially I was leaking coolant and I thought it was a hole in the hose coming off the pipe. While I ordered and replaced that hose, I watched countless videos on how to replace the core hoping I wouldn't have to do it. Ultimately of course, that was not the case, but the point is, I had a good general idea of what I was getting into.
At this point I collected what I needed, the replacement core (amazon: about $30), some specialty tools* (amazon: about $20).
*As far as tools needed:
- [*]
- [*]
- [*]
- [*]
- [*]
- [*]
Once I had everything, I basically jumped in.
A few things I didn't do that I should have:
GET THE AC LINES DRAINED!
I was under the impression that you only had to drain them if you were going to pull the whole HVAC box out. While I was only planning to quickly yank the heater core and put the new one in, I didn't think one had to drain the AC freon for that. A $300 mistake. Since the interior of the car was now in pieces, it had to be towed and drained and towed home. Don't follow in my footsteps.
Work in light! (This should be fairly obvious)
I live in an apartment, as such I don't have a garage and only a driveway. I also live in the Northern US and it was late October when I did this. What does all this mean? About 1 hour of sunlight each day after work. From about 7pm until 10pm when I would finally stop working, I had to work entirely with a flashlight. Unsurprisingly I noticed and huge decrease in my performance when I could only see what the flashlight was shining at, and from when I used one hand to hold the light.
Get space on both sides of your driver doors
There's a few bolts you'll need to get to that need to have the doors all, or most of the way, open. Make sure they can do so.
A place to organize your pieces
This one may seem obvious as well, but do try to find a garage or a space to put the pieces of your car as you pull them out. I used my back seat and trunk, and while those worked, I wish I had more room, it would have made life much easier.
Get help
Another obvious one but should be stated still. I did nearly the entire project by myself, but thankfully I had the help of another for an hour during the hardest part (finding the last few bolts and removing the HVAC box). It was a serious increase in performance (and sanity) to have 2 brains, 4 hands, an extra set of muscles to use the ratchet, etc.
A few things I didn't do and MAY have helped
Manuals
I never bought one. Everything I did was either from researching online or going in blind. I managed to get everything apart and back together (albeit with some issues, I'll get to this later) without a manual. Would it have been easier with something to refer to? Likely yes, but it's possible without.
Document WELL
My process was to take each bolt out and put them into a sandwich bag and write on each bag where it came from. Label each bag 1, 2, 3, etc so when I was done I could work numerically backward until I got back to '1'. While this was a good start, if I did it again, I would get a pad of paper and better document each bag with bolt(s) in it. Each numbered step I put on the bag would have a corresponding step on the pad of paper better explaining the location.
*I should make a special note here that while I did this bolt-in-bag process, I got careless as I went on. Up until just after the dash came off, I was meticulous about labeling each bolt and piece. I noticed it seemed a little ridiculous to be so **** so I was less worried about it after the dash came off. Little did I know that this is when you must be the most diligent about labeling each item. When the dash is off is when it gets complicated, prior to that it should be a least decently straight-forward as to what bolt/piece goes where, assuming you know WHAT to take off next.
Take pictures!
Lots of pictures! Especially of things that may go in different ways or that may be tough to decipher how they came out. I took pictures of the back of every electrical socket and am glad I did, when I was putting things back together I could quickly reference my picture of how each one went in and where. I did NOT take pictures of things like the passenger airbag. I had all the bolts and pieces but it took a bit to fit everything back in because I didn't know which way it all went (and I couldn't find anything online). 1 or 2 pictures from the underside of the dash up into the passenger airbag area would have saved me a good half-hour.
Ask questions
If you've read this thread you'll know I have had a few questions through the process. All were answered thanks to the people here and I would have very likely had serious issues had I not had their help.
A few misc items specific to the process
Near the end of the HVAC removal, there's two bolts that are hard to find. Both are on the drivers side and connect the plastic HVAC box to the left-side black metal frame that sits behind the radio and climate controls. They are way up near the firewall, one is on the bottom near your right foot (if you were driving), and one is up near the under-side of the dash. If you've done everything to get the HVAC box out and haven't found two there, look there.
If you've manage to get the two bolts out mentioned above and don't have the top vent out that one is also a PITA.
There's a black plastic duct/vent that comes out the top of the HVAC and blows toward the windshield. Two 8mm bolts hold it in and are screwed into the BACK of the metal cross-frame. An absolute PAIN to get out. Those two bolts + the two that are at the front side of the black metal frame listed above are the hardest 4 bolts of this entire process by FAR.
The cross bar that's under the dash doesn't need to come out. If everything is unscrewed/unbolted from the HVAC, it can slide under the silver metal cross member and wiring harness.
Here's the main page I looked at:
AudiWorld Tech Articles
Everything is great up until they start mentioning unbolting the frame and removing the fuse panels (also not necessary).
Here's some videos I watched:
Audi A4 Heater Core Replace - YouTube This is one of that generally describes the process. It's a good place to start as it prepares you for the undertaking (in my opinion, if you go into this project thinking you can get this done quickly you'll get flustered. If you go in with enough time and patience, you'll be okay).
Heater Core - YouTube Okay this one is REALLY basic but like the last one, it helped me just to watch someone and the steps they took.
After all this I must add, take my advice with a grain of salt. Why you ask? I'll leave you with this one last picture:
(two I can account for, but it's the two 10mm's that I cannot and worry me most...)
Last edited by elduderino200; Oct 30, 2013 at 12:36 PM.


2nd Gear
Joined: May 2012
Posts: 1,272
From: Minnesota
Good thread, and a anice iob. I didn't know younwere doing this in a parking lot while holding a flashlight!
BTW, that extra spring you orphaned? I'm pretty sure that holds the plastic dictwork to the back of the dash where it meets one of the vents at the end of the dash. I think you can actually get to it by just takinf off the knee bolster. But I'm guessing that by now you'd rarher take comfort in the idea your car's a little faster without carrying the weight of that spring around.
BTW, that extra spring you orphaned? I'm pretty sure that holds the plastic dictwork to the back of the dash where it meets one of the vents at the end of the dash. I think you can actually get to it by just takinf off the knee bolster. But I'm guessing that by now you'd rarher take comfort in the idea your car's a little faster without carrying the weight of that spring around.
Thread Starter
|
2nd Gear
Joined: Oct 2013
Posts: 550
From: Seattle, WA
Good thread, and a anice iob. I didn't know younwere doing this in a parking lot while holding a flashlight!
BTW, that extra spring you orphaned? I'm pretty sure that holds the plastic dictwork to the back of the dash where it meets one of the vents at the end of the dash. I think you can actually get to it by just takinf off the knee bolster. But I'm guessing that by now you'd rarher take comfort in the idea your car's a little faster without carrying the weight of that spring around.
BTW, that extra spring you orphaned? I'm pretty sure that holds the plastic dictwork to the back of the dash where it meets one of the vents at the end of the dash. I think you can actually get to it by just takinf off the knee bolster. But I'm guessing that by now you'd rarher take comfort in the idea your car's a little faster without carrying the weight of that spring around.
The spring came off of the right side of the glove-box. I tried and tried to put it back in when I was putting the glove-box back but I couldn't find a way. I omitted it and everything SEEMED to work smoothly so I left it out. I do know however it was when I took the far right two bolts out of the GB that it fell out.
Last edited by elduderino200; Nov 4, 2015 at 03:07 PM.

1st Gear
Joined: Aug 2015
Posts: 3
Hey mate, how did you end up getting your socket out? I have dropped two of those black screws down there and cant seem to get anything in there to reach them. Thanks!

2nd Gear
Joined: May 2012
Posts: 1,272
From: Minnesota
Been there. If you dropped them down that air duct, take one of those telescoping magnet things, go under the front seat from the floor in the back and push it up the vent under there. It might take you 10 seconds.