
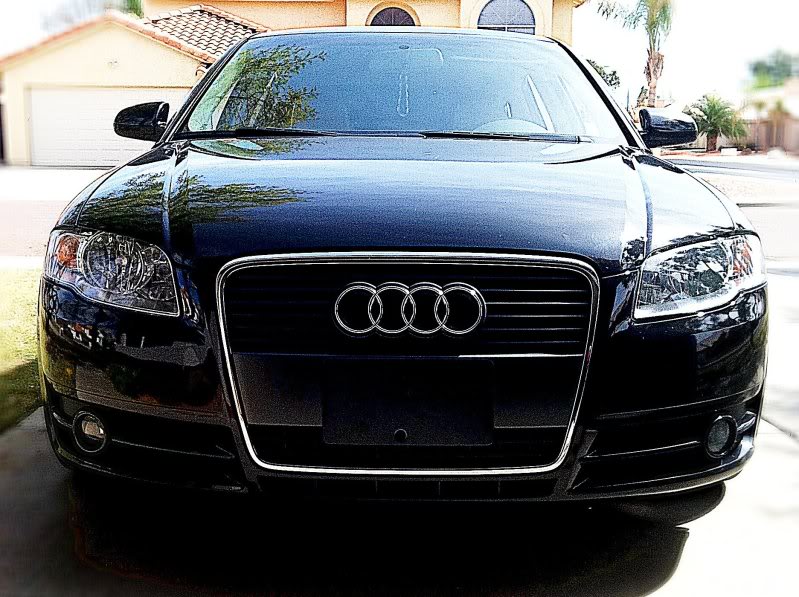
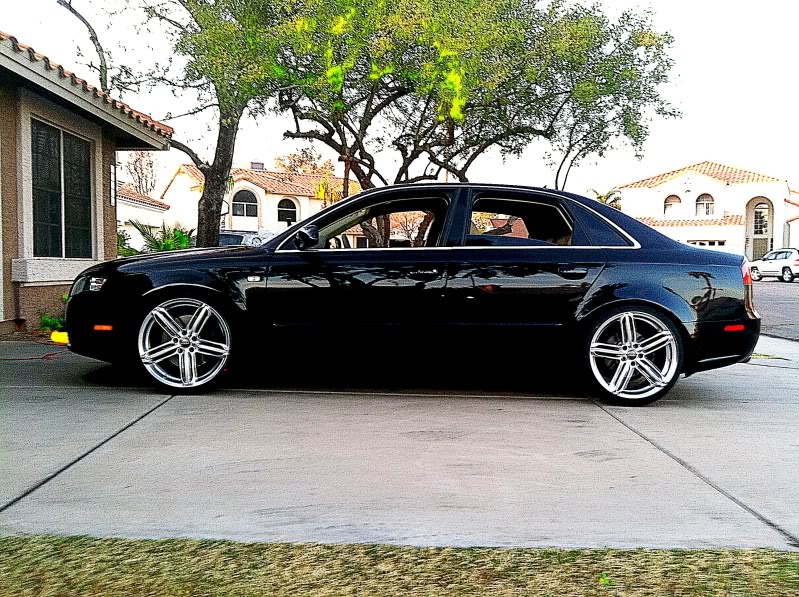
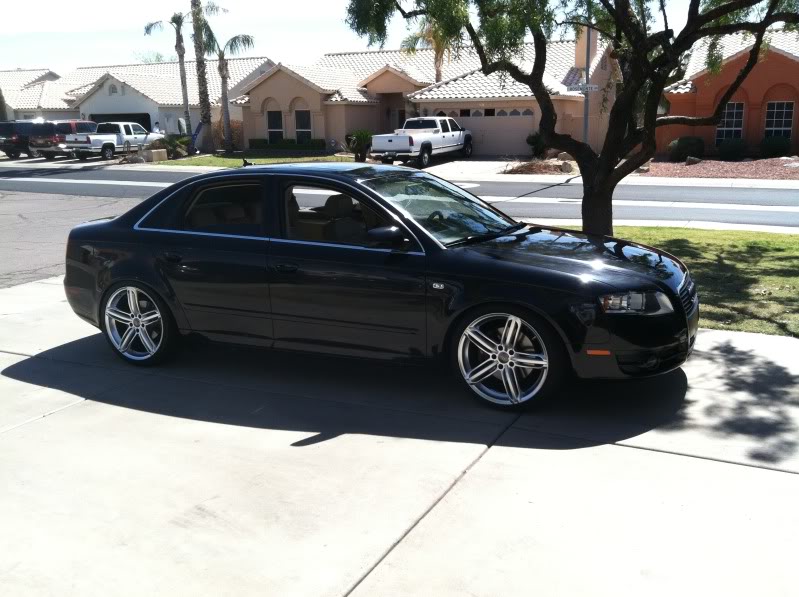
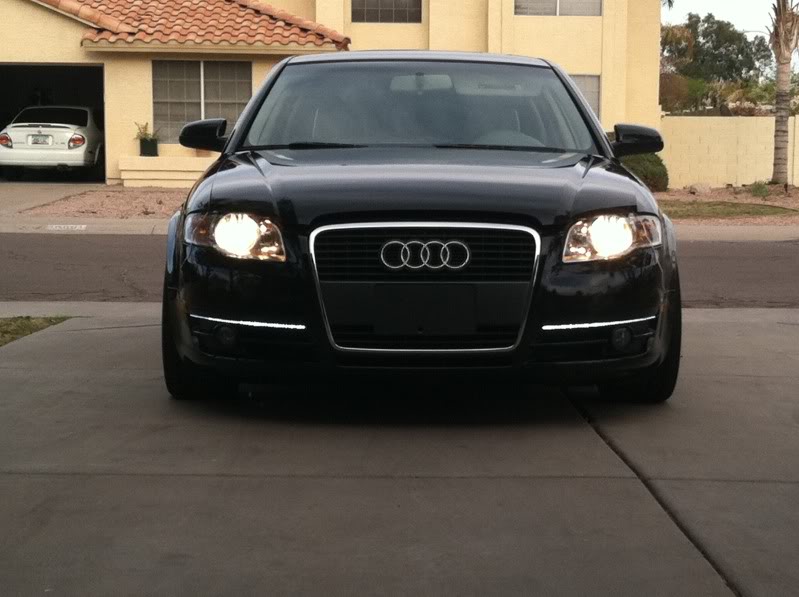
2007 B7 Build..


1st Gear
Joined: Jan 2011
Posts: 102
From: North Texas
HATS OFF !!!! 
That looks amazing i wish i had the budget to do that to my audi
and as far as headlights go there is some pretty good ones with the B7 LED housing that replicates the B8 that look really OEM on EBAY ... they will look really nice on your car.
That looks amazing i wish i had the budget to do that to my audi
and as far as headlights go there is some pretty good ones with the B7 LED housing that replicates the B8 that look really OEM on EBAY ... they will look really nice on your car.


Thread Starter
|
1st Gear
Joined: Mar 2011
Posts: 13
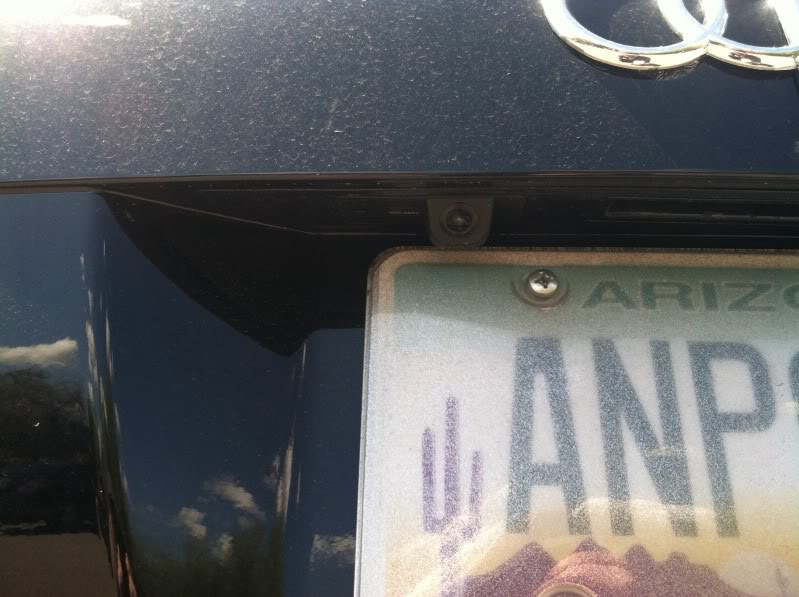
Also installed a backup camera.. Will get a shot of it mounted tomorrow. Was raining all day today.... The light in the top right is from the sunroof being open a couple days ago.
Last edited by 07A4Turbo; Mar 22, 2011 at 09:43 PM.

1st Gear
Joined: Feb 2011
Posts: 7
First off, great looking A4. Nice work. How are you liking that Audi deck? I love how clean it looks even being "aftermarket" but still made by Audi for stock application in other models. I was reading up on it, hoping to pick on up myself. Does it come with Ipod connectivity? How about the navigation, or the gps? Still contains the 6 disc internal changer?..
Sorry for all the questions I am just really interested in this deck and I don't want to spend 600 dollars on something I won't like.
Also how would you say your ride quality changed after install the ST coil overs? That ability to adjust your ride height is great to fit some nice 19's but I think I would rather stick with 18's if the ride quality was greatly compromised.
Thanks for your time.
Thread Starter
|
1st Gear
Joined: Mar 2011
Posts: 13
Updates...
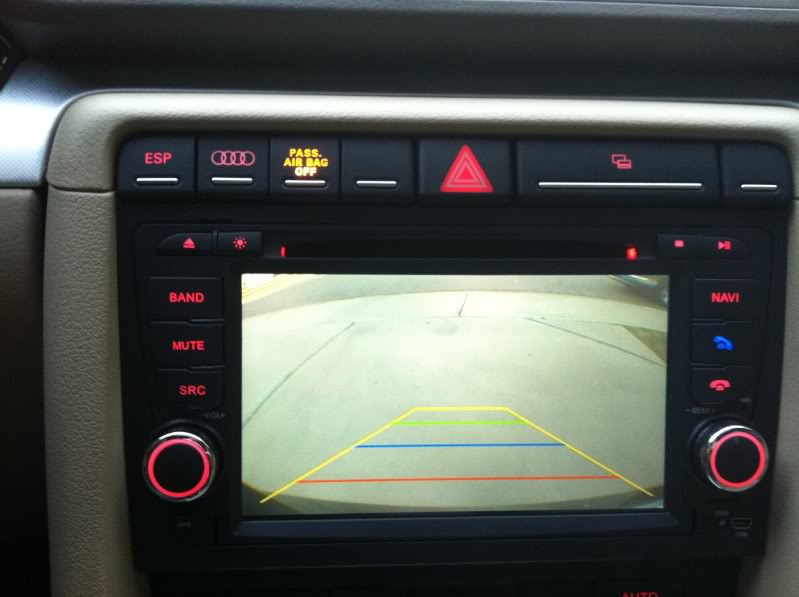
Backup Camera Installed!
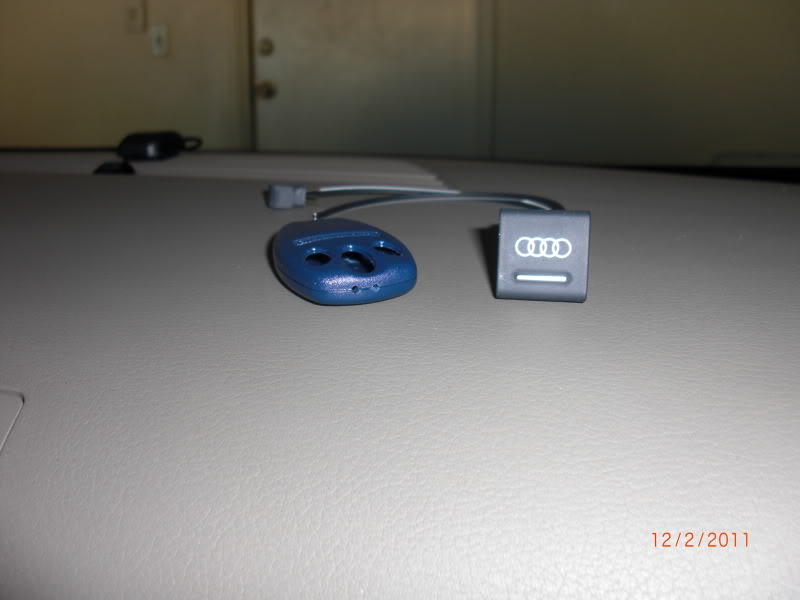
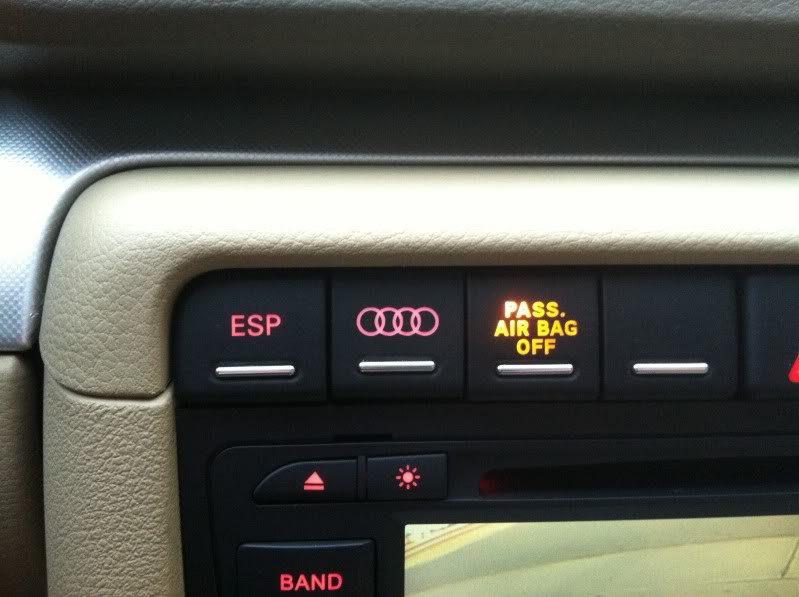
And I hooked up my "Homelink". Sorry, no other pictures other than the button. Just tapped the LED light and ground to the ESP button and then soldered the Mini Garage door remote I bought, then wrapped in electrical tape and zip tied underneath the stereo.
Button and Garage remote before installed.
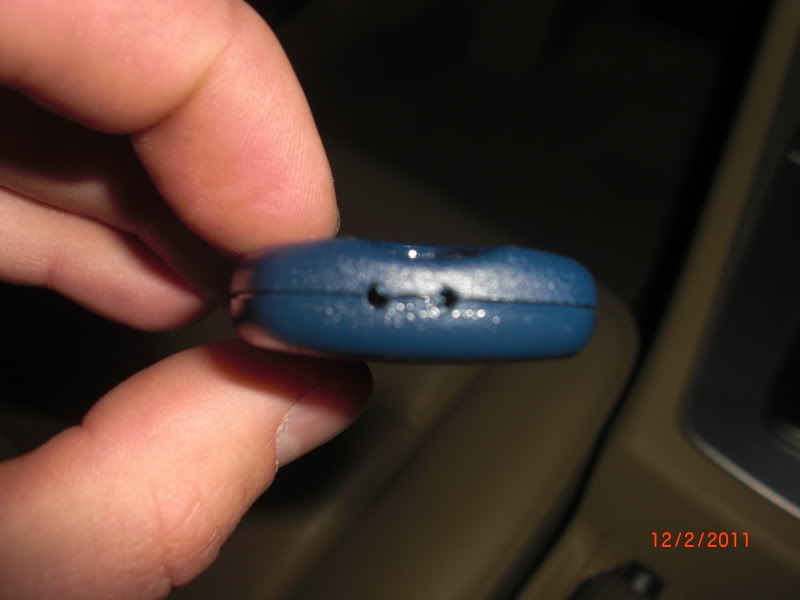
Drilled for the wires to be soldered.
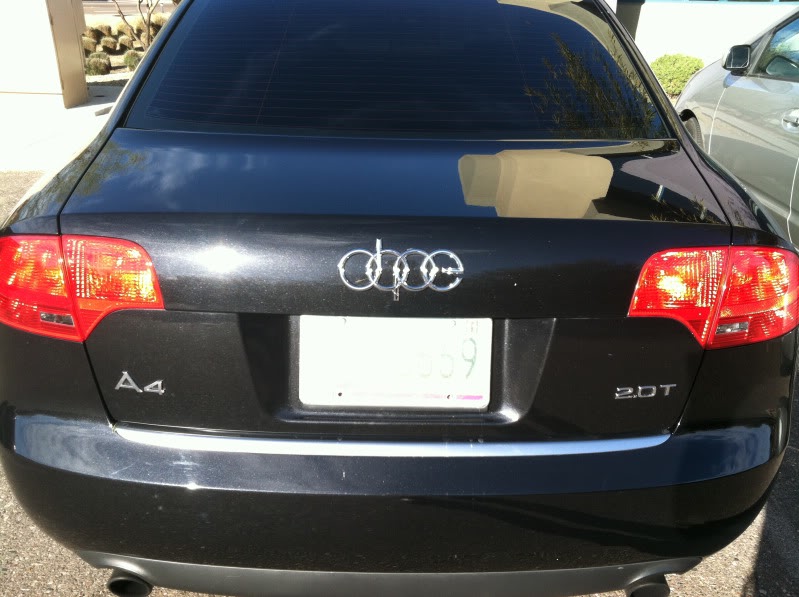
Dope Emblem..
Backup Camera Installed!
And I hooked up my "Homelink". Sorry, no other pictures other than the button. Just tapped the LED light and ground to the ESP button and then soldered the Mini Garage door remote I bought, then wrapped in electrical tape and zip tied underneath the stereo.
Button and Garage remote before installed.
Drilled for the wires to be soldered.
Dope Emblem..
Last edited by 07A4Turbo; Mar 22, 2011 at 09:43 PM.
Thread Starter
|
1st Gear
Joined: Mar 2011
Posts: 13
First off, great looking A4. Nice work. How are you liking that Audi deck? I love how clean it looks even being "aftermarket" but still made by Audi for stock application in other models. I was reading up on it, hoping to pick on up myself. Does it come with Ipod connectivity? How about the navigation, or the gps? Still contains the 6 disc internal changer?..
Sorry for all the questions I am just really interested in this deck and I don't want to spend 600 dollars on something I won't like.
Also how would you say your ride quality changed after install the ST coil overs? That ability to adjust your ride height is great to fit some nice 19's but I think I would rather stick with 18's if the ride quality was greatly compromised.
Thanks for your time.
Sorry for all the questions I am just really interested in this deck and I don't want to spend 600 dollars on something I won't like.
Also how would you say your ride quality changed after install the ST coil overs? That ability to adjust your ride height is great to fit some nice 19's but I think I would rather stick with 18's if the ride quality was greatly compromised.
Thanks for your time.


2-04-2011

For installation, this guide helped a lot. http://www.f1computers.force9.co.uk/...%20in%20A4.pdf
1. Getting the deck out is extremely easy. Use the four keys that came with your new kit, insert them all into the correct locations and pull. The deck should release freely. Disconnect the factory harness and set to the side.
2. Next i removed the glove box, there were 10 8mm screws then you can just pull down and out. Make sure you disconnect the MAIN wiring harness at the back, then set on a blanket or piece of cardboard to keep from getting scratched/damaged.
3. I removed the driver side panel as well, There are 3 screws on this one, one inside the panel fuse box and two on the bottom of the panel. You must disconnect the VAG and the light on this one. Then you can pull out and set to the side. I ran the GPS wire under the dash and to the middle of the dash just below the windshield for a better reception. You can really put it anywhere you would like. If you plan on doing this on the passenger side it's really not needed to remove this. But I am going to have all sorts of wires for my ipod, rca's for an amp and backup camera cables on that side as well.
4. Be sure you have the right harness, mine came with two diff. ones, guessing one was for an older model. Set aside as it is not needed. Everything is plug and play from there. The radio ant wires were a bit tricky though. You must remove the factory connections from the plastic clip, on each side there are pink plastic connectors that slide out. Remove these and then un-clip the metal receptors. Plug in the new one's from the harness and wrap with electrical tape, for one to hold them in place and two so they can be safe from touching a power wire and burning something up or worse.
5. With the glove box removed, it is much easier to re-install the Navigation deck. You can help guide the wires out of the way so that the deck can "click" back in securely. I pulled my aux wires at this time to the side and zip tied them so it will be easy to access when needed, ex. when I go to install the amp and backup cam I am still waiting for. Of course power up everything to make sure it is installed correctly.
6. Install the panels in reverse order and your good to go!
Navigation Installed, took about 30 minutes.
Love what you did, i am in the middle of a redo of my 2006 A4 quattro 2.0T 6sp, used to live in Scottsdale now Costa Rica and its is costly here to import anything. Next up better radio and nav system. Can you tell me where you got the new head unit model etc and if it was really a no brainier to install? what about codes for ECU anything to change, if so what? my car has a basic sym stereo, no nav, or big screen, tape, CD, aux for iphone/ipod and blue tooth from factory.
thanks, and keep up the good work on your car...
rick