2007 B7 Build..


Thread Starter
|
1st Gear
Joined: Mar 2011
Posts: 13
New to the forum, have been gathering a lot of great information for my build. Like I said, this is my first Audi and sure won't be my last!
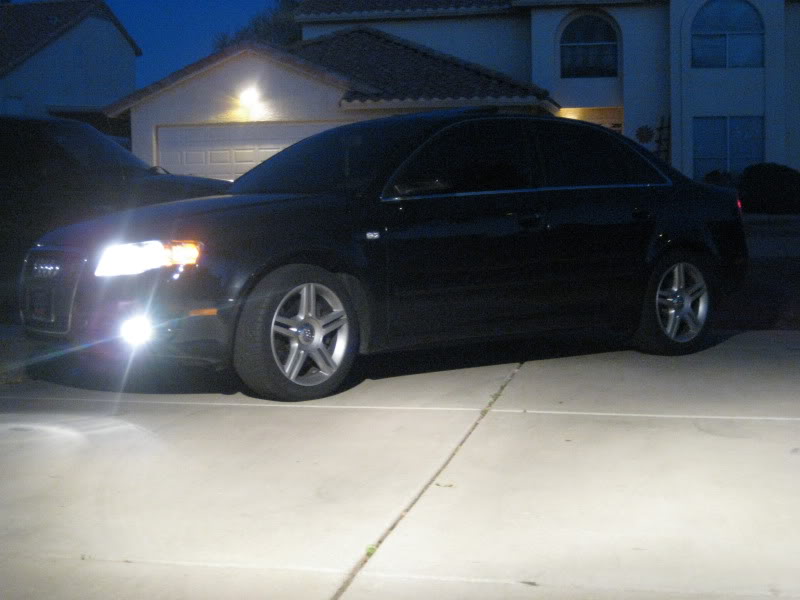
1-28-2011
Day I brought it home.
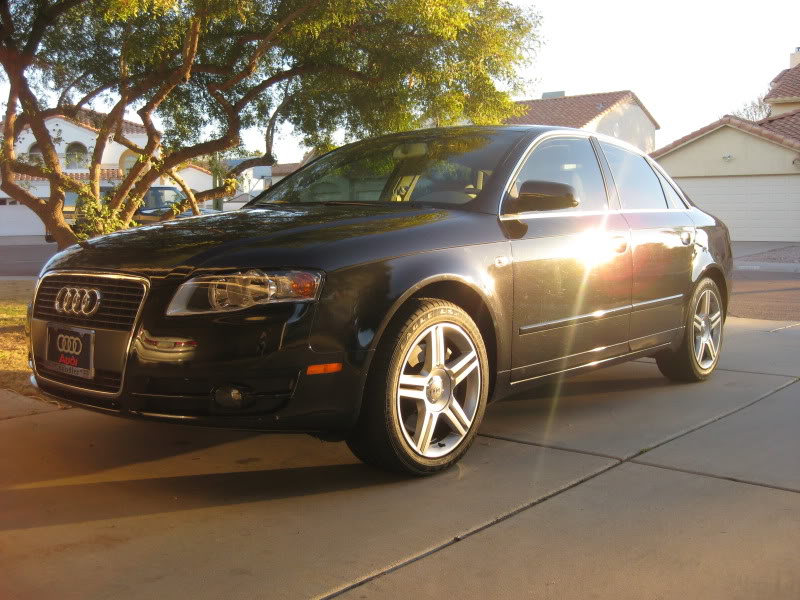
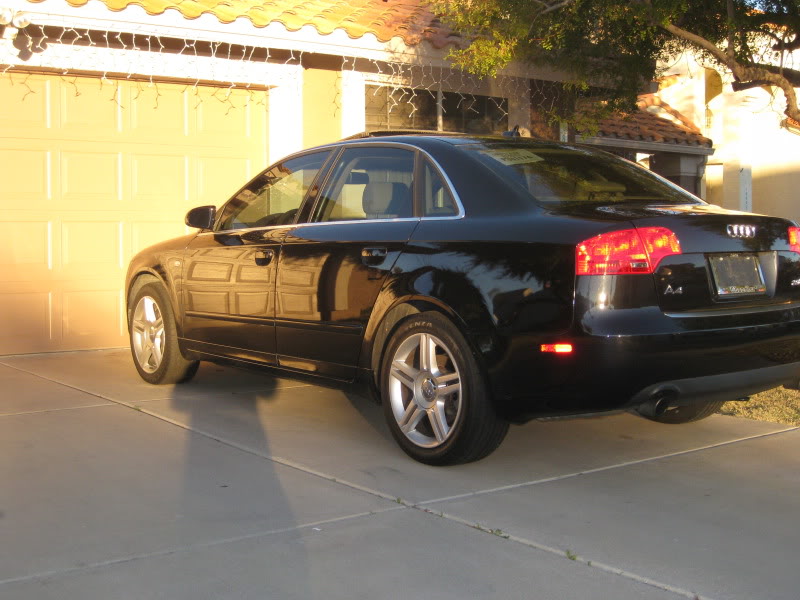

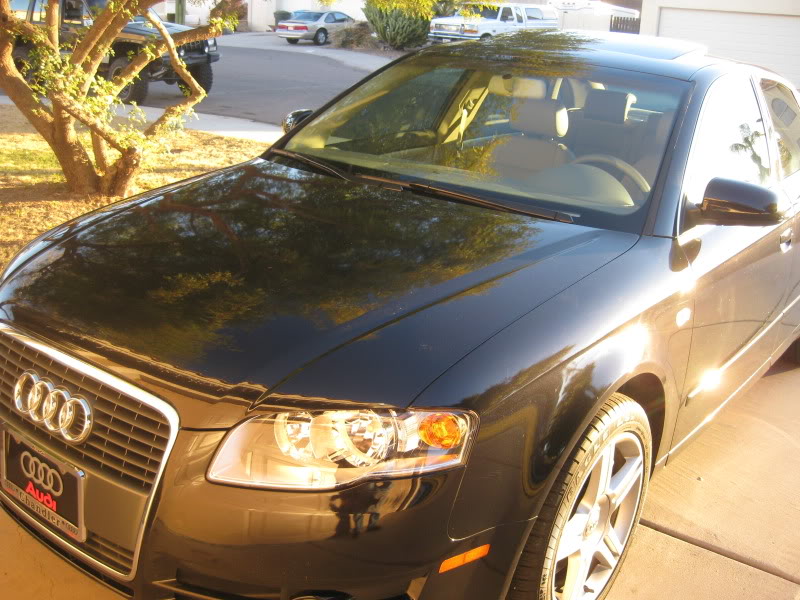
Limo tint, 50% on front windshield. Night shots not too great....


2-04-2011
For installation, this guide helped a lot. http://www.f1computers.force9.co.uk/...%20in%20A4.pdf
1. Getting the deck out is extremely easy. Use the four keys that came with your new kit, insert them all into the correct locations and pull. The deck should release freely. Disconnect the factory harness and set to the side.
2. Next i removed the glove box, there were 10 8mm screws then you can just pull down and out. Make sure you disconnect the MAIN wiring harness at the back, then set on a blanket or piece of cardboard to keep from getting scratched/damaged.
3. I removed the driver side panel as well, There are 3 screws on this one, one inside the panel fuse box and two on the bottom of the panel. You must disconnect the VAG and the light on this one. Then you can pull out and set to the side. I ran the GPS wire under the dash and to the middle of the dash just below the windshield for a better reception. You can really put it anywhere you would like. If you plan on doing this on the passenger side it's really not needed to remove this. But I am going to have all sorts of wires for my ipod, rca's for an amp and backup camera cables on that side as well.
4. Be sure you have the right harness, mine came with two diff. ones, guessing one was for an older model. Set aside as it is not needed. Everything is plug and play from there. The radio ant wires were a bit tricky though. You must remove the factory connections from the plastic clip, on each side there are pink plastic connectors that slide out. Remove these and then un-clip the metal receptors. Plug in the new one's from the harness and wrap with electrical tape, for one to hold them in place and two so they can be safe from touching a power wire and burning something up or worse.
5. With the glove box removed, it is much easier to re-install the Navigation deck. You can help guide the wires out of the way so that the deck can "click" back in securely. I pulled my aux wires at this time to the side and zip tied them so it will be easy to access when needed, ex. when I go to install the amp and backup cam I am still waiting for. Of course power up everything to make sure it is installed correctly.
6. Install the panels in reverse order and your good to go!
Navigation Installed, took about 30 minutes.

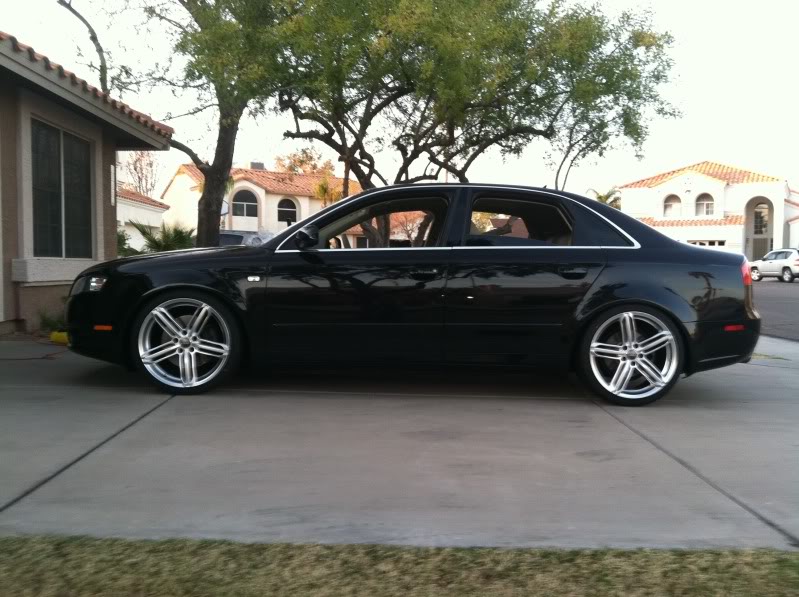
2-28-2011 ST Coil overs installed.
Slammed all the way down..

Front Slammed.. I couldn't even turn my tires!

Going to be raised about another 1/2" and then fitted for rims.
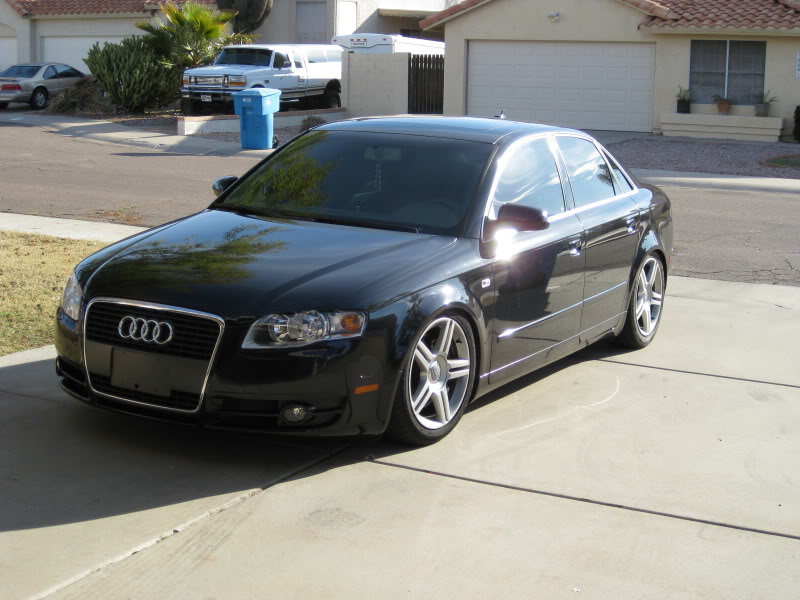
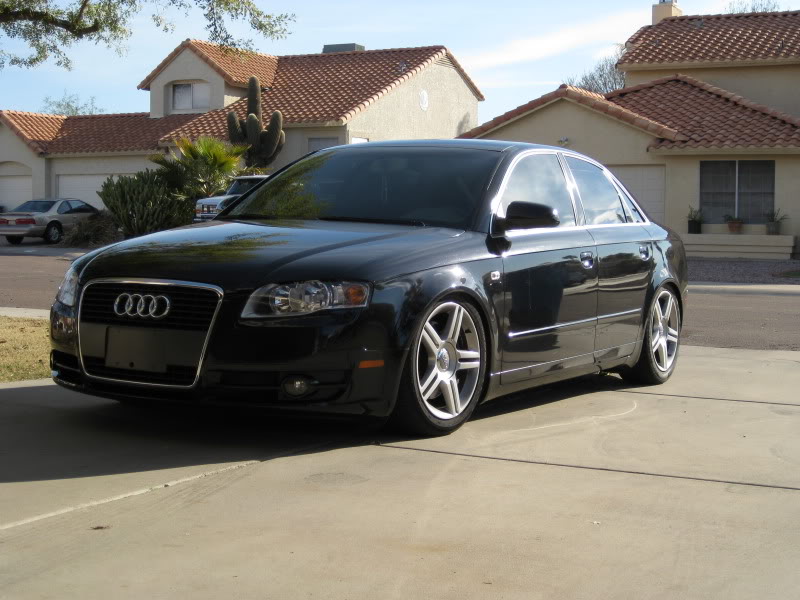
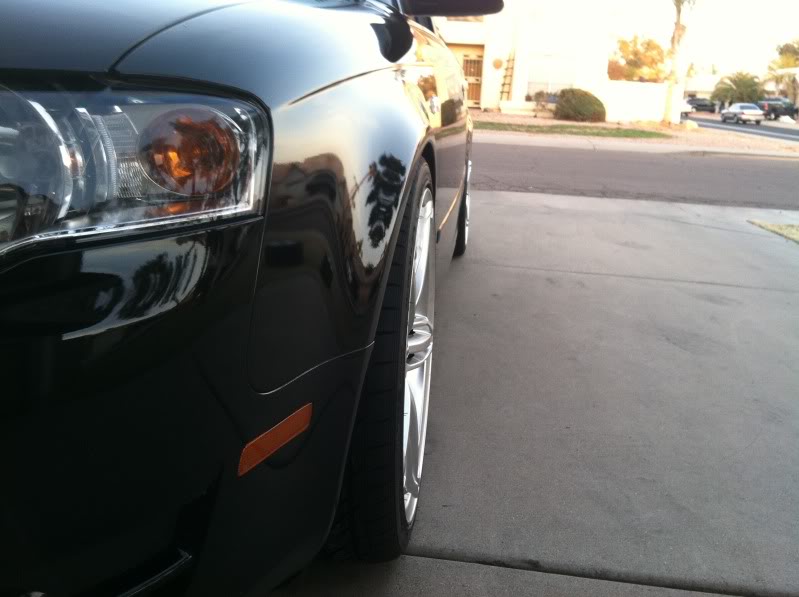
And today, 3-11-2011
New rims and tires, 19x8.5 ET 32 wrapped in 235/35ZR19XL Hankook Ventus V12 evo's. The spacing is pretty great in my opinion, and all flush with the fenders!

1-28-2011
Day I brought it home.
Limo tint, 50% on front windshield. Night shots not too great....
2-04-2011
For installation, this guide helped a lot. http://www.f1computers.force9.co.uk/...%20in%20A4.pdf
1. Getting the deck out is extremely easy. Use the four keys that came with your new kit, insert them all into the correct locations and pull. The deck should release freely. Disconnect the factory harness and set to the side.
2. Next i removed the glove box, there were 10 8mm screws then you can just pull down and out. Make sure you disconnect the MAIN wiring harness at the back, then set on a blanket or piece of cardboard to keep from getting scratched/damaged.
3. I removed the driver side panel as well, There are 3 screws on this one, one inside the panel fuse box and two on the bottom of the panel. You must disconnect the VAG and the light on this one. Then you can pull out and set to the side. I ran the GPS wire under the dash and to the middle of the dash just below the windshield for a better reception. You can really put it anywhere you would like. If you plan on doing this on the passenger side it's really not needed to remove this. But I am going to have all sorts of wires for my ipod, rca's for an amp and backup camera cables on that side as well.
4. Be sure you have the right harness, mine came with two diff. ones, guessing one was for an older model. Set aside as it is not needed. Everything is plug and play from there. The radio ant wires were a bit tricky though. You must remove the factory connections from the plastic clip, on each side there are pink plastic connectors that slide out. Remove these and then un-clip the metal receptors. Plug in the new one's from the harness and wrap with electrical tape, for one to hold them in place and two so they can be safe from touching a power wire and burning something up or worse.
5. With the glove box removed, it is much easier to re-install the Navigation deck. You can help guide the wires out of the way so that the deck can "click" back in securely. I pulled my aux wires at this time to the side and zip tied them so it will be easy to access when needed, ex. when I go to install the amp and backup cam I am still waiting for. Of course power up everything to make sure it is installed correctly.
6. Install the panels in reverse order and your good to go!
Navigation Installed, took about 30 minutes.
2-28-2011 ST Coil overs installed.
Slammed all the way down..
Front Slammed.. I couldn't even turn my tires!
Going to be raised about another 1/2" and then fitted for rims.
And today, 3-11-2011
New rims and tires, 19x8.5 ET 32 wrapped in 235/35ZR19XL Hankook Ventus V12 evo's. The spacing is pretty great in my opinion, and all flush with the fenders!
Last edited by 07A4Turbo; Mar 12, 2011 at 12:54 AM.


1st Gear
Joined: Dec 2010
Posts: 34
From: Providence,RI
Hey car looks great....I am looking into putting 19inch rims on my black Audi A4 2.0t...How do yours ride compared to the the stock 17inch rims and do you have any rubbing problems...?
btw i just had my calipers painted red and they look awesome...just an idea for your next project...very easy to do
btw i just had my calipers painted red and they look awesome...just an idea for your next project...very easy to do
Thread Starter
|
1st Gear
Joined: Mar 2011
Posts: 13
Hey thanks guys. Yeah, I kinda got itchy as far as mods go, and figures while I had the money I might as well spend it!.
Well I have just had the tires for a couple of days now but it rides great. It has a lot to do what suspension you are running as well. The ST coil overs are pretty close to factory, but whenever you lower a car of course you are going to feel more bumps. But it handles quite a but better too.
I am only rubbing on the passenger side back tire, but only because I haven't adjusted that coil far enough up yet. All the others are perfect, so I know when I make the adjustment it will be fine. I could actually go quite a bit lower in the front without rubbing. The ET 32 offset is great for this car, pretty aggressive but exactly what I was going for. ET 35 would look great as well. And with a 235/35 tire the circumference with the 19" rims are about the same size as the factory 17". Just a wee bit taller and of course an 1" wider.
APR and stage 2 are def on the list. Might be a little bit longer, or until I just decide to say F it and go for it.
Tech Certified
Joined: Jul 2009
Posts: 779
From: Connecticut
I say screw the mods. Your only going to destroy the value of the car as well as create all kinds of driveability problems.
What you've done so far increases its value and it looks awesome. I love those wheels
What you've done so far increases its value and it looks awesome. I love those wheels

Thread Starter
|
1st Gear
Joined: Mar 2011
Posts: 13

2nd Gear
Joined: Jan 2006
Posts: 960
From: Sylvania, OH
Once you go stage 1 you will say why the hell did I suffer so long. I used to think it was quick and now i realize it barely got out of its own way.
Once you go stage 2 you will not stop smileing. Since Test pipes are dirt cheao on ebay I would do it all at once sice it will not cost any extra.
Trust me,
Once you go stage 2 you will not stop smileing. Since Test pipes are dirt cheao on ebay I would do it all at once sice it will not cost any extra.
Trust me,