My RS6 build log.
#11
 04-06-2009, 11:46 PM

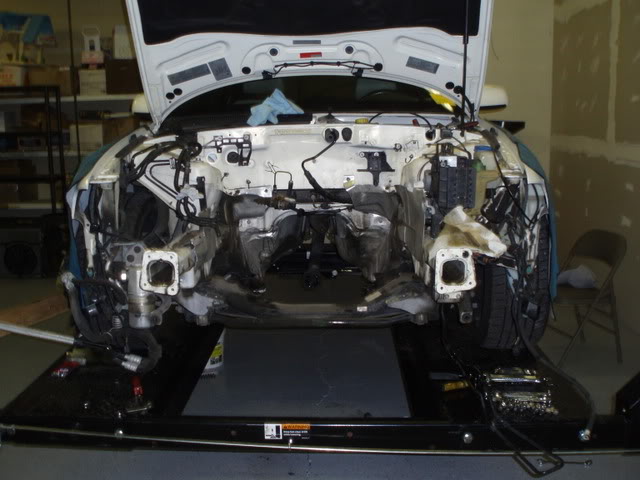
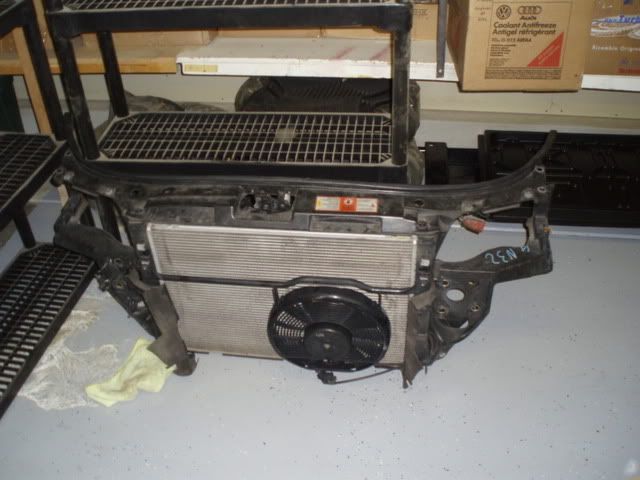
AC condenser swung to the side and front clip removed
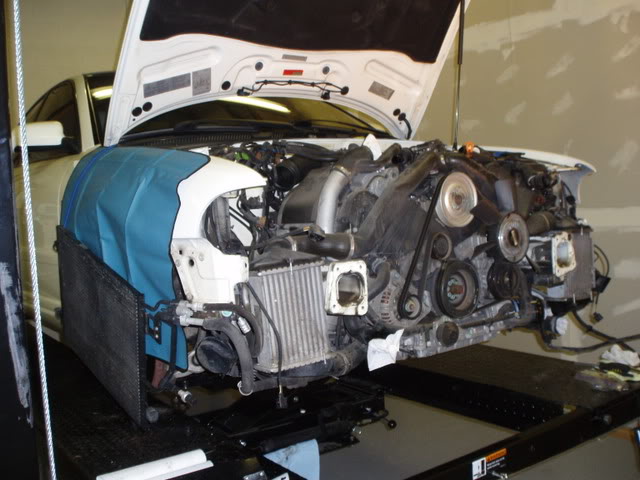
How she currently sits from when I left her. IC's gone, serpentine belt off and trying to get that freaking AC compressor off.
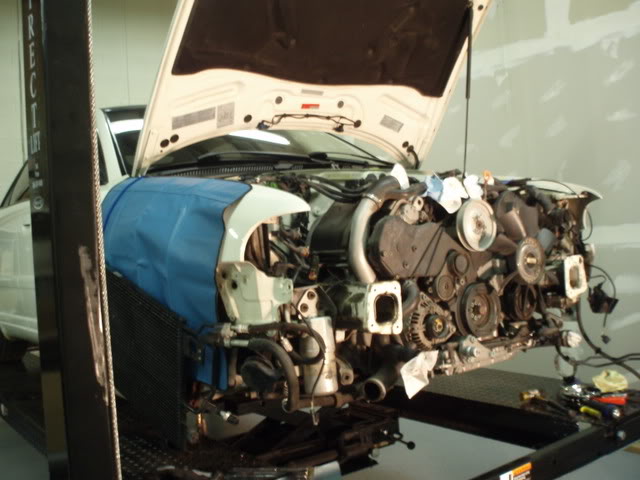
2/21/09
So, onto the pull. The AC compressor was just held in by the back bolt, which is way easy to get to from underneath by the motor mount. I was confused by looking at the pics in M3 to S4's writeup cause there he makes it seem like the 3rd bolt is right below the driver's side head. So the bolt I took out there was actually one of the bolts that holds on the inlet support ha[headbang] Plus it was 4am, so my faculties weren't as sharp as they would've otherwise been[>_<]
Disconnecting the ECU etc.
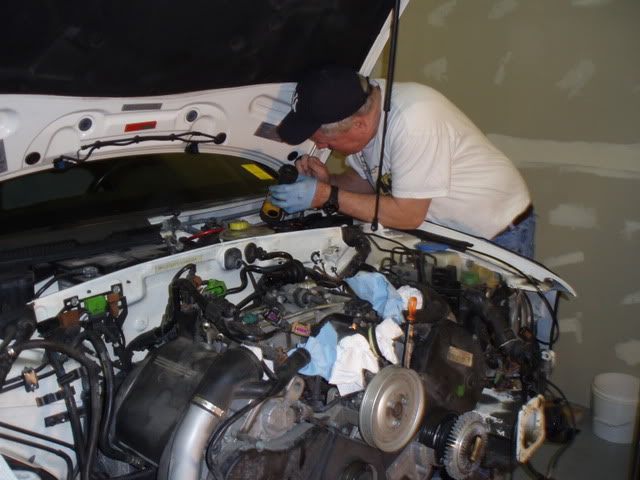
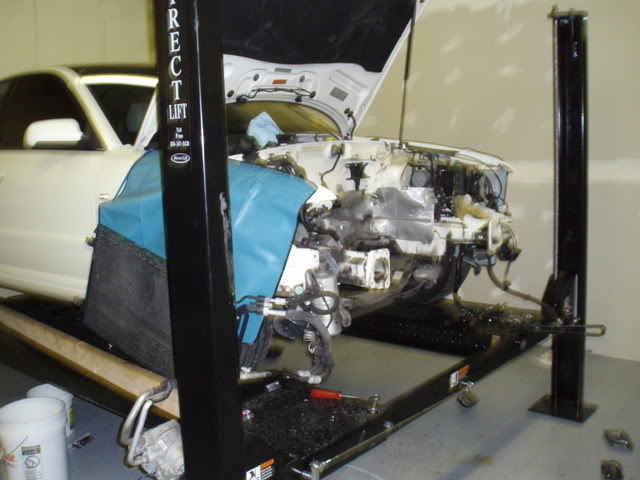
All sensors/hoses/lines disconnected, AC compressor/condenser swung to the side and getting ready to pull
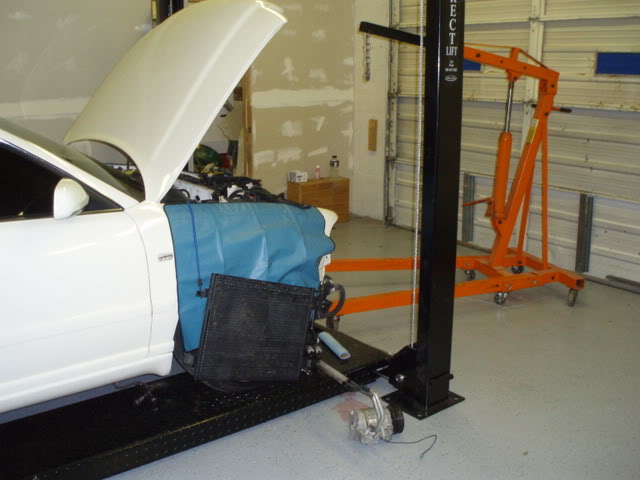
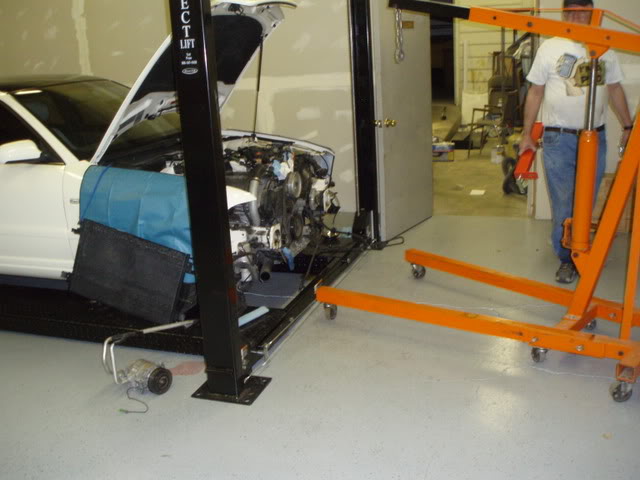
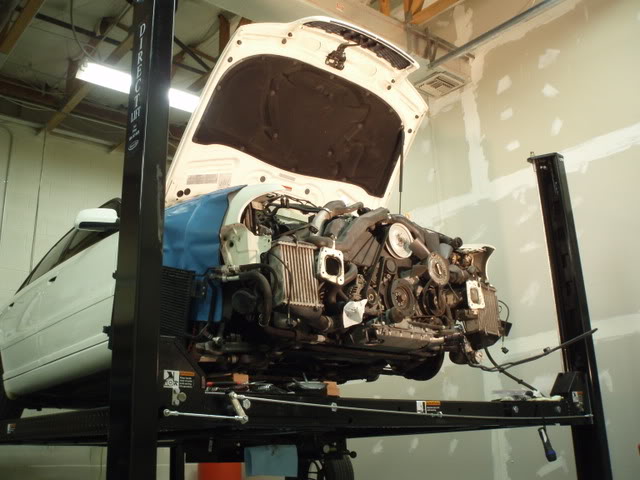
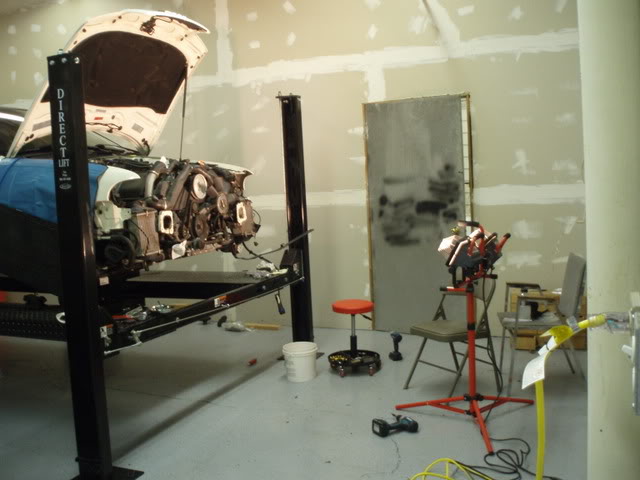
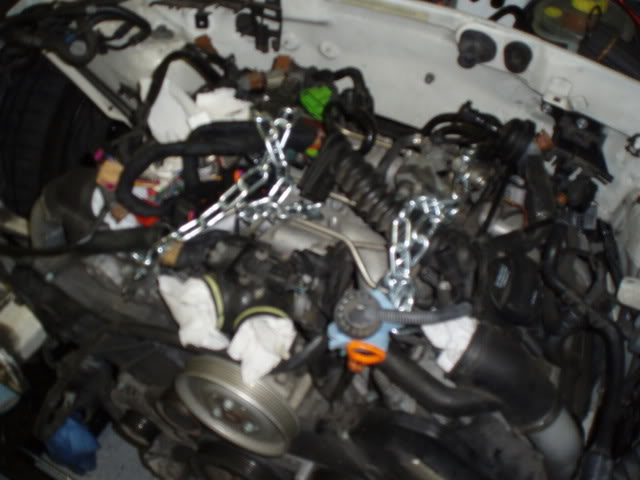
Hooking up the chains and load leveler

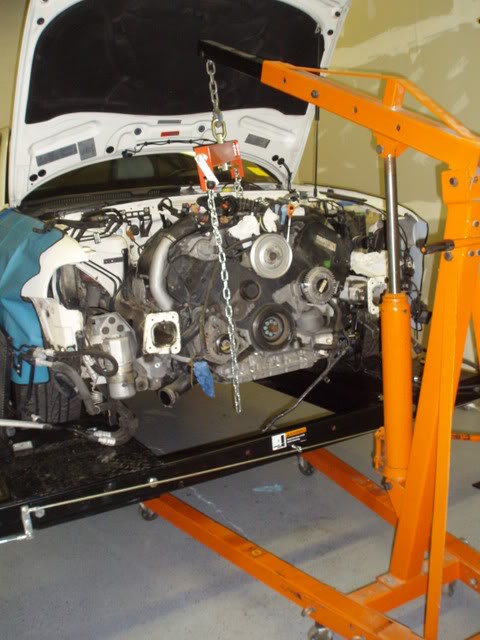
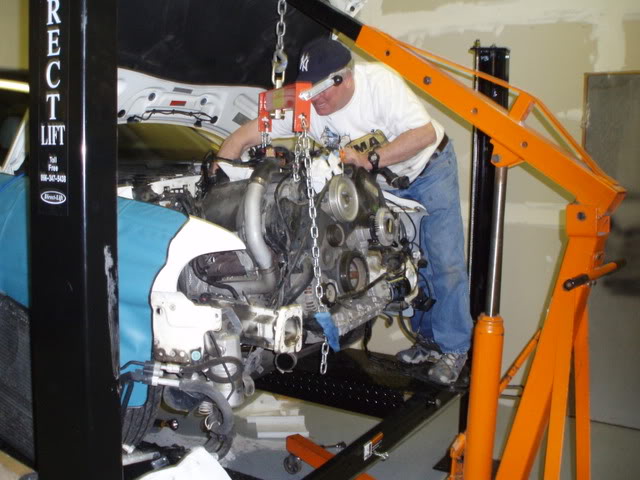
Part of the way out to disconnect the slave cylinder, fish out the heater core hoses, and take off the tranny mounts. The coolant never stops coming![evilmad] I'm under there in a pool of coolant trying to do this stuff and make sure it gets out cleanly, and the never ending drip of coolant is getting all over everywhere that I just cleaned 10 times ha. If there's a way to completely purge the coolant system before the whole procedure, I'd do that in a heartbeat. This part actually took alot longer than I had expected. We tried it with the tranny mounts on at first, but that wasn't working and it took me a good minute to figure out how to take the tranny mounts off (didn't know it was just one bolt on top below the heatshield lol). Sitting under there holding the tranny to help it all out cleanly I put the back of my head on the open end of the driveshaft that is filled with grease a bunch of times.
"I once caught a fish THIS big."
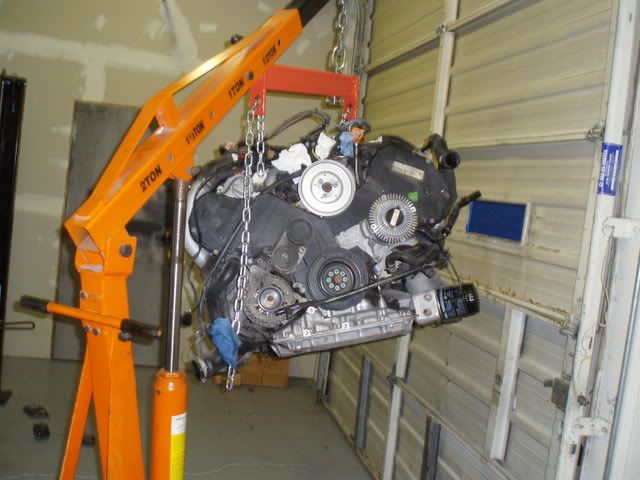
No engine
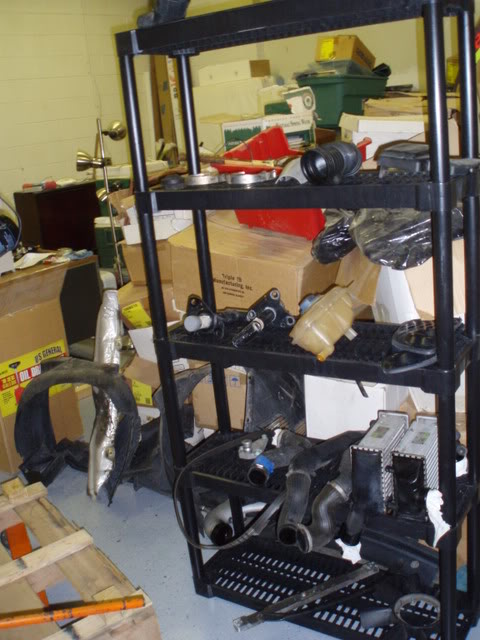
The parts (minus the front bumper)
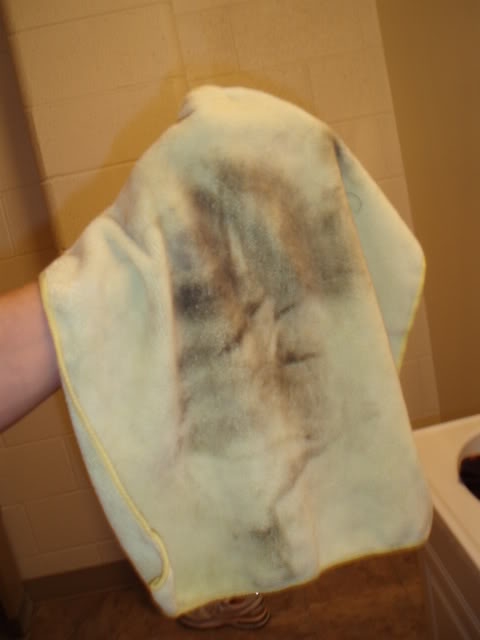
The towel after I wiped the back of my hair only twice
How she currently sits from when I left her. IC's gone, serpentine belt off and trying to get that freaking AC compressor off.
2/21/09
So, onto the pull. The AC compressor was just held in by the back bolt, which is way easy to get to from underneath by the motor mount. I was confused by looking at the pics in M3 to S4's writeup cause there he makes it seem like the 3rd bolt is right below the driver's side head. So the bolt I took out there was actually one of the bolts that holds on the inlet support ha[headbang] Plus it was 4am, so my faculties weren't as sharp as they would've otherwise been[>_<]
Disconnecting the ECU etc.
All sensors/hoses/lines disconnected, AC compressor/condenser swung to the side and getting ready to pull
Hooking up the chains and load leveler
Part of the way out to disconnect the slave cylinder, fish out the heater core hoses, and take off the tranny mounts. The coolant never stops coming![evilmad] I'm under there in a pool of coolant trying to do this stuff and make sure it gets out cleanly, and the never ending drip of coolant is getting all over everywhere that I just cleaned 10 times ha. If there's a way to completely purge the coolant system before the whole procedure, I'd do that in a heartbeat. This part actually took alot longer than I had expected. We tried it with the tranny mounts on at first, but that wasn't working and it took me a good minute to figure out how to take the tranny mounts off (didn't know it was just one bolt on top below the heatshield lol). Sitting under there holding the tranny to help it all out cleanly I put the back of my head on the open end of the driveshaft that is filled with grease a bunch of times.
"I once caught a fish THIS big."
No engine
The parts (minus the front bumper)
The towel after I wiped the back of my hair only twice
#12
04-06-2009, 11:48 PM
So all last Sat. night I was breaking down my engine. I cannot believe how complicated all of the peripheral electronics/coolant/oil lines are! I went slow and took my time and it took forever. I tried to label where each connection came from with painter's tape and took tons of pics of all the lines (don't worry I won't them here). I've sold the motor that came out of my car, so I'm just breaking it down to get ready to ship.
Pics
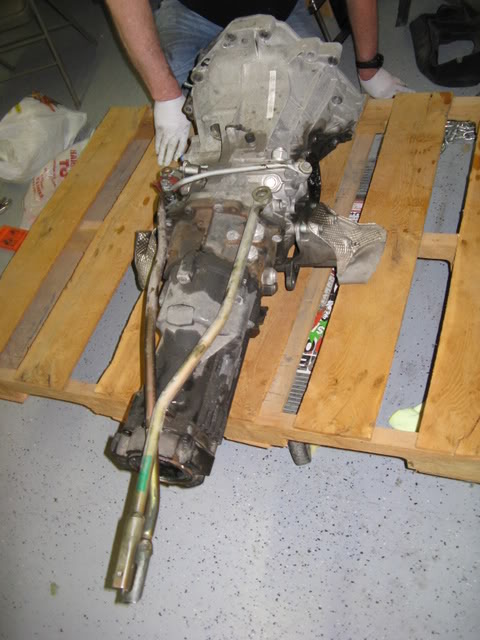
Taking off the tranny
Tranny off
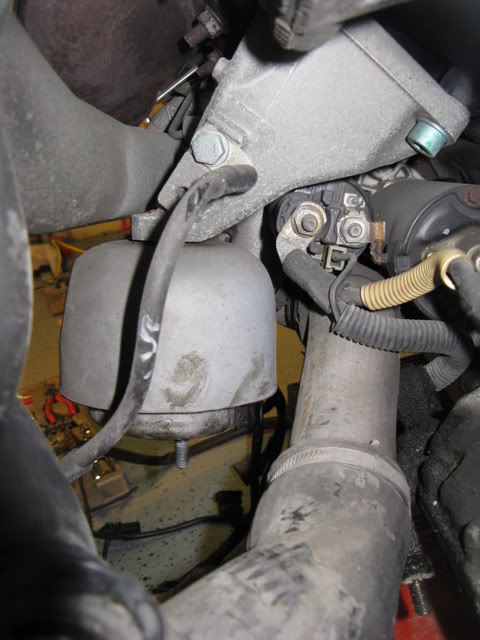
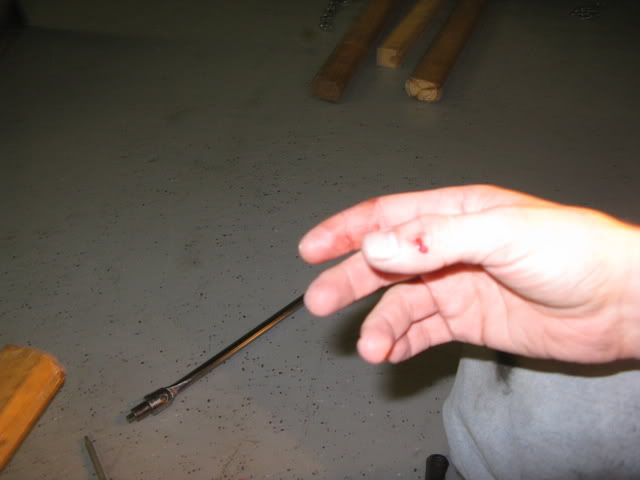
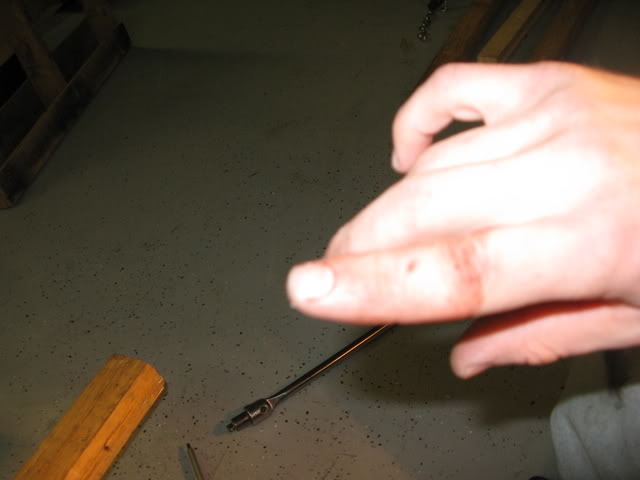
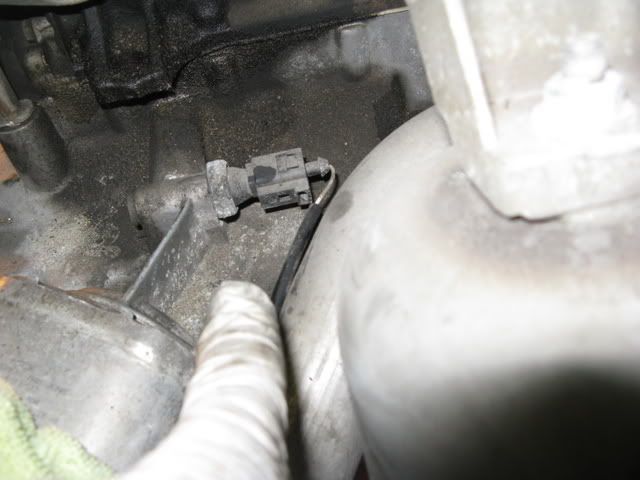
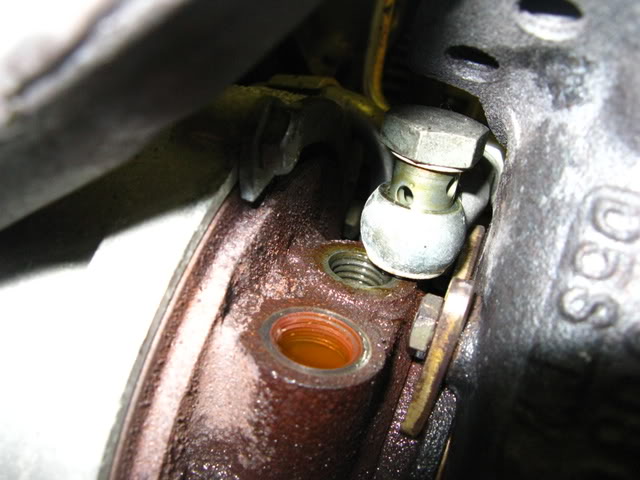
This is the bolt I took off thinking it was the AC compressor rear bolt
Since I sold the turbos with the motor I was trying to leave them and the inlets mounted, which proved to be a pain when trying to unbolt the motor mounts and get the starter out. I ended up having to pull the inlets.
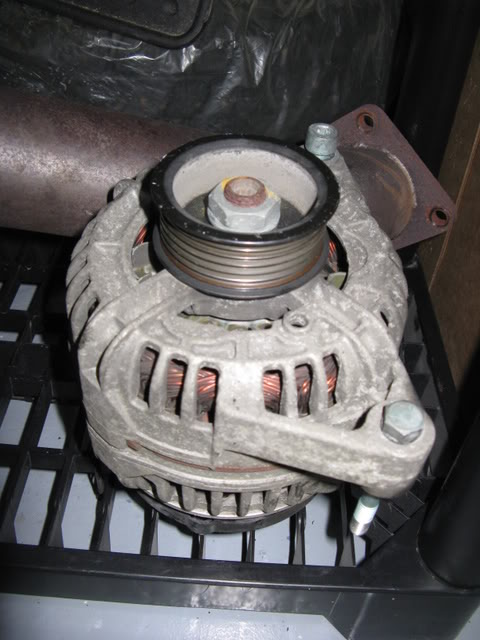
Alty out
Motor mount was broken

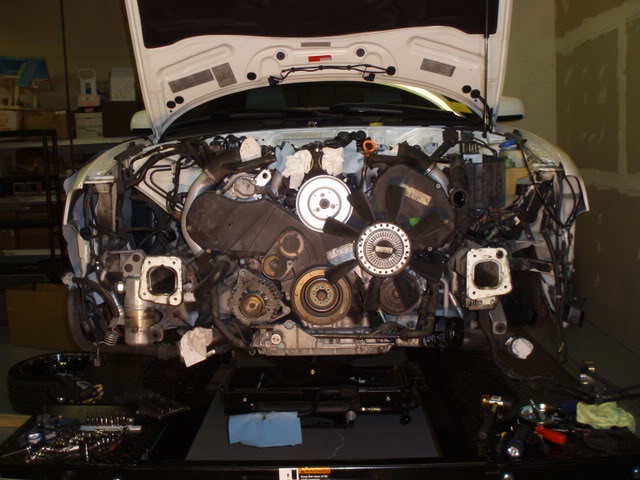
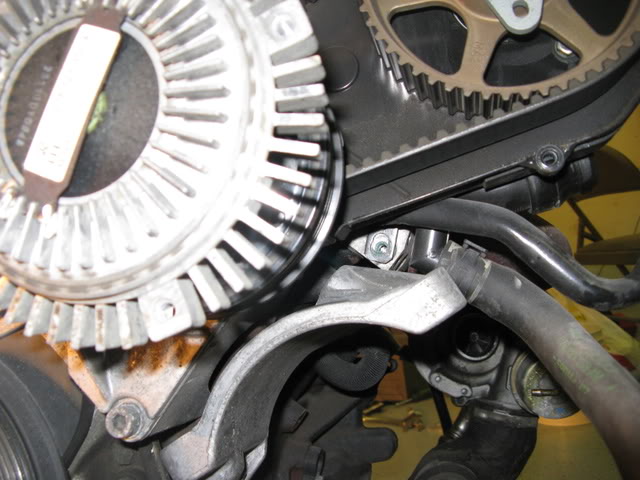
All of these tight bolts in small places and hoses that are a pain to slip off, I beat the crap out of my hands MANY times. This fan part was like razorblades when working anywhere near it.
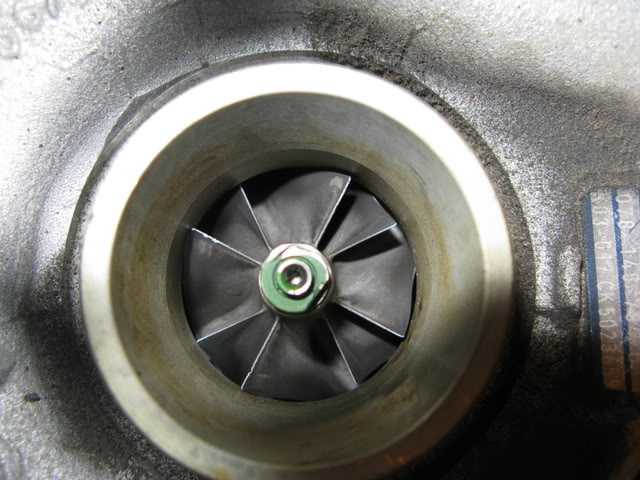
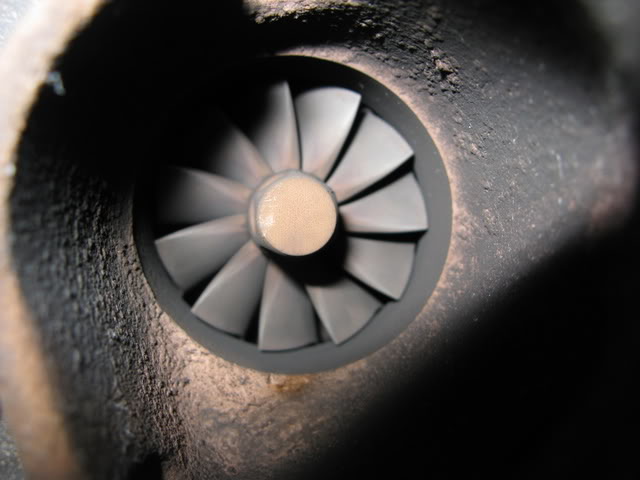
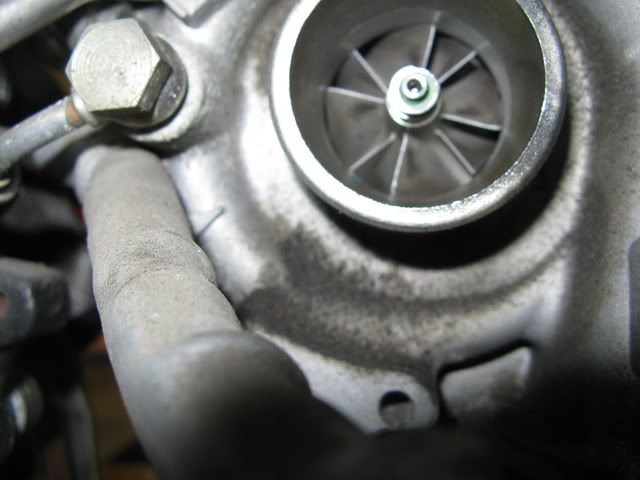
KO3 turbos with 56k mi were actually in really good shape
Driver's side
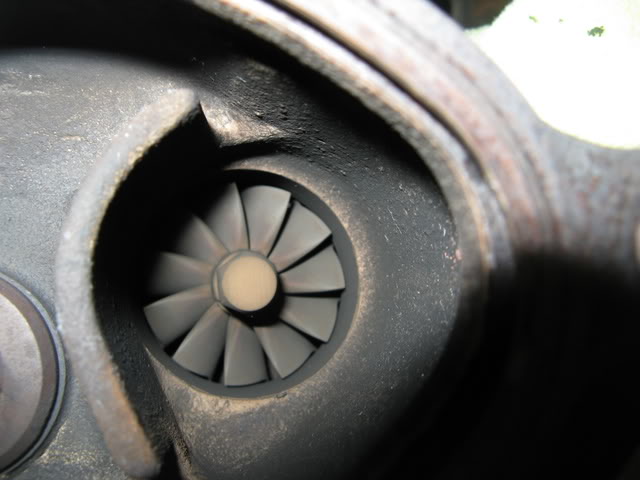
Pass Side
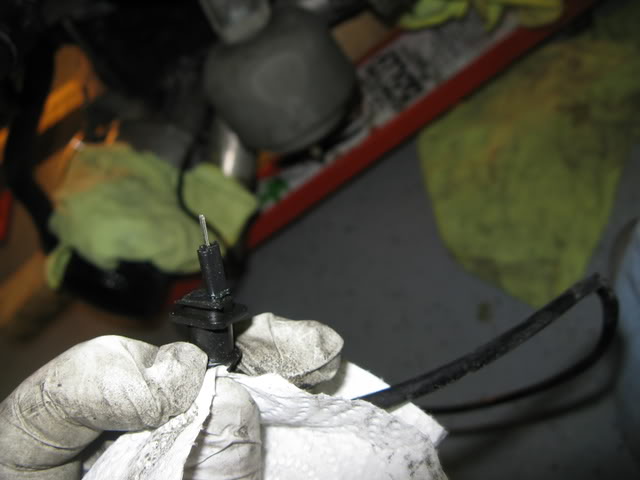
I broke the connector part of this sensor that goes in by the oil filter sandwich[>_>]
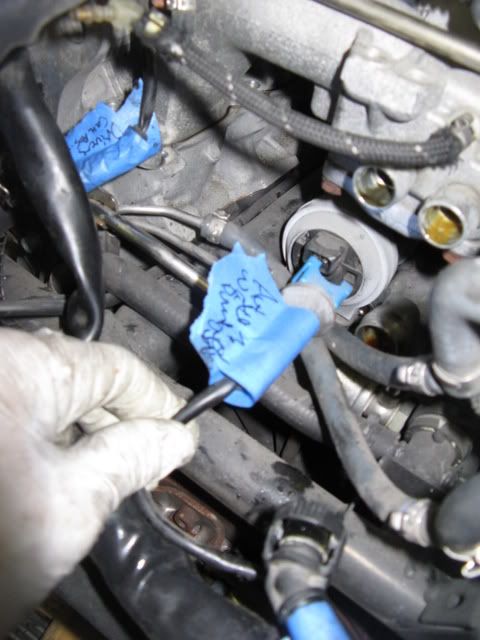
An example of how I tried to label all of the parts
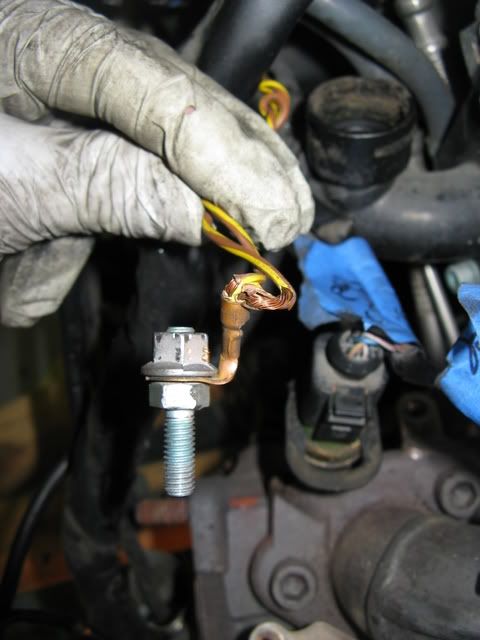
I twisted this ground wire up pretty good cause I didn't expect it to turn with the bolt when I used the ratchet gun to take it off.
Pics
Taking off the tranny
Tranny off
This is the bolt I took off thinking it was the AC compressor rear bolt
Since I sold the turbos with the motor I was trying to leave them and the inlets mounted, which proved to be a pain when trying to unbolt the motor mounts and get the starter out. I ended up having to pull the inlets.
Alty out
Motor mount was broken
All of these tight bolts in small places and hoses that are a pain to slip off, I beat the crap out of my hands MANY times. This fan part was like razorblades when working anywhere near it.
KO3 turbos with 56k mi were actually in really good shape
Driver's side
Pass Side
I broke the connector part of this sensor that goes in by the oil filter sandwich[>_>]
An example of how I tried to label all of the parts
I twisted this ground wire up pretty good cause I didn't expect it to turn with the bolt when I used the ratchet gun to take it off.
#13
04-06-2009, 11:52 PM
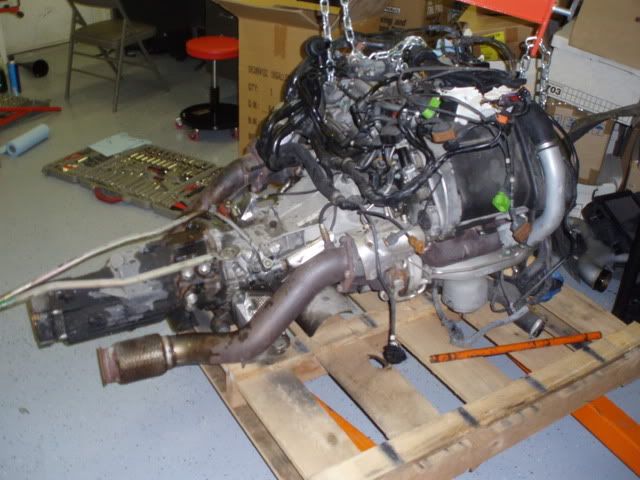
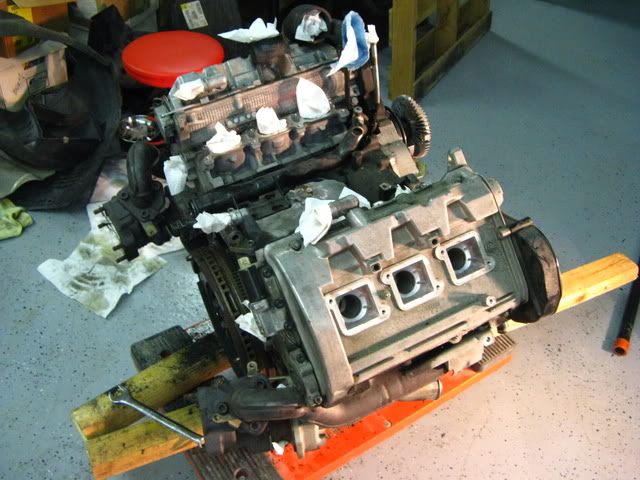
I took the intake mani off with everything still connected (injectors, fuel rail, wiring harness, coil packs, TB, etc) to try to keep it as simple as possible.
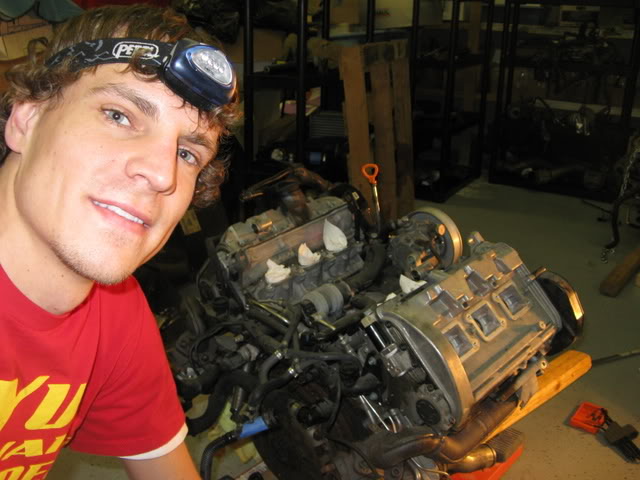
Obligatory self portrait with motor since noone was there to take it
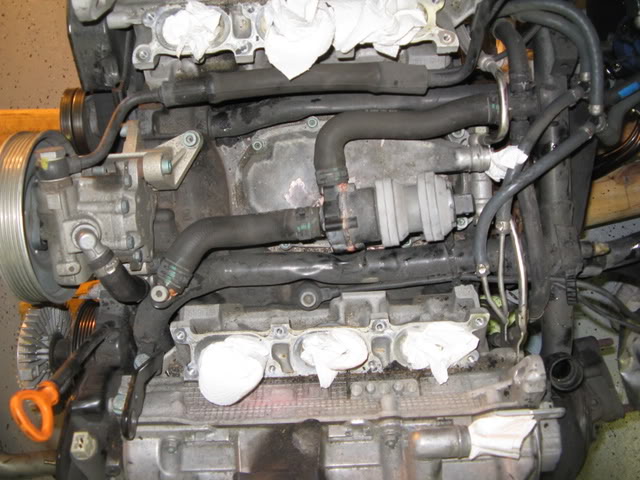
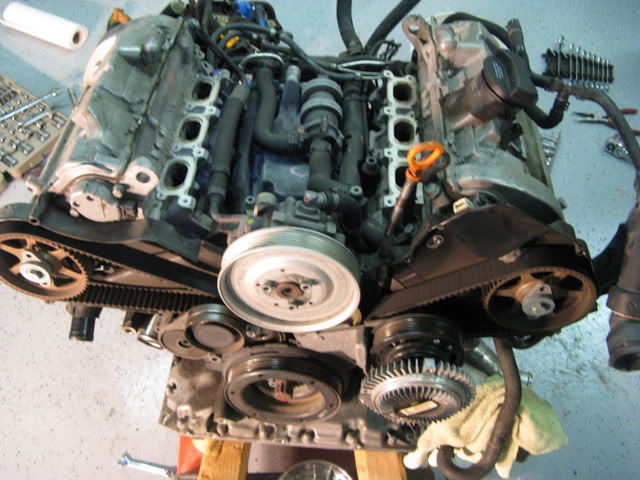
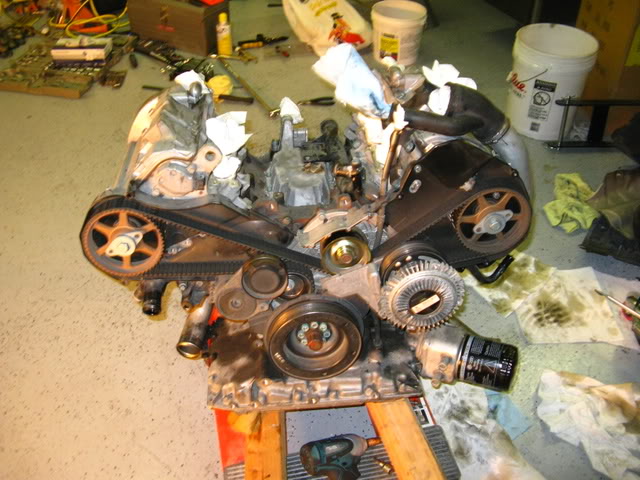
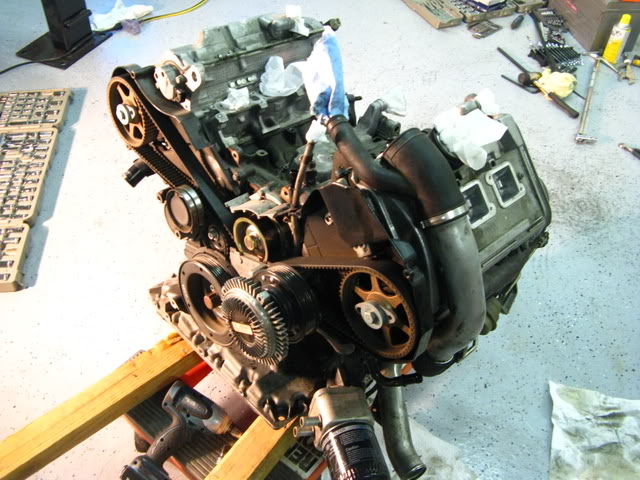
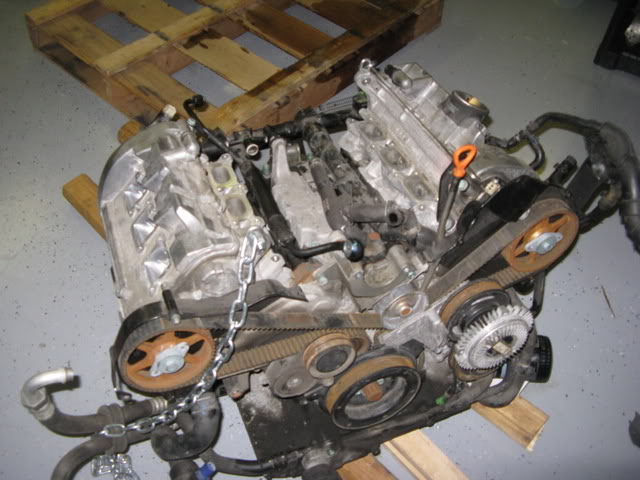
These hoses were a pain to pull off without tearing them. After trying to wiggle them out I found out that the hardlines they're connected to have to stay with the motor since I'm leaving all of the timing components together.
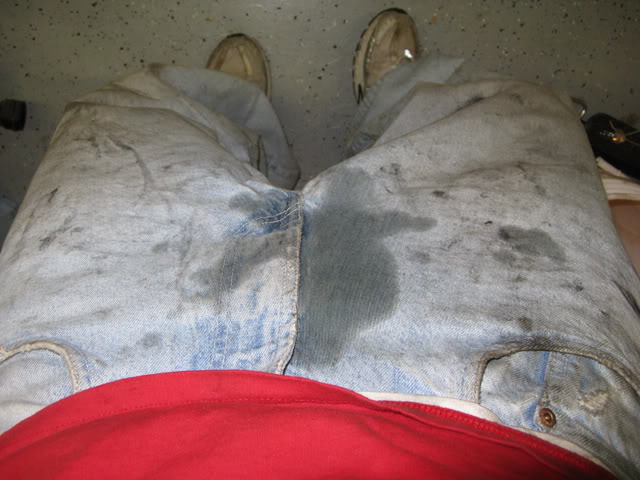
When I was working on one of the random hoses it kept leaking after I thought I emptied it and I had a huge puddle in my lap. Looks like I pissed my pants.
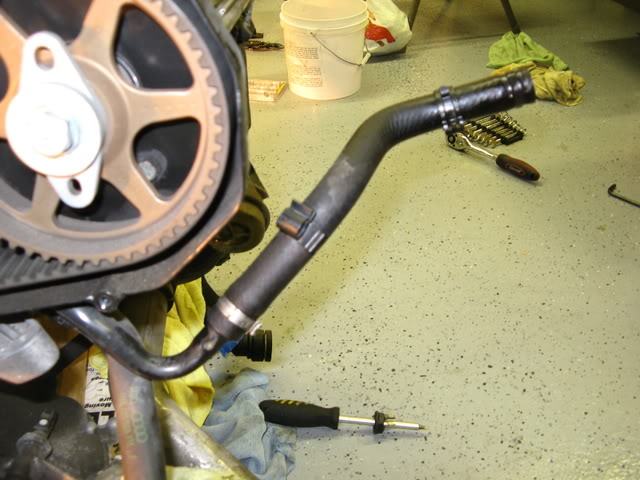
These oil and coolant line bolts really are as much of a pain as everyone says! I somehow got them all off with just normal sets of wrenches (and lots of frustration!) It was too late to go buy any tools.
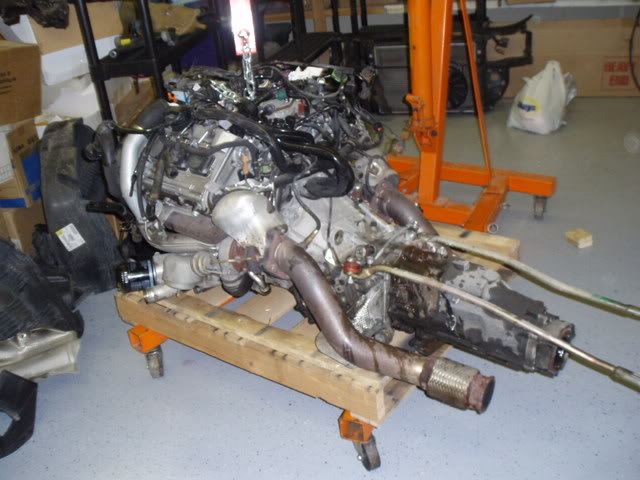
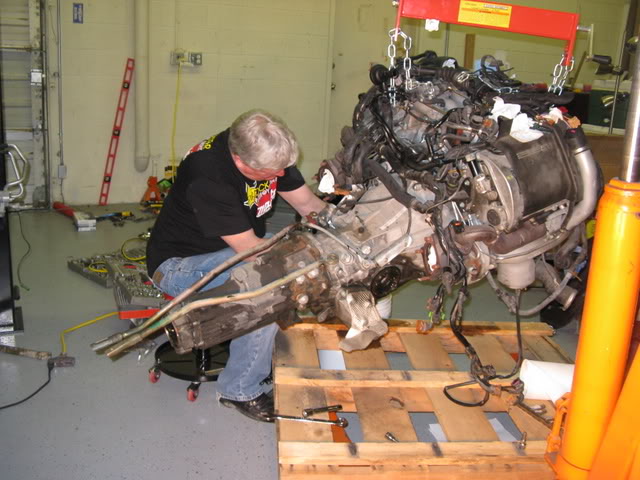
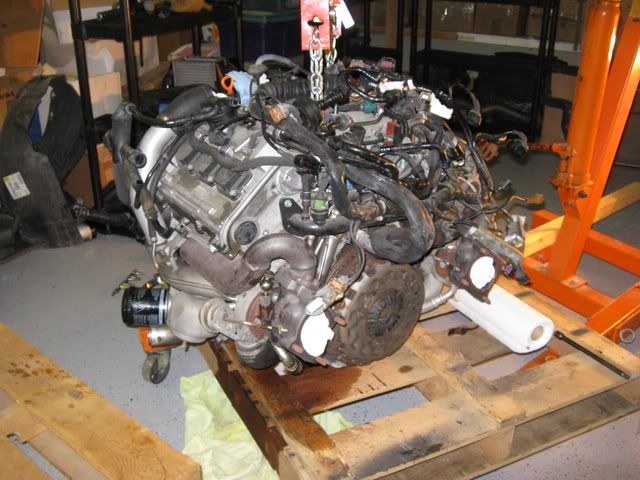
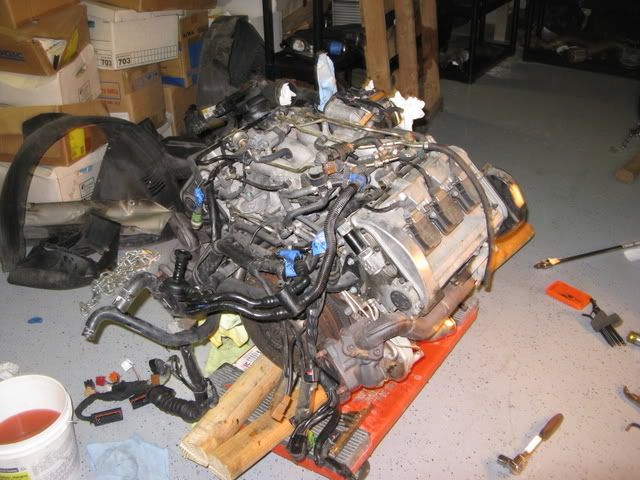
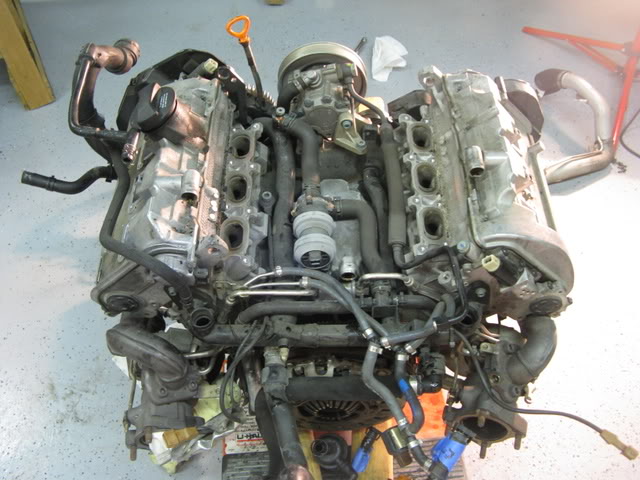
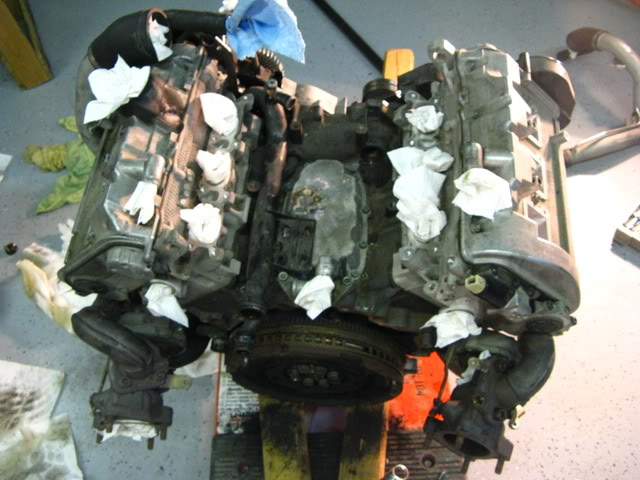
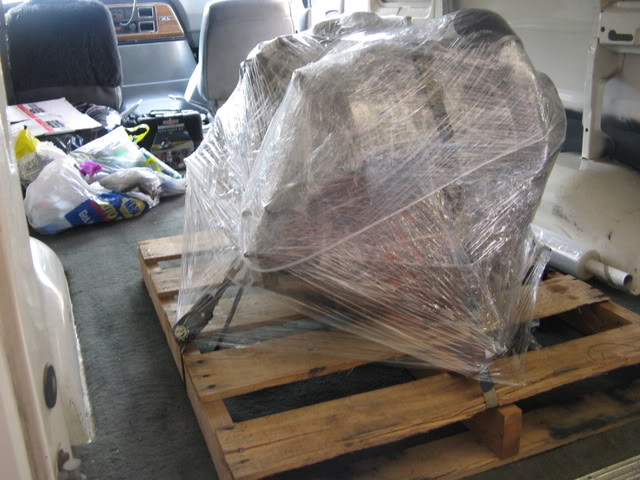
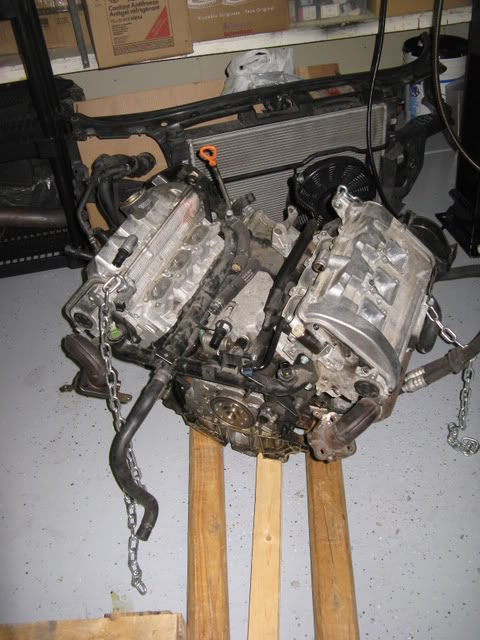
Finally just about how I'm going to send her off.

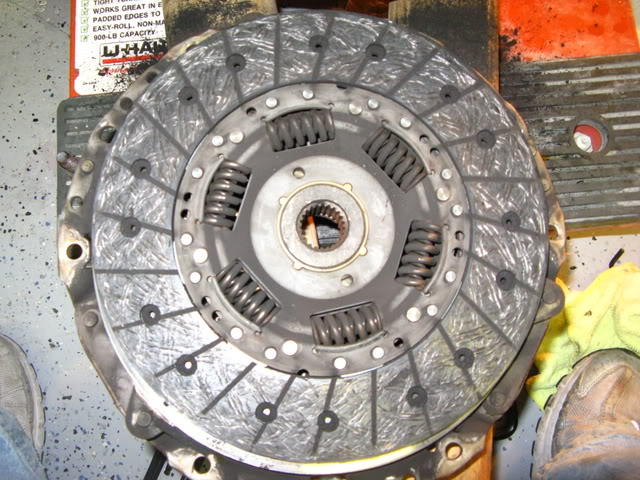
Clutch off
Ready to pack up and ship out.

Packaged up
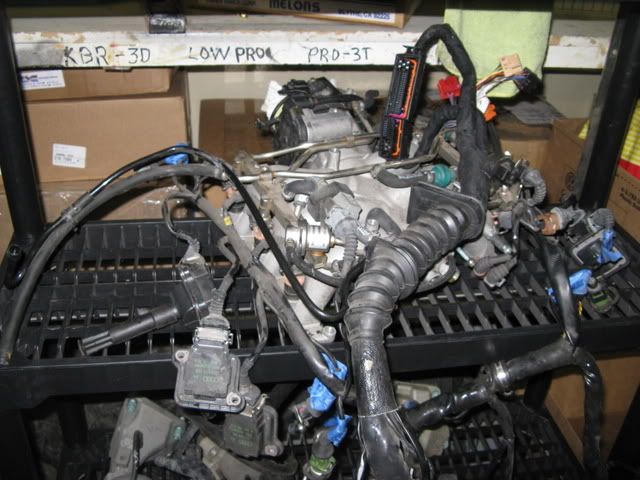
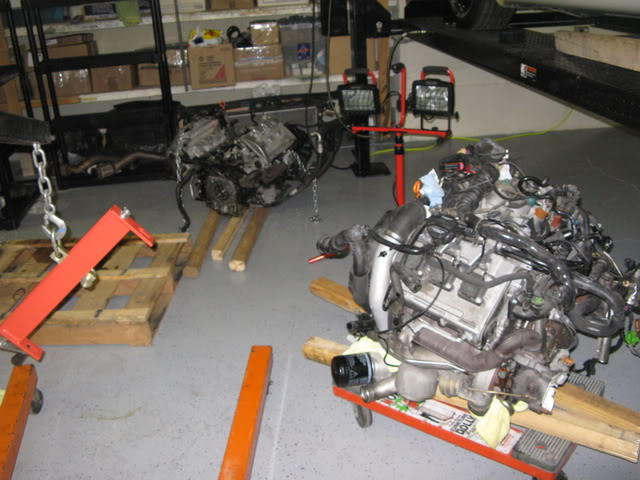
Here's the new motor that I'm going to build (in the rear of this pic)
Obligatory self portrait with motor since noone was there to take it
These hoses were a pain to pull off without tearing them. After trying to wiggle them out I found out that the hardlines they're connected to have to stay with the motor since I'm leaving all of the timing components together.
When I was working on one of the random hoses it kept leaking after I thought I emptied it and I had a huge puddle in my lap. Looks like I pissed my pants.
These oil and coolant line bolts really are as much of a pain as everyone says! I somehow got them all off with just normal sets of wrenches (and lots of frustration!) It was too late to go buy any tools.
Finally just about how I'm going to send her off.
Clutch off
Ready to pack up and ship out.
Packaged up
Here's the new motor that I'm going to build (in the rear of this pic)
#14
04-06-2009, 11:53 PM
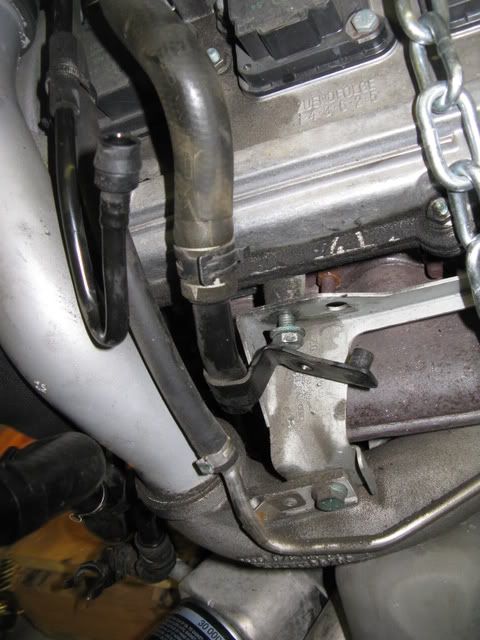
One difference between the motors that I noticed that I'd never heard before was on the 01.5'+ motor thermostat housing is plastic when on the 00' it's metal.
#15
04-06-2009, 11:53 PM
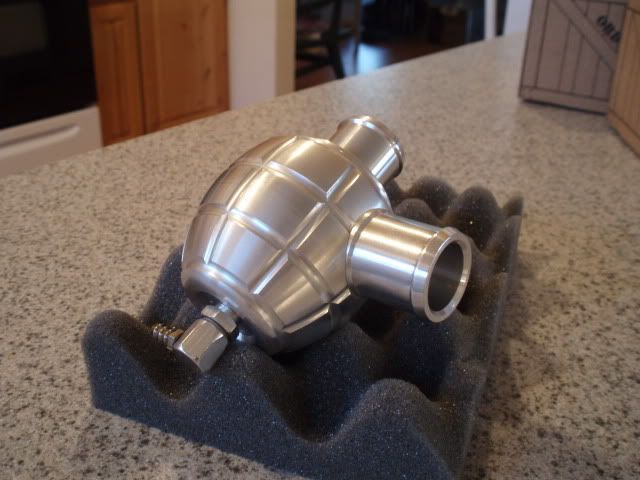
So I got these in the other day and I must say I'm impressed with the quality of the machining, packaging, and overall presentation. These look incredible in person, and I can't wait to get them on the car. Looking into one of the holes I see that they came pre-lubed, so it seems eurojet cares about the functionality as well, not just the good looks[ ] BTW these are the eurojet "Kugel" DV's
http://www.eurojetracing.com/Product...0&Redirected=Y

] BTW these are the eurojet "Kugel" DV'shttp://www.eurojetracing.com/Product...0&Redirected=Y
#17
04-07-2009, 06:51 AM
Jibber you mentioned using M3 to S4's writup what else did you use as a resource? Have any links for me by any chance? Im going to start in the next week or so, my parts are slowly starting to show up. I got all the same mounts as you from Issam
Im going to start in the next week or so, my parts are slowly starting to show up. I got all the same mounts as you from Issam

#19
04-27-2009, 07:21 AM
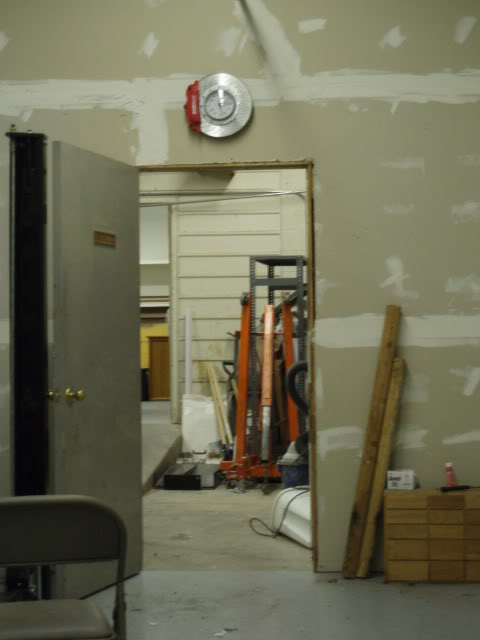
Not a whole lot of progress, but I got a couple things to spruce up the shop a little[]
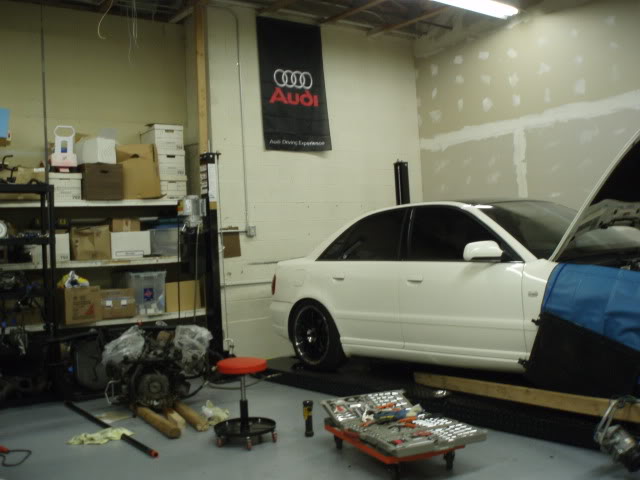

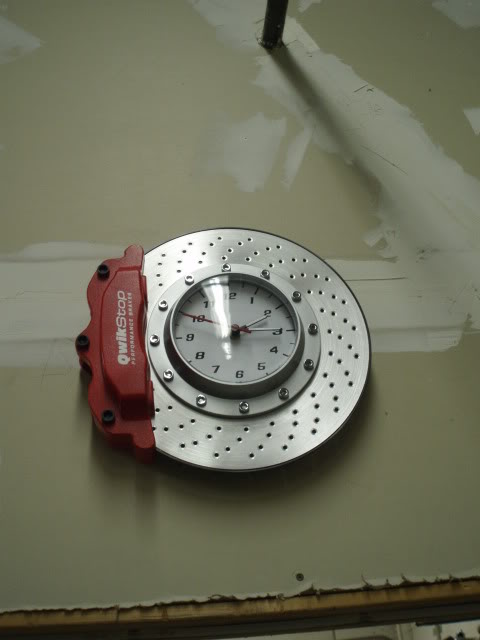
Got a clock for the shop
Other than that, I pulled all the trim in the car, which is going to replaced with carbon fiber. I guess I should say I almost pulled all of the trim cause I quit before I got the long piece on the dashboard all the way off.
]Got a clock for the shop
Other than that, I pulled all the trim in the car, which is going to replaced with carbon fiber. I guess I should say I almost pulled all of the trim cause I quit before I got the long piece on the dashboard all the way off.
#20
06-11-2009, 11:52 AM
M3 to S4's writeup with pics
http://www.audizine.com/forum/showth...ngine+pull+diy
Mike's writeup
http://forums.audiworld.com/showthre...577529#2187139
Some pics
http://www.cardomain.com/ride/2643379/10
Official Motor Pull Video!!
http://forums.audiworld.com/showpost...0&postcount=39
And another one definitely worth checking is Jerbel's writeup. Search on Audizine for 'Jerbel's Writeup' , it's a word document with pics and all.
Good luck!